Category: Tradingview

  • Step 9. Changing Time Frames in TradingView

    Step 9. Changing Time Frames in TradingView

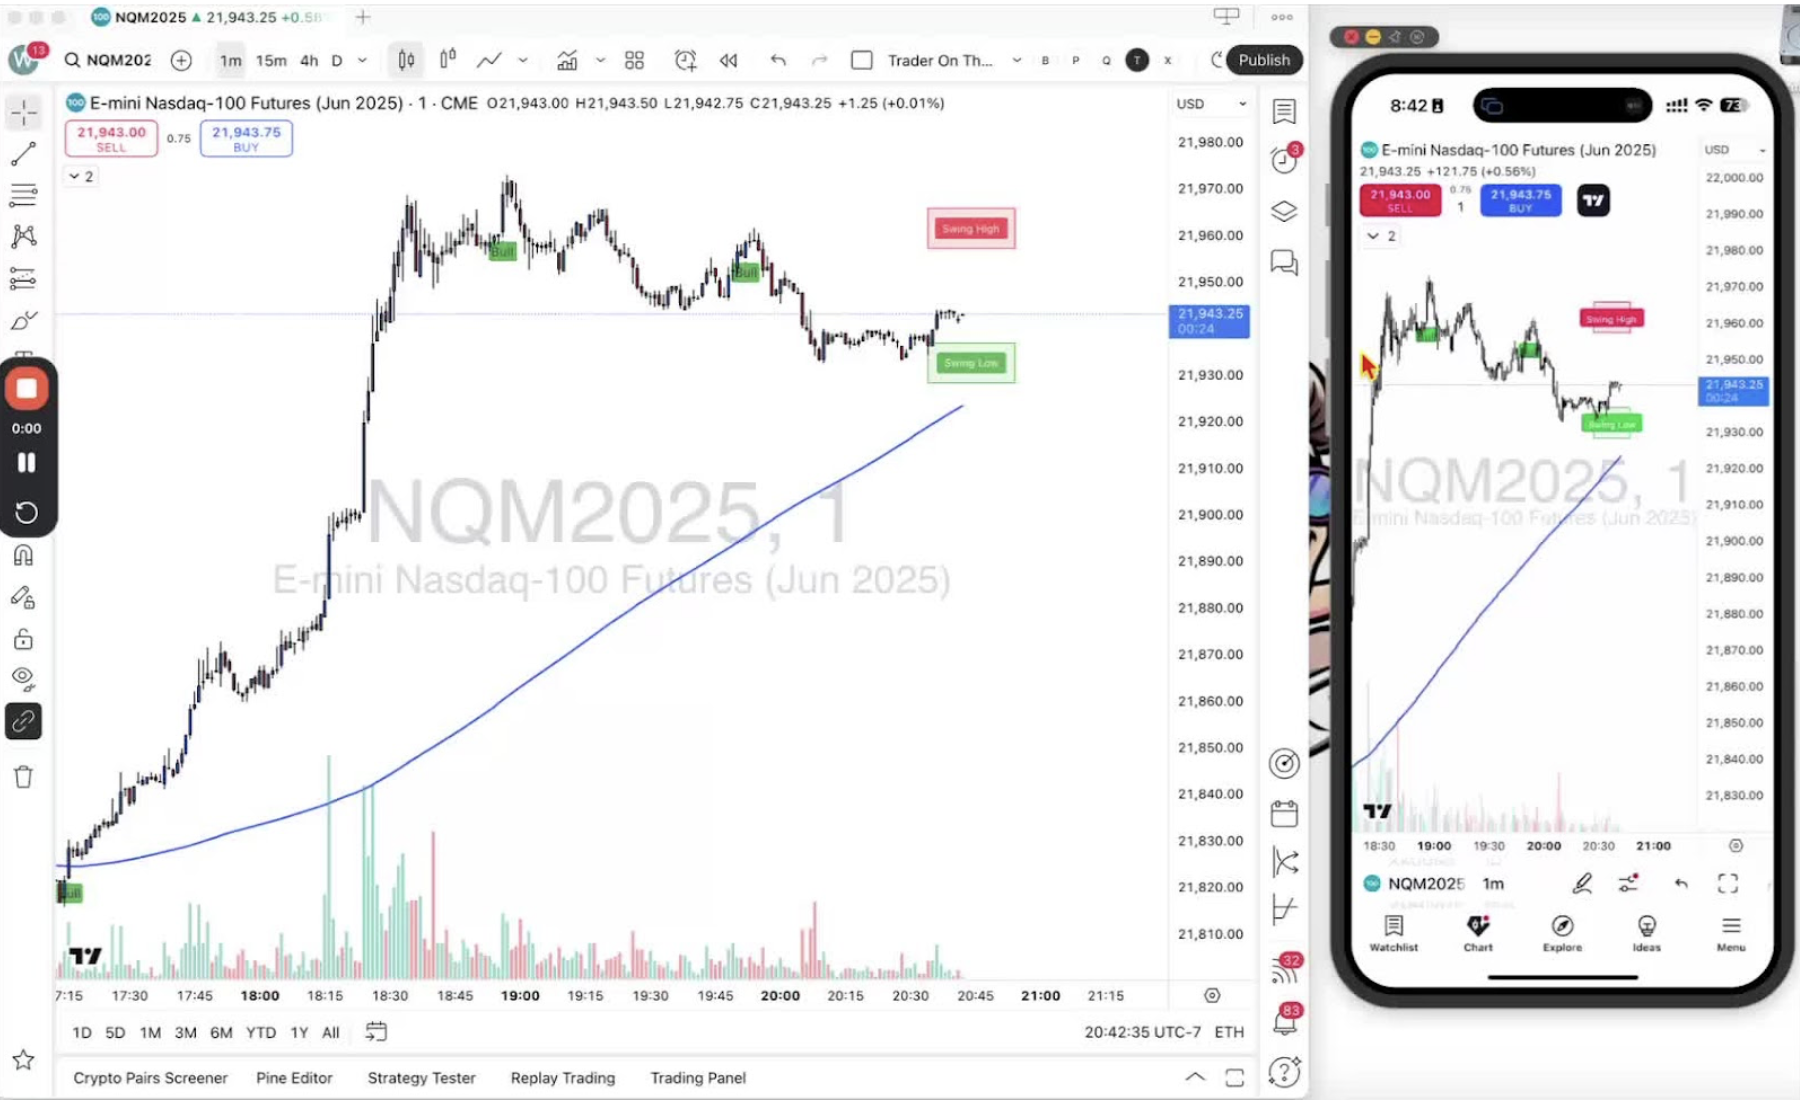
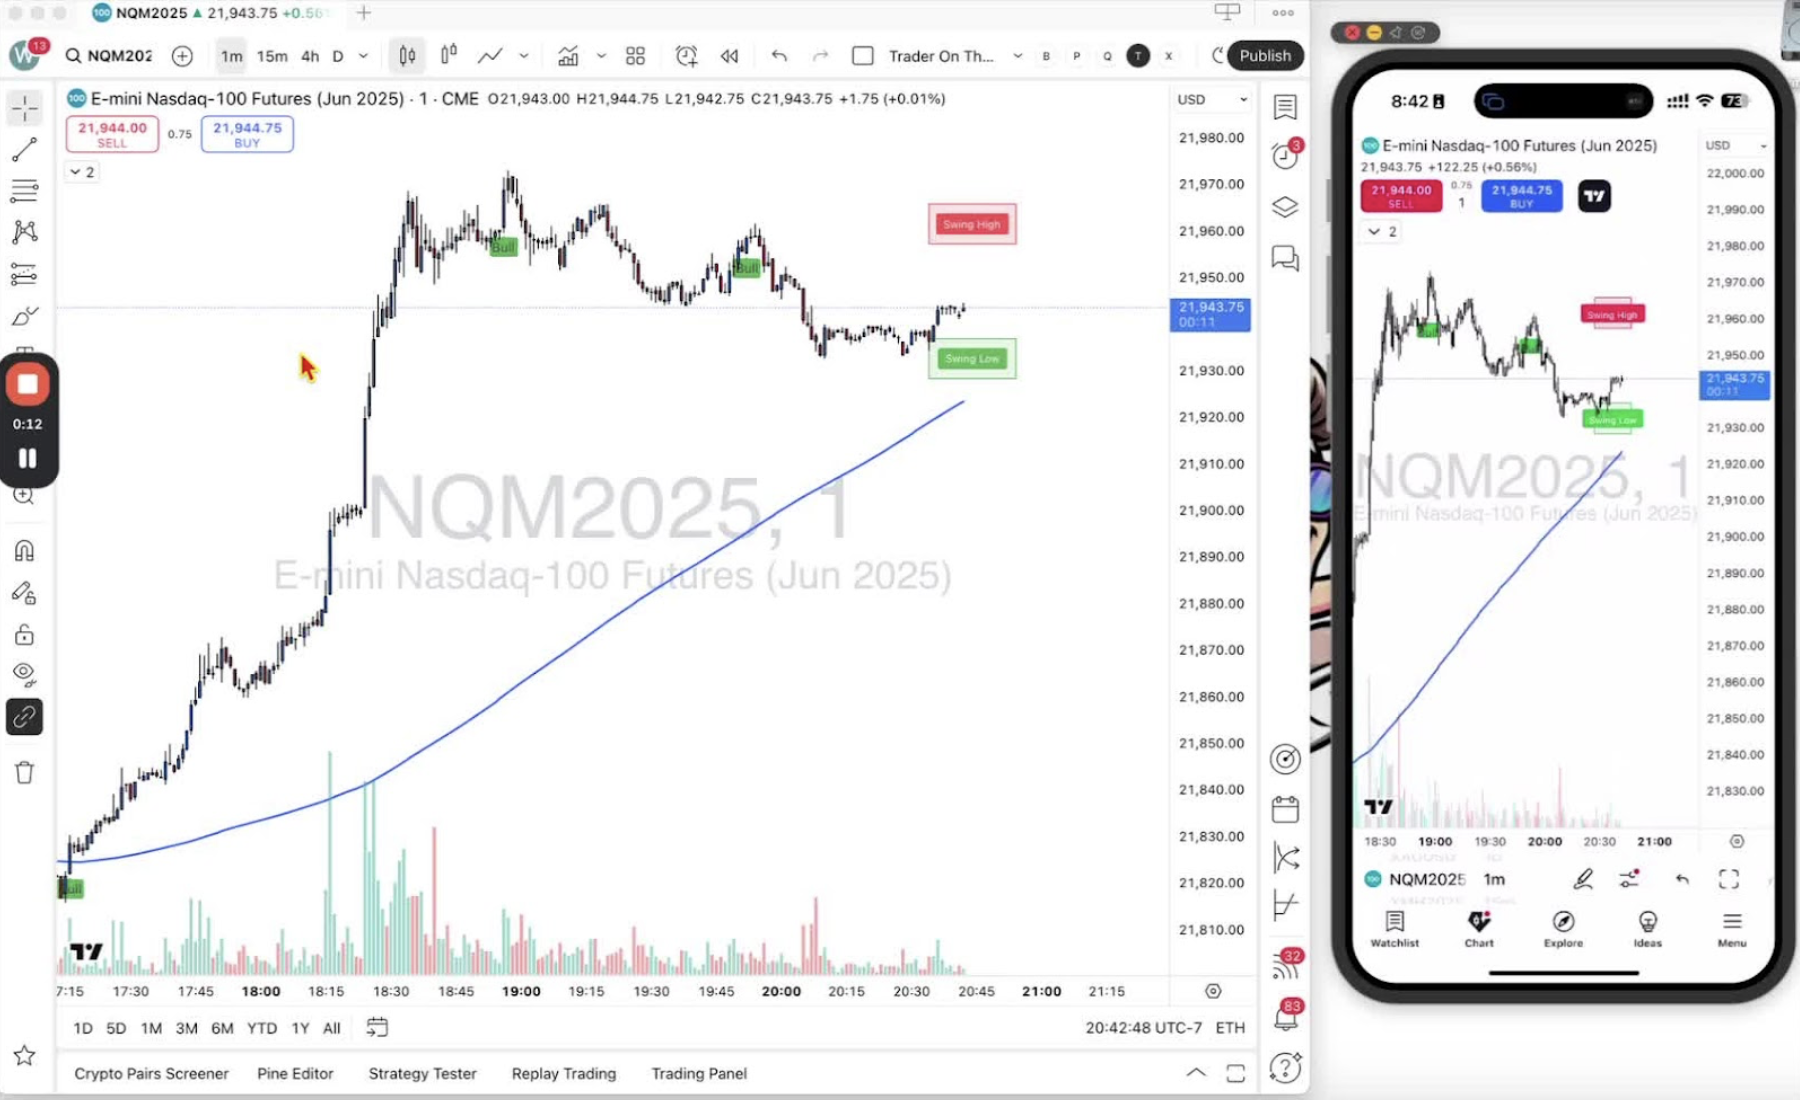
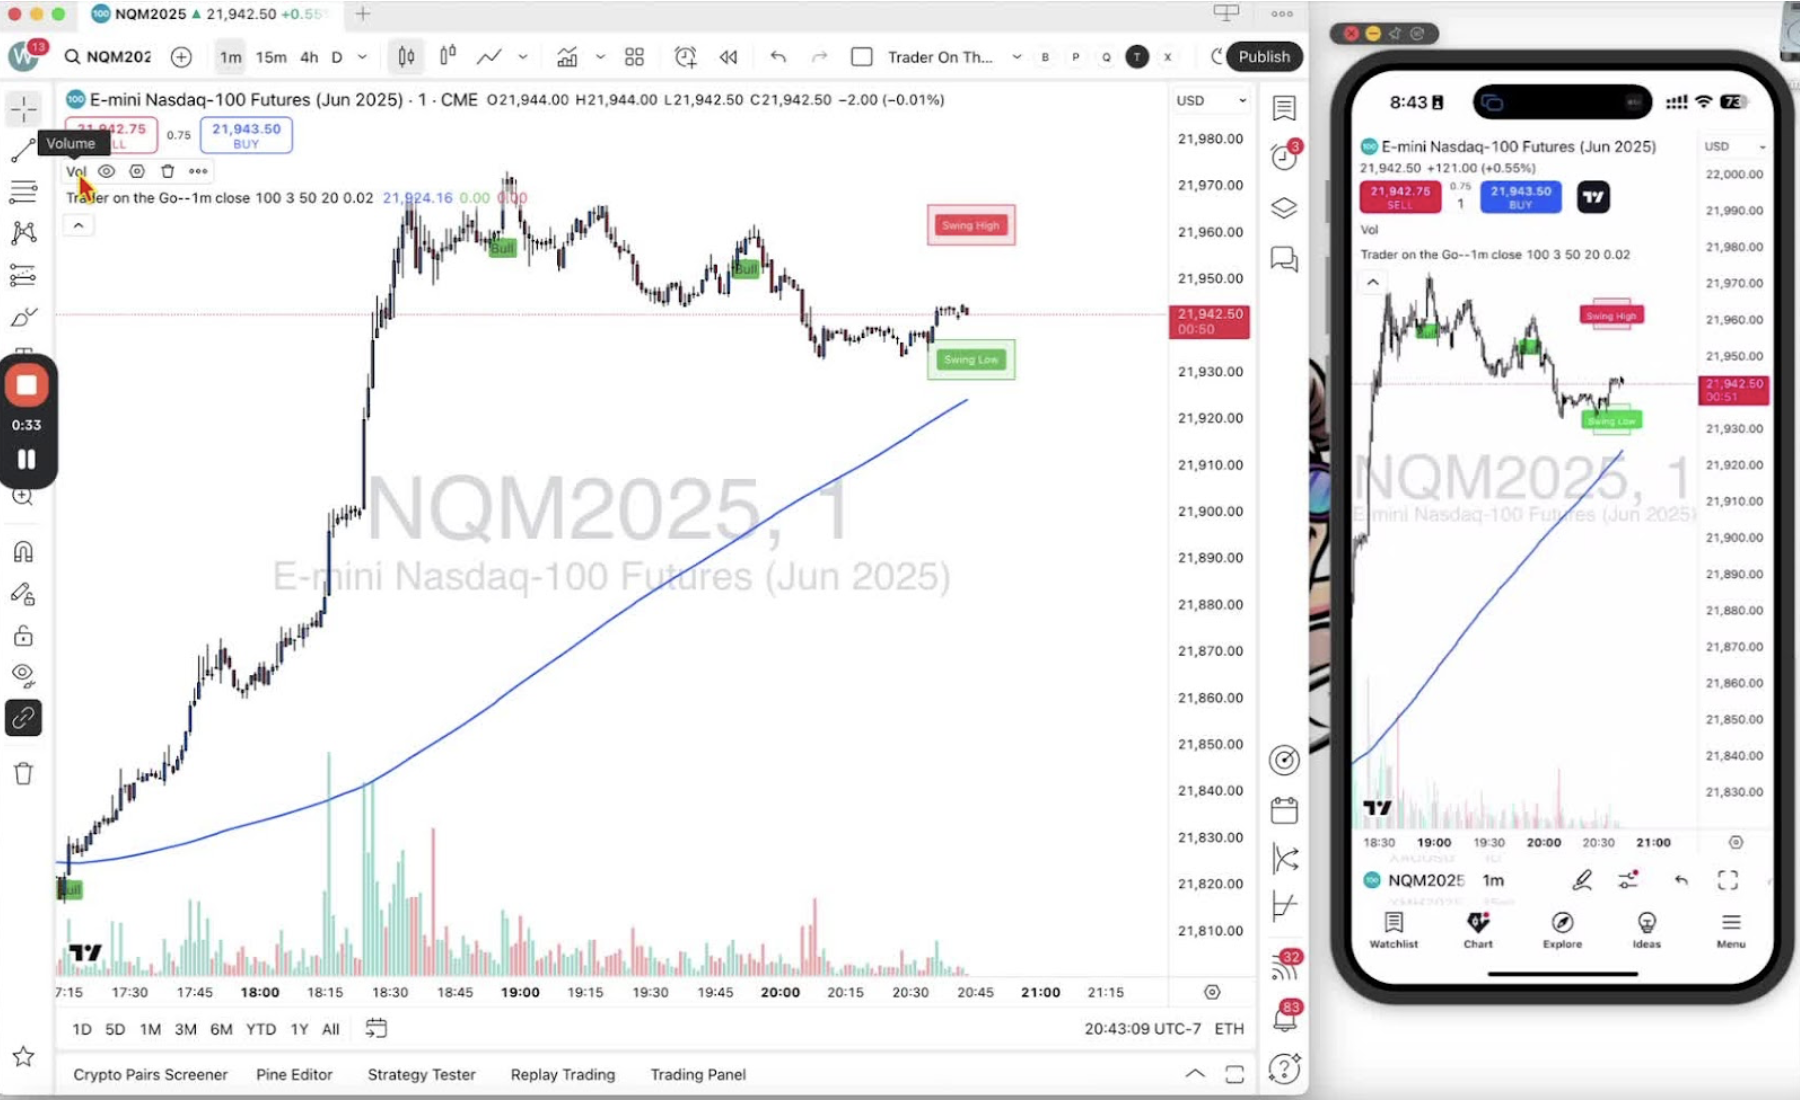
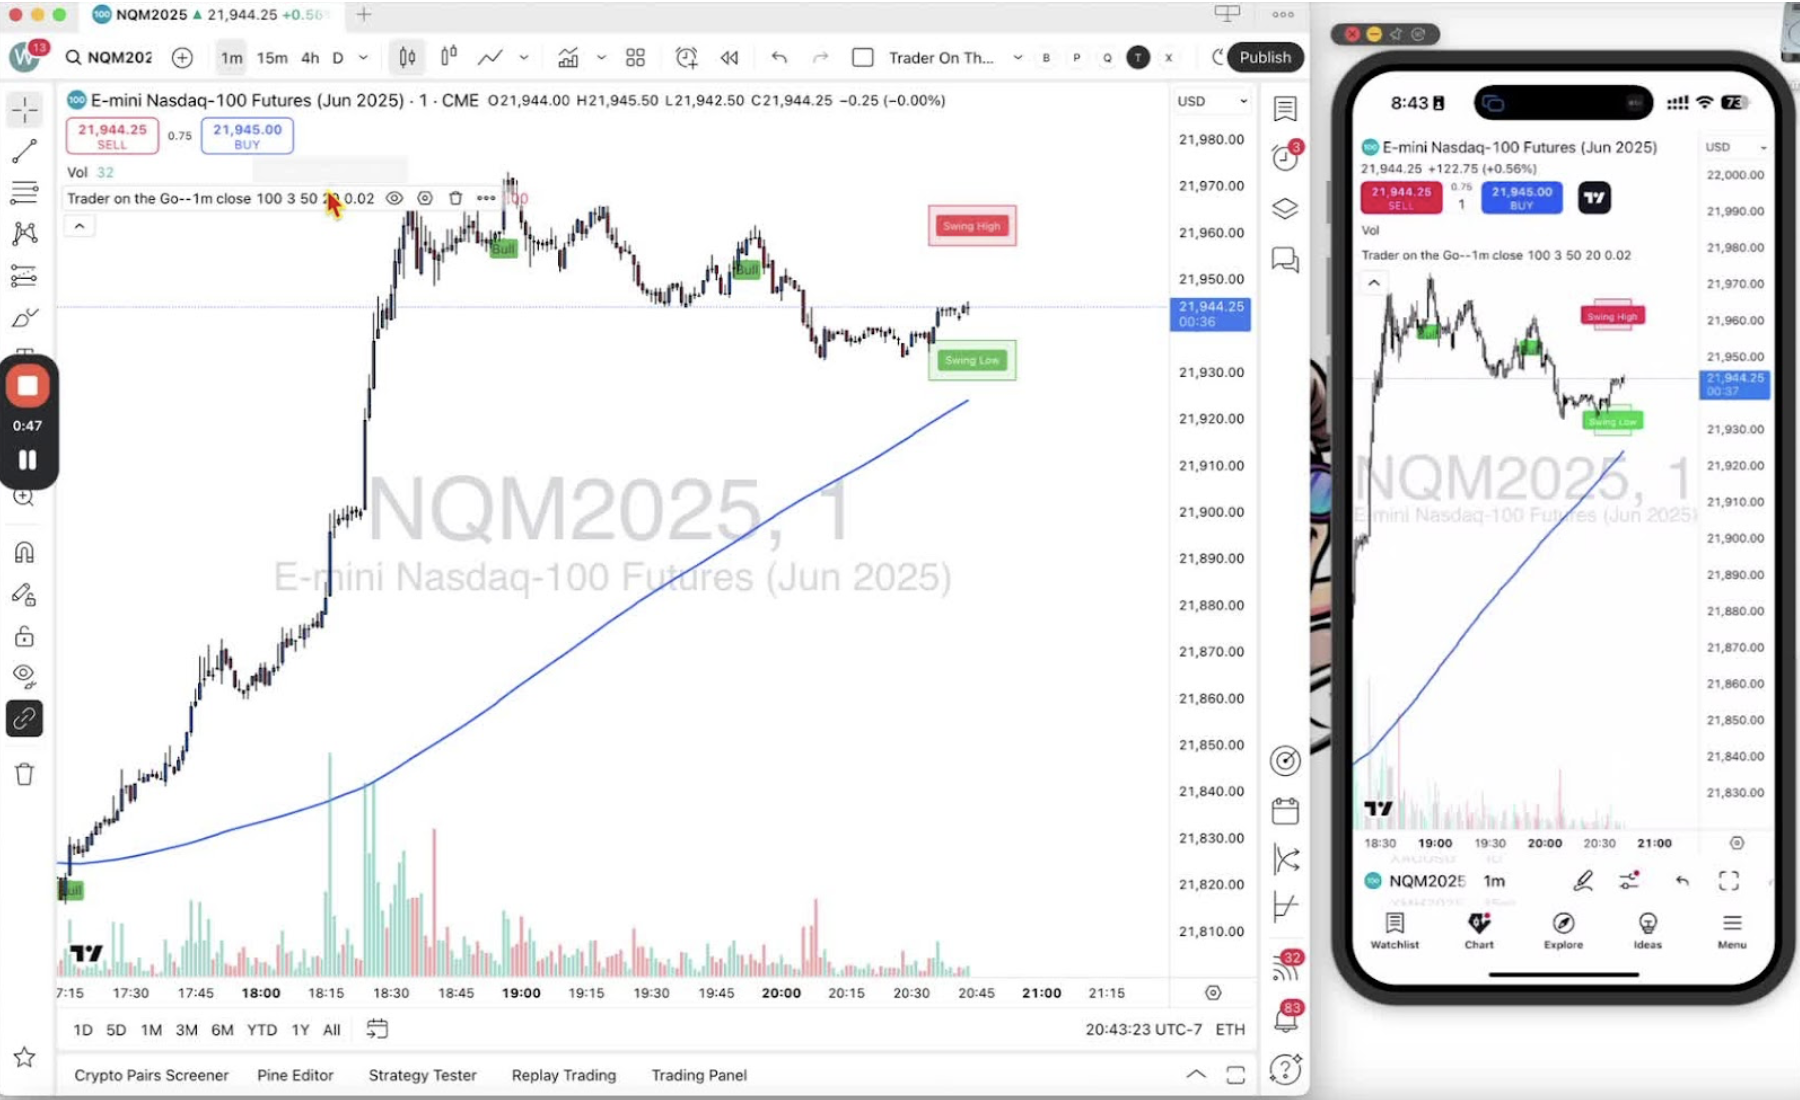
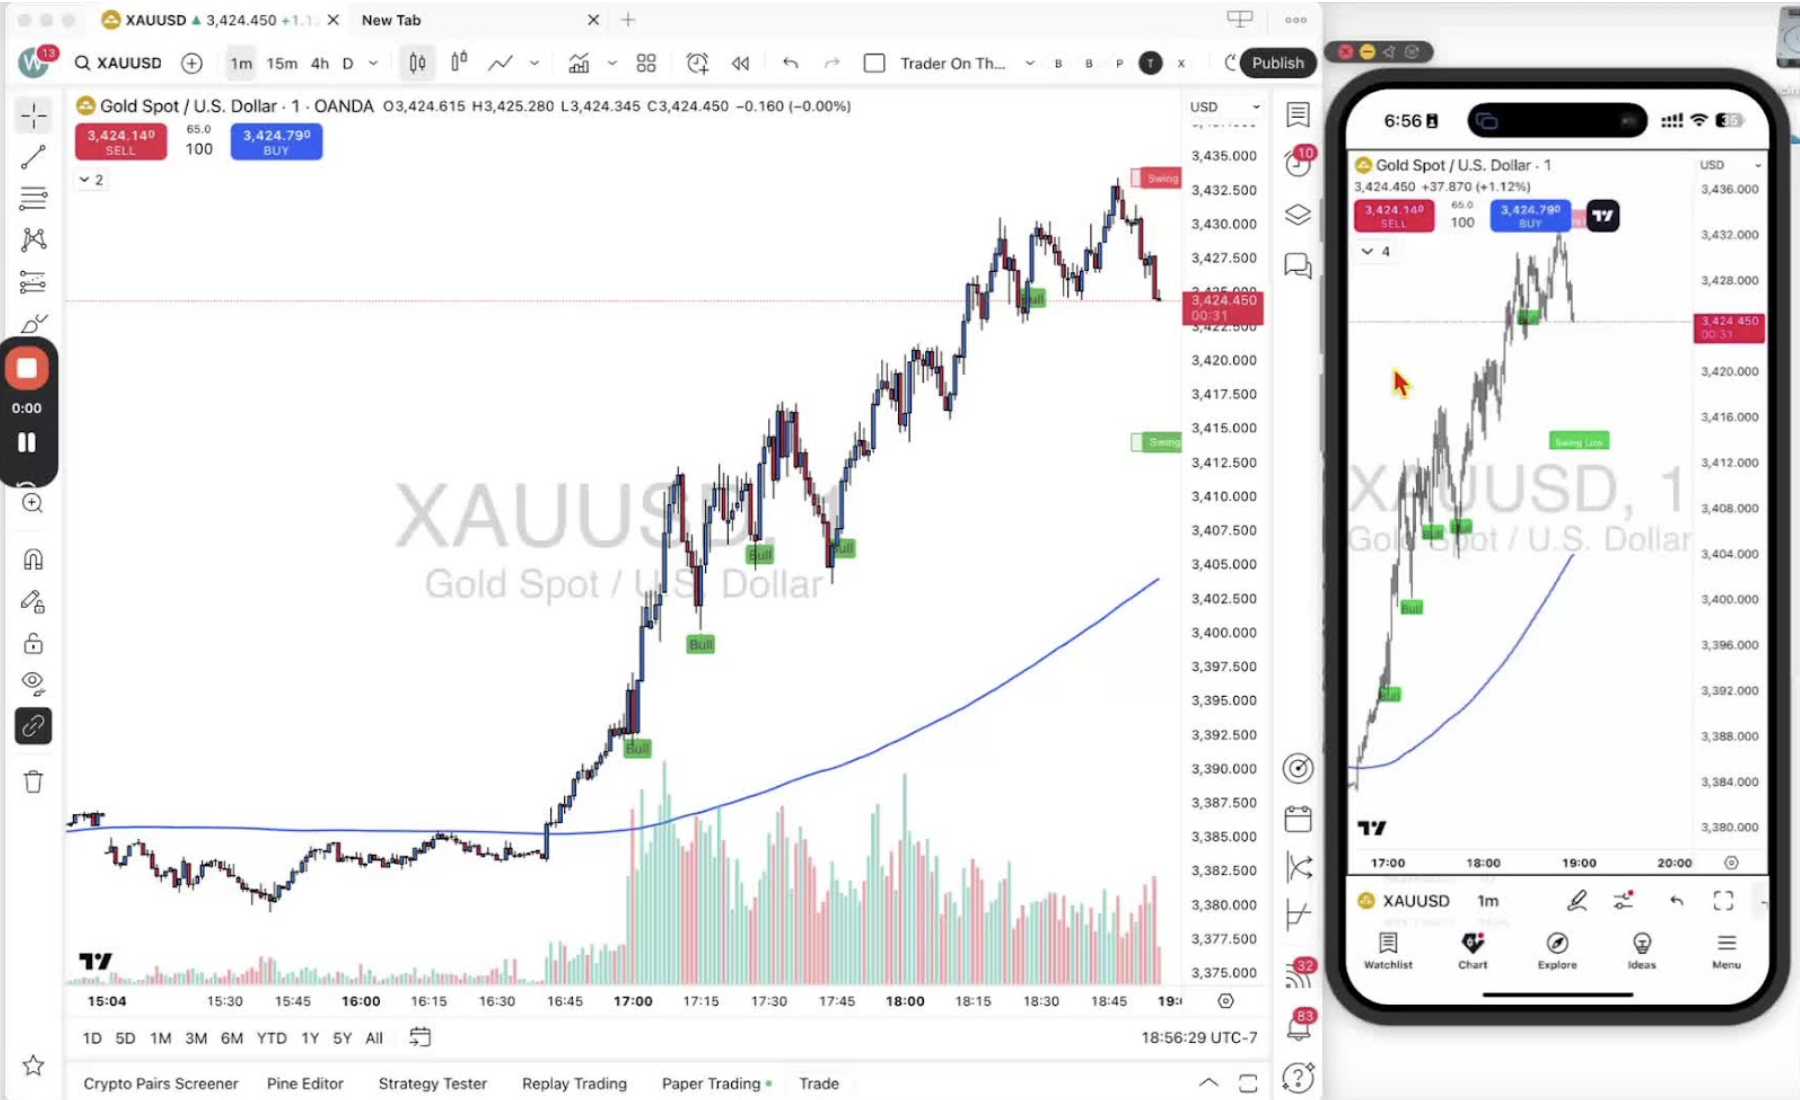
    Change time frames in TradingView on desktop and mobile, and favorite the ones you use. The Trader on the Go indicator runs on the 1-minute chart.

    Changing Time Frames on Desktop 0:15
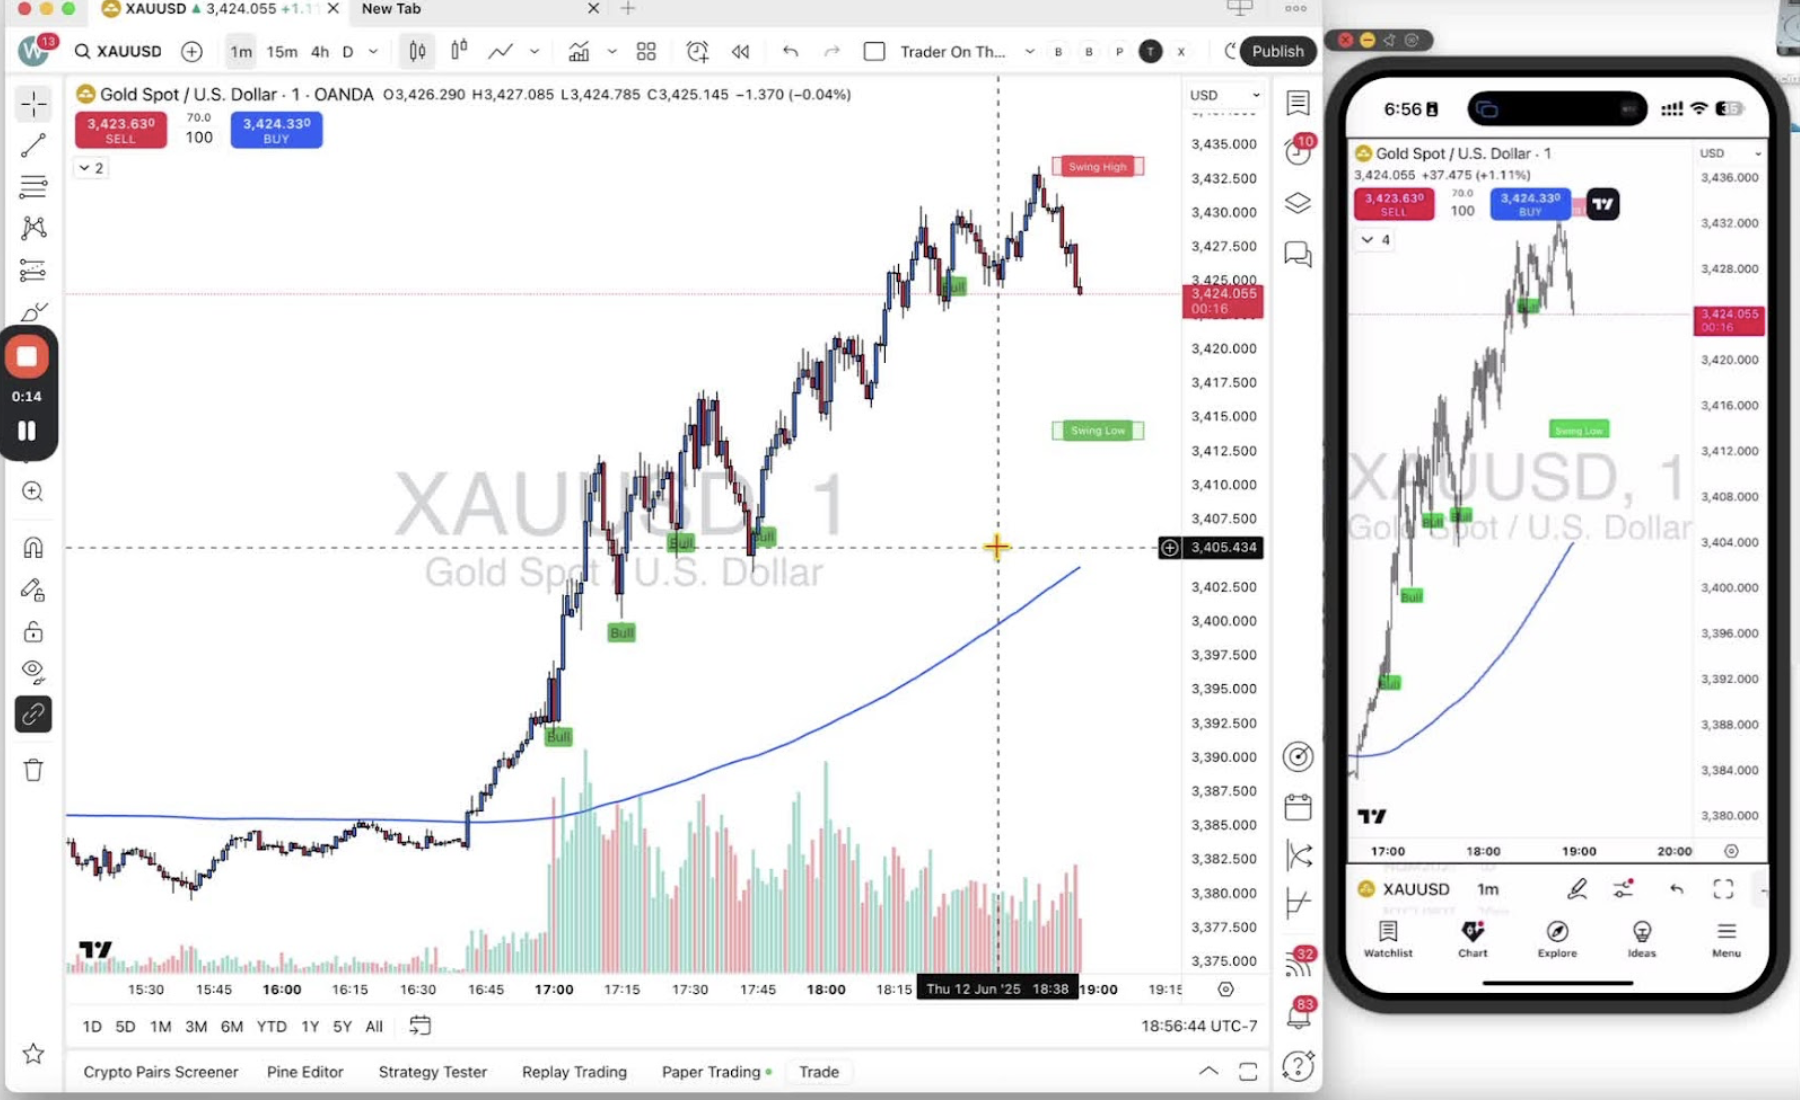
    • Click the drop-down arrow on the time frame bar.
    • Options: ticks, seconds, minutes, hours, days, weeks, months, years, ranges.
    • Click the star next to a time frame to favorite it.

    Navigating Time Frames on Desktop 1:08
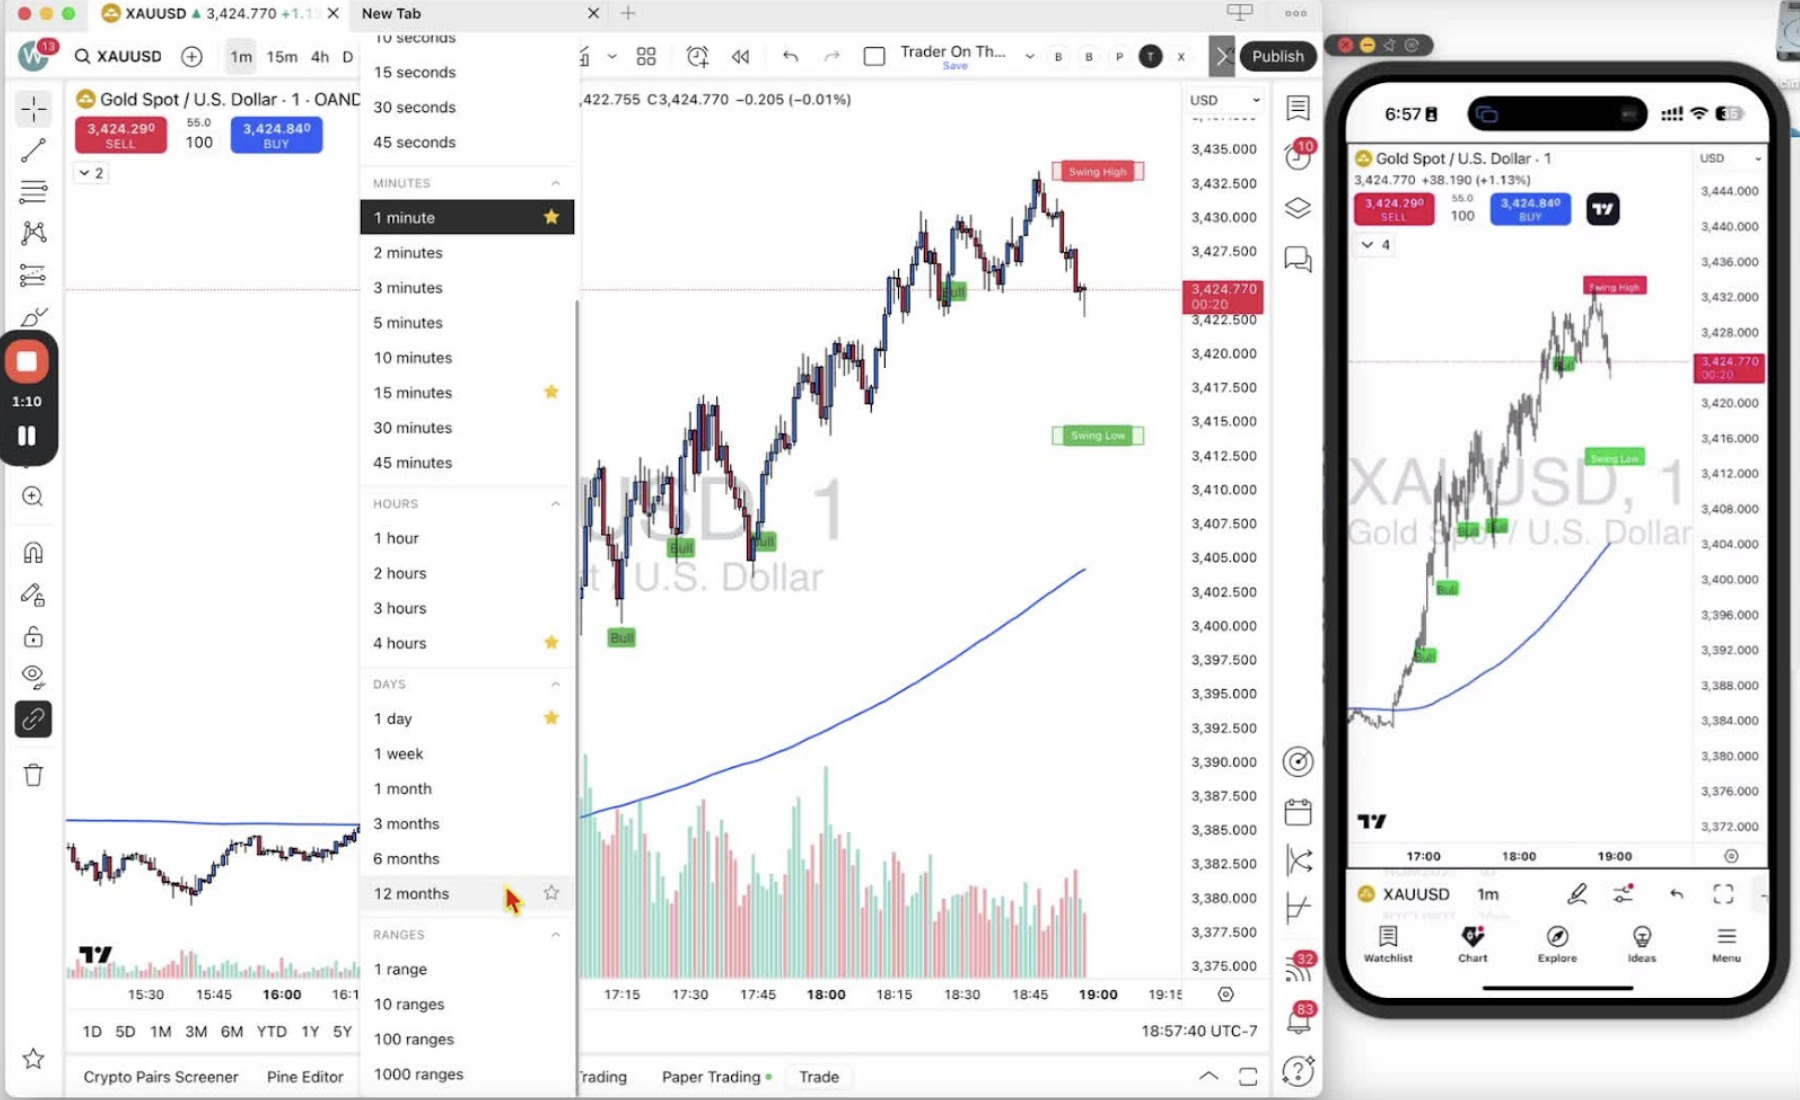
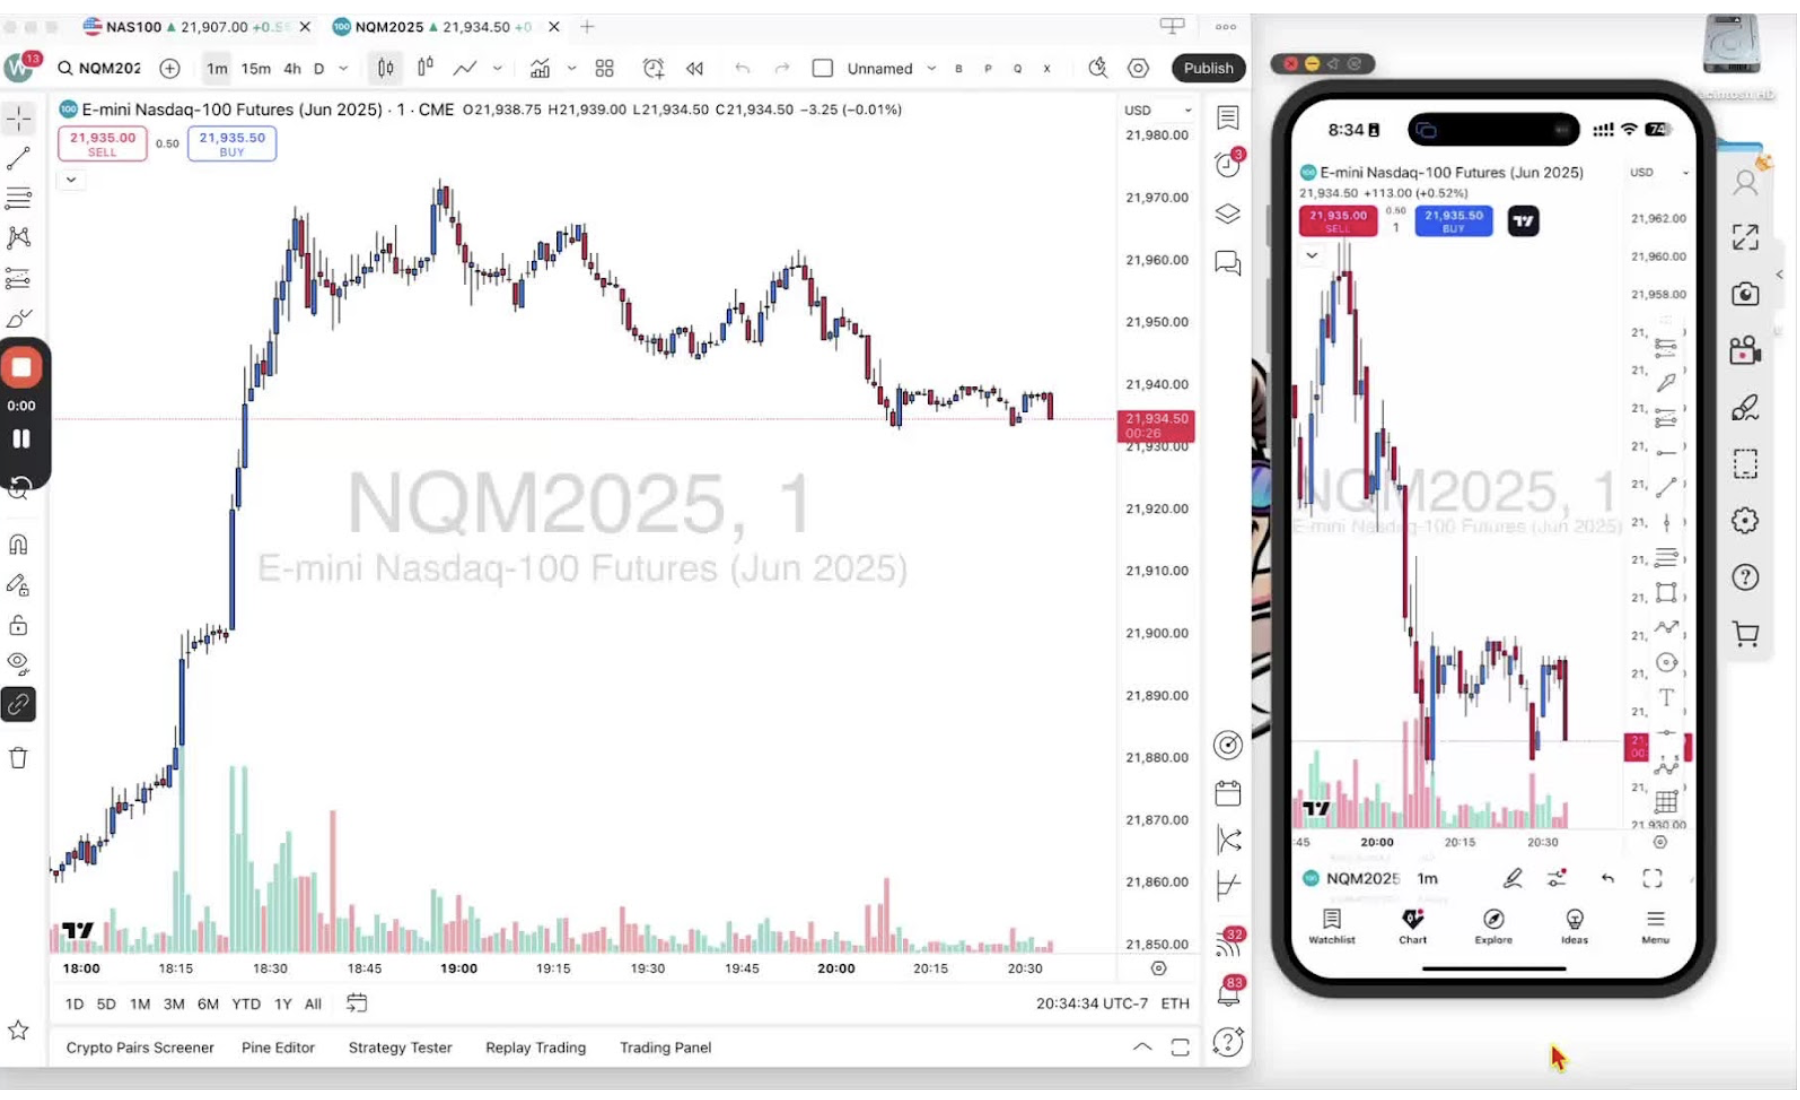
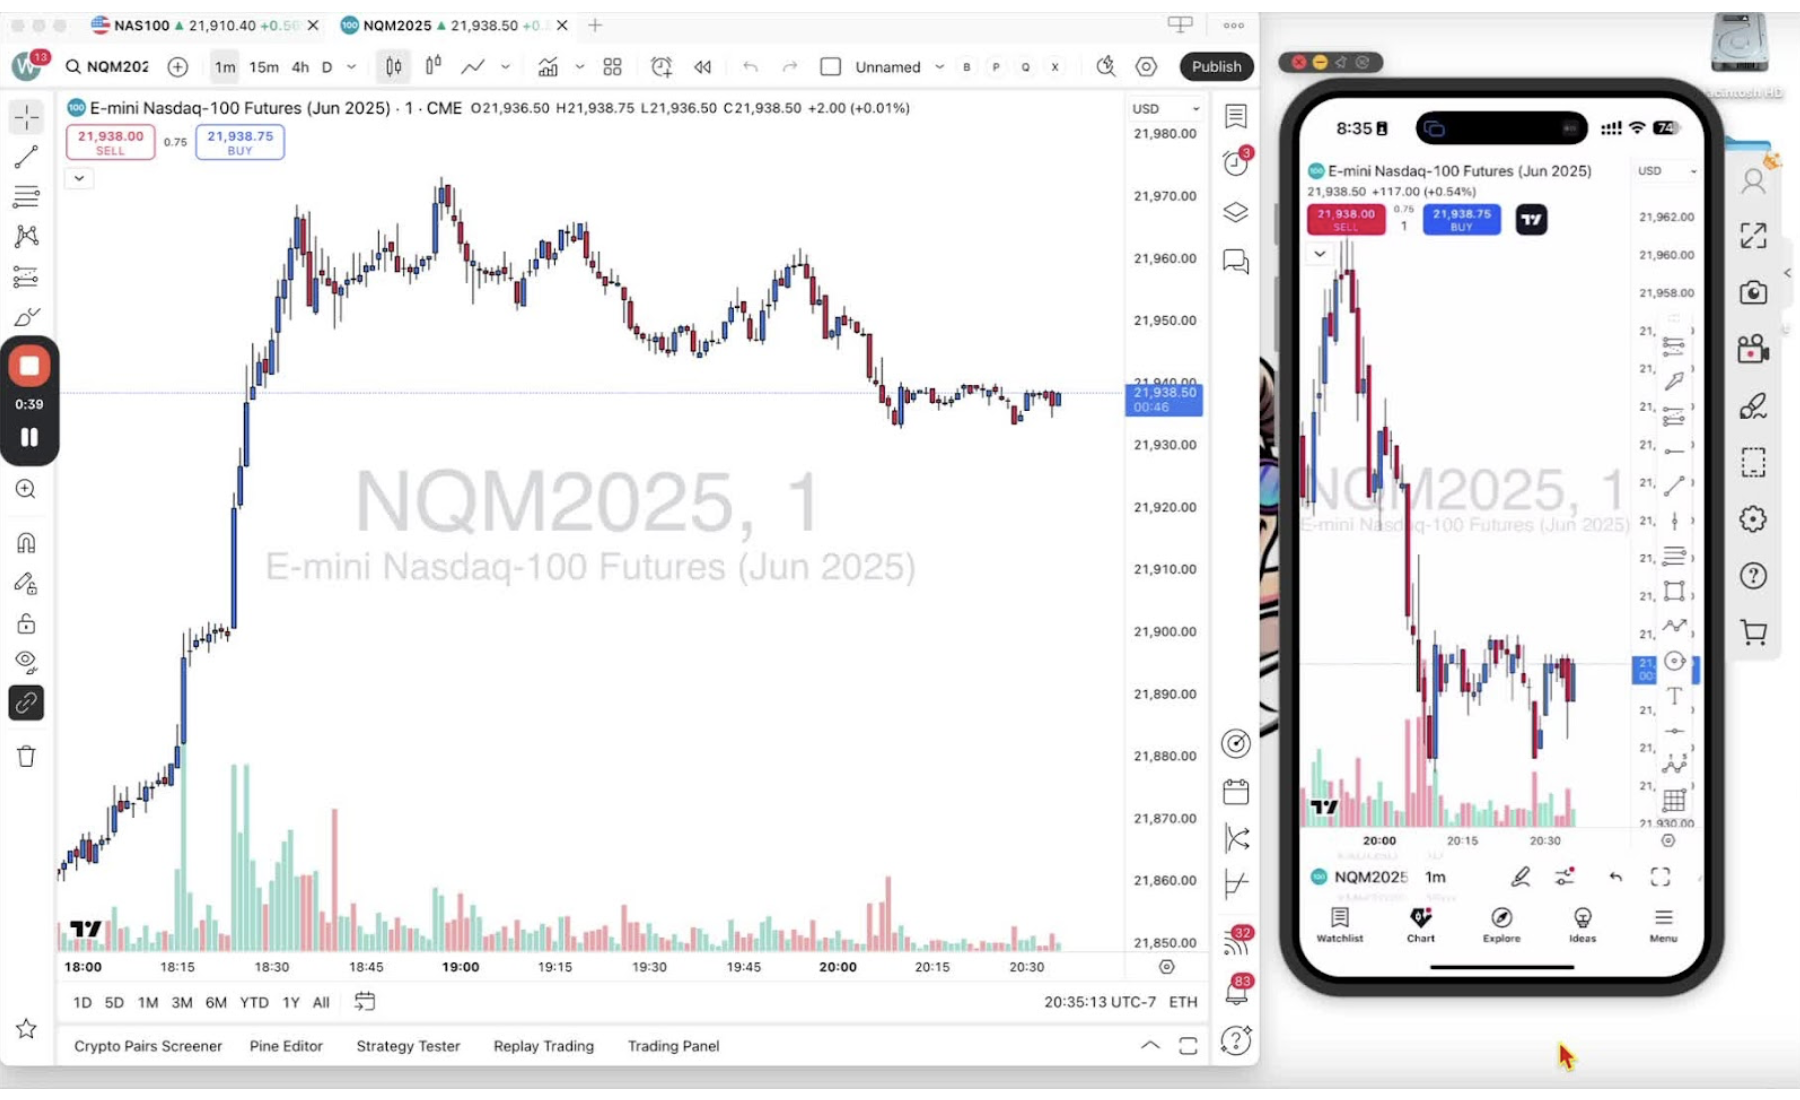
    • Favorited time frames sit on the bar. Click one to switch (for example 1 minute, 15 minutes, 4 hours, daily).

    Changing Time Frames on Mobile 1:25
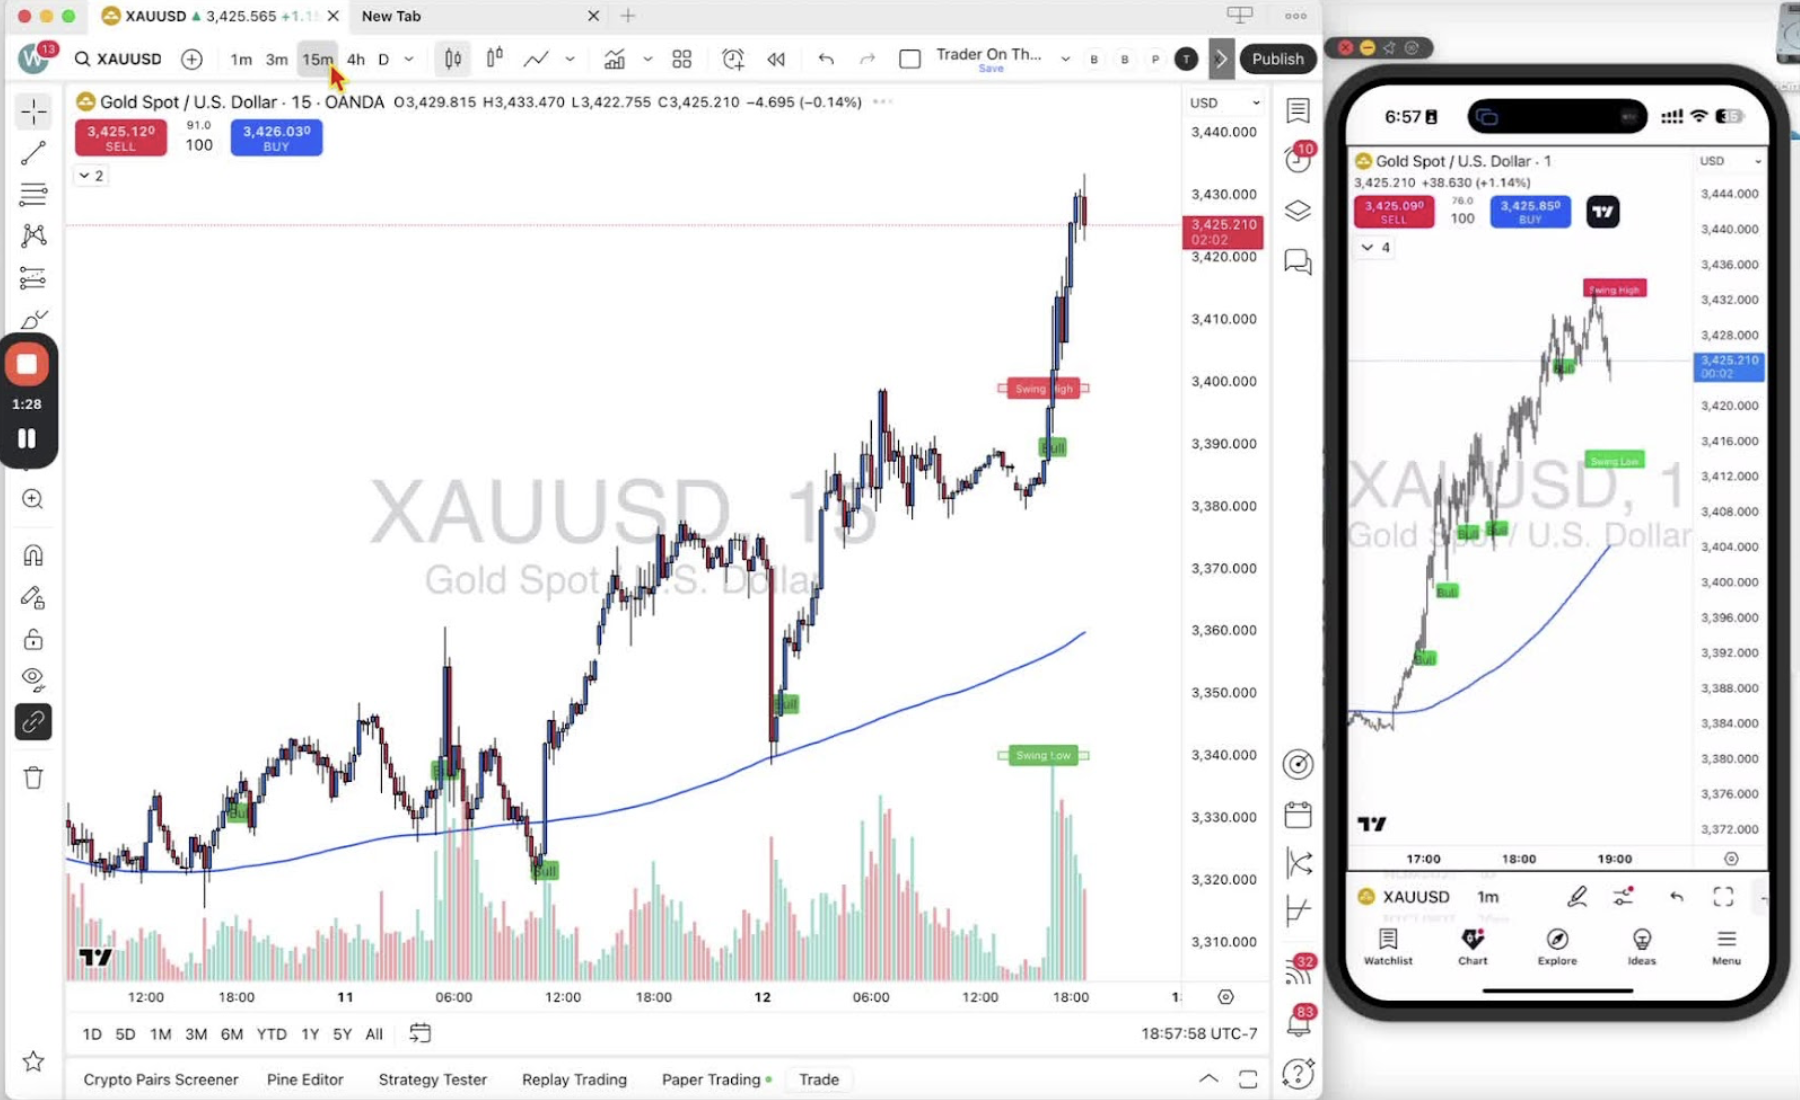
    • Scroll through the favorite time frames on the bar.

    Adding Favorites on Mobile 1:36
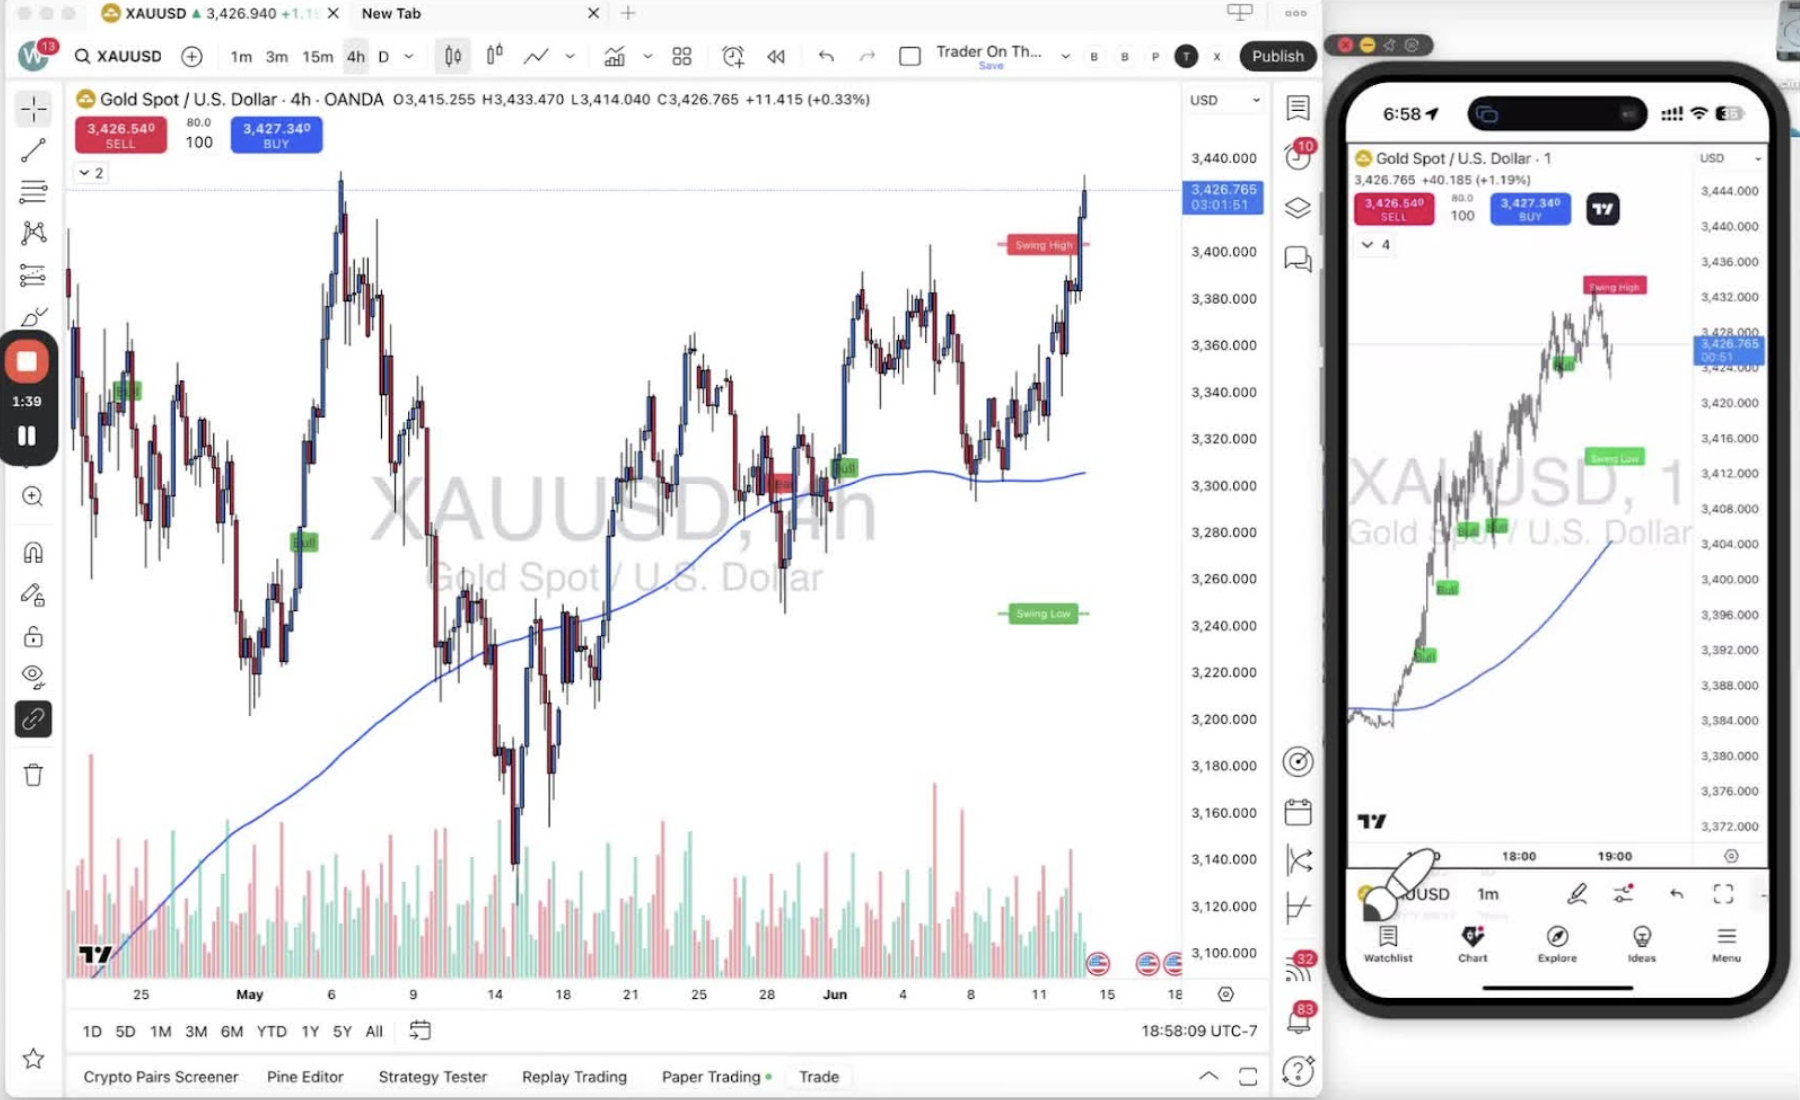
    • Tap and hold a time frame (for example 3 minutes).
    • Select ‘Add to favorites’. A star appears next to it.

    Finalizing Time Frame Selection on Mobile 2:14
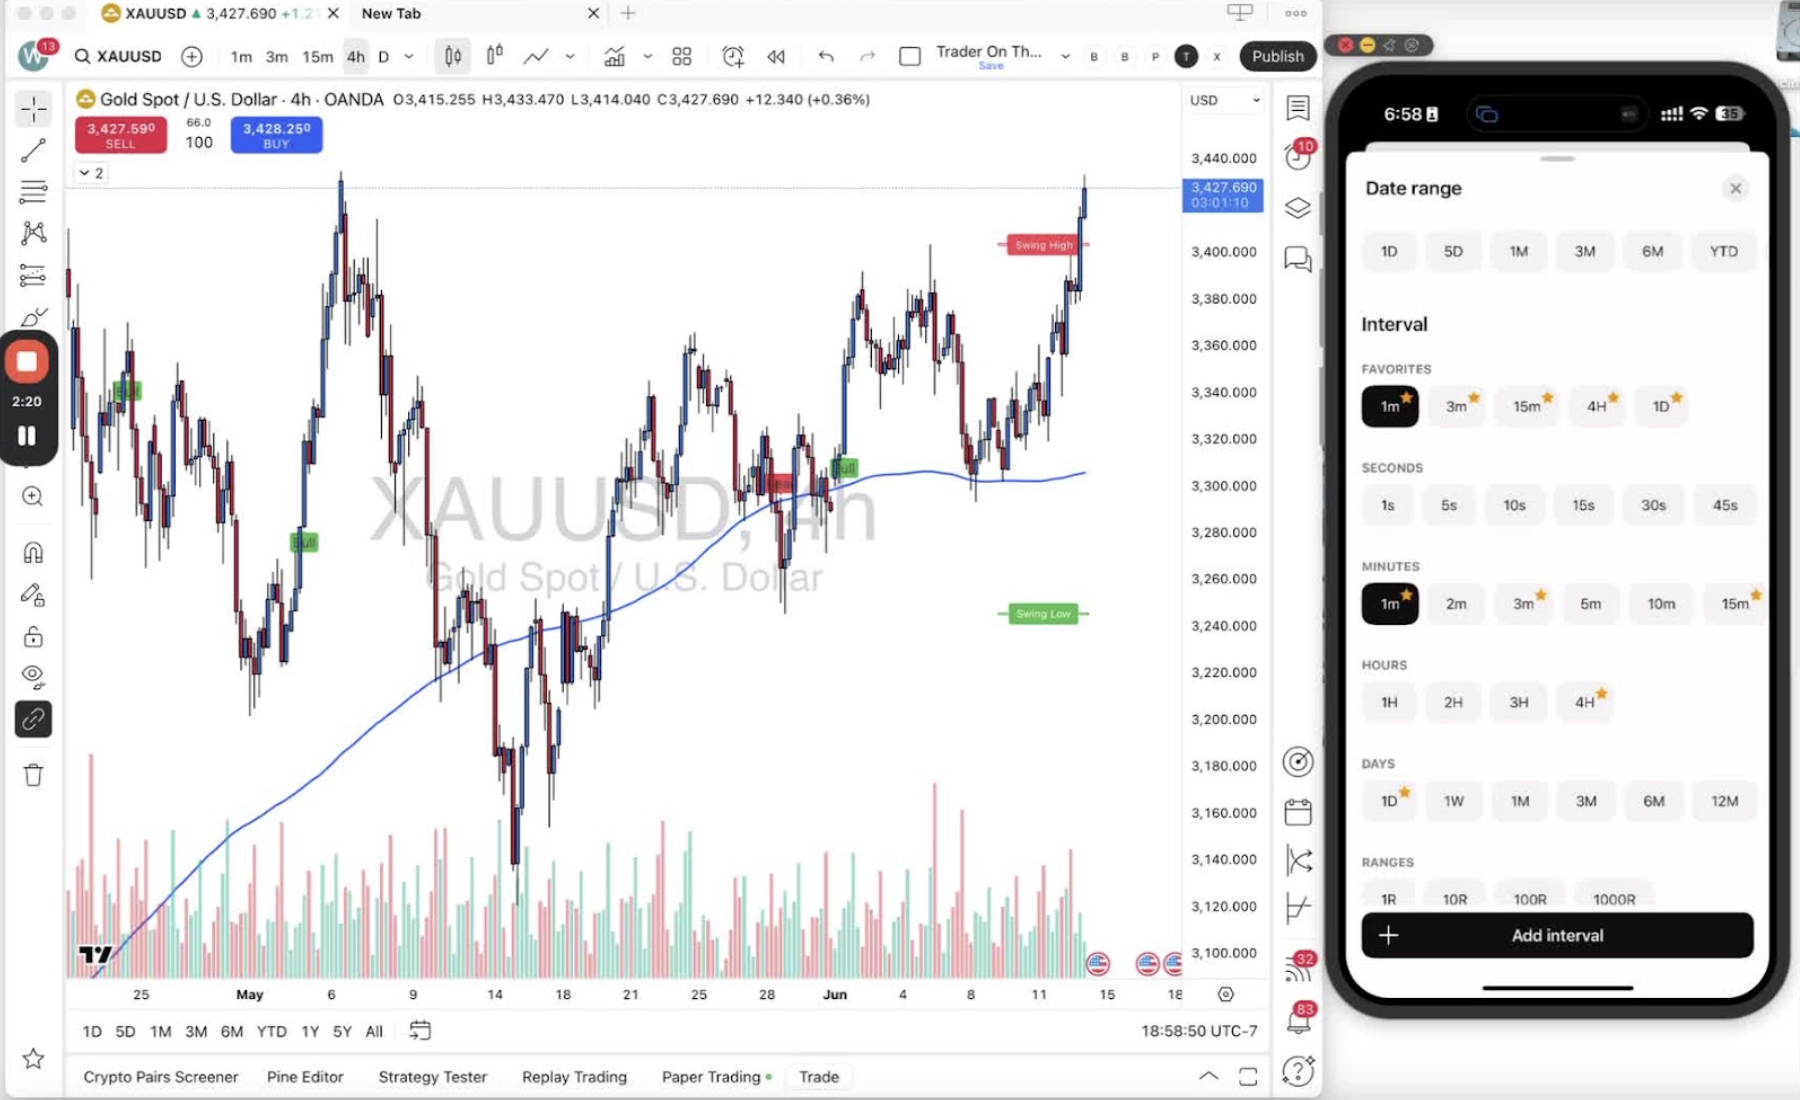
    • Tap a time frame to switch to it.
  • Step 8. How to Select Symbols for Trading on Desktop and Mobile

    Step 8. How to Select Symbols for Trading on Desktop and Mobile

    How to pick the symbol you trade on desktop and mobile. For NQ futures, use the most current contract (NQM 2025 at the time of recording).

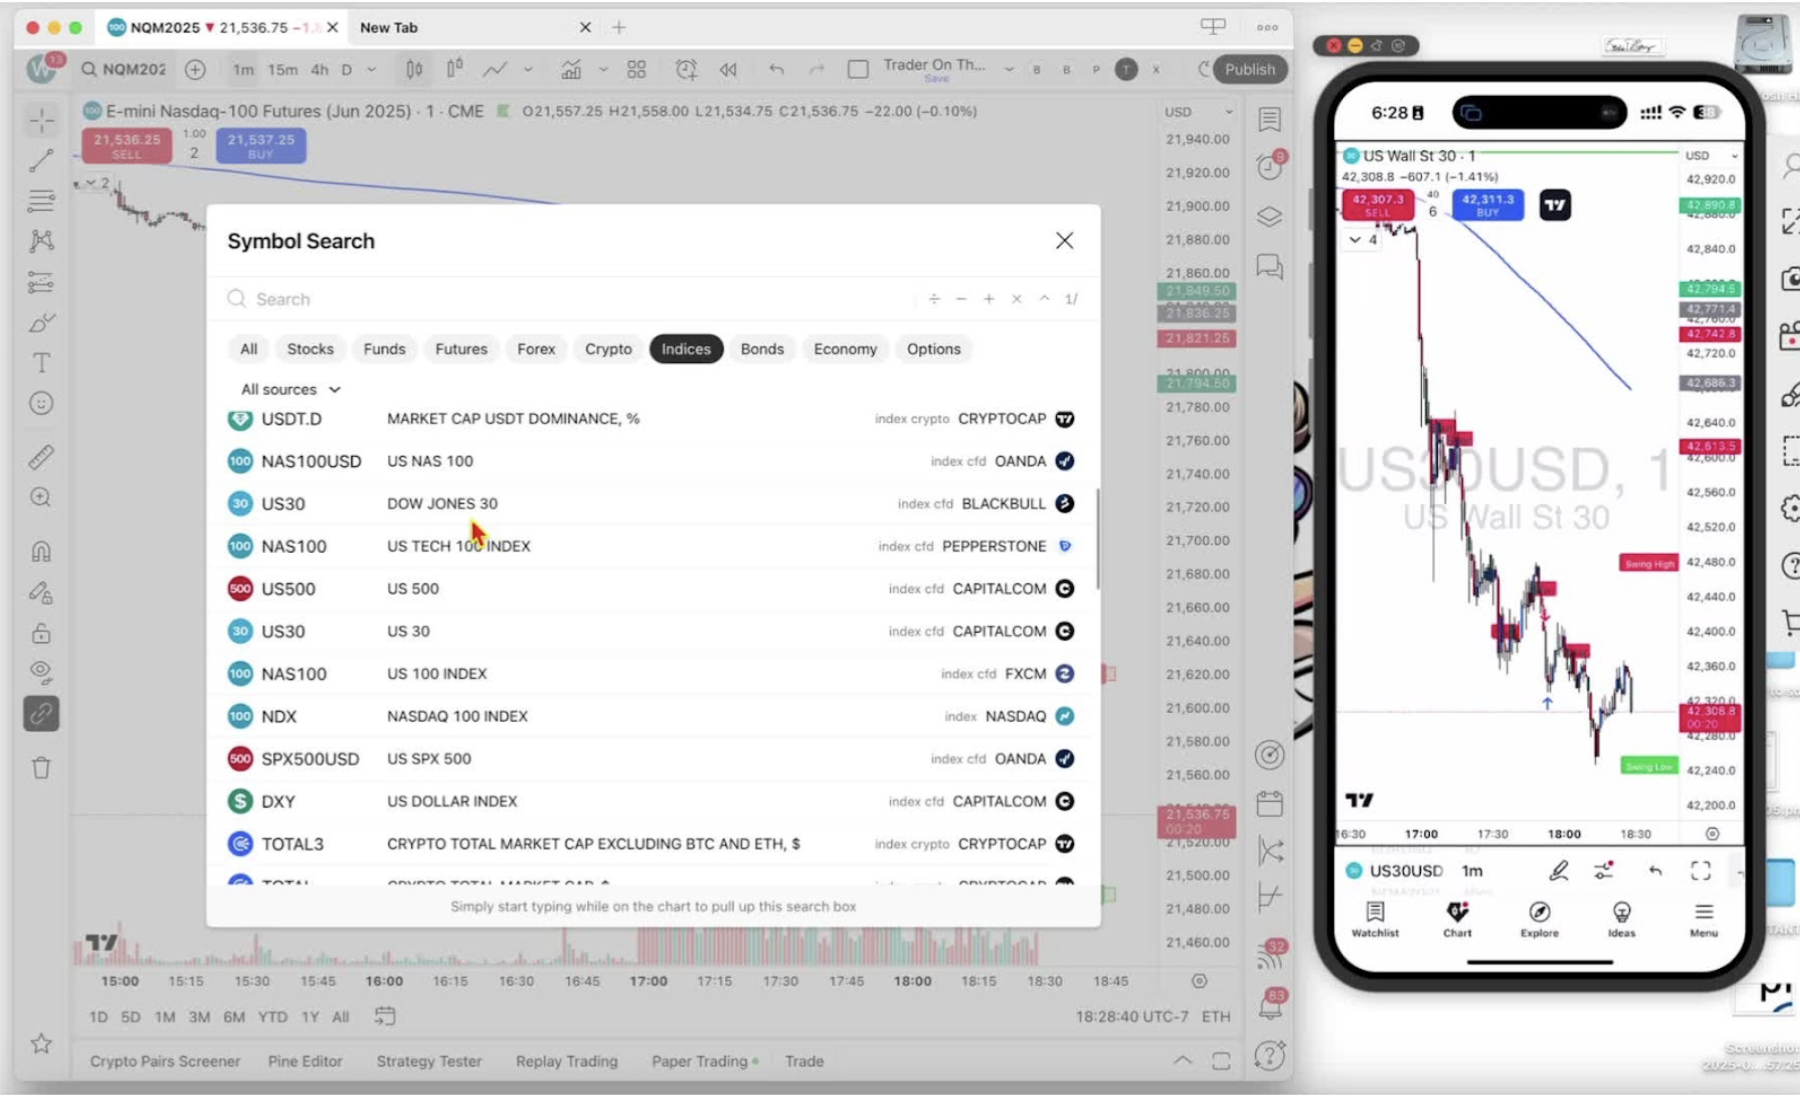
    Accessing Symbol Search on Desktop 0:16

    • Open the desktop app.
    • Click ‘symbol search’.

    Identifying Current Chart Symbol 0:26

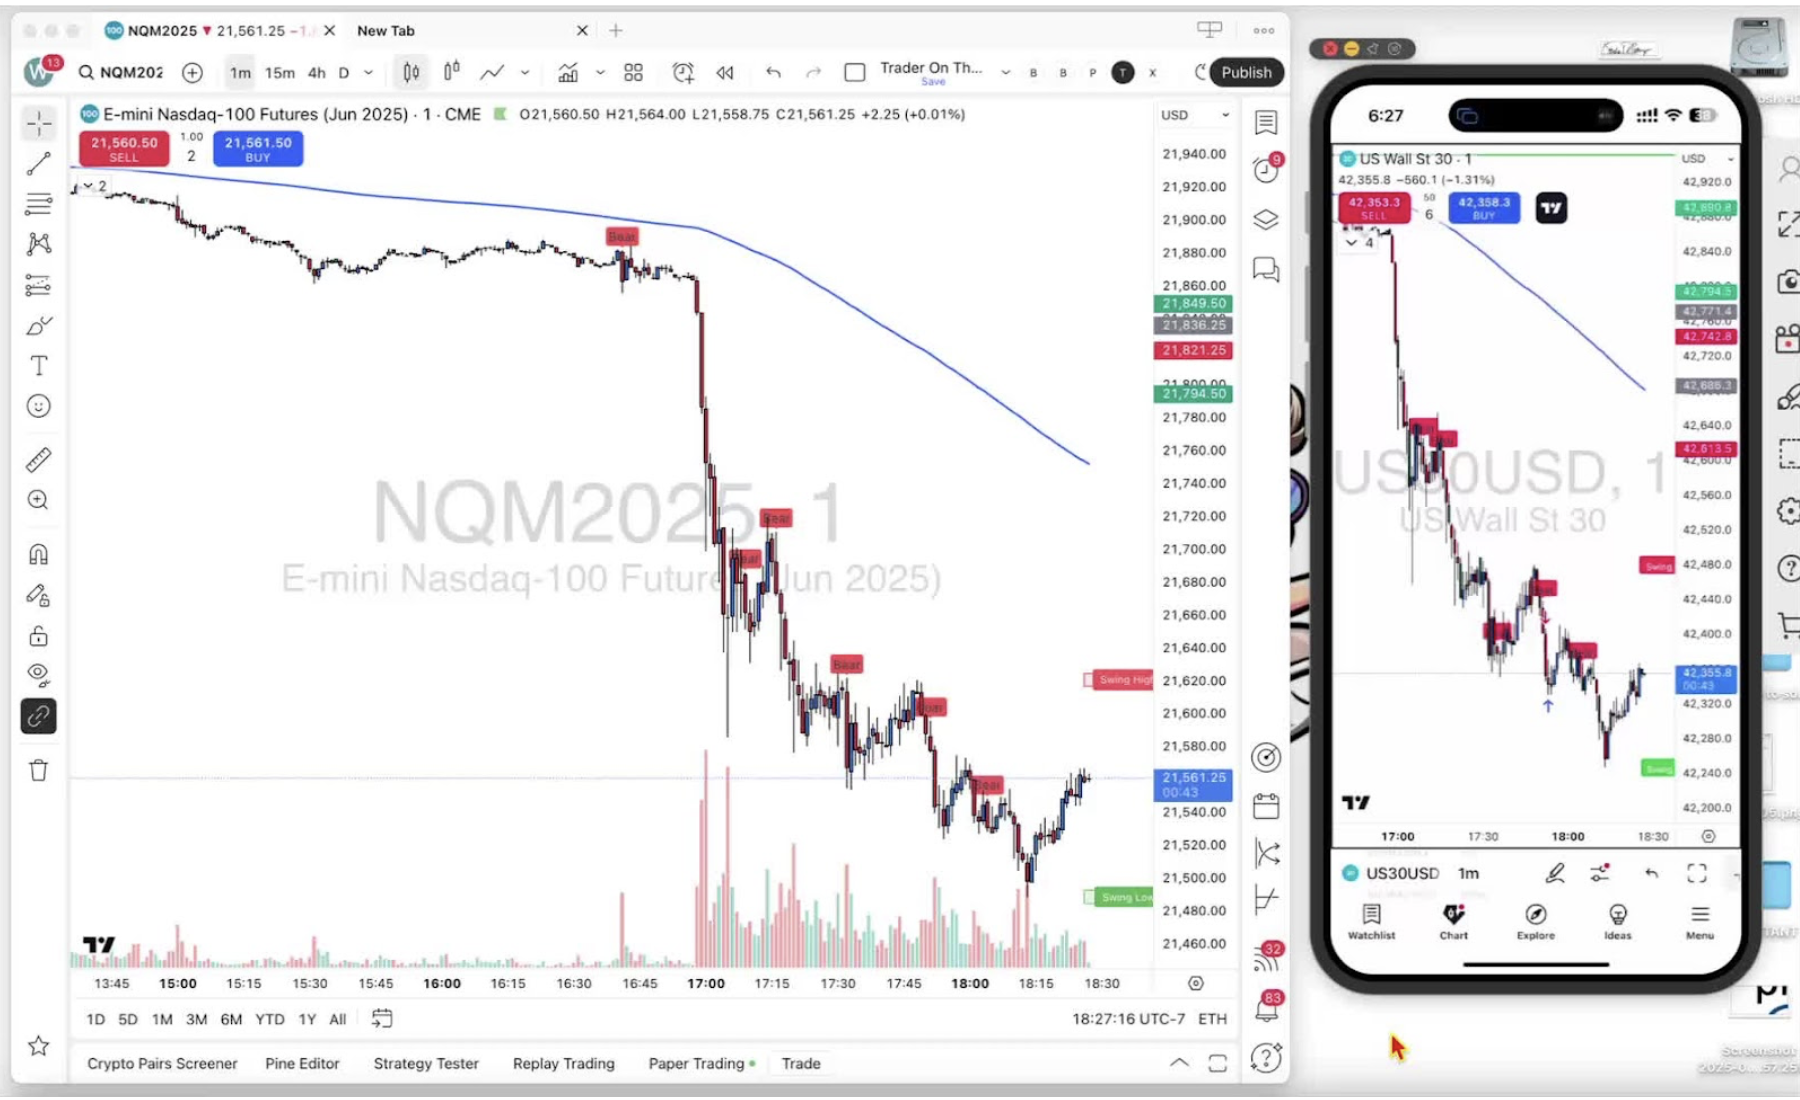
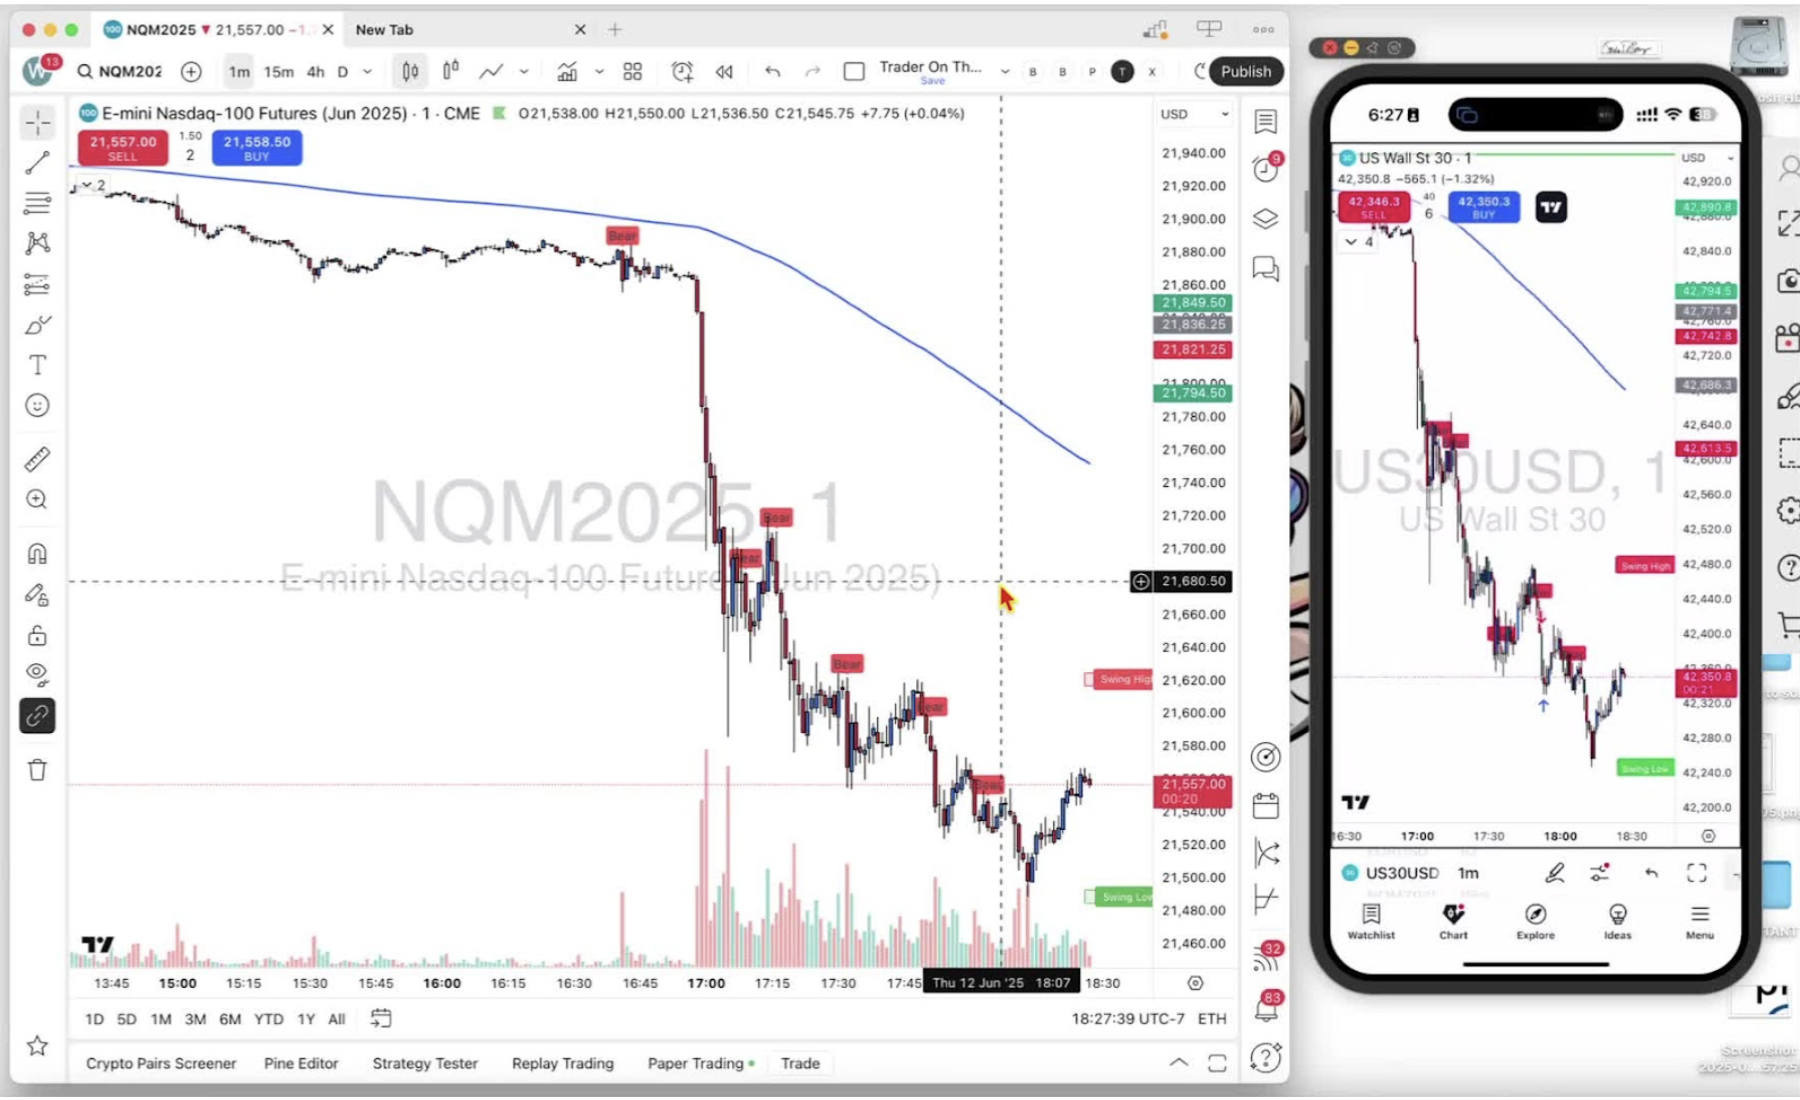
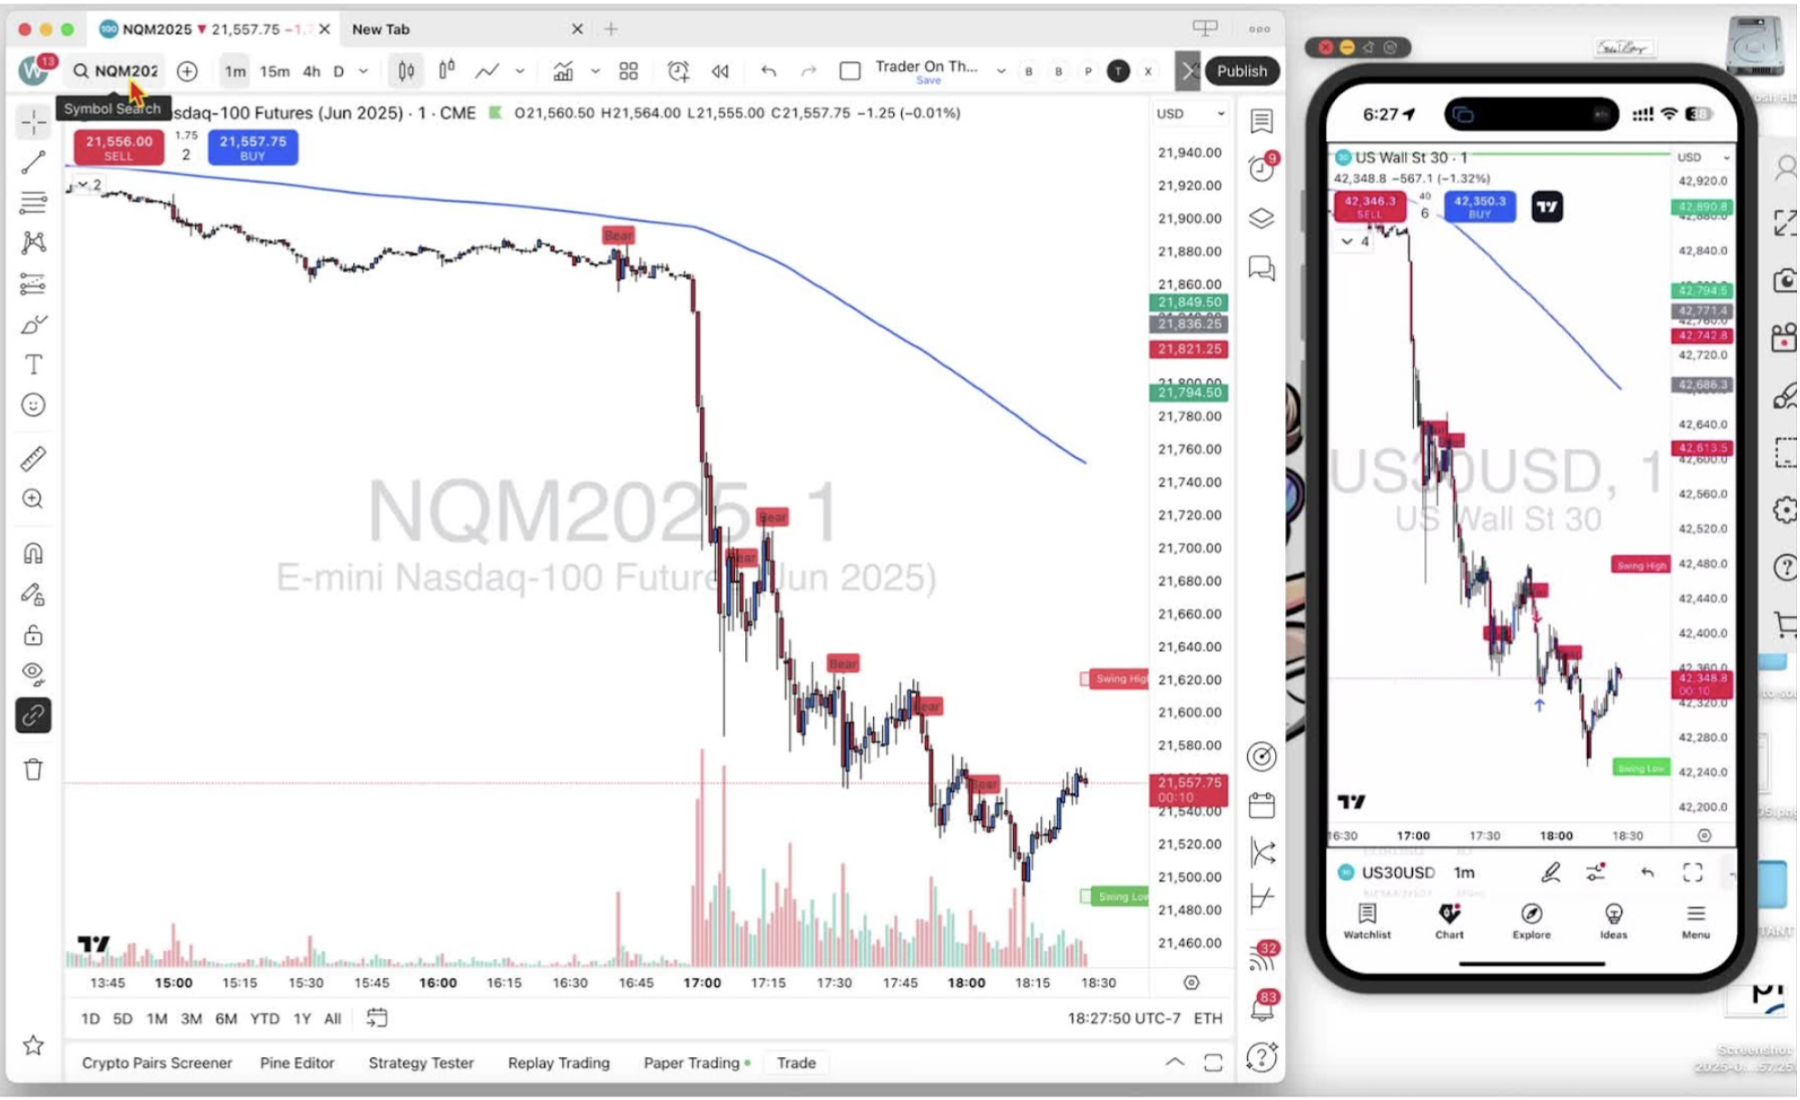
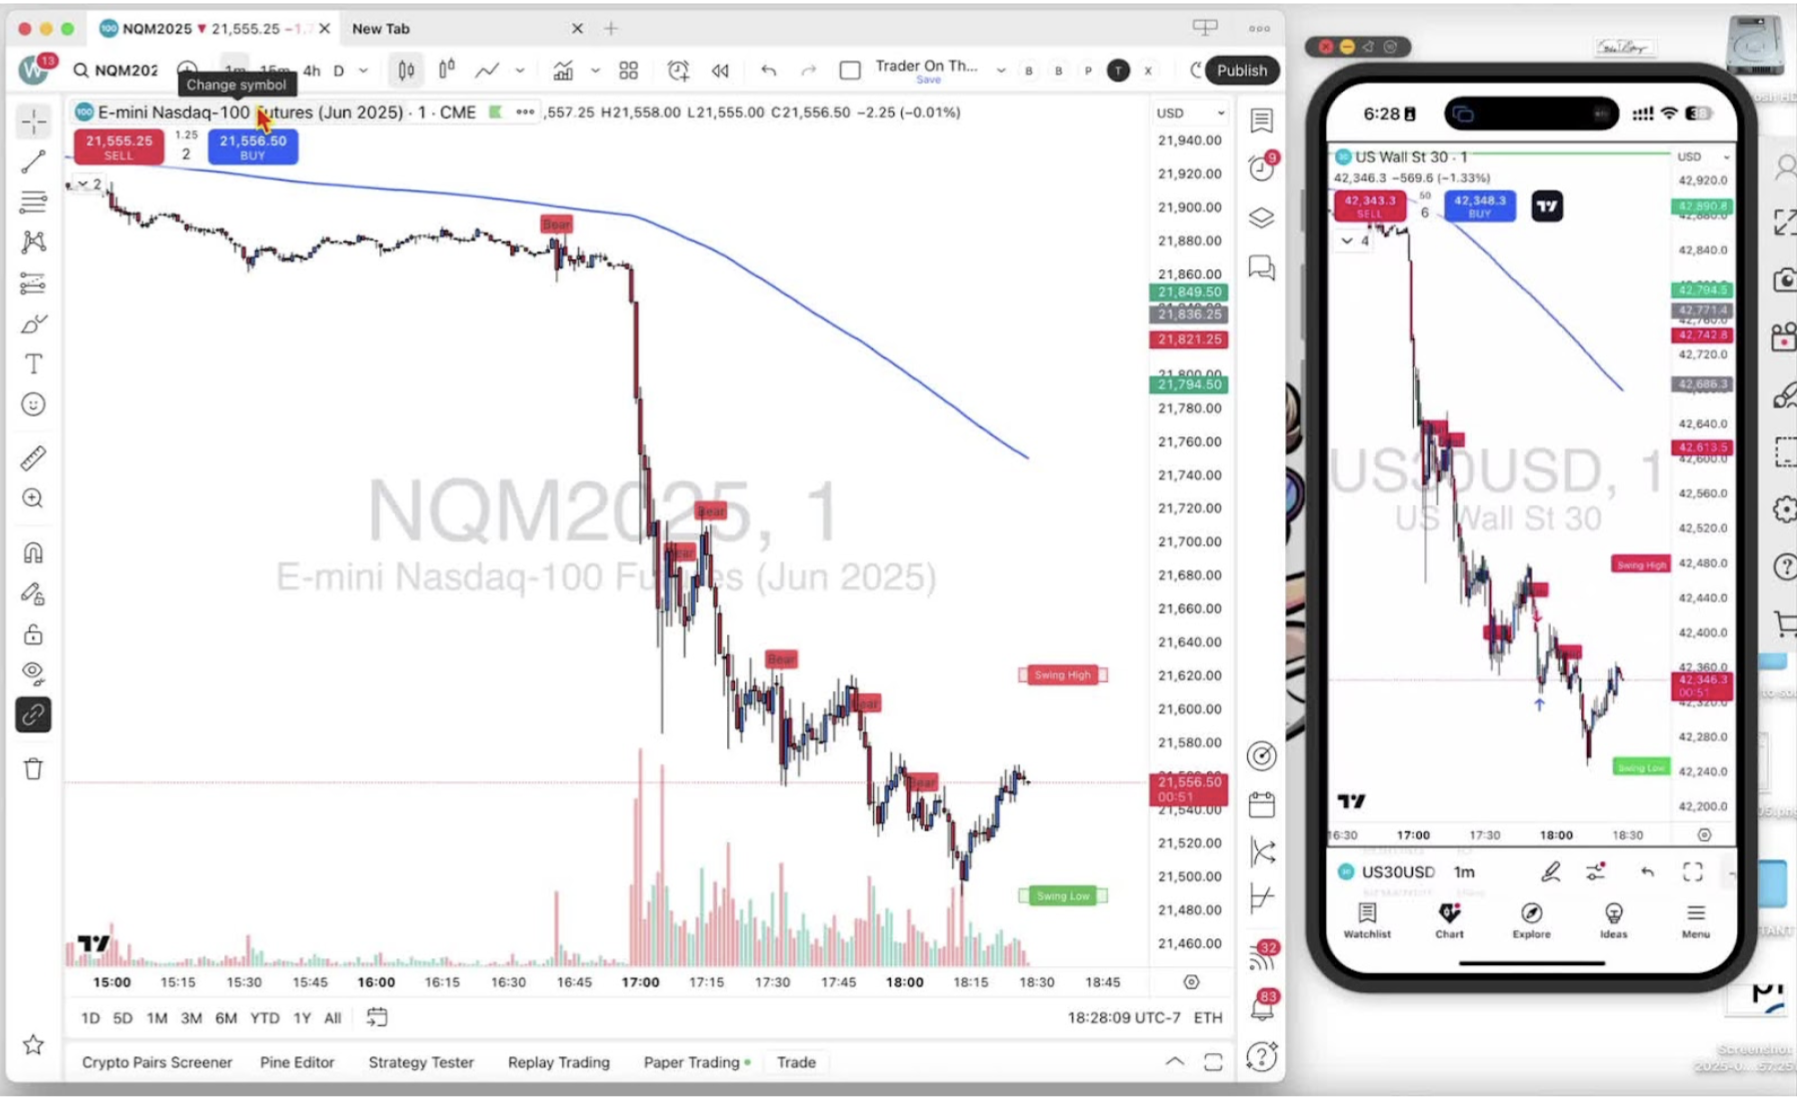
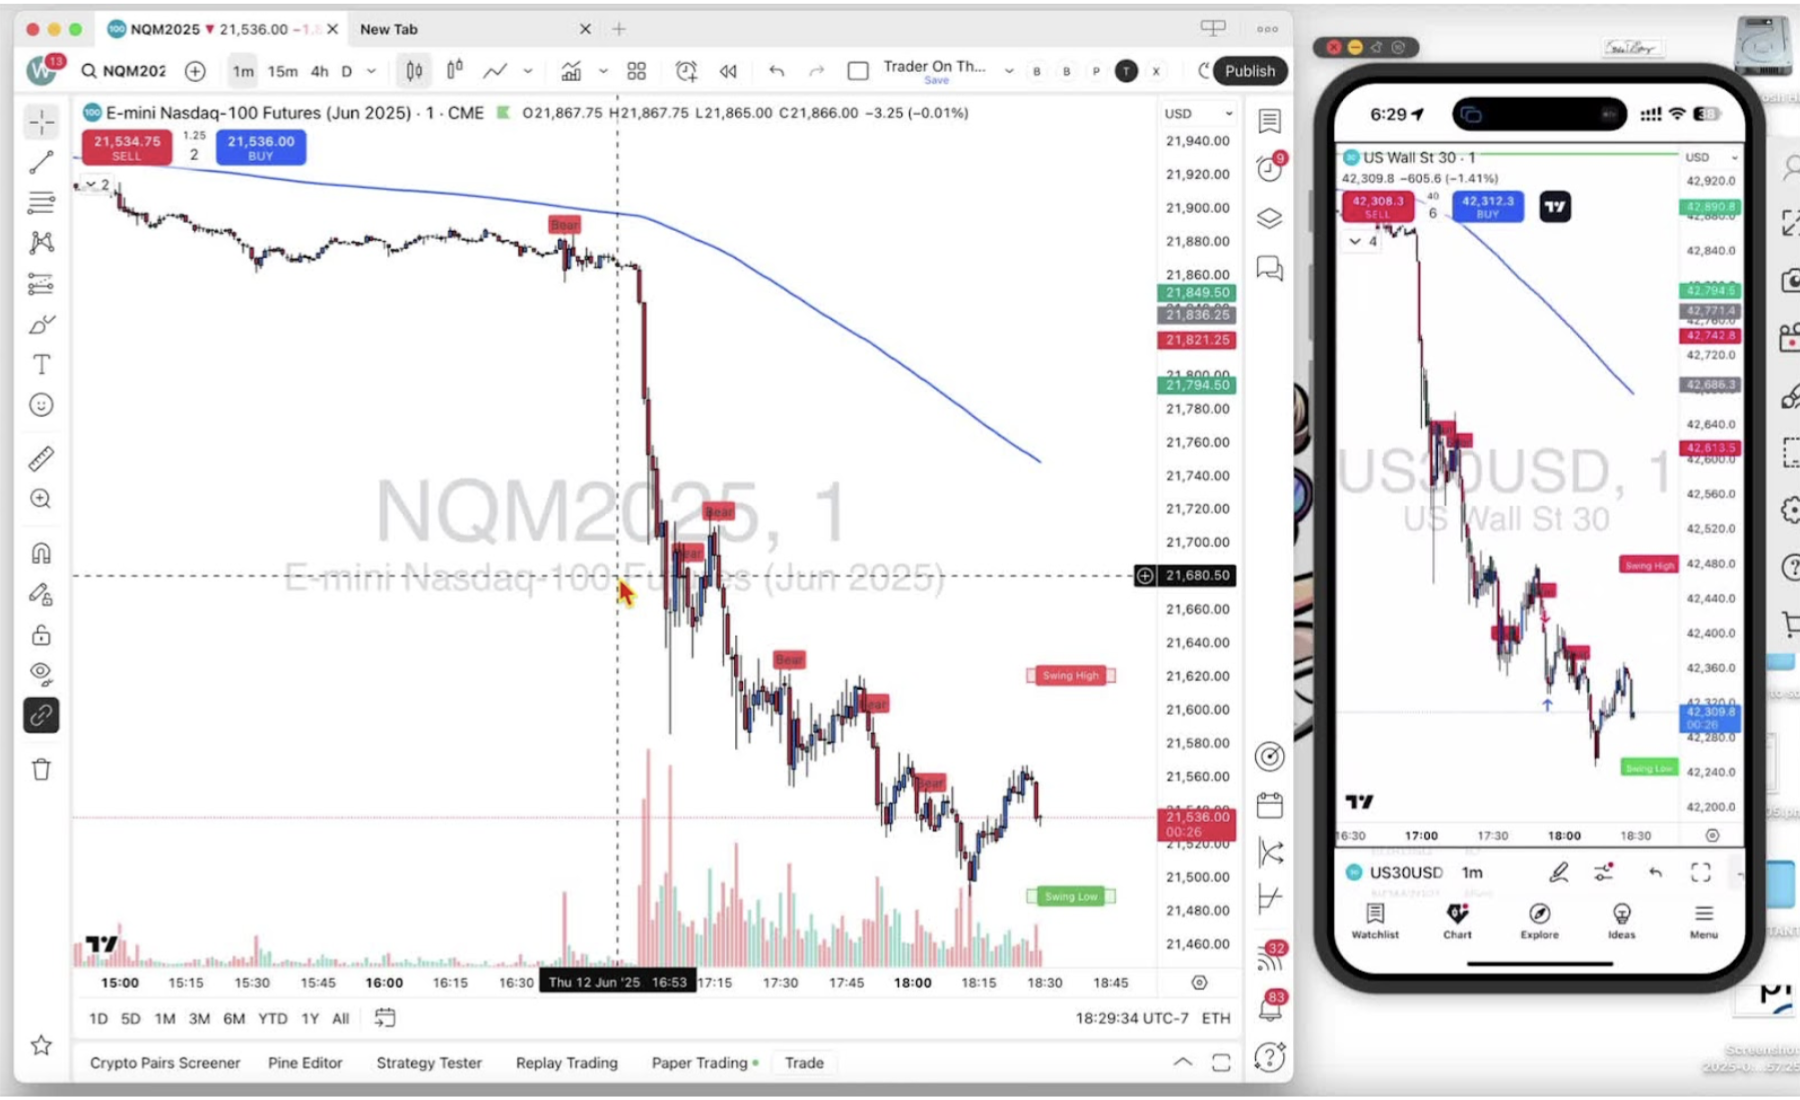
    • The current symbol is shown in the chart watermark and in the top left corner.

    Using the Symbol Search Bar 0:41

    • Delete the existing symbol in the search bar.
    • Filter by stocks, funds, futures, forex, or crypto.

    Searching for Specific Symbols 1:12

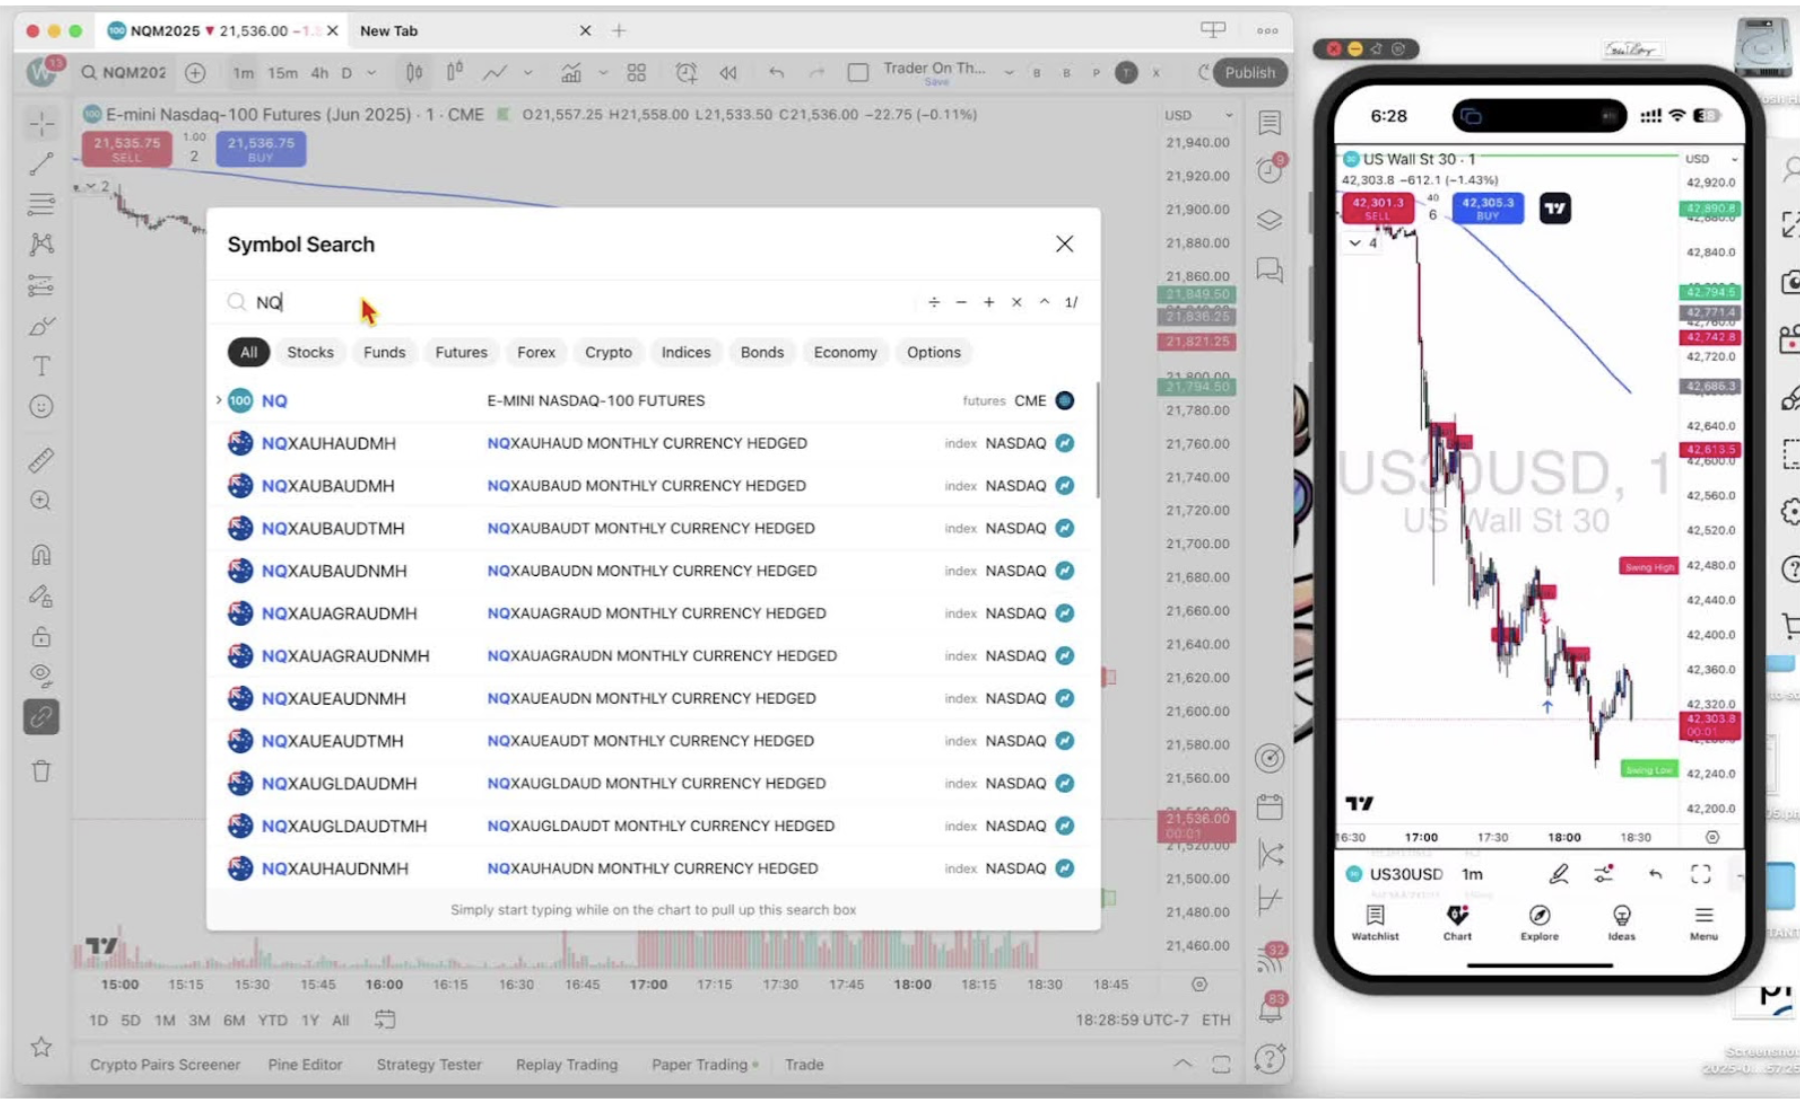
    • If you know the symbol, type it (for example ‘NQ’).
    • Review the contracts in the results.

    Selecting the Correct Futures Contract 1:30

    • Contracts are listed by expiry (NQM1, NQM2 and so on).
    • Pick the most current one (NQM 2025 at the time of recording).

    Viewing the Selected Symbol on the Chart 2:04

    • The chart switches to the selected symbol.

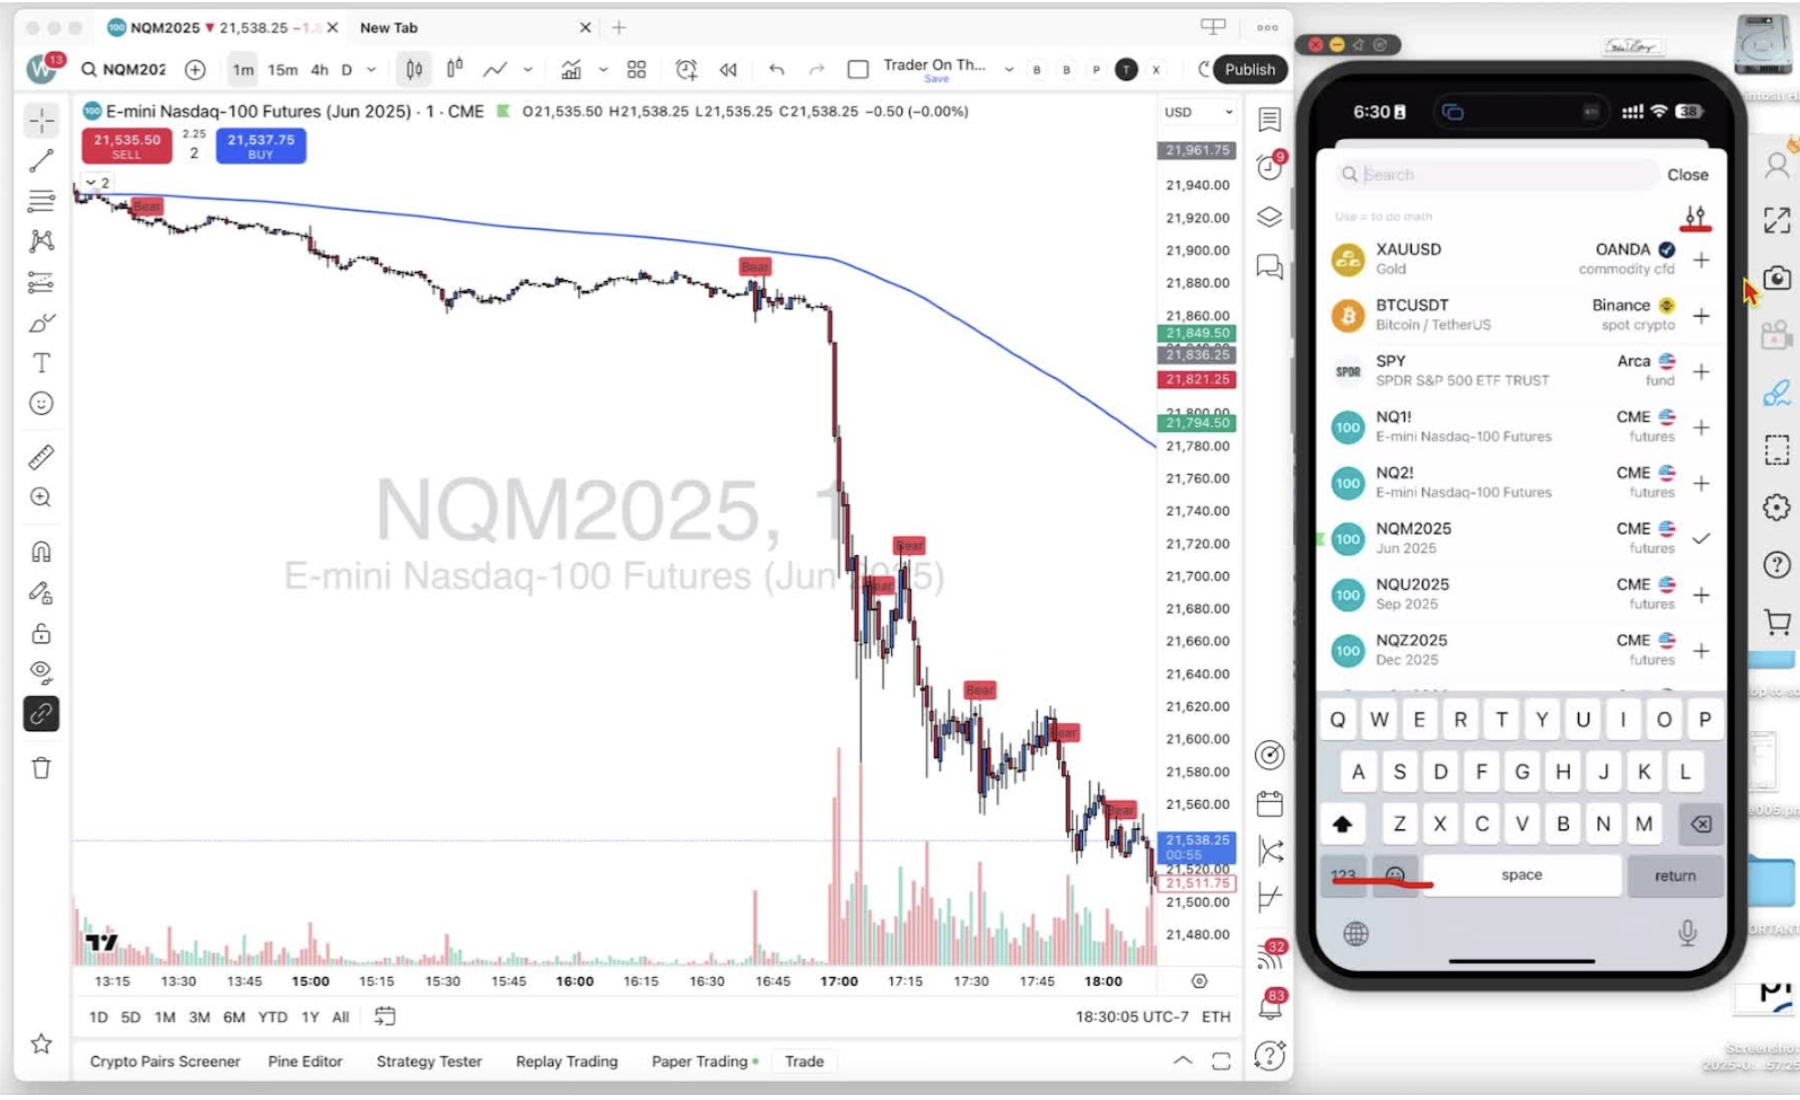
    Accessing Symbol Search on Mobile 2:32

    • Open the mobile app.
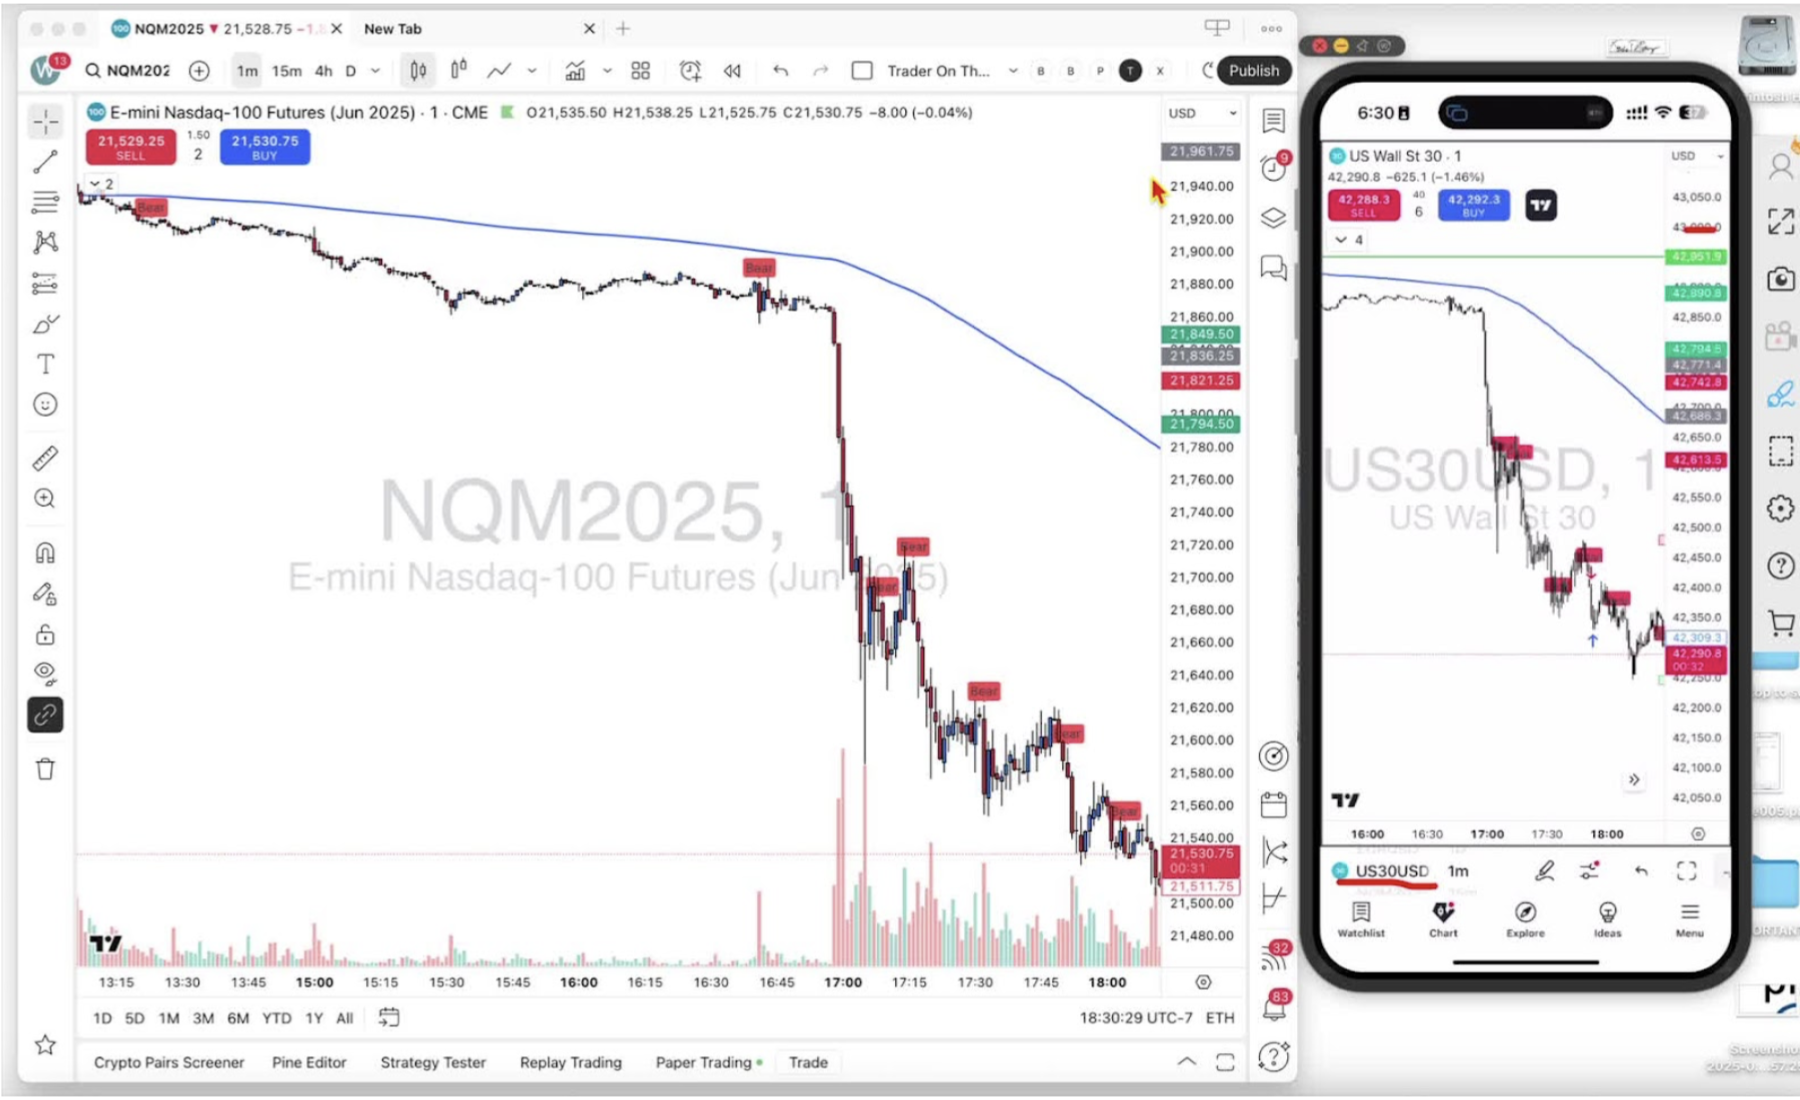
    • The current symbol is shown at the top (for example ‘US 30’).

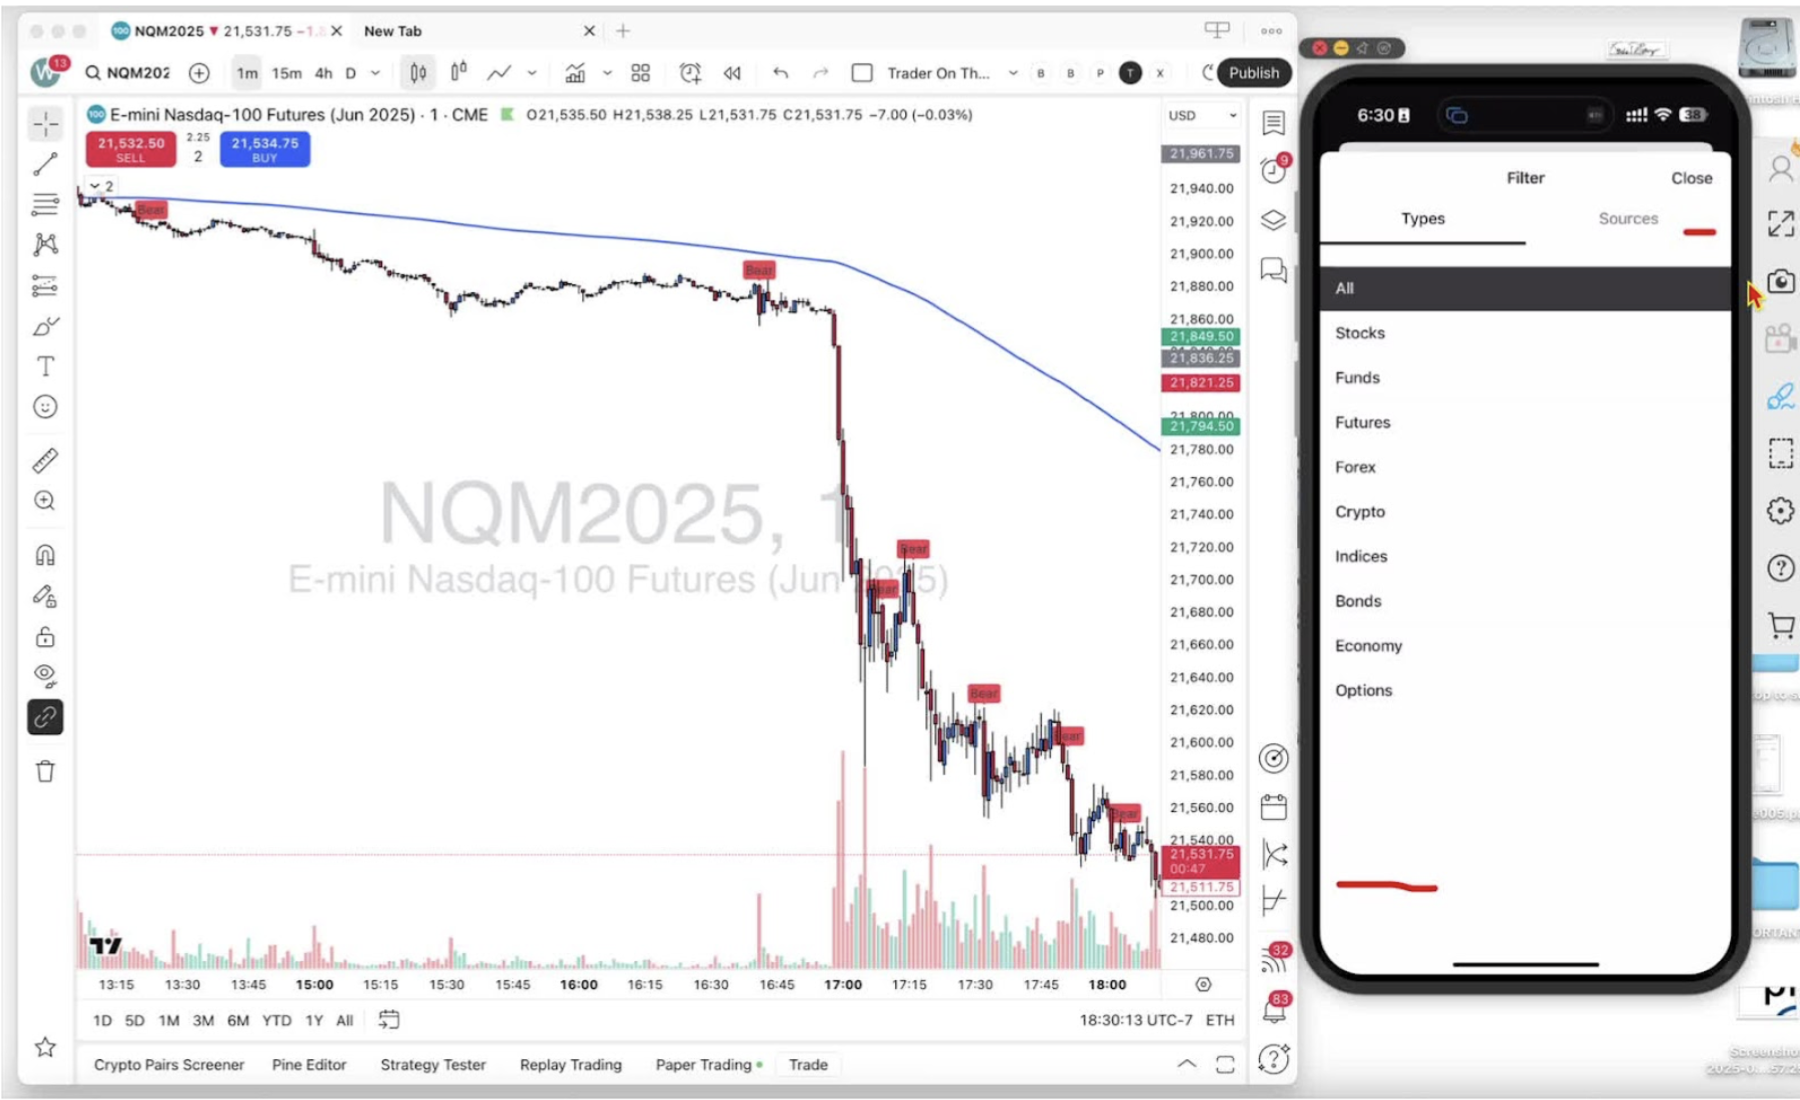
    Using Symbol Search on Mobile 2:40

    • Tap the two vertical bars with circles to open the filter list.

    Searching for Futures Contracts on Mobile 2:54

    • Type the symbol (for example ‘NQ’).
    • Select the current futures contract (for example NQM 2025).
  • Step 7. Setting Up a Paper Trading Account on TradingView

    Step 7. Setting Up a Paper Trading Account on TradingView

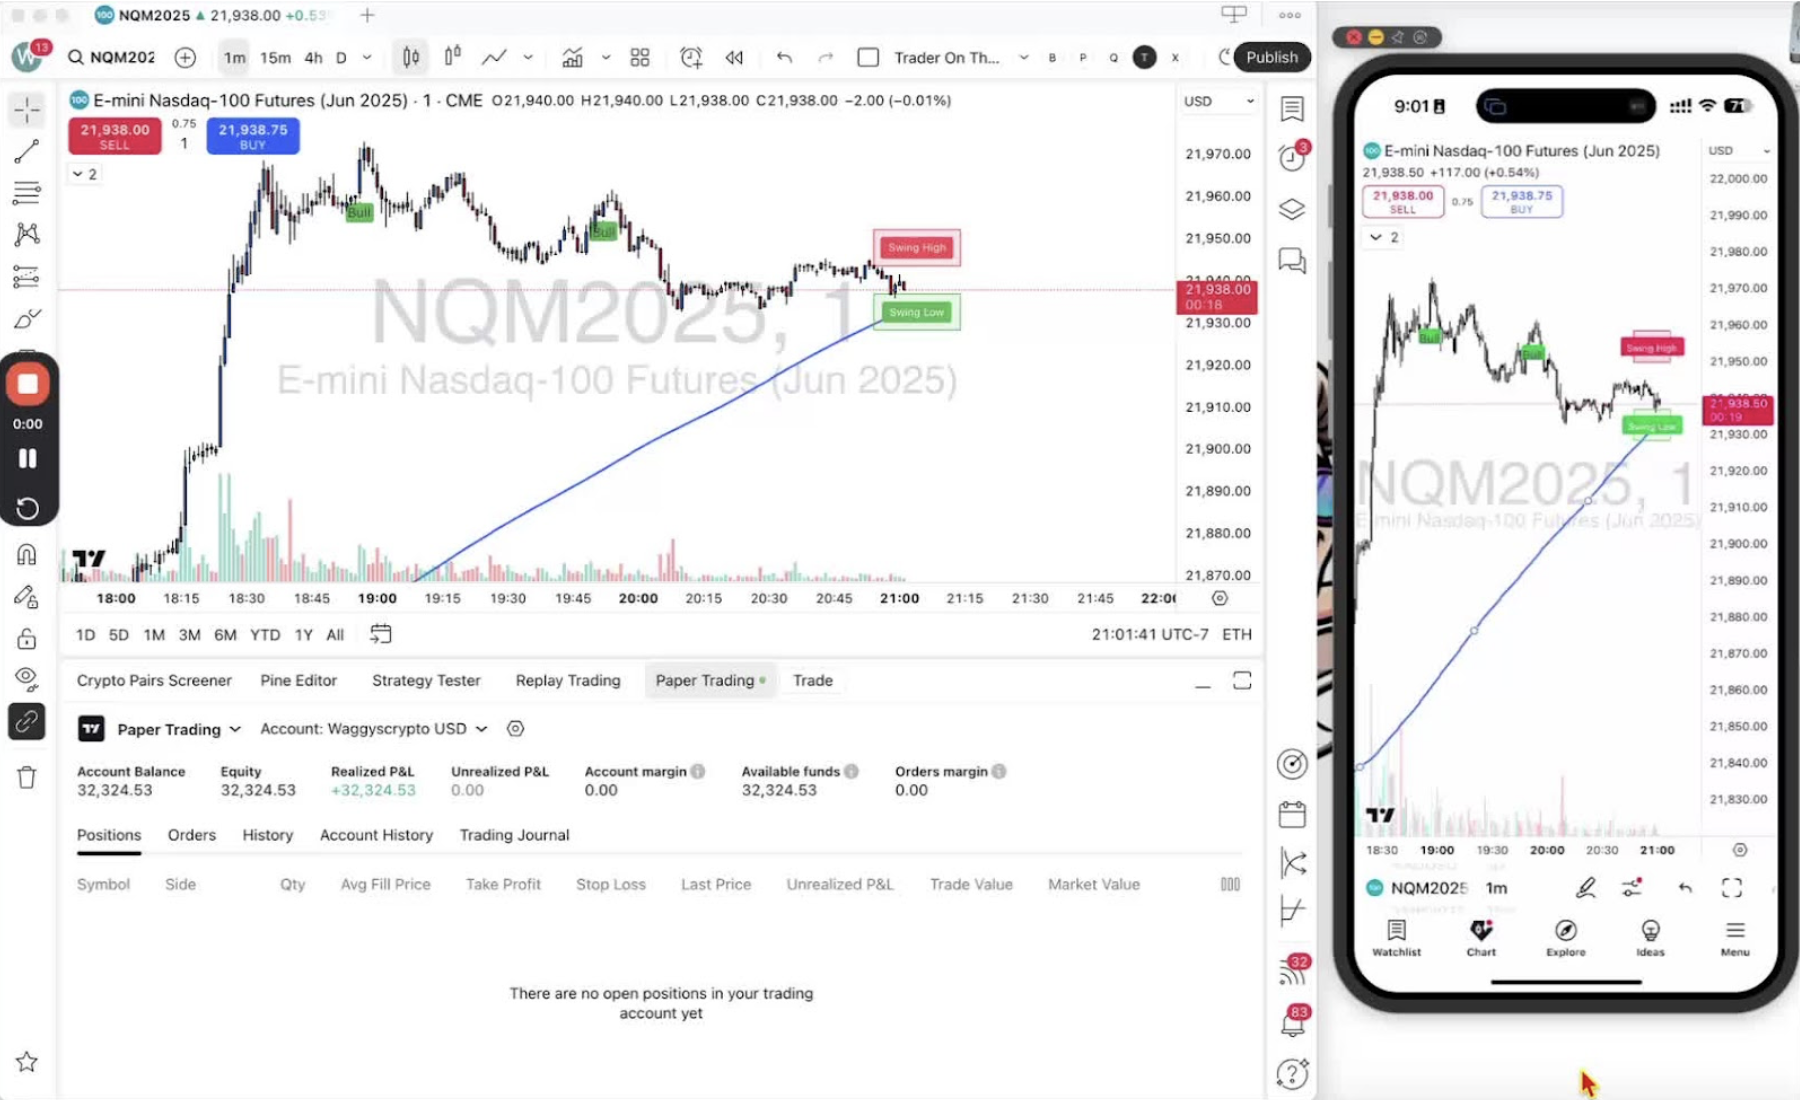
    Set up a TradingView paper trading account on desktop and mobile. You choose the starting balance and leverage. Step 14 covers placing trades on it.
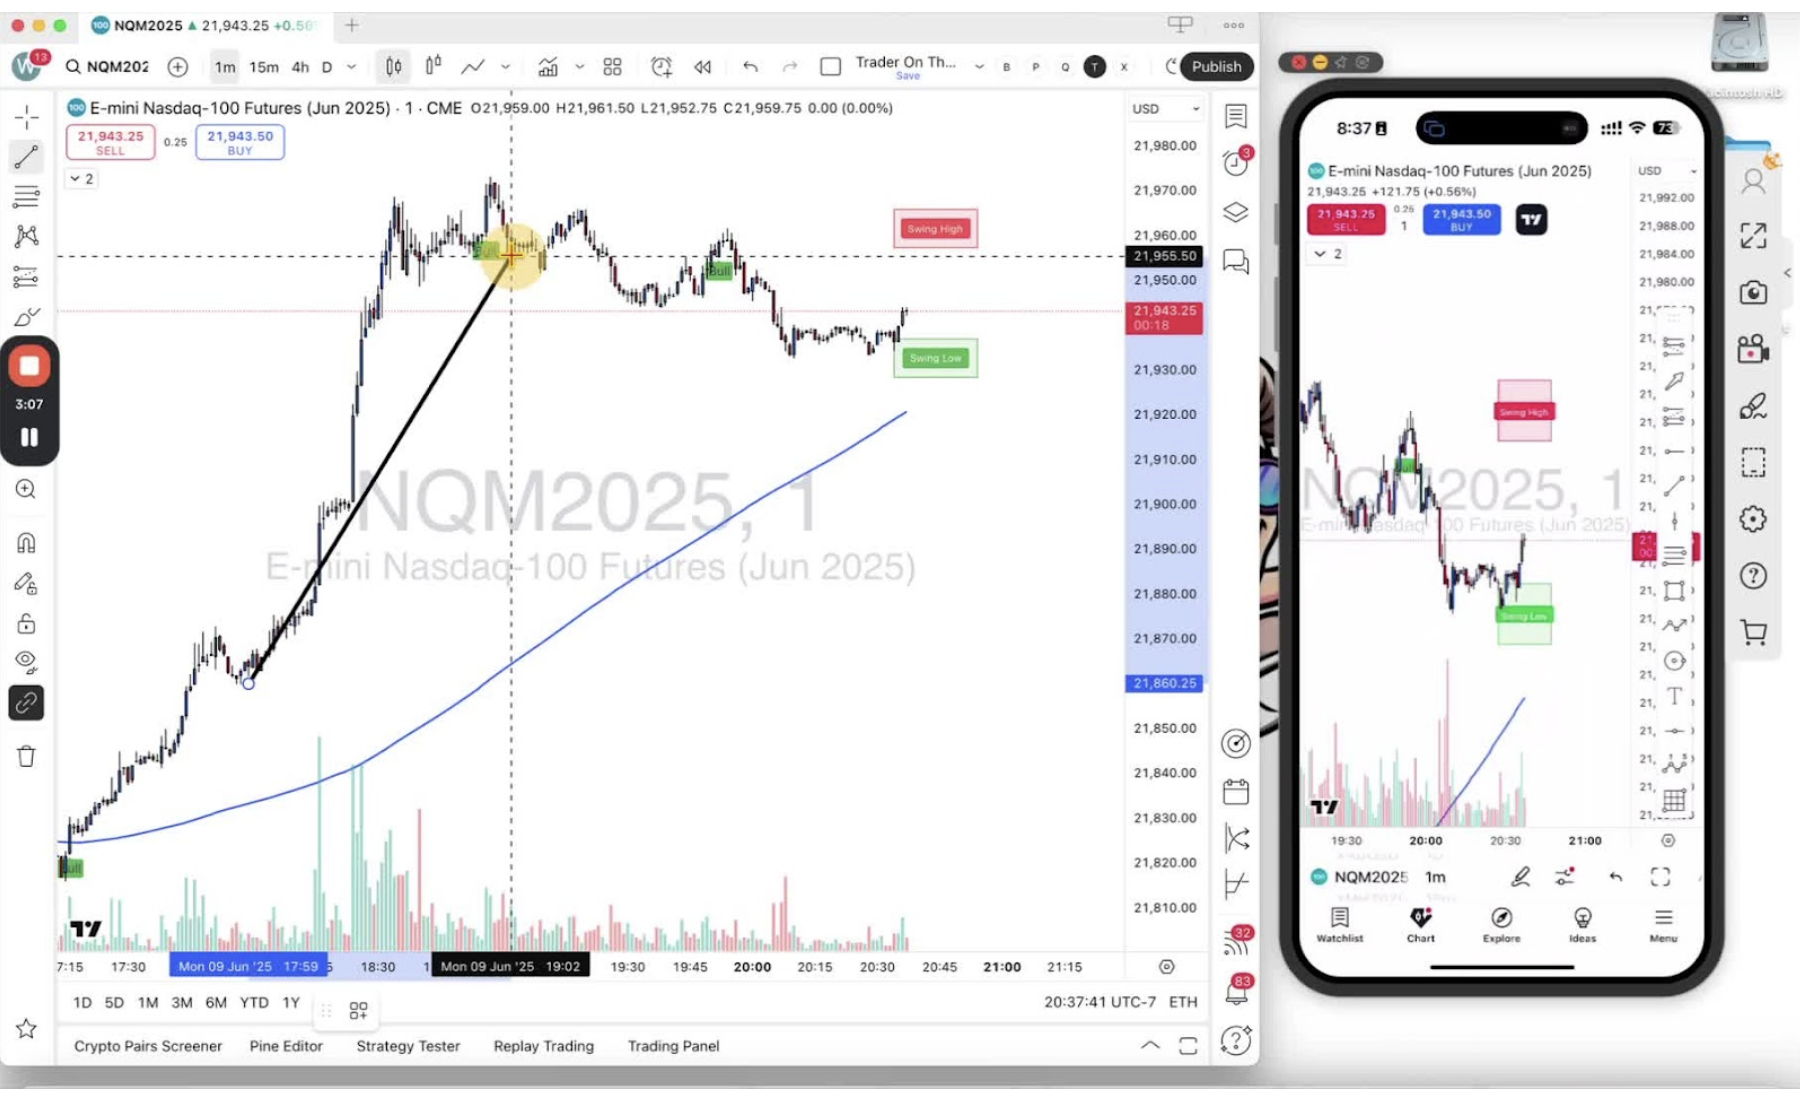
    Log Out of Your Current Account 0:00

    • Log out of your current TradingView account first.

    Access Paper Trading Options on Desktop 0:11

    • At the bottom of the desktop app, click ‘Trading Patterns’.
    • Select ‘Paper Trading’ (the one with the TradingView symbol) and click ‘Connect’.

    Create a New Paper Trading Account 0:19

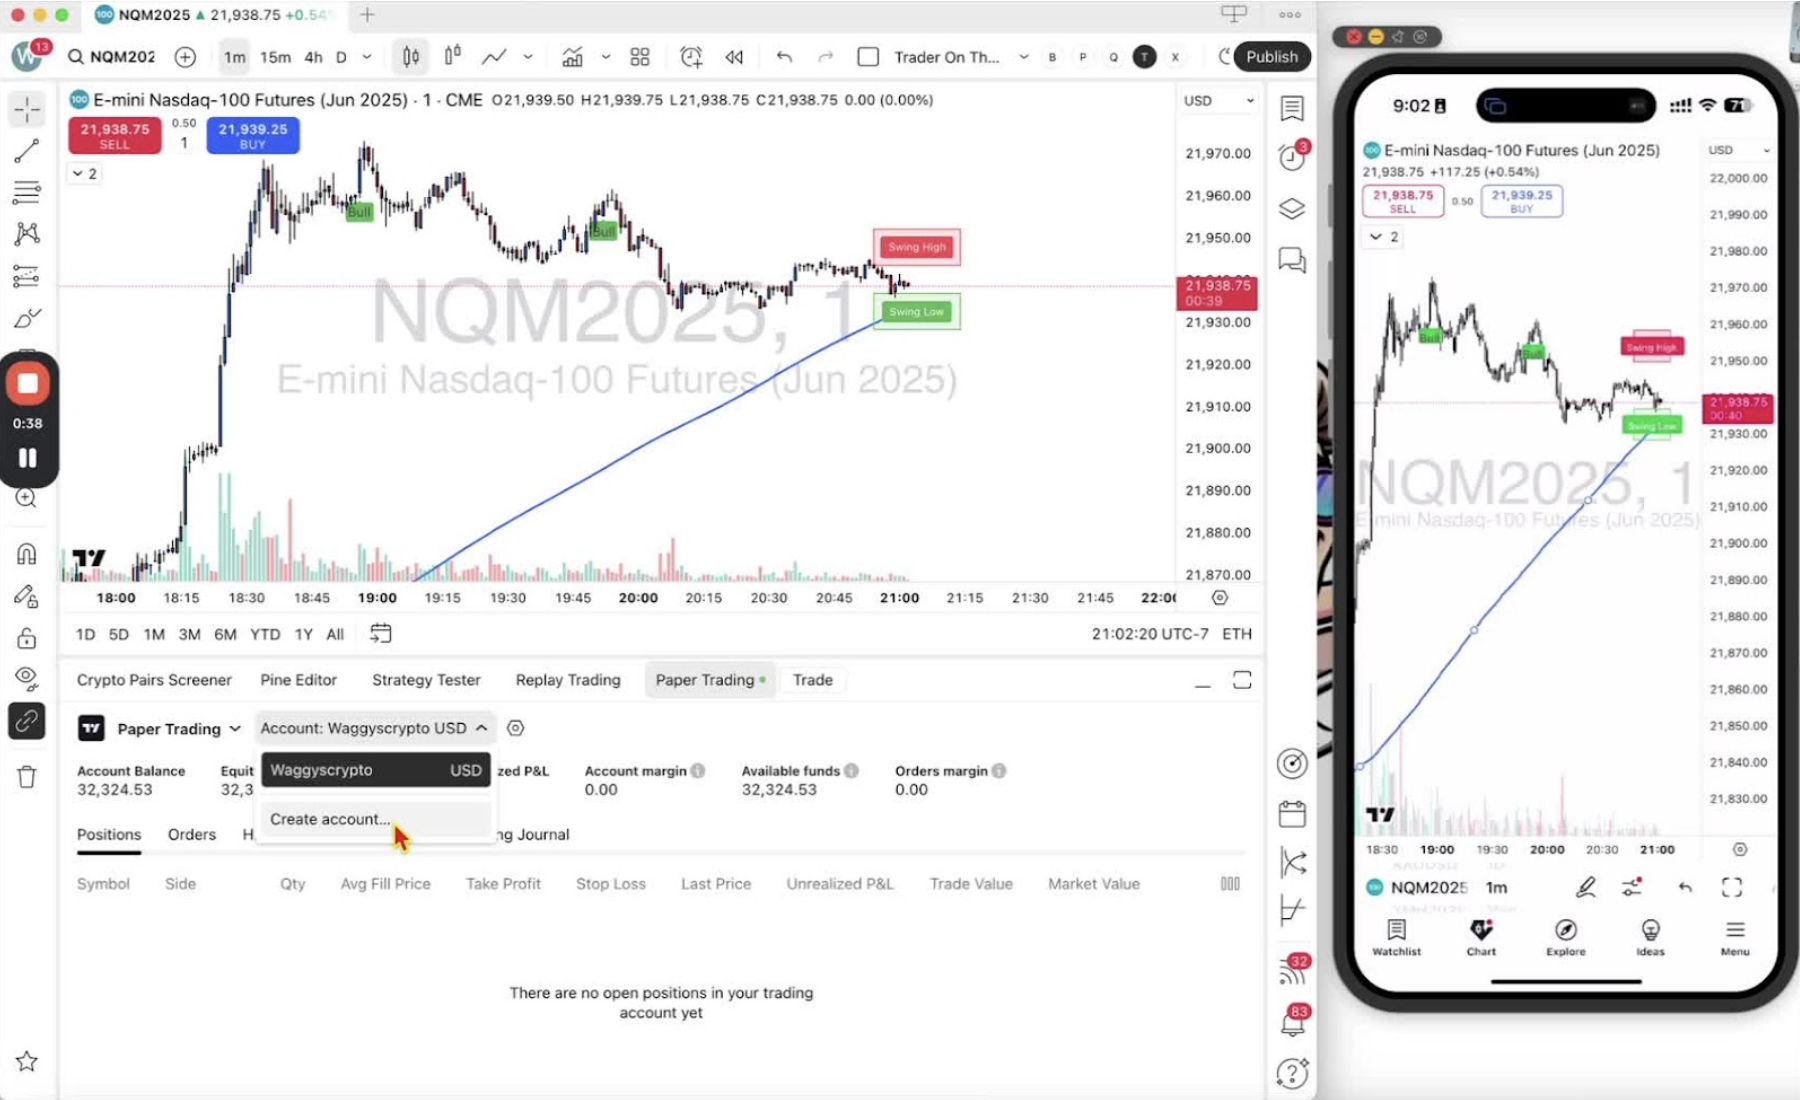
    • If prompted, click the down arrow and choose ‘Create Account’.

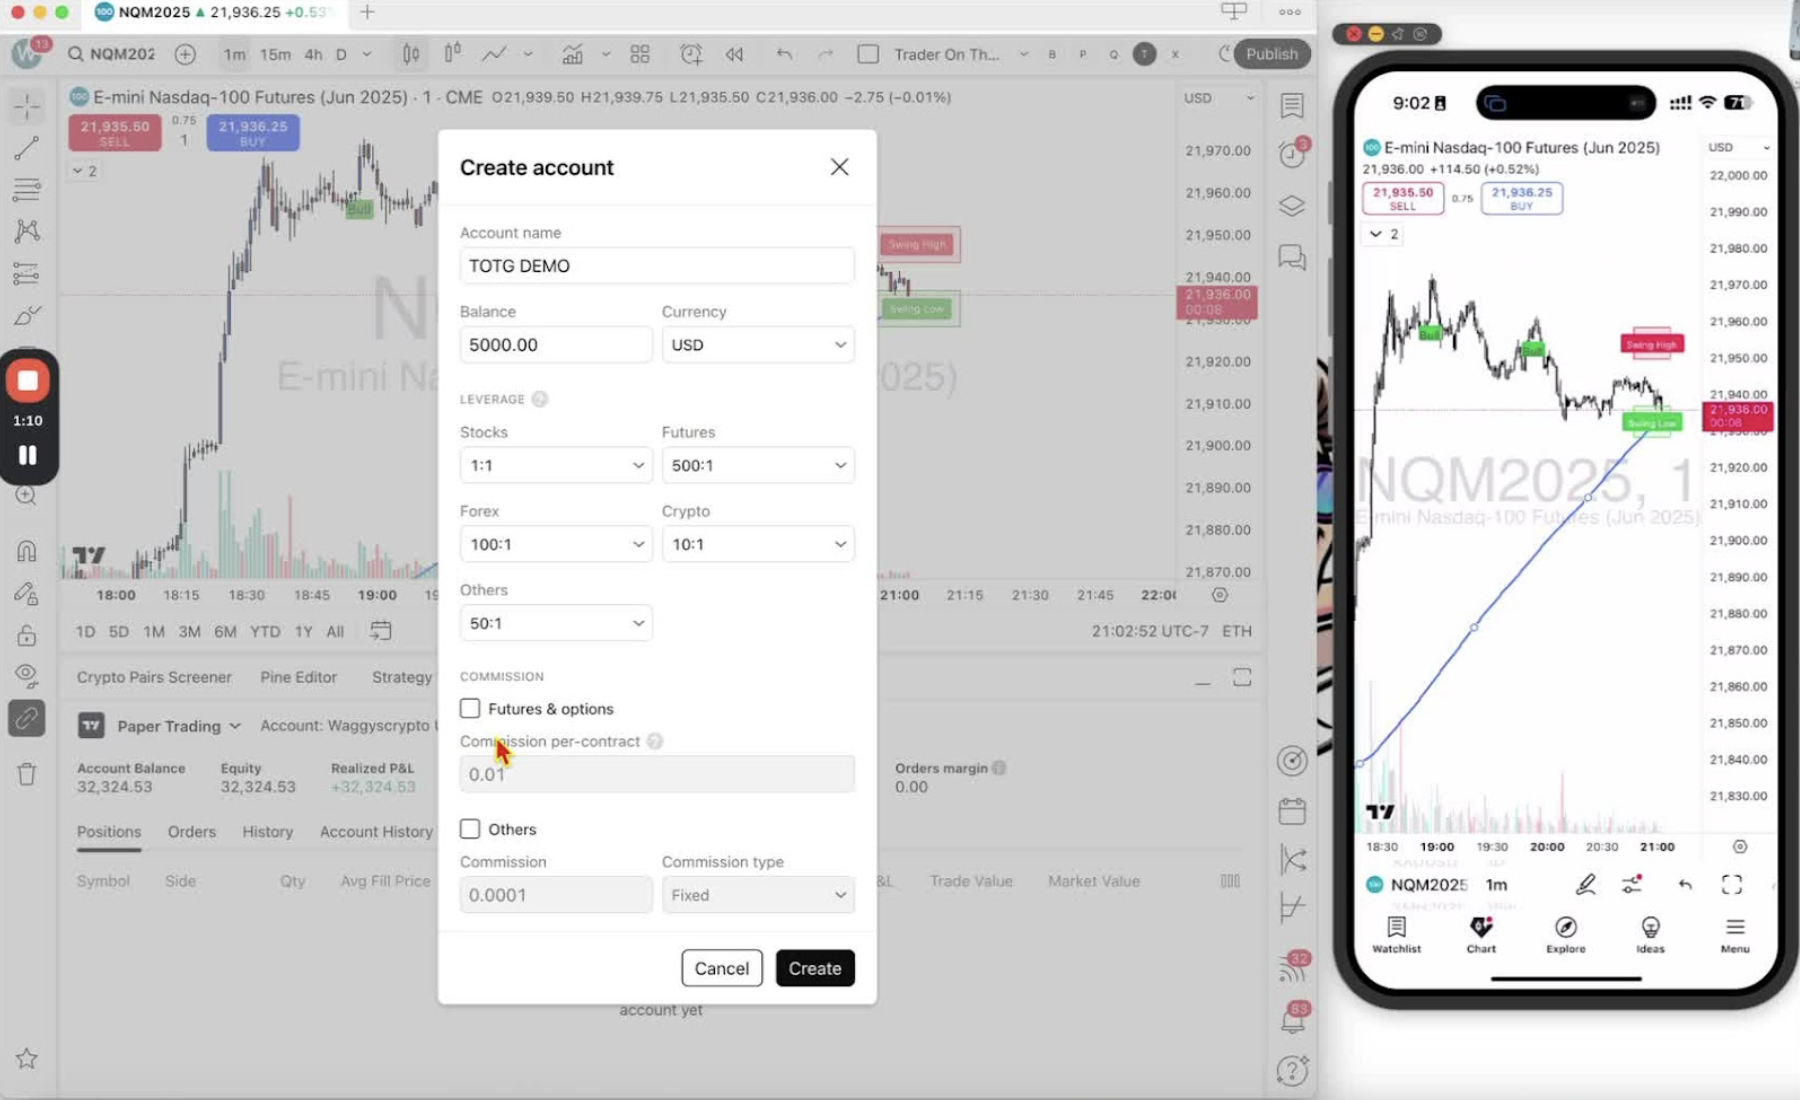
    Name Your Account and Set Balance 0:30

    • Give it a name you will recognise (for example ‘TOTG Demo’).
    • Enter a simulation balance (for example 5,000 USD).
    • Set leverage: 500 to 1 for futures, 100 to 1 for forex.

    Complete Account Creation 0:59

    • Click ‘Create’.
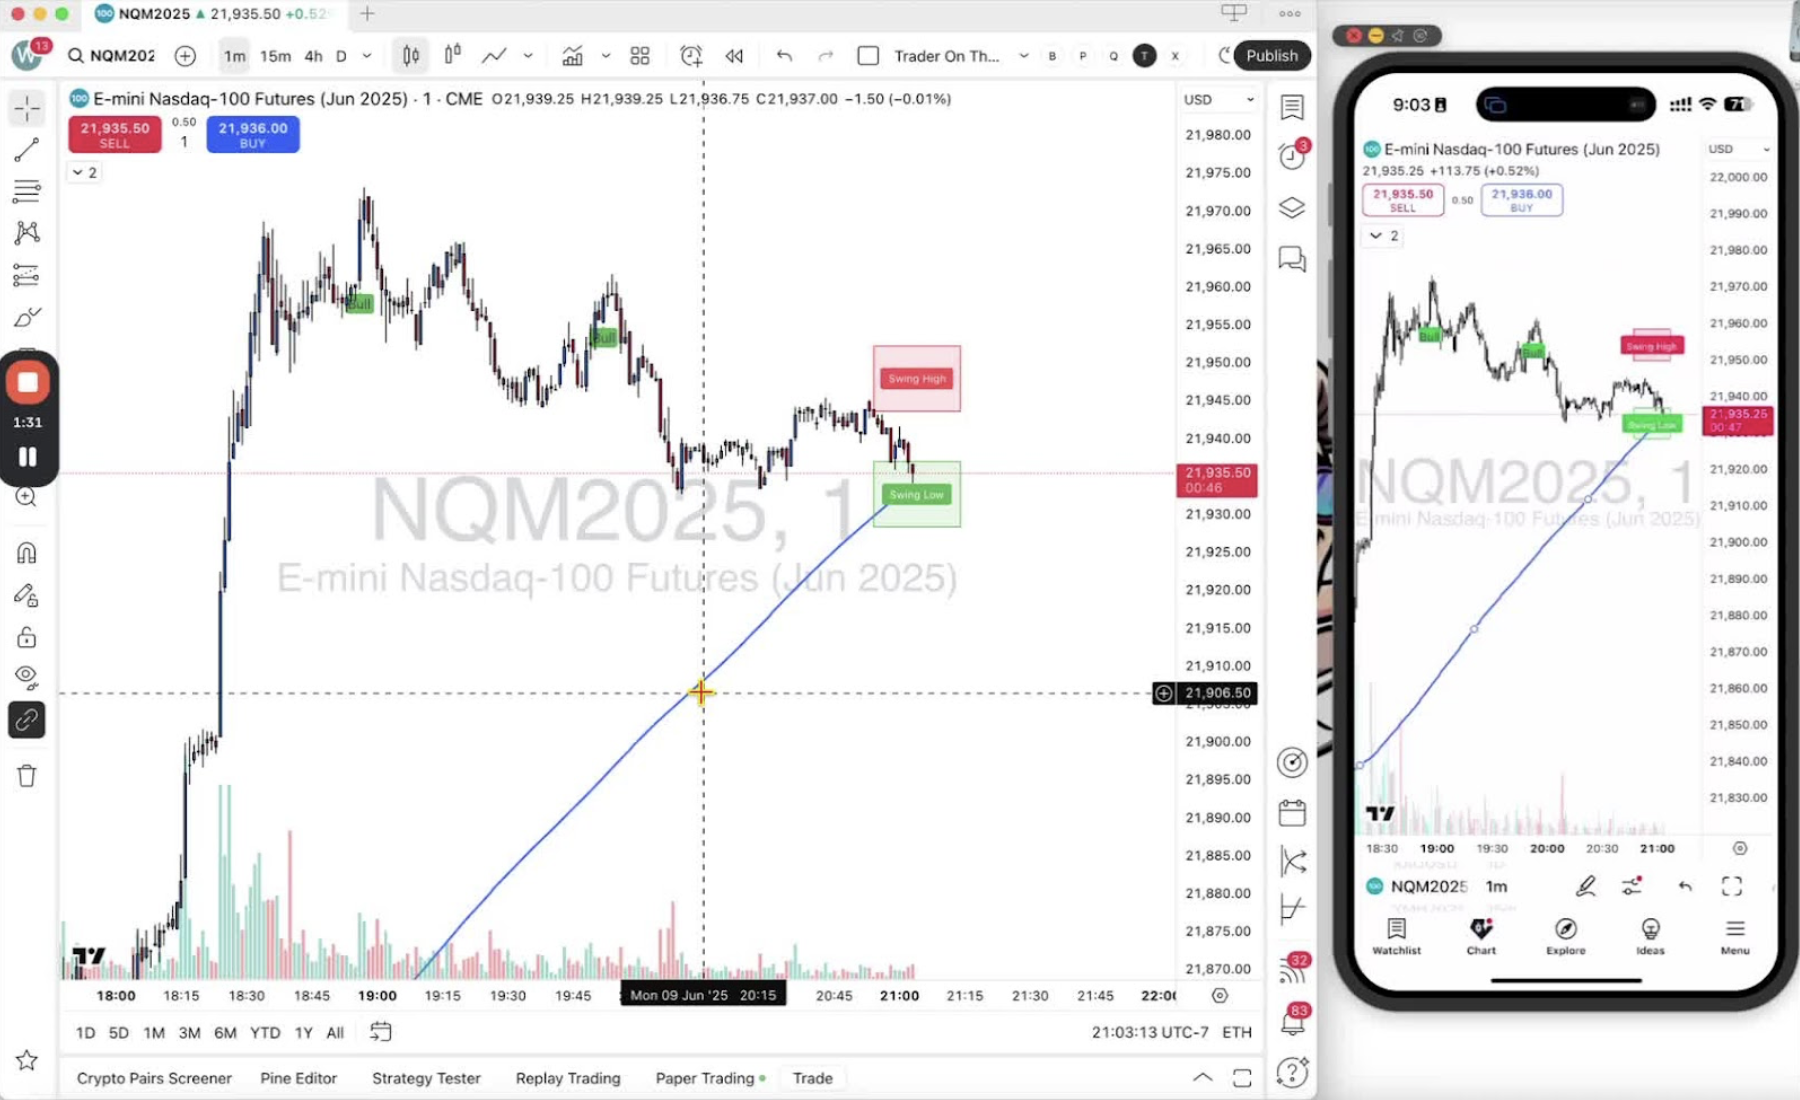
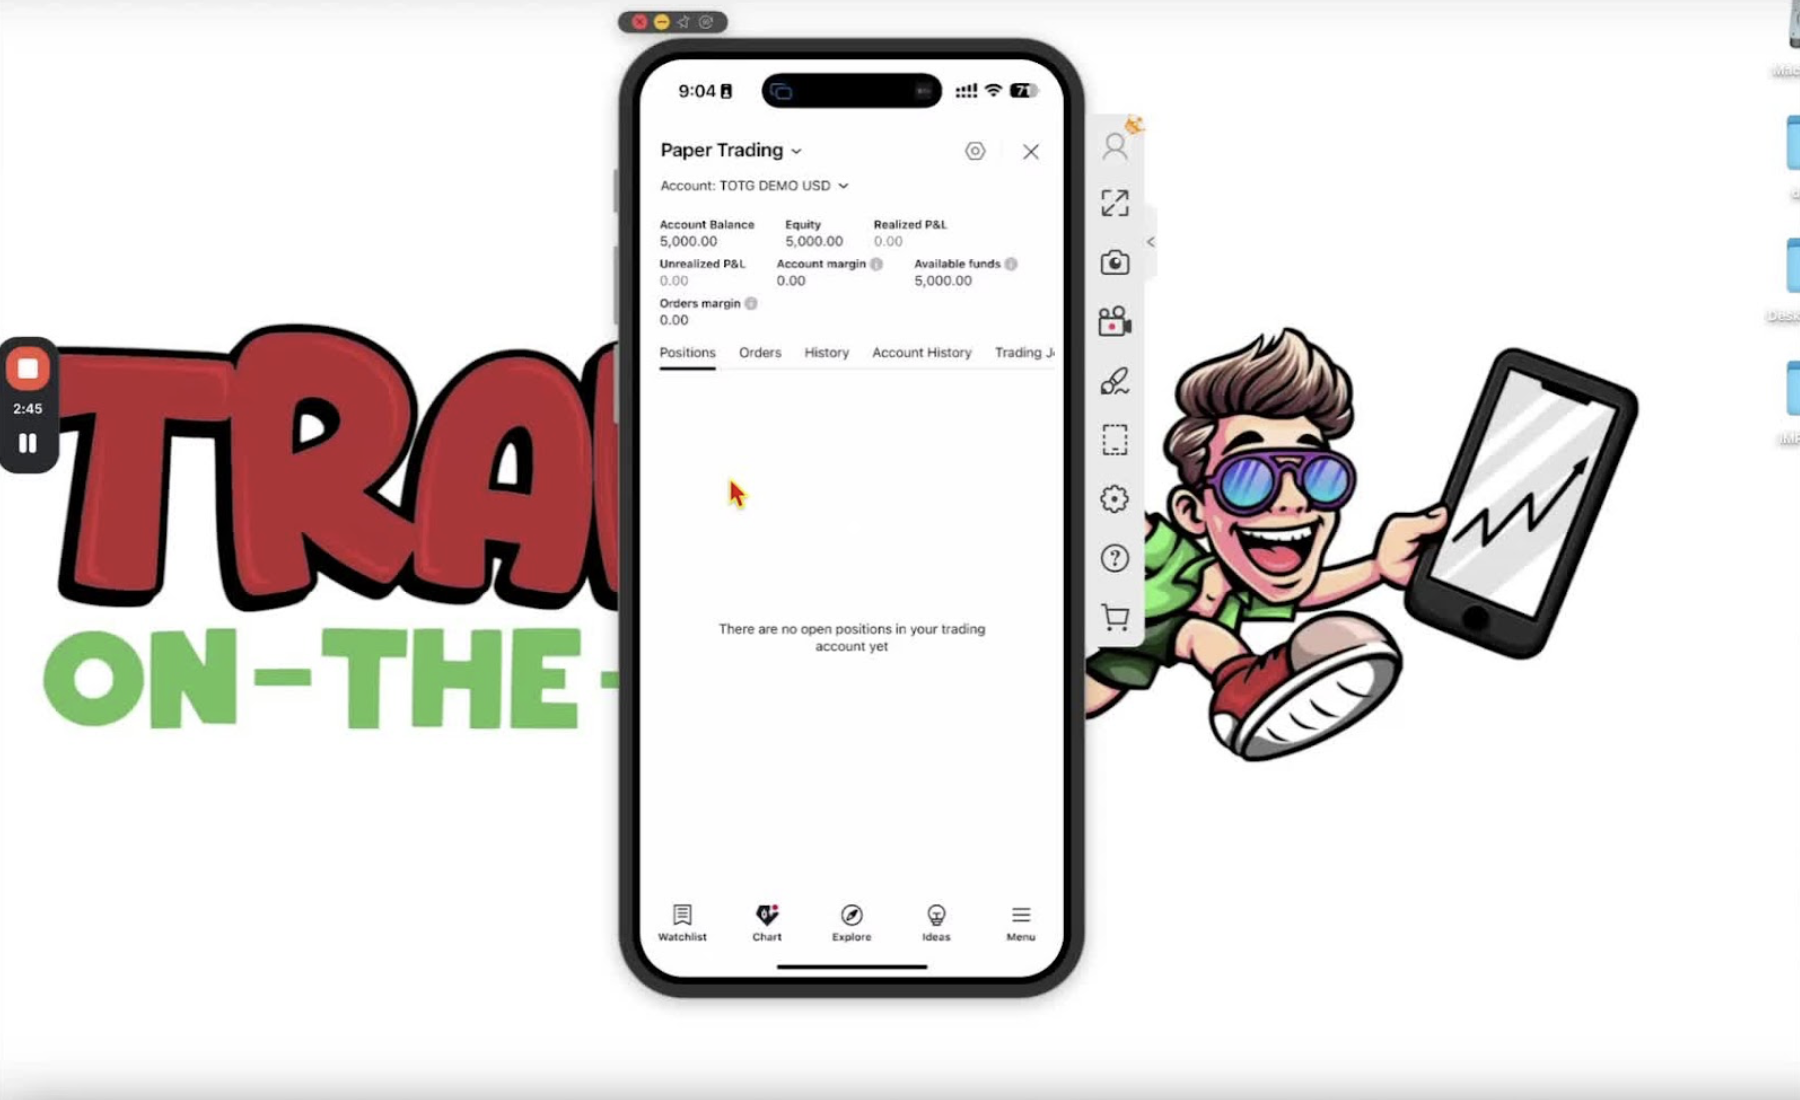
    • Check the balance and equity on the dashboard.

    Access Paper Trading on Mobile Application 1:18

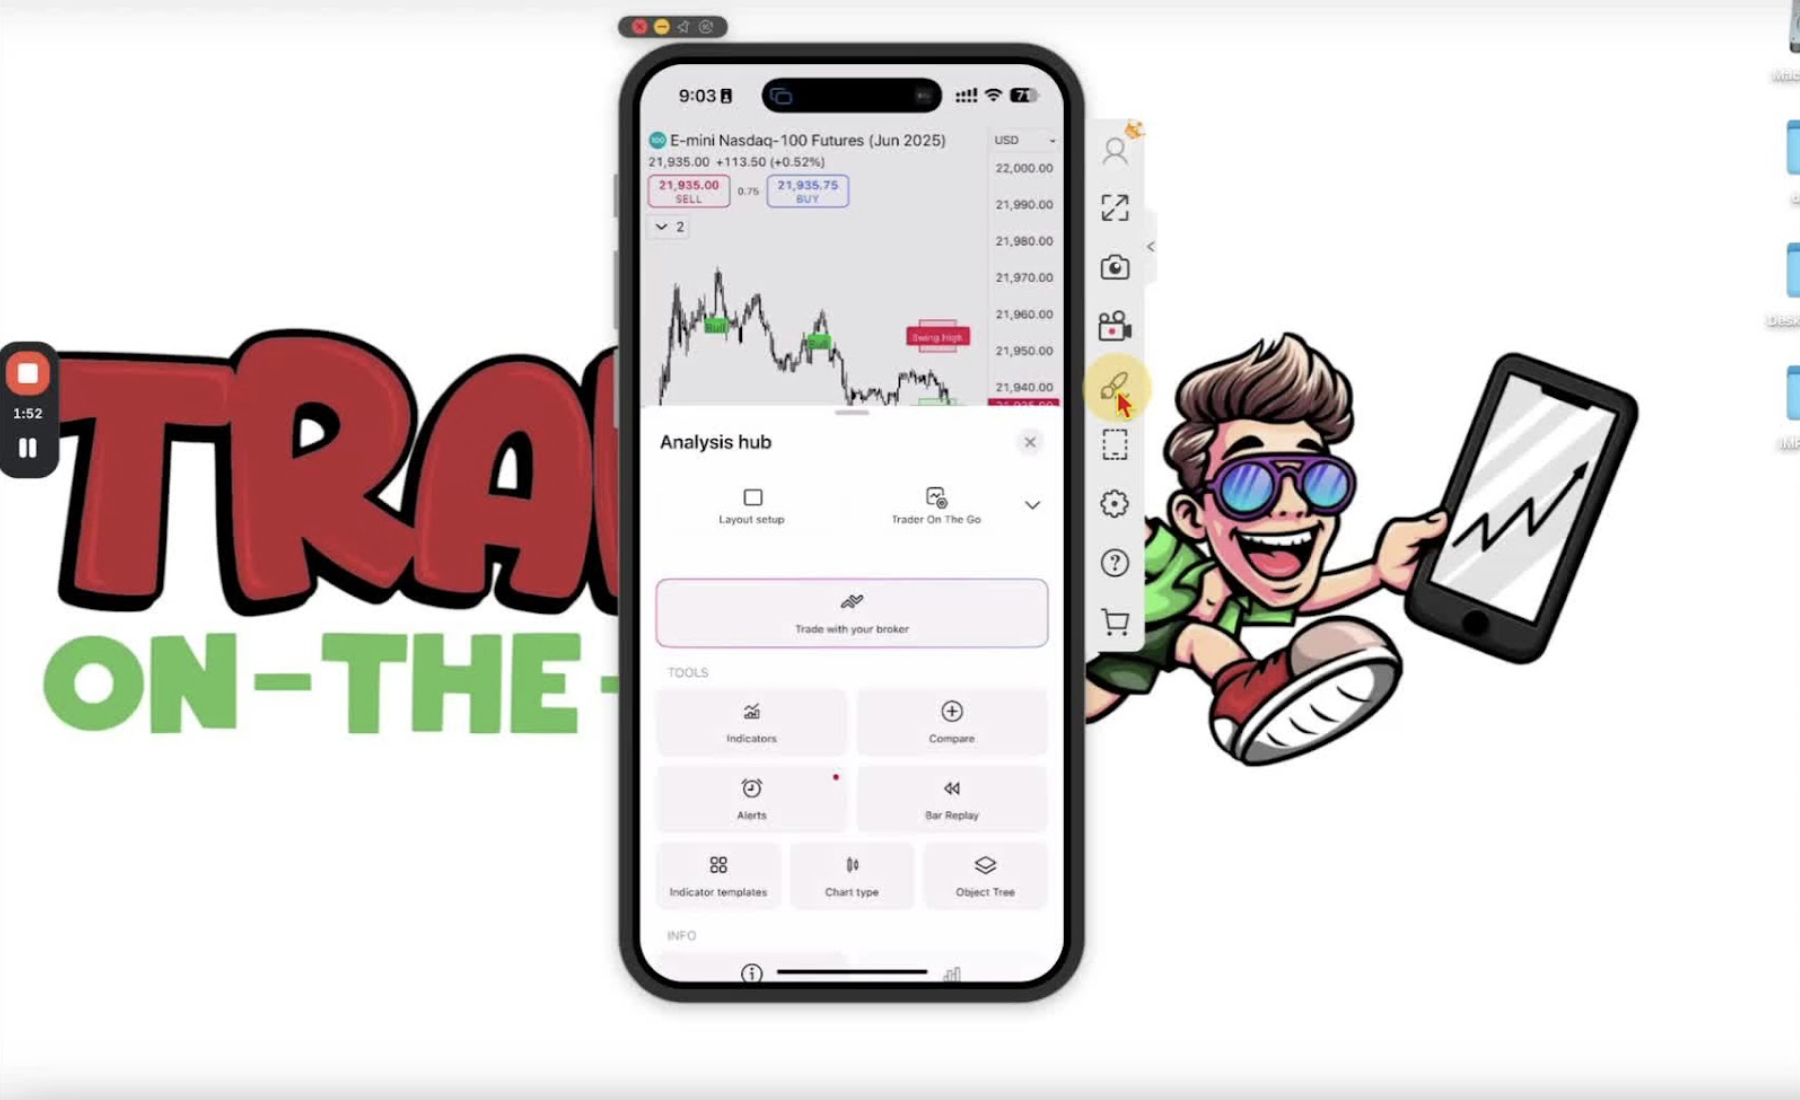
    • Open the mobile app and tap the two-lines-with-circles icon.
    • Select ‘Trade with Your Broker’, then ‘Paper Trading’.

    Connect to Your Existing Paper Trading Account 1:30

    • Tap ‘Connect’.
    • Your existing paper trading accounts are listed.

    Create a New Paper Trading Account on Mobile (if needed) 2:14

    • Tap the down arrow and select ‘Create Account’.
    • Name the account and set the balance the same way as on desktop.
  • Step 6. Guide to Accessing and Modifying Indicator Settings on Trading Platforms

    Step 6. Guide to Accessing and Modifying Indicator Settings on Trading Platforms

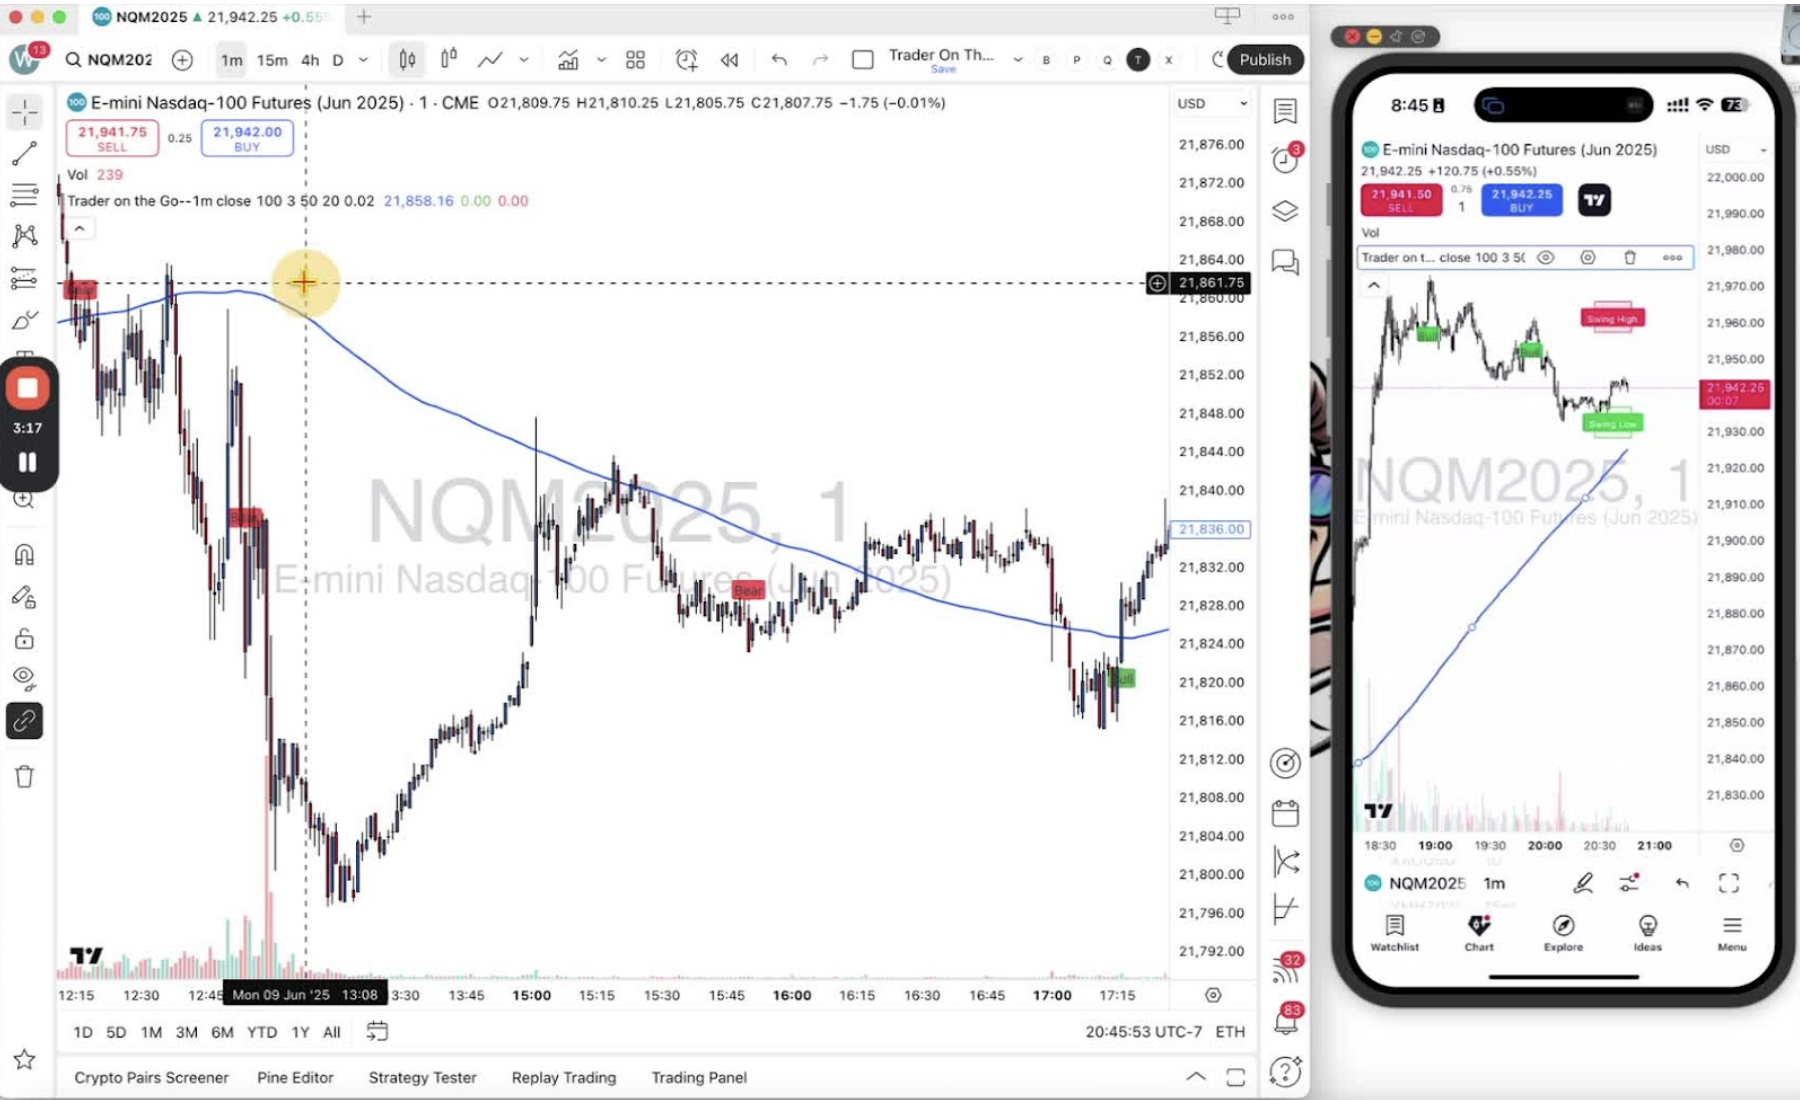
    Indicator settings on desktop and mobile: hide or show an indicator, change signal colors, remove it, or add alerts.

    Accessing the Indicator Menu 0:10

    • Find the drop-down that shows ‘one’ or ‘two’.
    • Desktop: hover over the ‘Trader on the Go’ layout.
    • Mobile: tap the arrow to open the same layout.

    Understanding Indicator Options 0:27

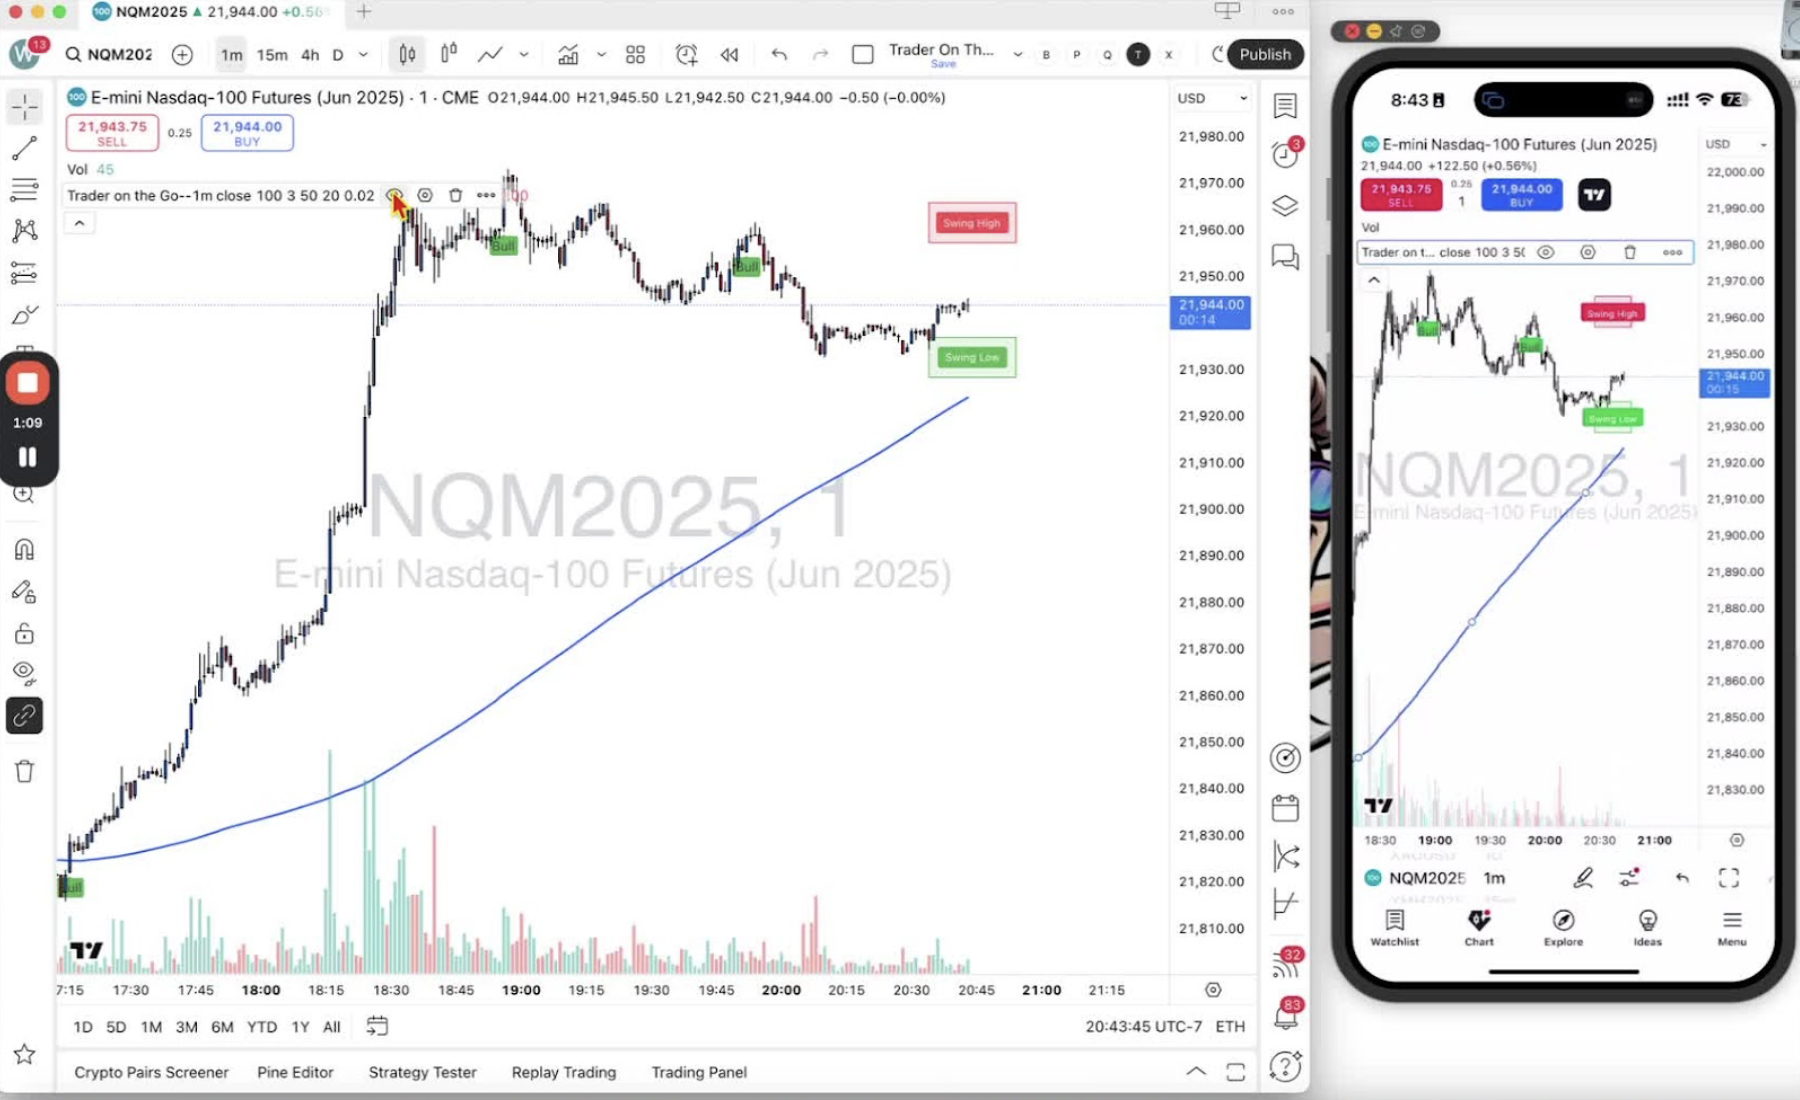
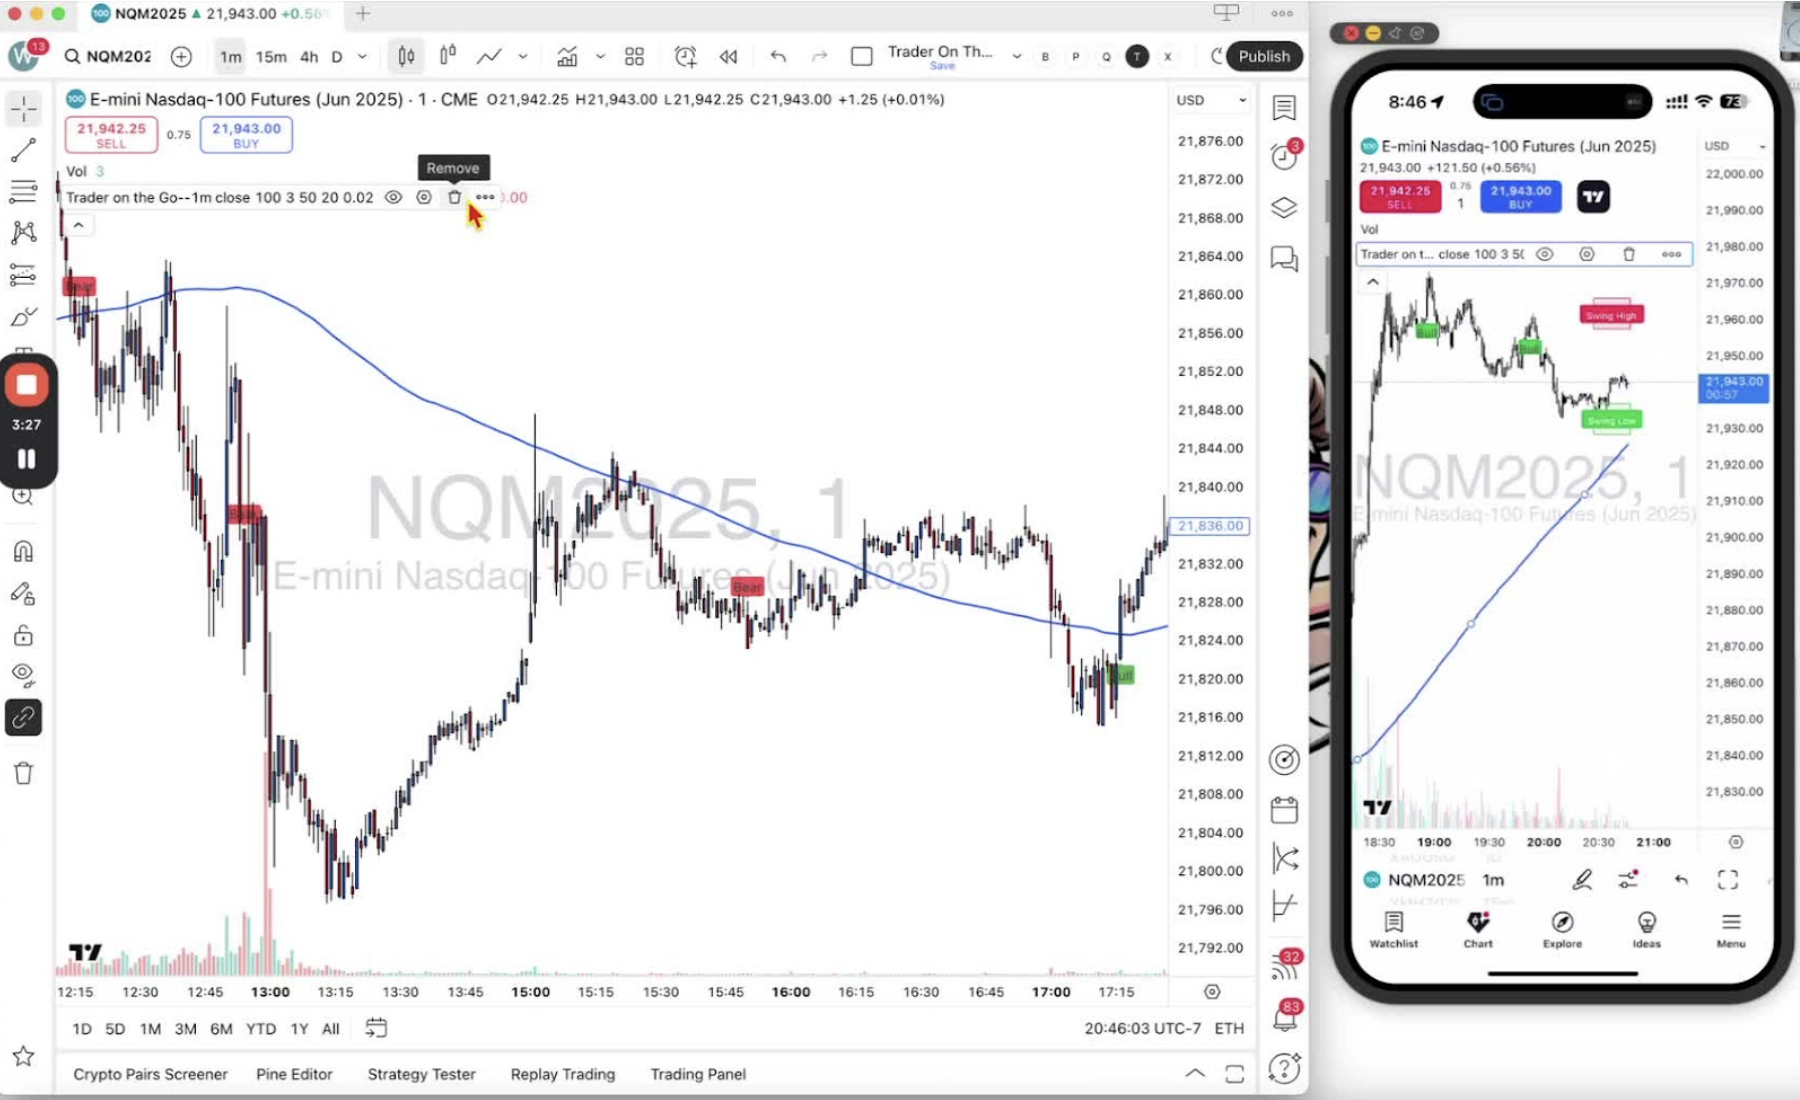
    • Desktop shows four icons: an eye, a hexagon, a trashcan, and three dots.
    • Mobile: tap the layout for the same options.

    Hiding Indicators 0:41

    • Click or tap the eye icon to hide an indicator.
    • Click or tap it again to bring it back.

    Modifying Indicator Settings 1:00

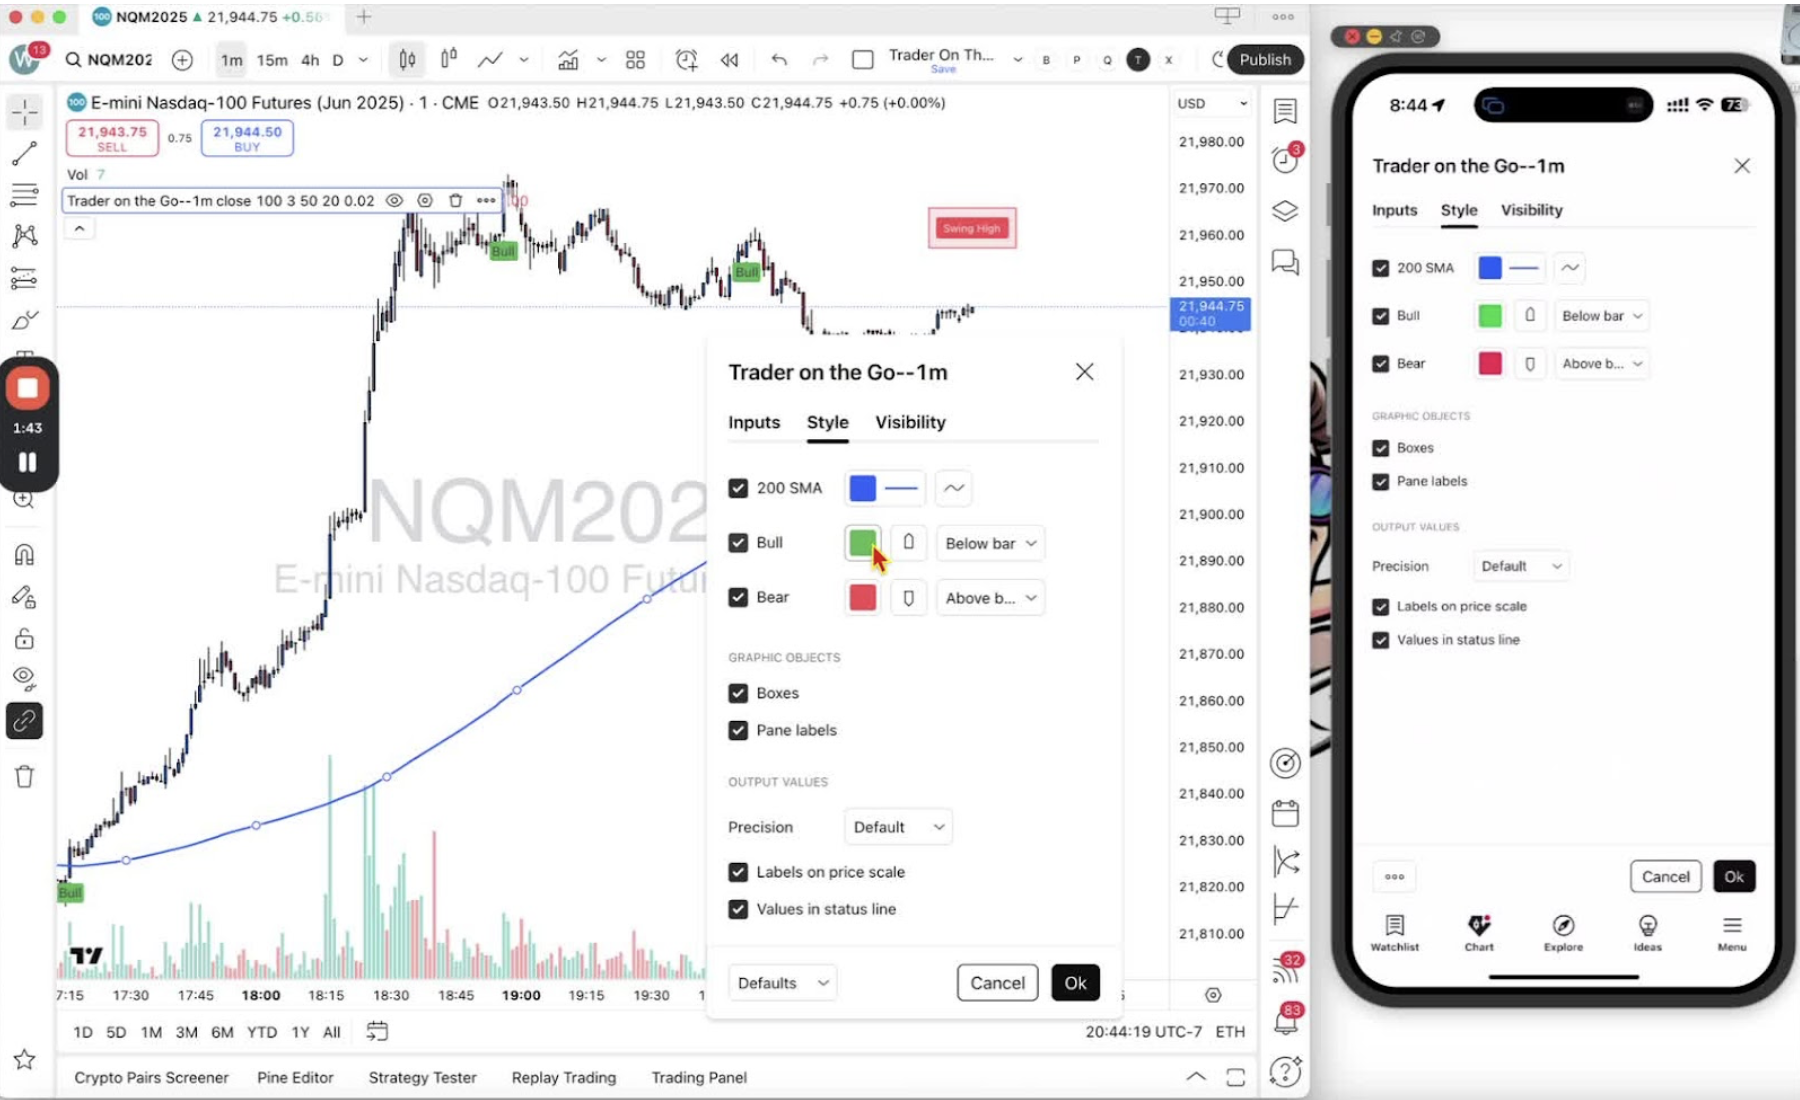
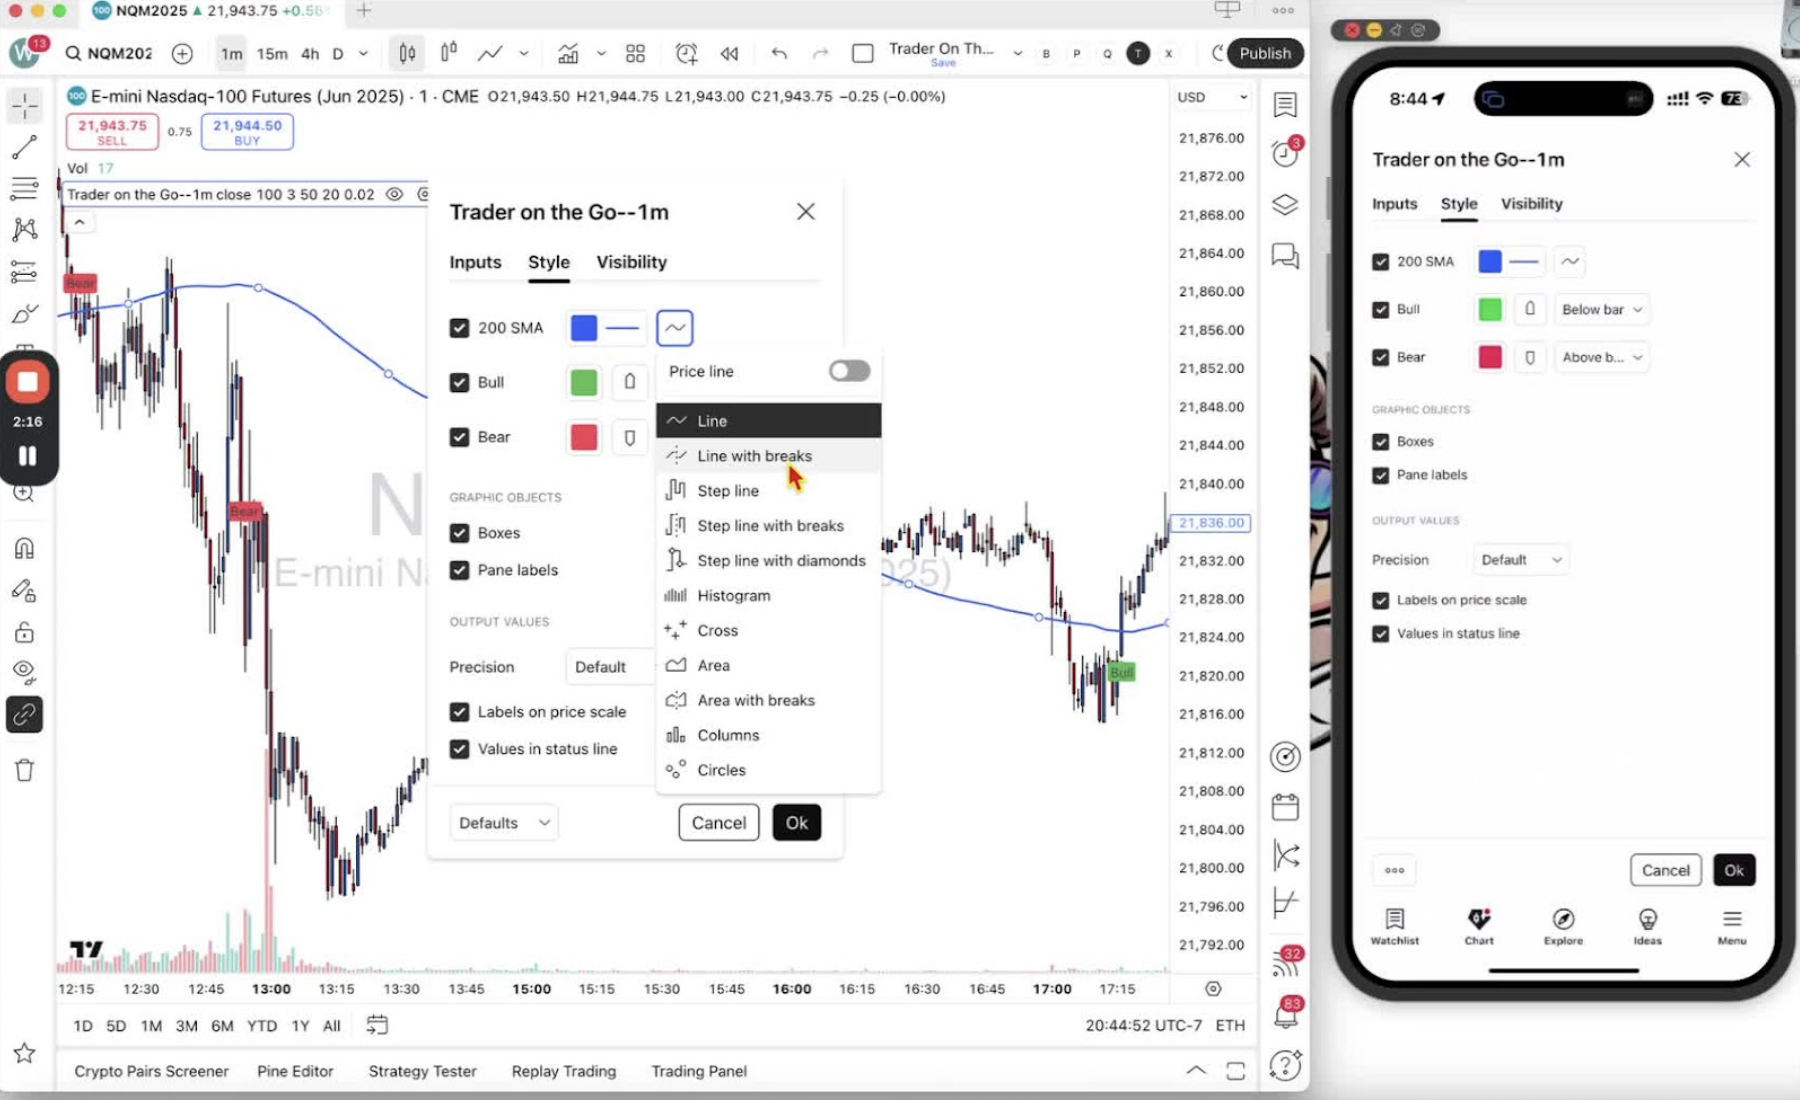
    • Click the hexagon icon to open the indicator settings.
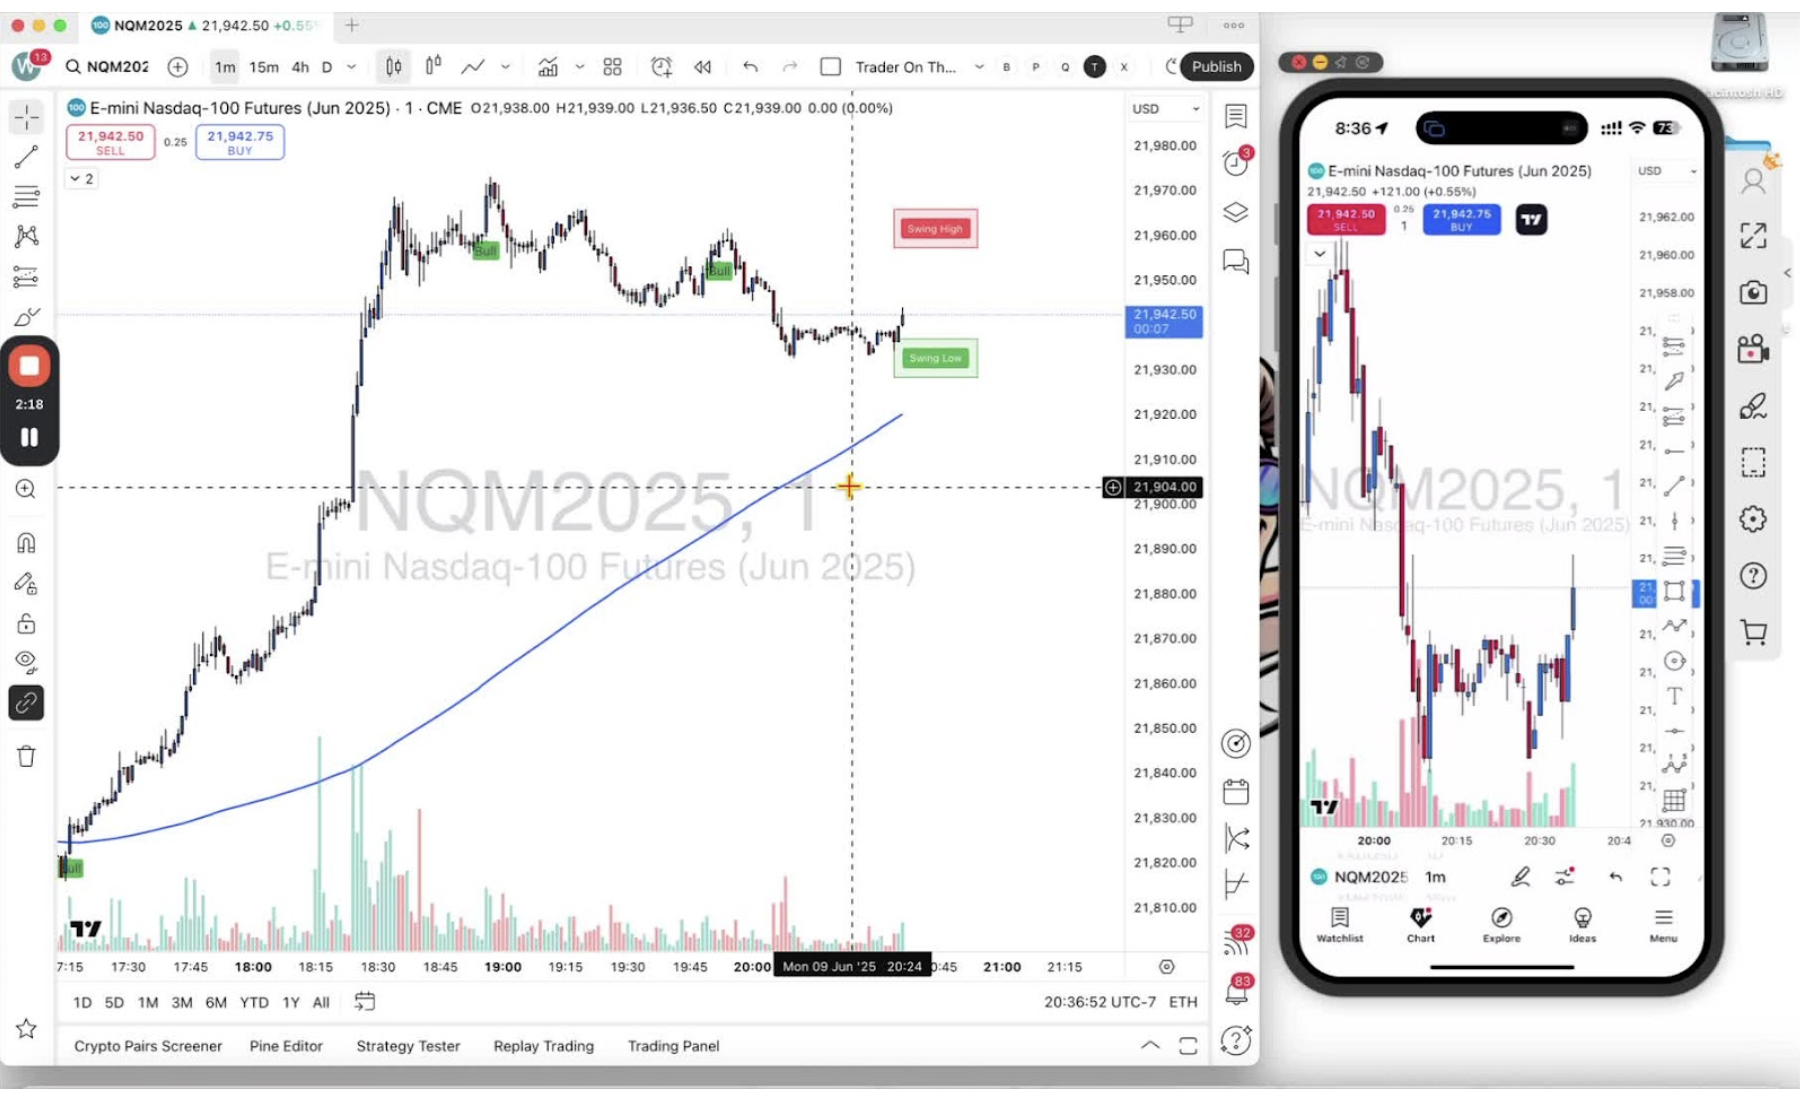
    • The 200 SMA is the blue line. Untick its box to remove it from the chart.

    Changing Signal Colors 1:34

    • Click the buy or sell signal option to change its color. This works on desktop and mobile.

    Editing Visibility and Style 2:07

    • Adjust visibility, style and colors in the same settings panel.

    Removing Indicators 2:31

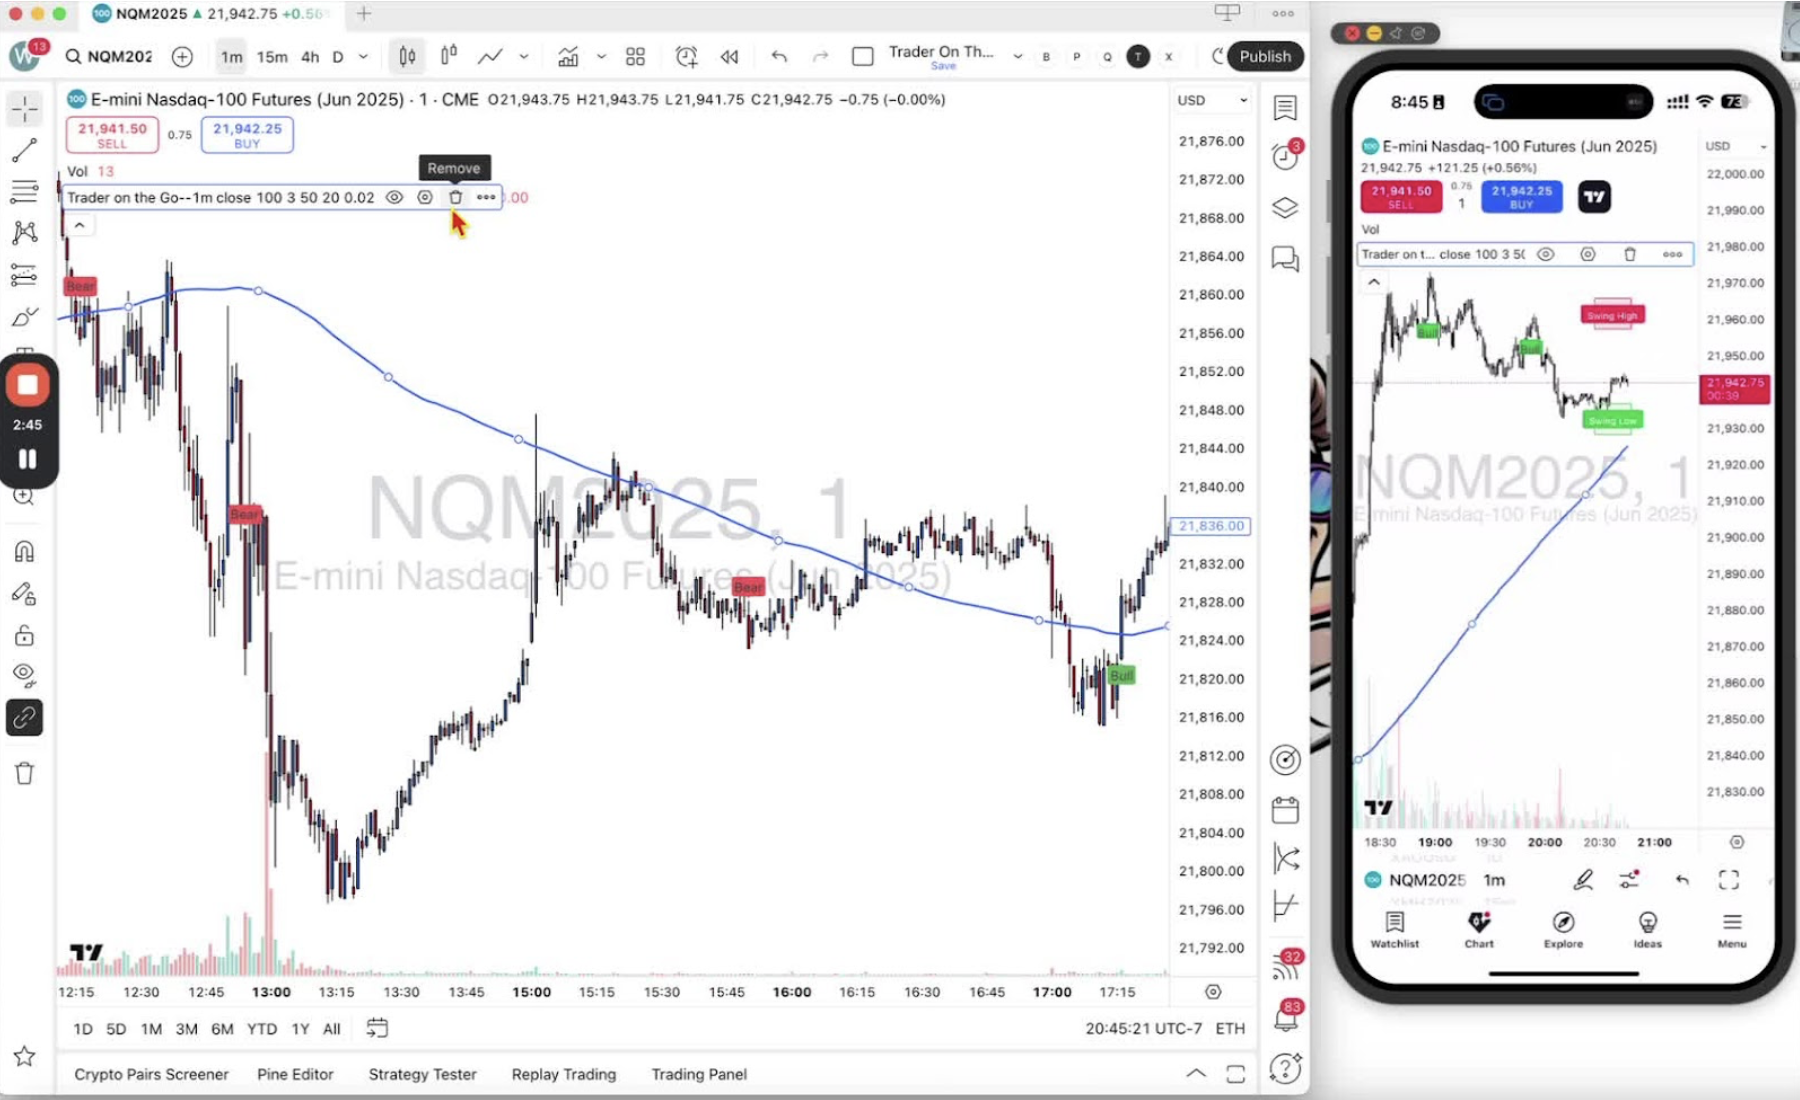
    • Click the trashcan icon to remove an indicator.
    • If you remove one by mistake, re-add it from the indicators menu.

    Adding Alerts 3:03

    • Click the three dots for more settings, including alerts. Alerts are covered in Step 17 and Step 18.

    Hiding the Menu 3:13

    • Click the up arrow to hide the settings menu and see more of the chart.
  • Step 5. Creating and Syncing a Trading Layout in TradingView

    Step 5. Creating and Syncing a Trading Layout in TradingView

    Create a named layout in TradingView so your chart settings and indicators sync between desktop and mobile. Keep autosave on.

    Accessing Layout Management 0:36

    • Open the desktop app.
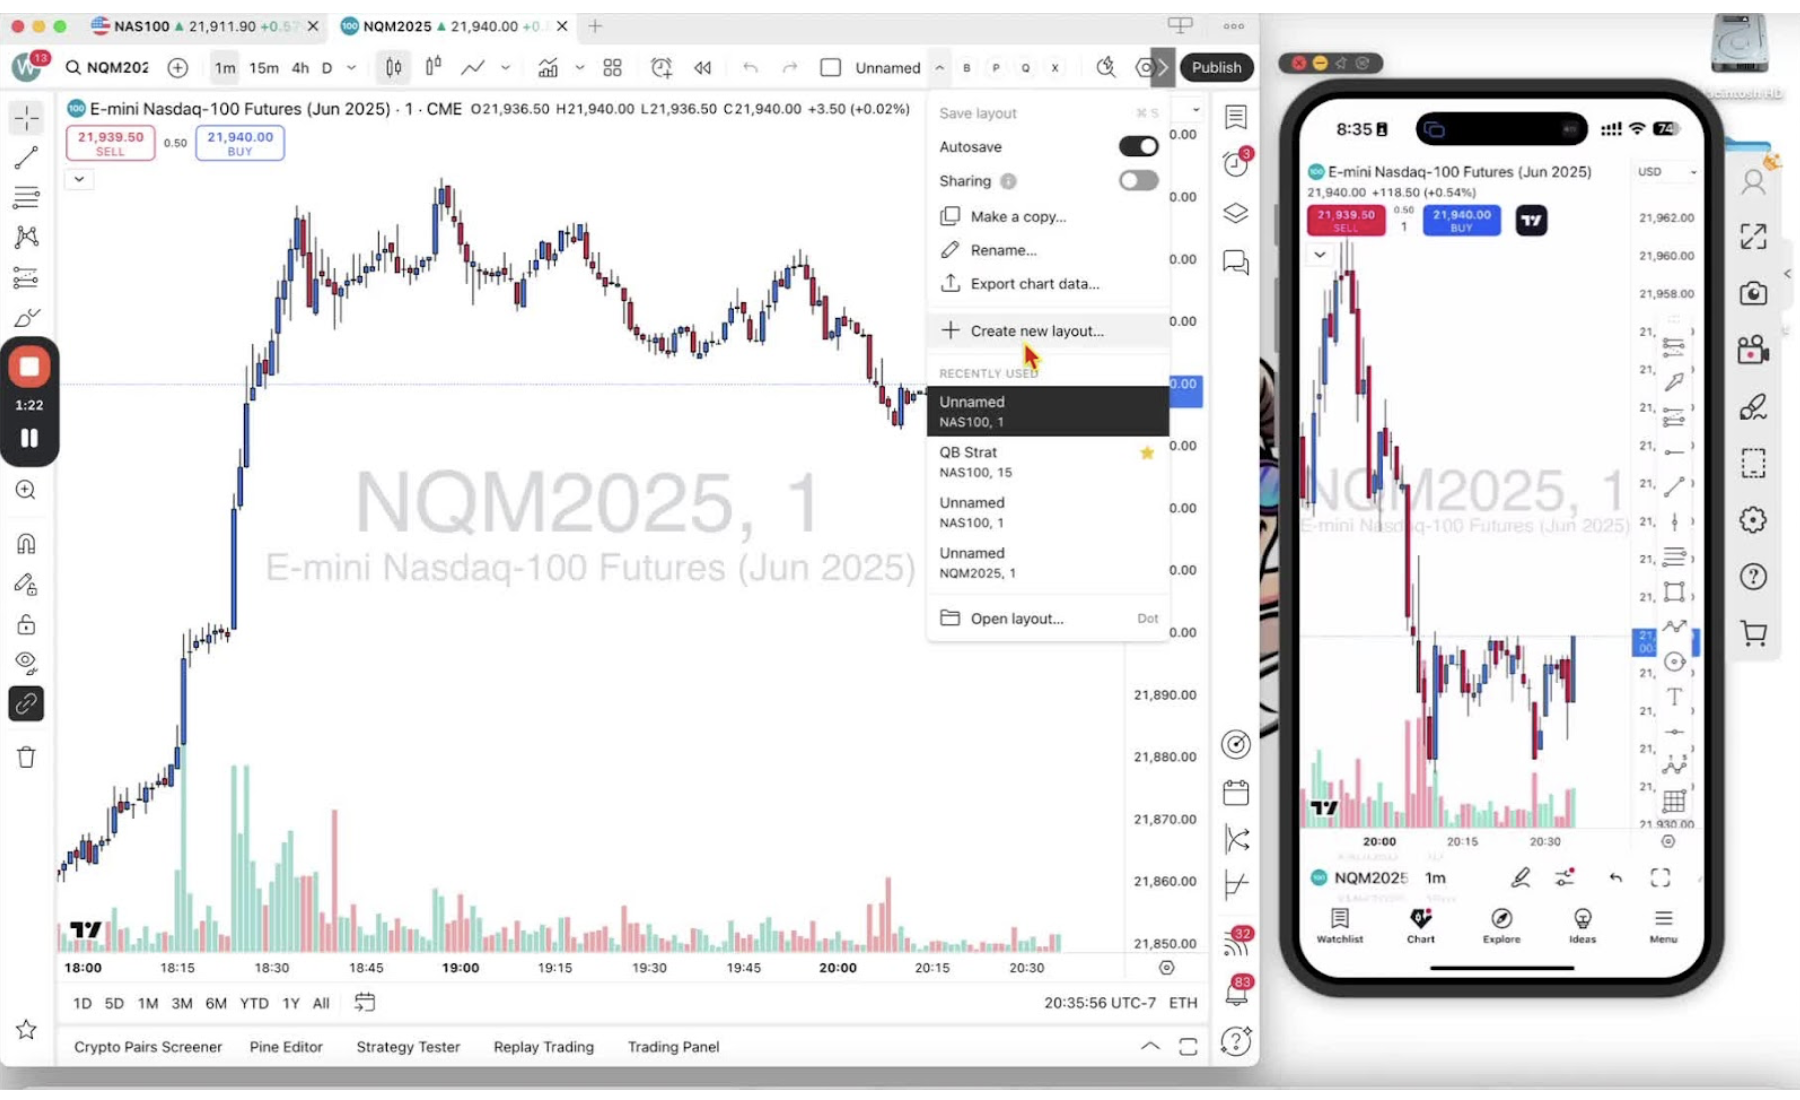
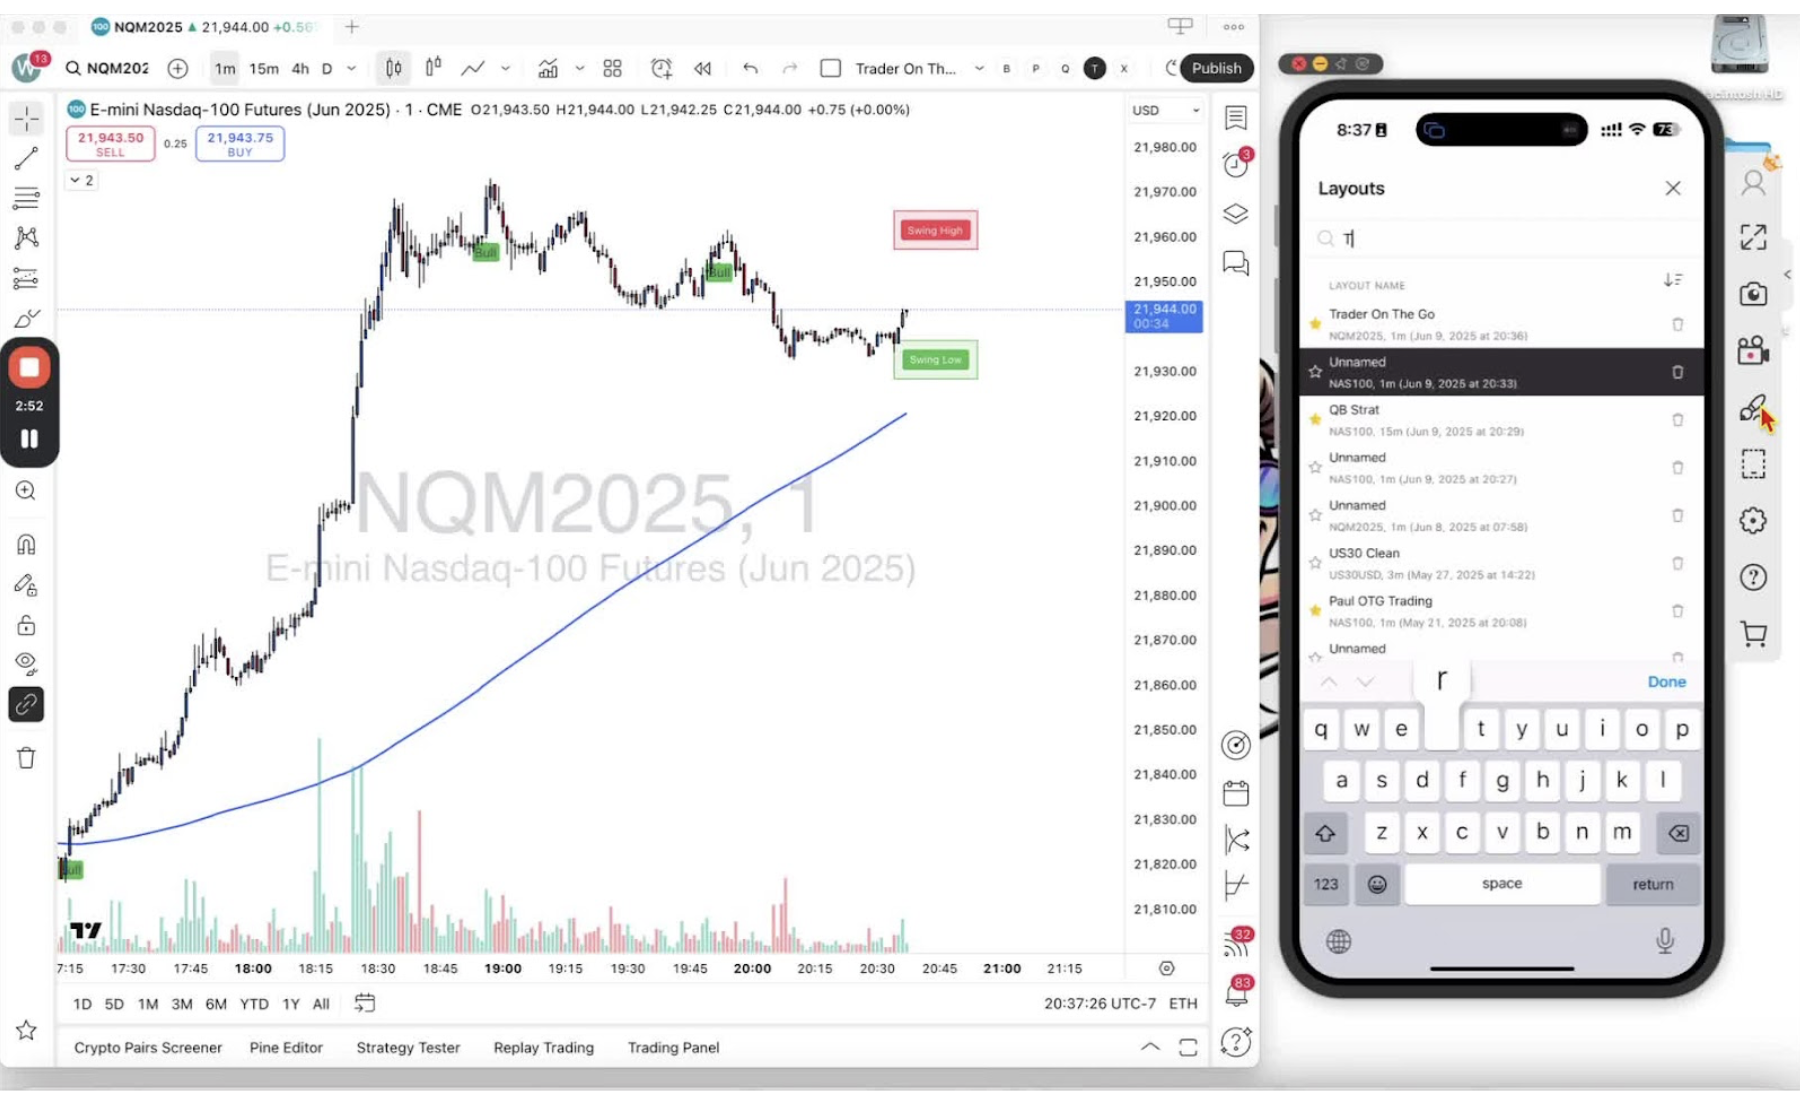
    • Find ‘Unnamed’ in the top bar.
    • Click the down arrow next to ‘Layout Setup’ to open layout management.

    Creating a New Layout 1:12

    • Click ‘Create New Layout’.
    • Name it (for example ‘Trader on the Go’).
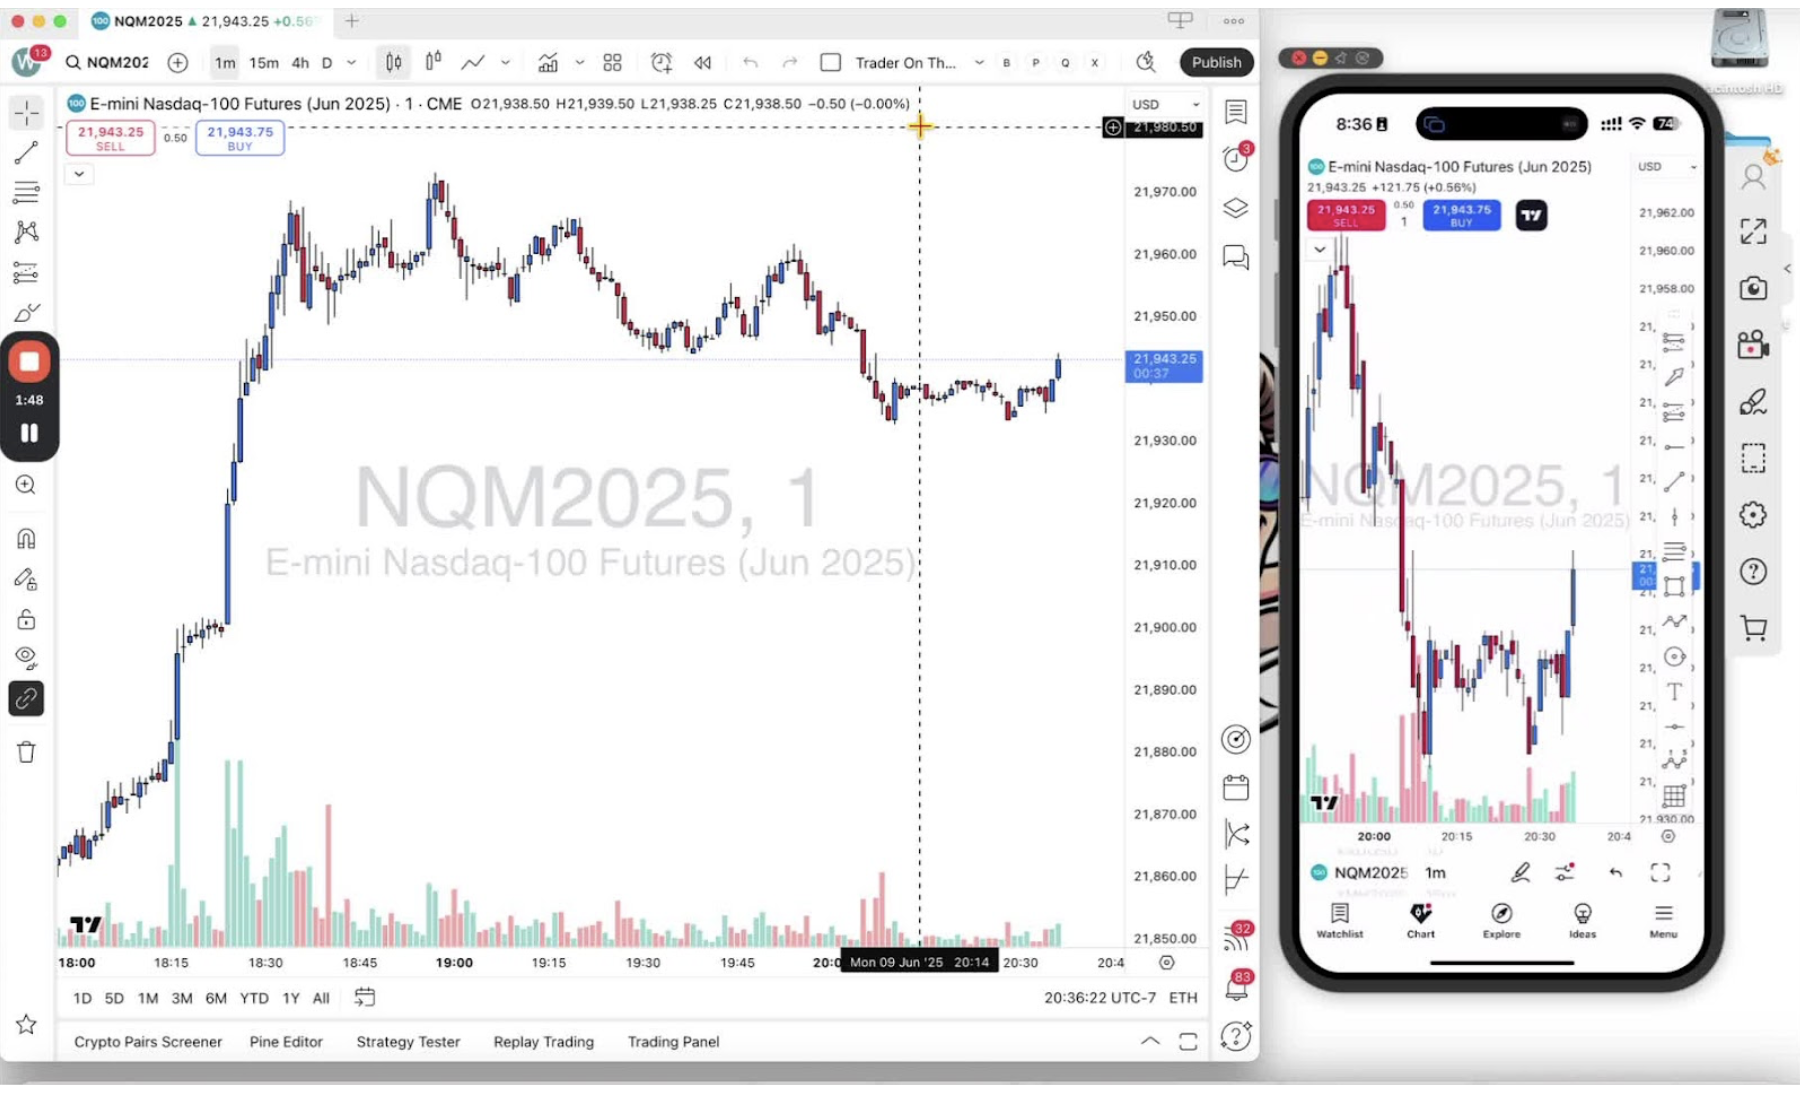
    • Click ‘Save’. The layout opens in a tab.

    Installing Indicators 1:33

    • Click ‘Indicators’.
    • Search for the indicator (for example ‘Trader on the Go’).
    • Click it to install.

    Saving and Favoriting the Layout 2:03

    • Click ‘Save’.
    • Click the star to favorite the layout.

    Accessing the Layout on Mobile 2:29

    • Open the mobile app.
    • Tap the two-lines-and-two-circles icon.
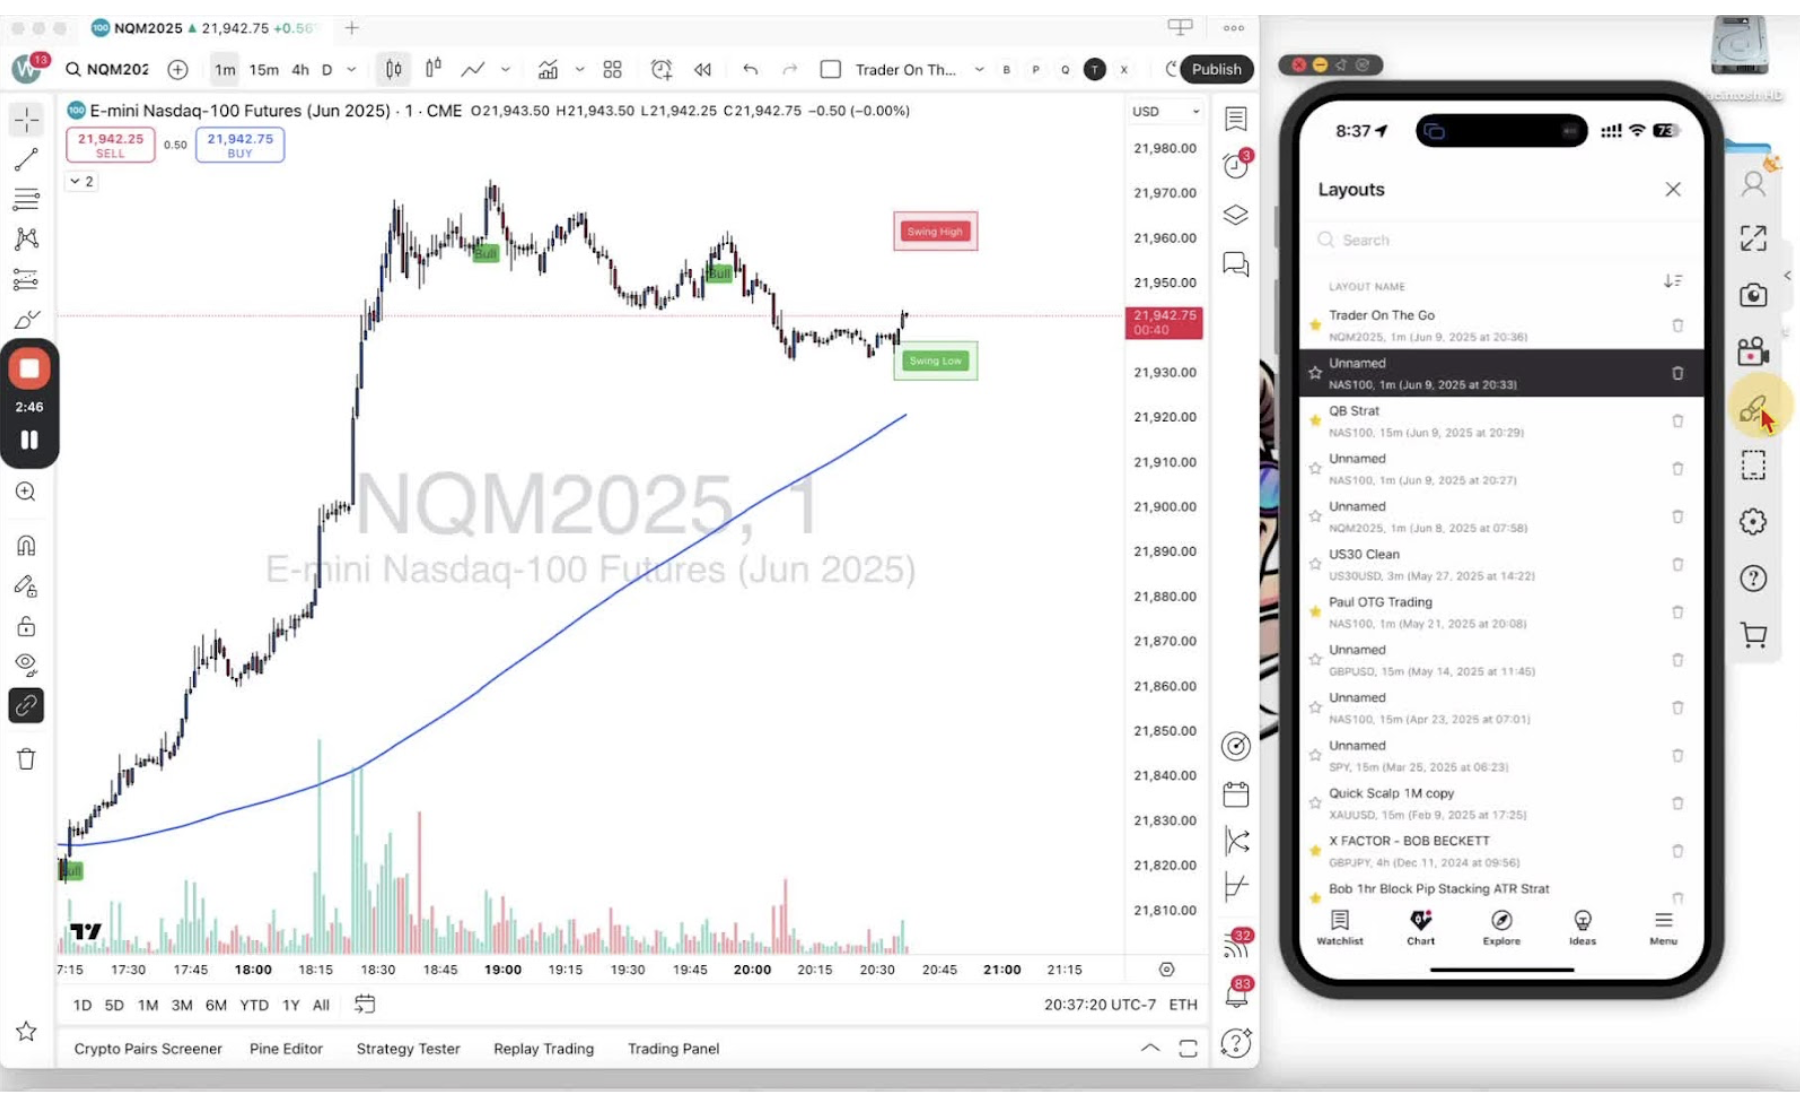
    • Tap the down arrow next to ‘Unnamed’ and select ‘Load’.

    Loading the Favorite Layout 2:35

    • Select the ‘Trader on the Go’ layout from favorites, or search for it.
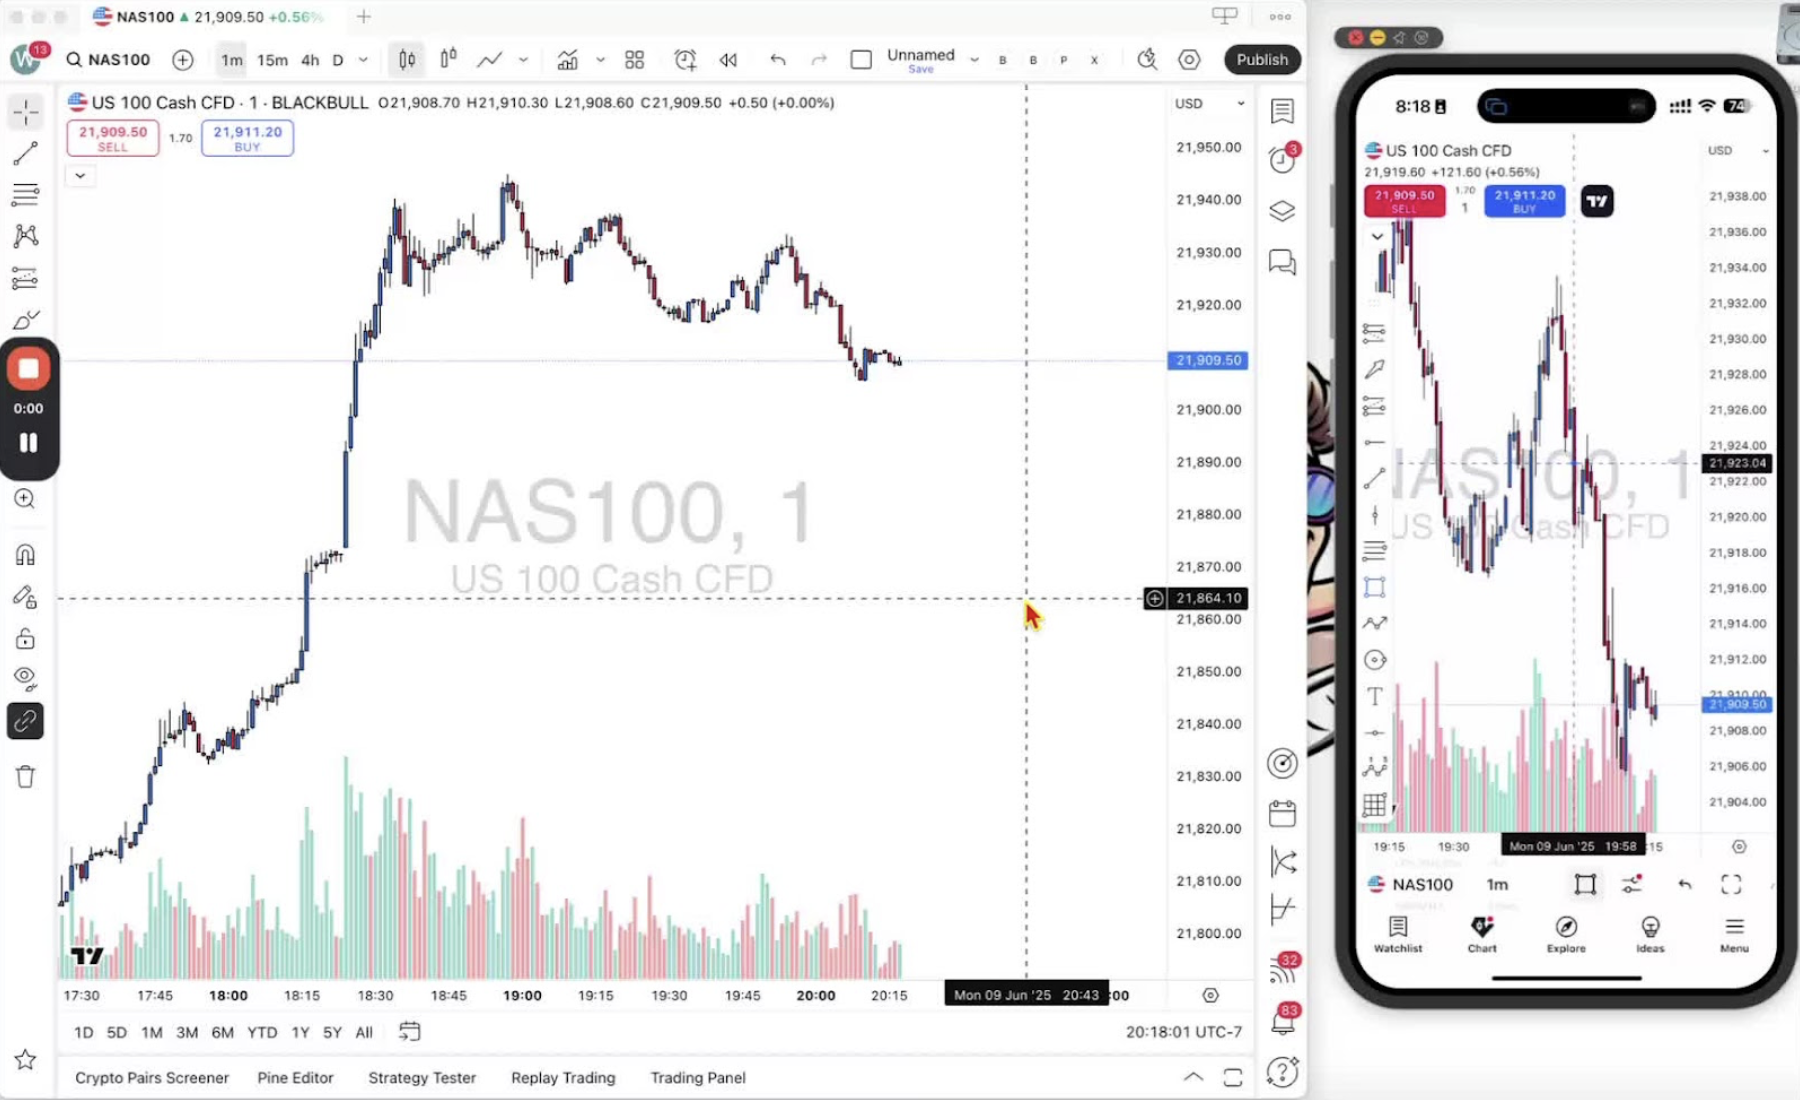
    Syncing Changes Across Devices 2:49

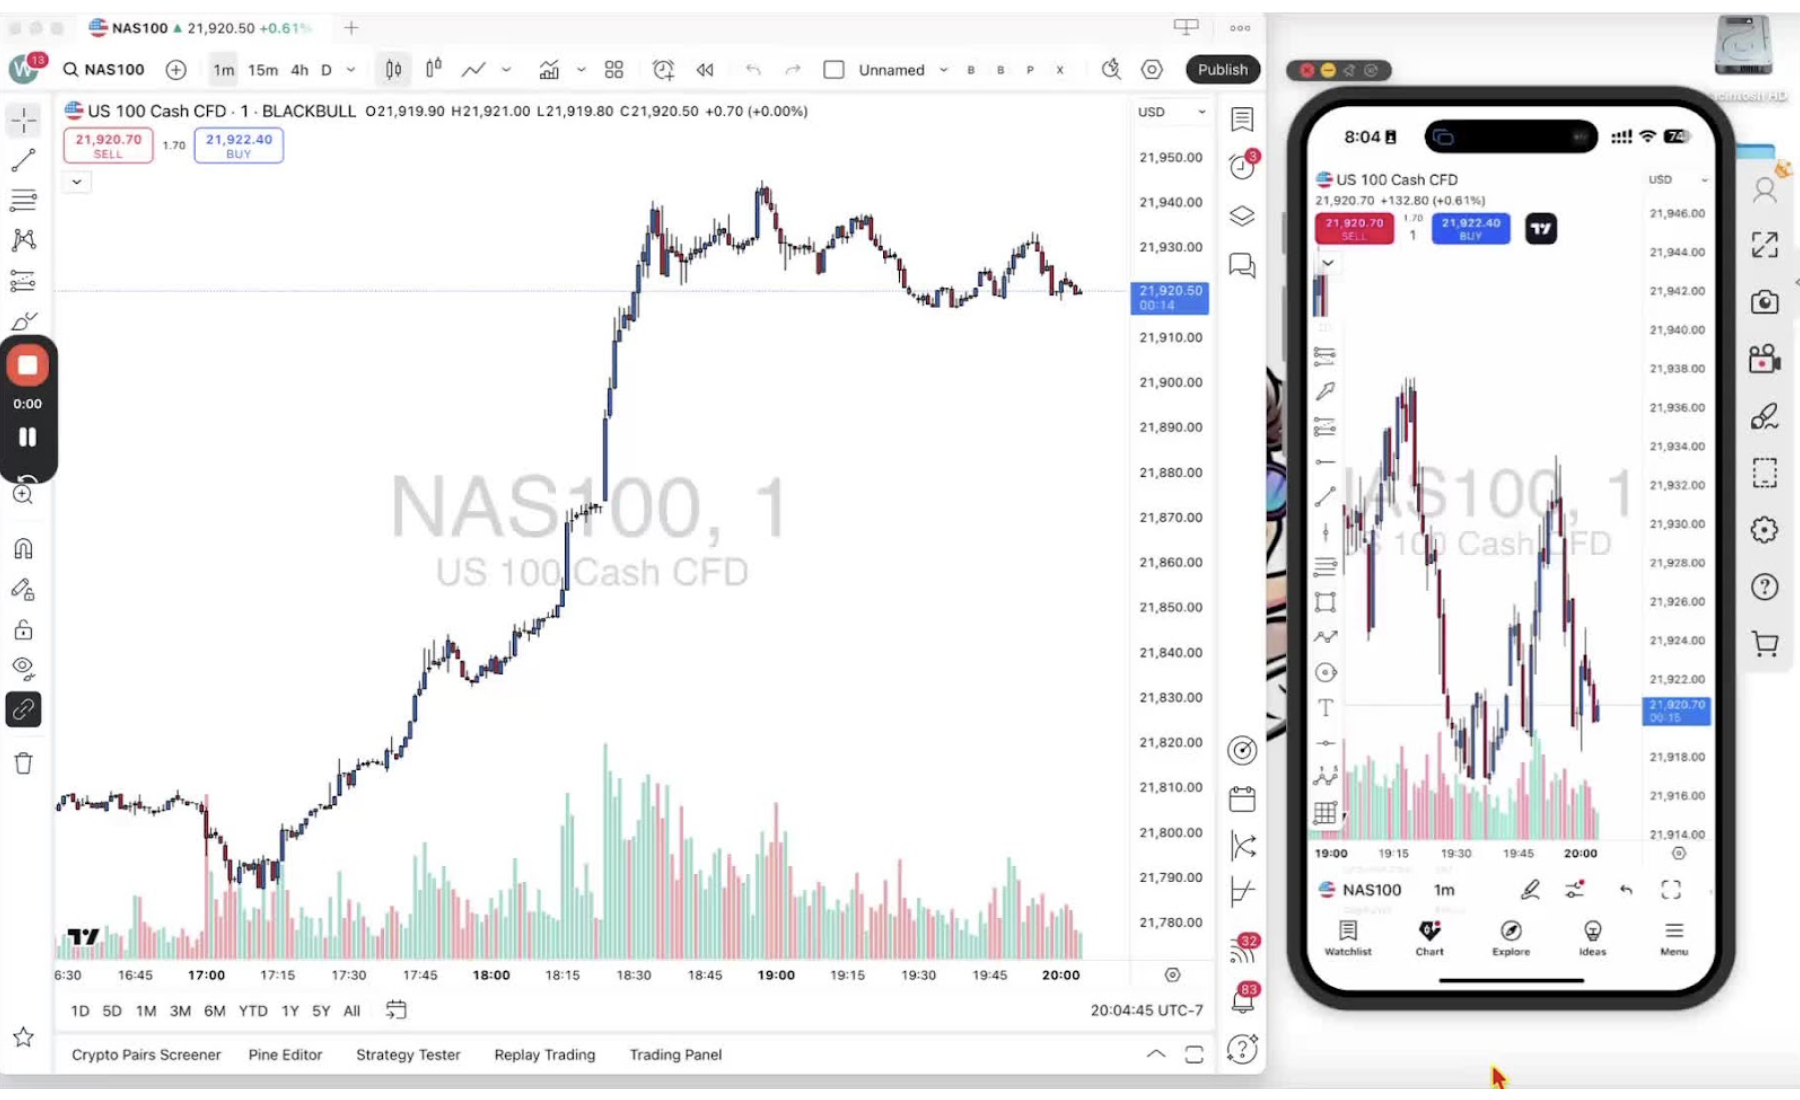
    • Add a trendline on mobile. It appears on desktop too. Changes sync both ways.
  • Step 4. Installing the Trader ON-THE-GO Indicator

    Step 4. Installing the Trader ON-THE-GO Indicator

    Install the Trader on the Go indicator on desktop and mobile. Once the indicator owner has your TradingView ID, it appears in your invite-only list.
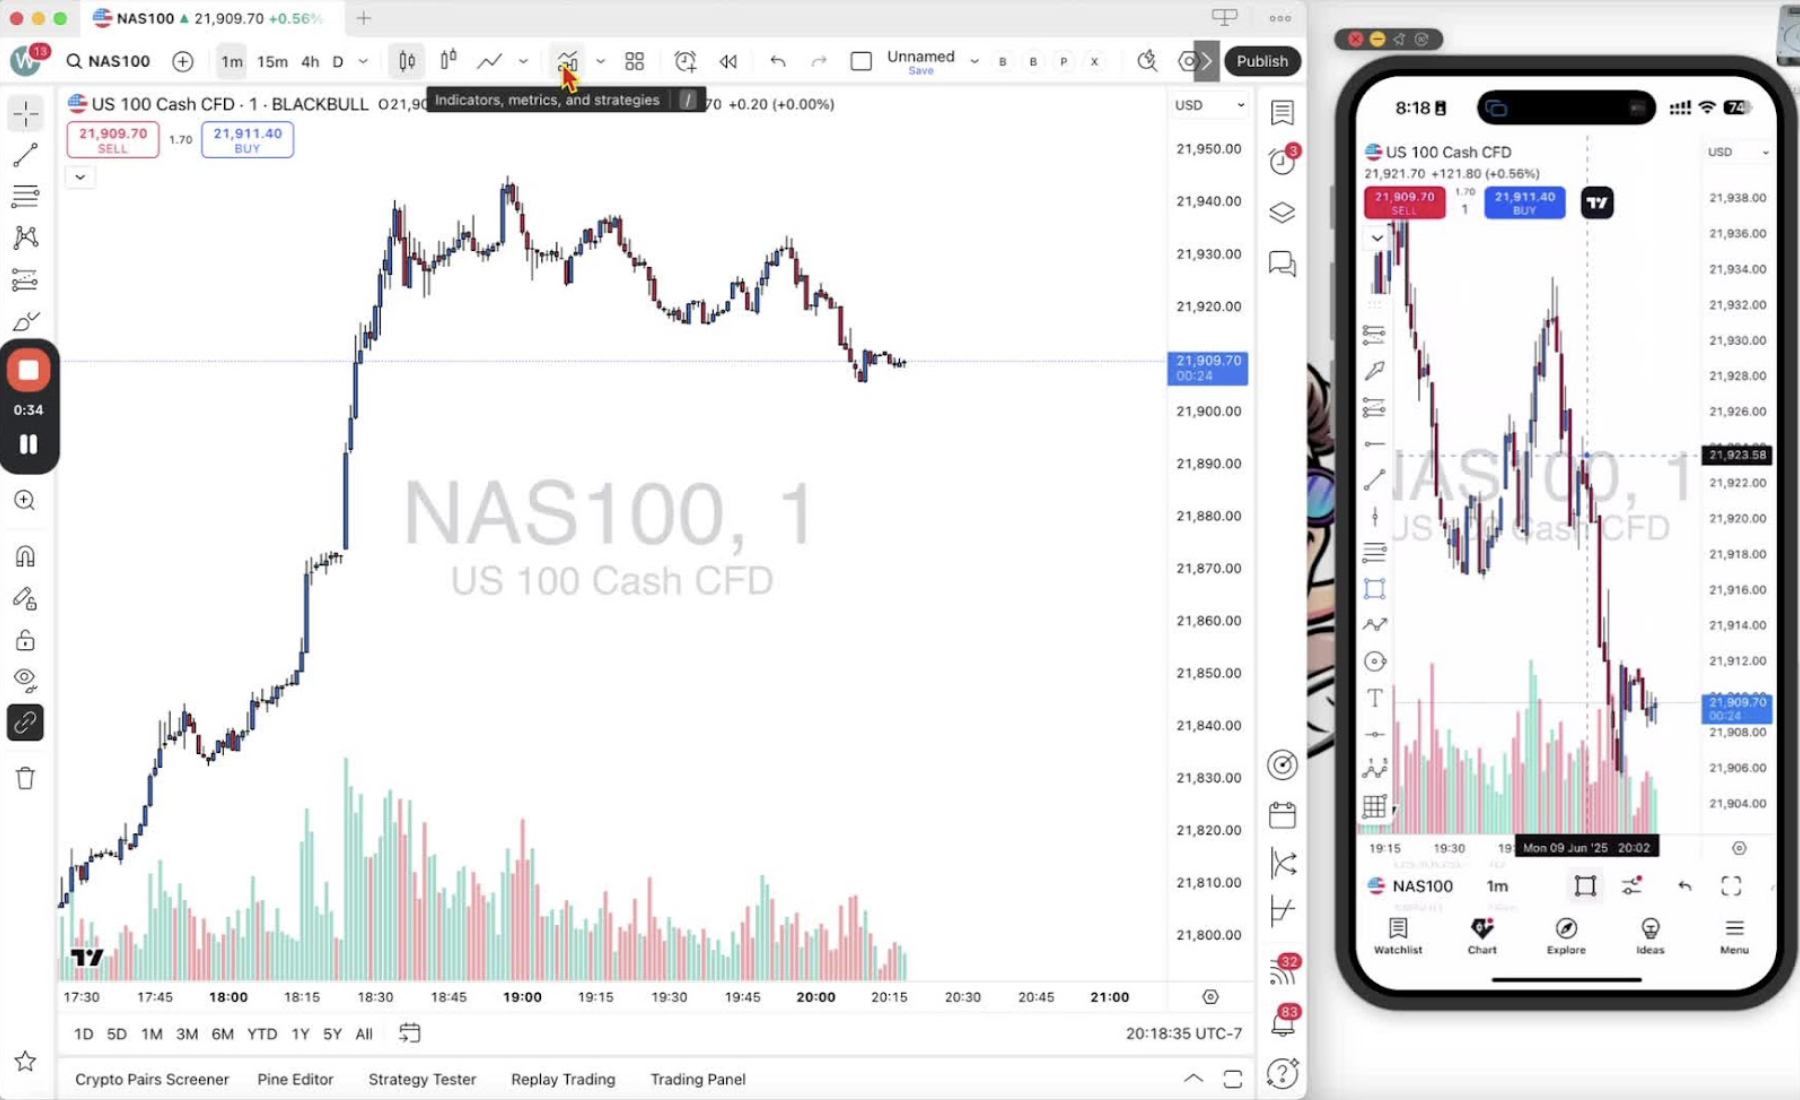
    Access the Indicator Menu on Desktop 0:00

    • Open the TradingView desktop app or web app.
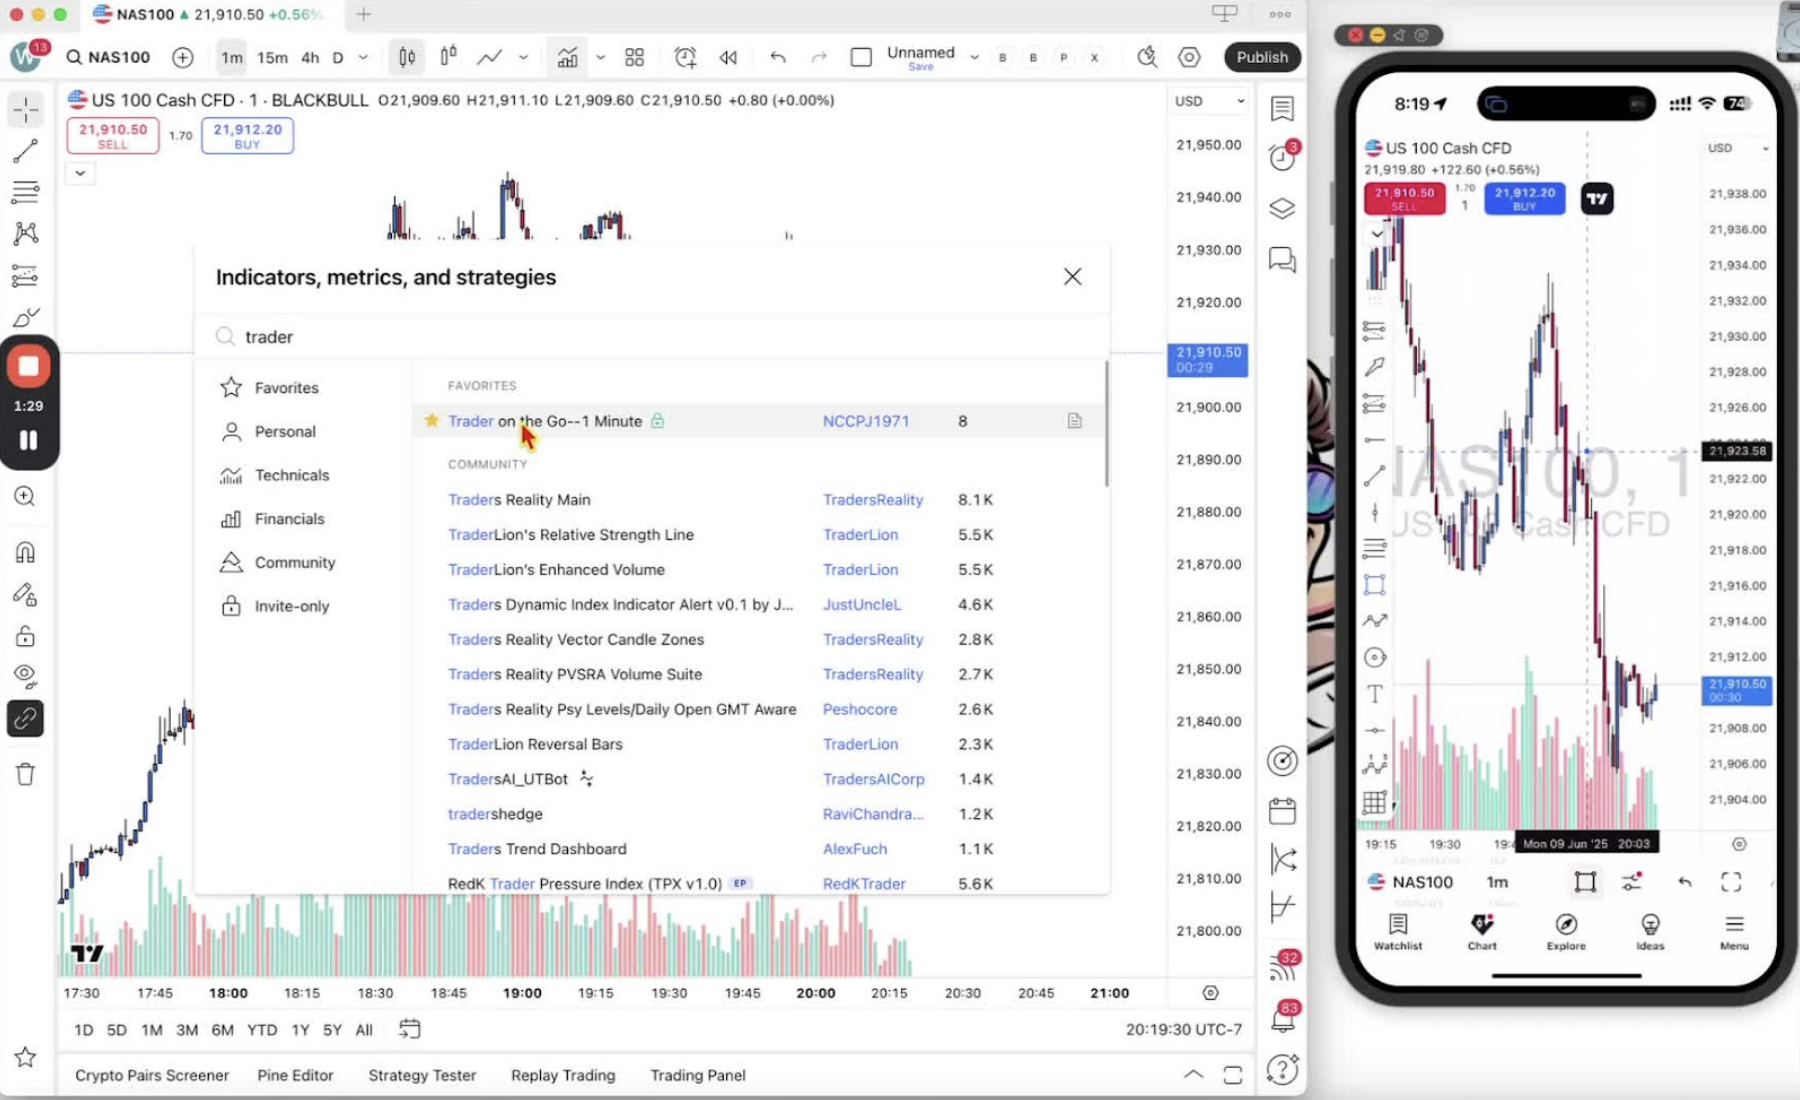
    • Click the ‘Indicators, Metrics, and Strategies’ icon in the top bar.

    Find the Trader on the Go Indicator 0:34

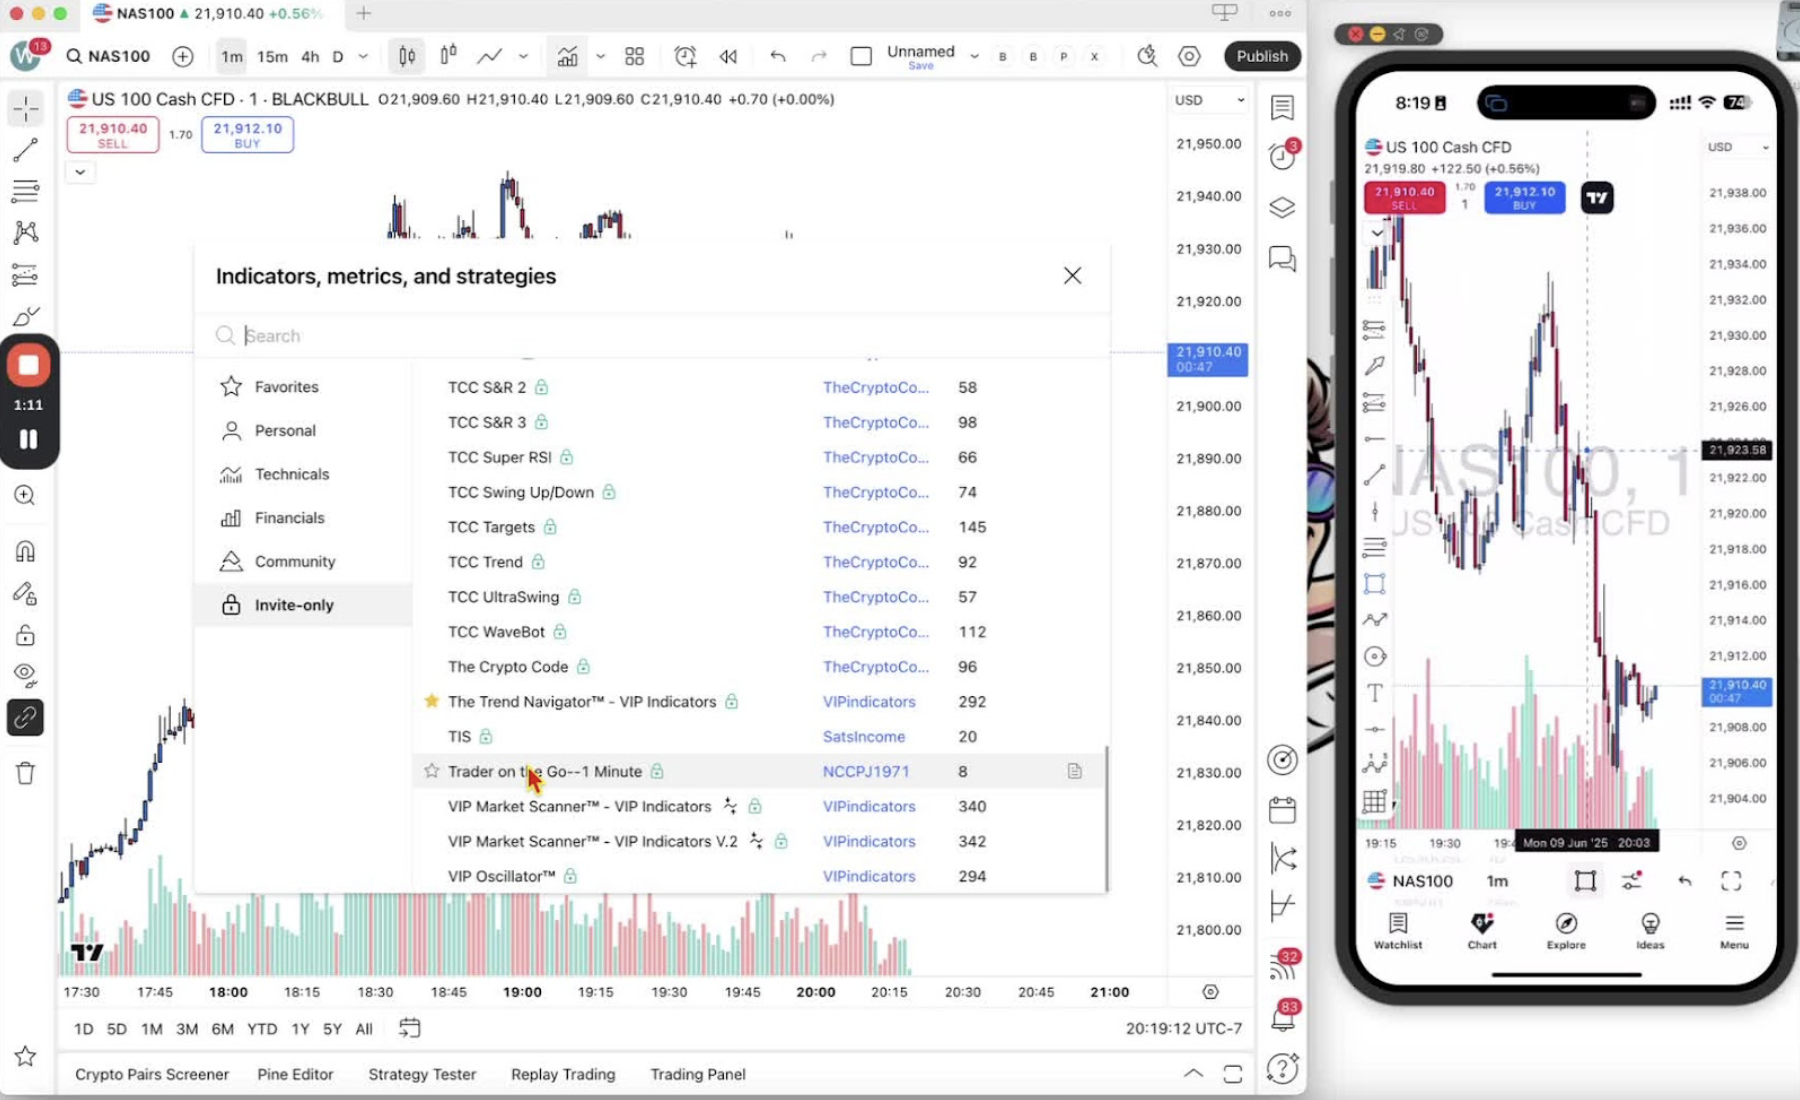
    • If the owner has your TradingView ID, it is in your invite-only list.
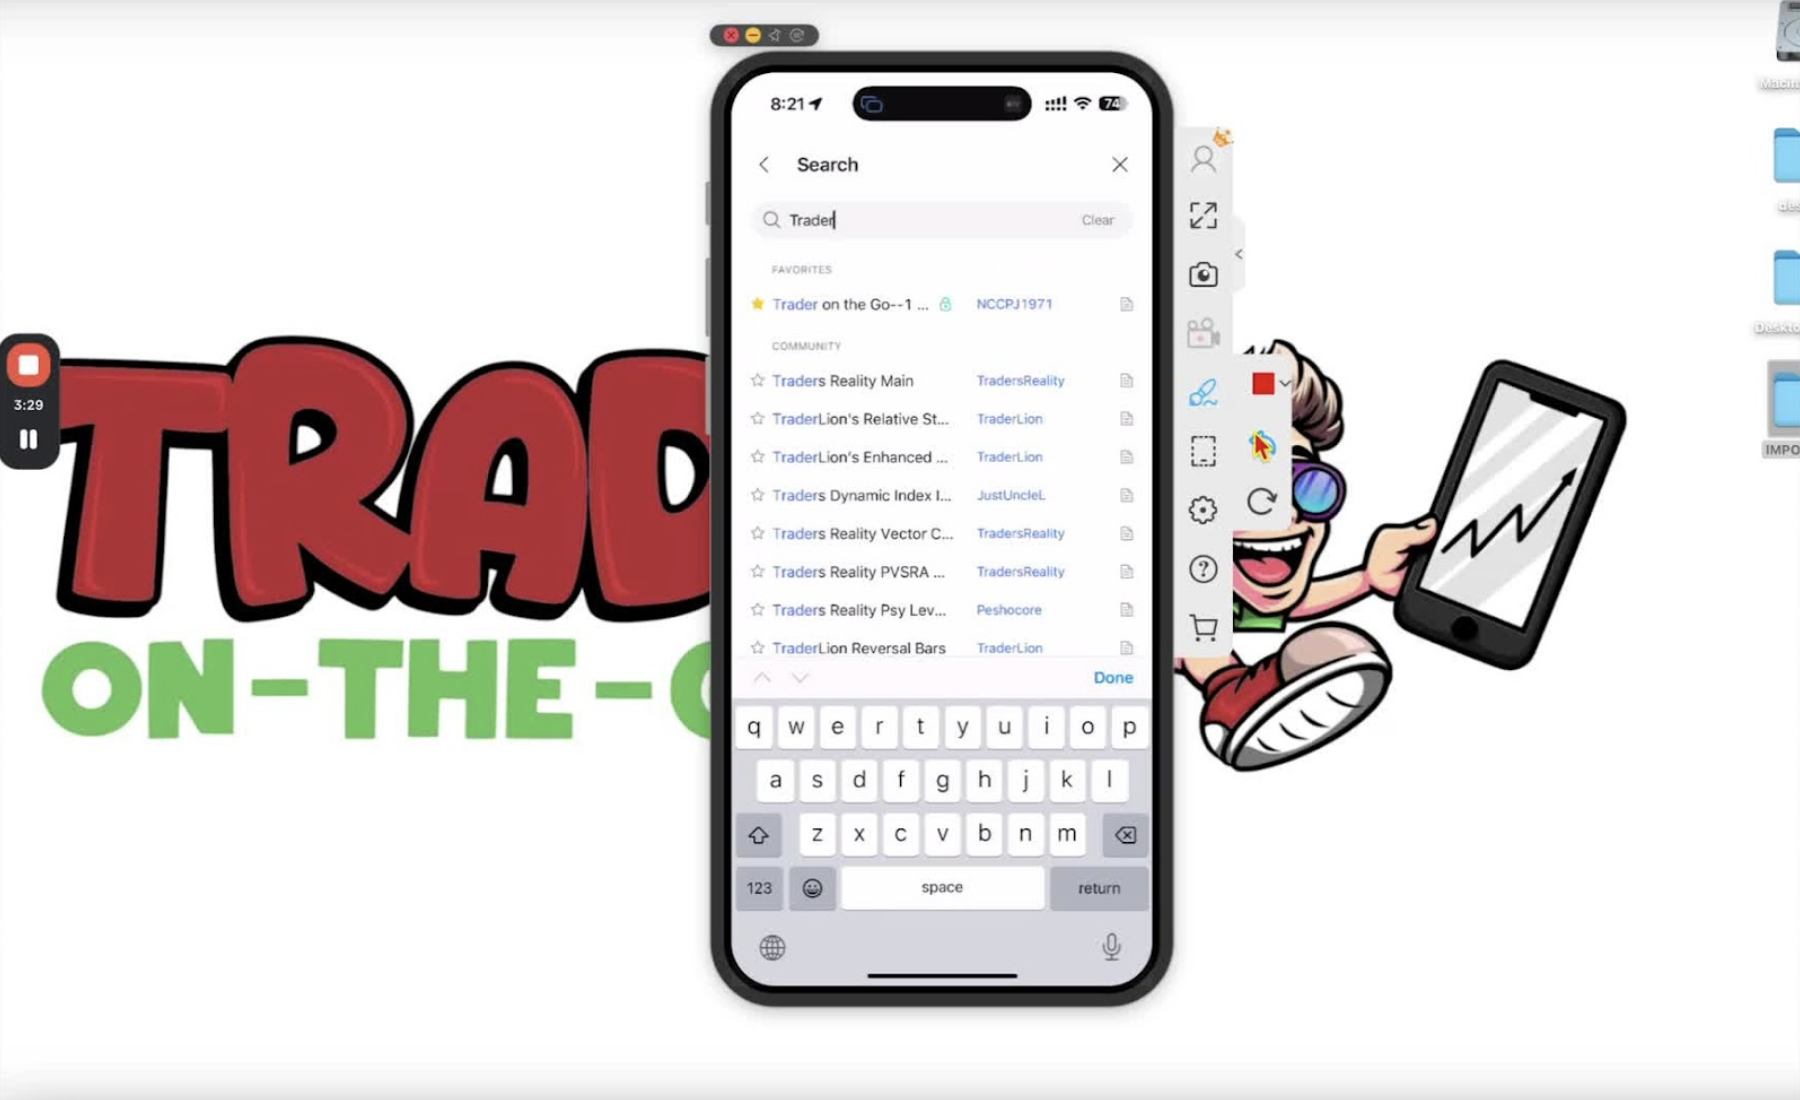
    • Otherwise type ‘trader’ in the search bar and pick ‘Trader on the Go, one minute’.

    Add to Favorites 1:11

    • Click the star next to ‘Trader on the Go, one minute’.

    Apply the Indicator to Your Chart 1:27

    • Click ‘Trader on the Go, one minute’ to add it to the chart.
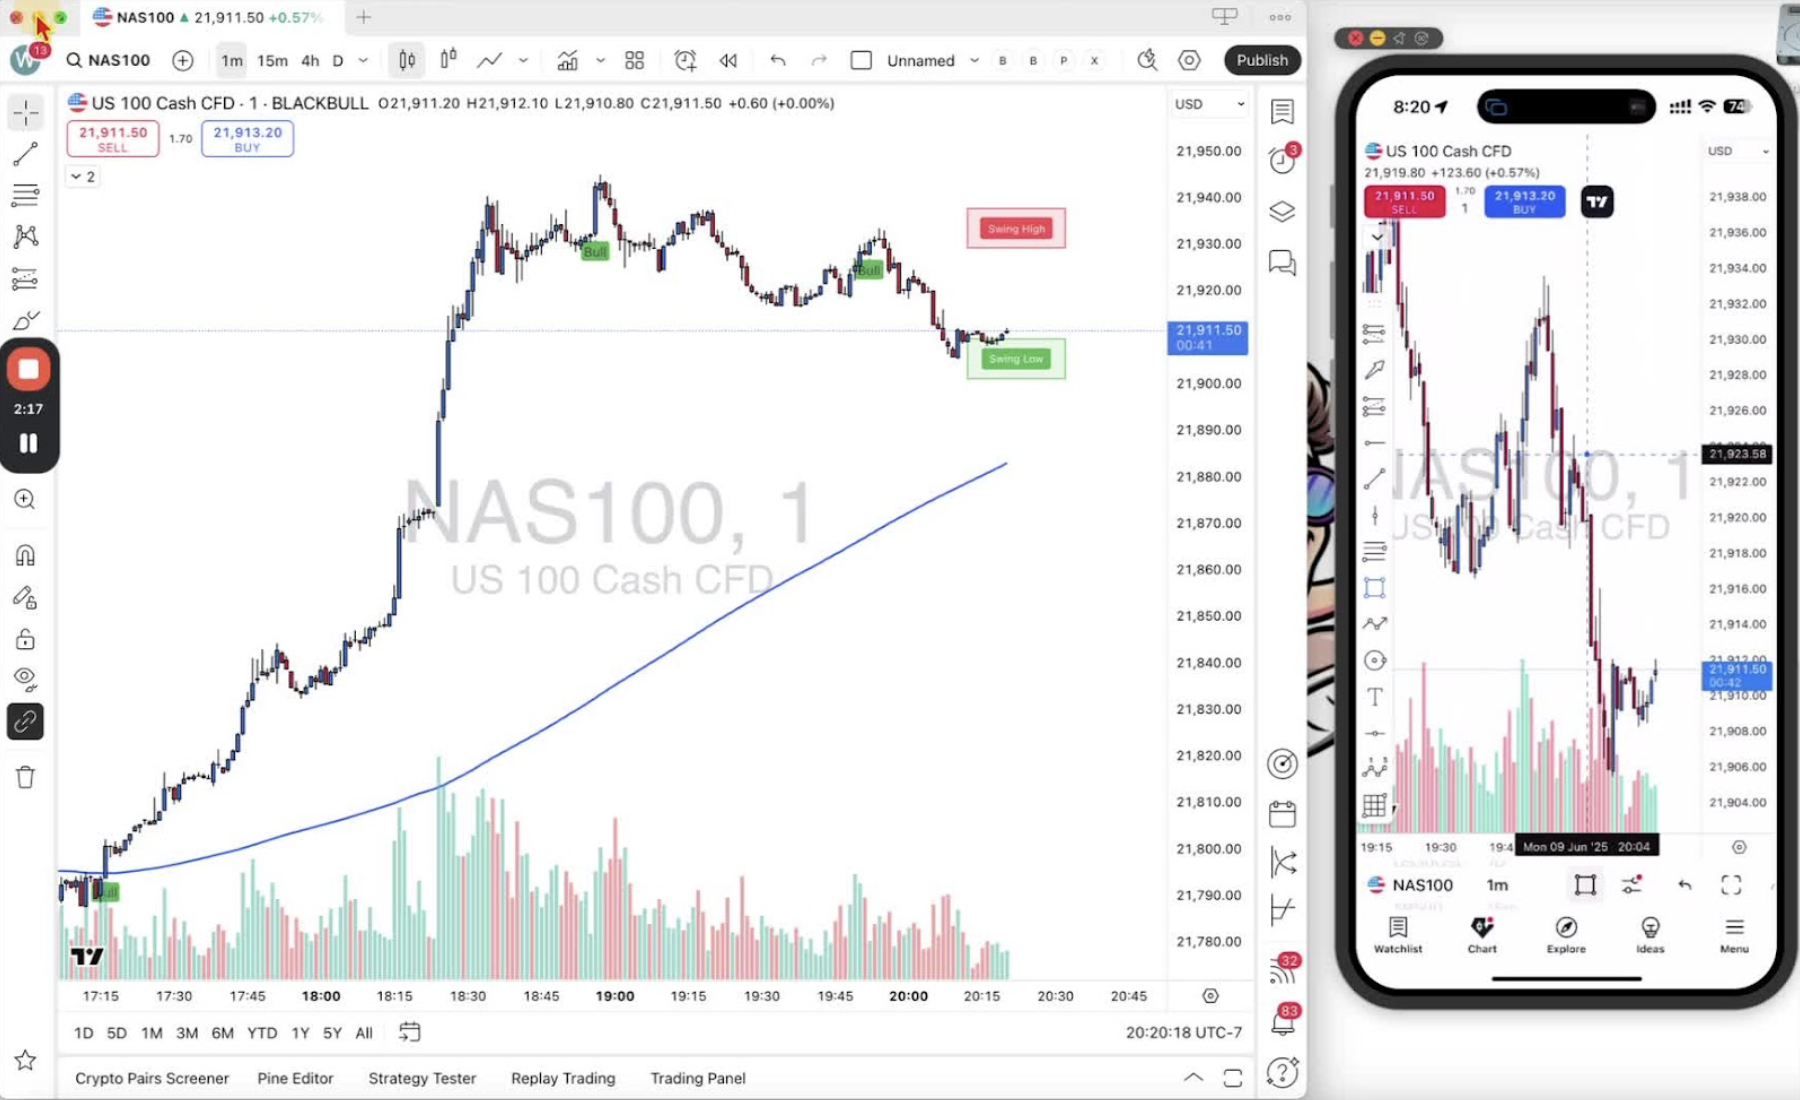
    • Check the indicator legend under the buy/sell buttons to confirm it loaded.

    Access the Indicator on Mobile 2:15

    • Open the TradingView mobile app (Android or iPhone).
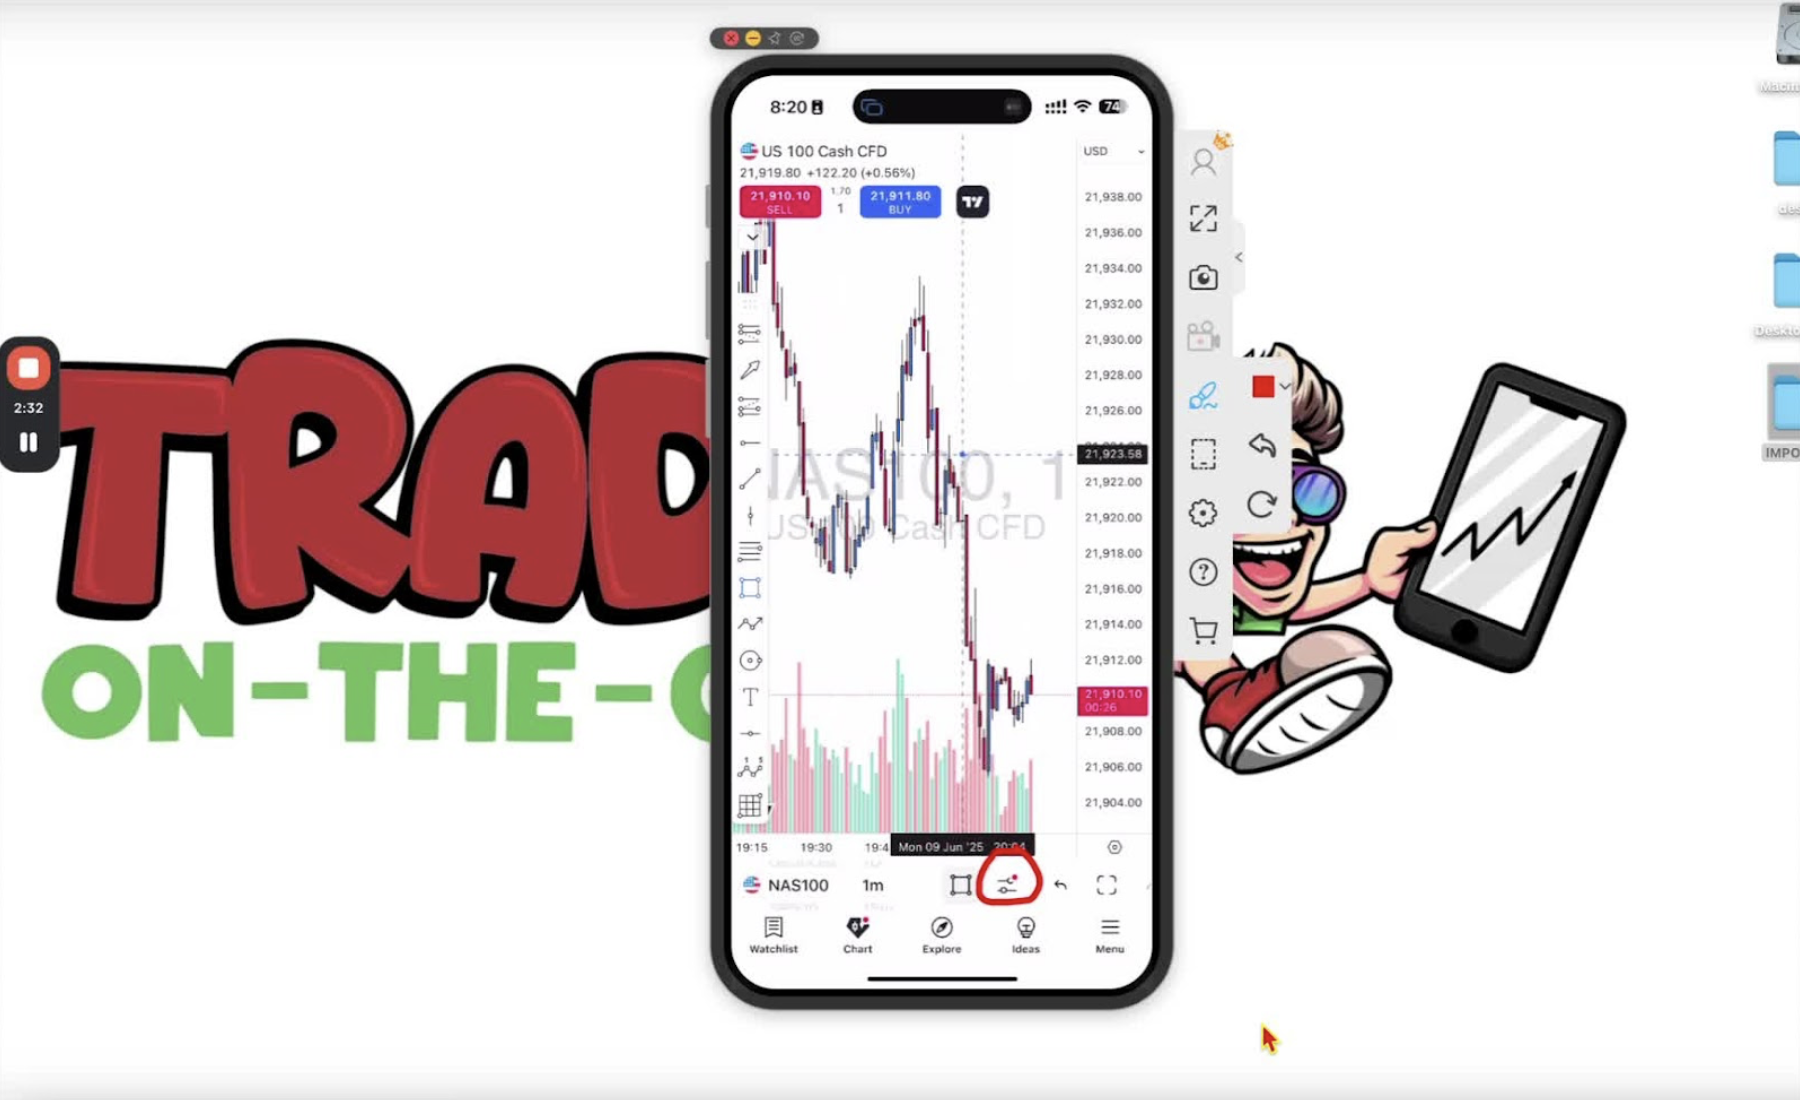
    • Tap the icon with two dashes and two circles at the bottom.

    Find and Favorite the Indicator on Mobile 2:29

    • Tap ‘Indicators’.
    • Type ‘trader’ in the search bar, or scroll to the invite-only section, and find ‘Trader on the Go’.
    • Tap the star to favorite it.

    Add the Indicator to Your Mobile Chart 3:22

    • Tap ‘Trader on the Go’ to add it.
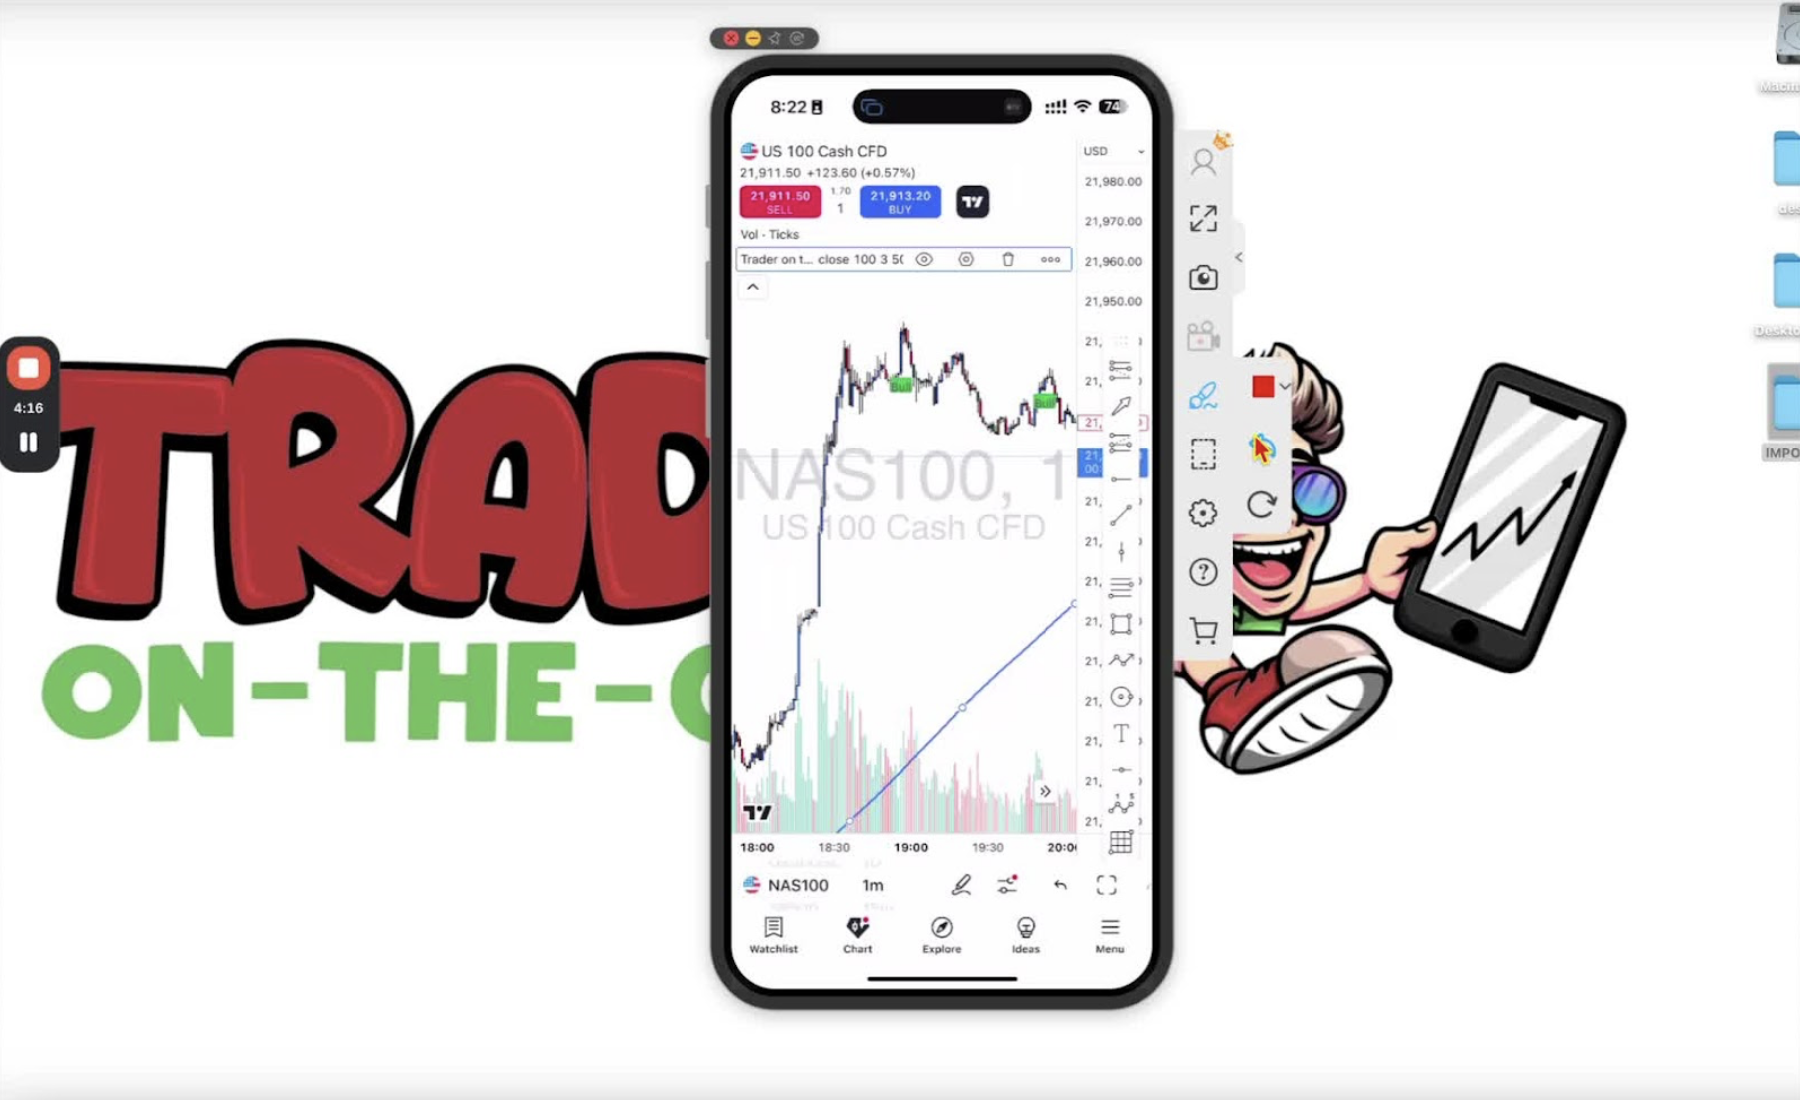
    • Look for the blue line and signals on the chart to confirm.

    Access Indicator Settings 4:07

    • On desktop and mobile, open the settings by clicking the indicator name in the top left corner of the chart.
  • Step 3. How to Find Your TradingView ID

    Step 3. How to Find Your TradingView ID

    You need your TradingView ID to access invite-only indicators. Send it to the indicator owner and they add you. Here is where to find it on desktop and mobile.

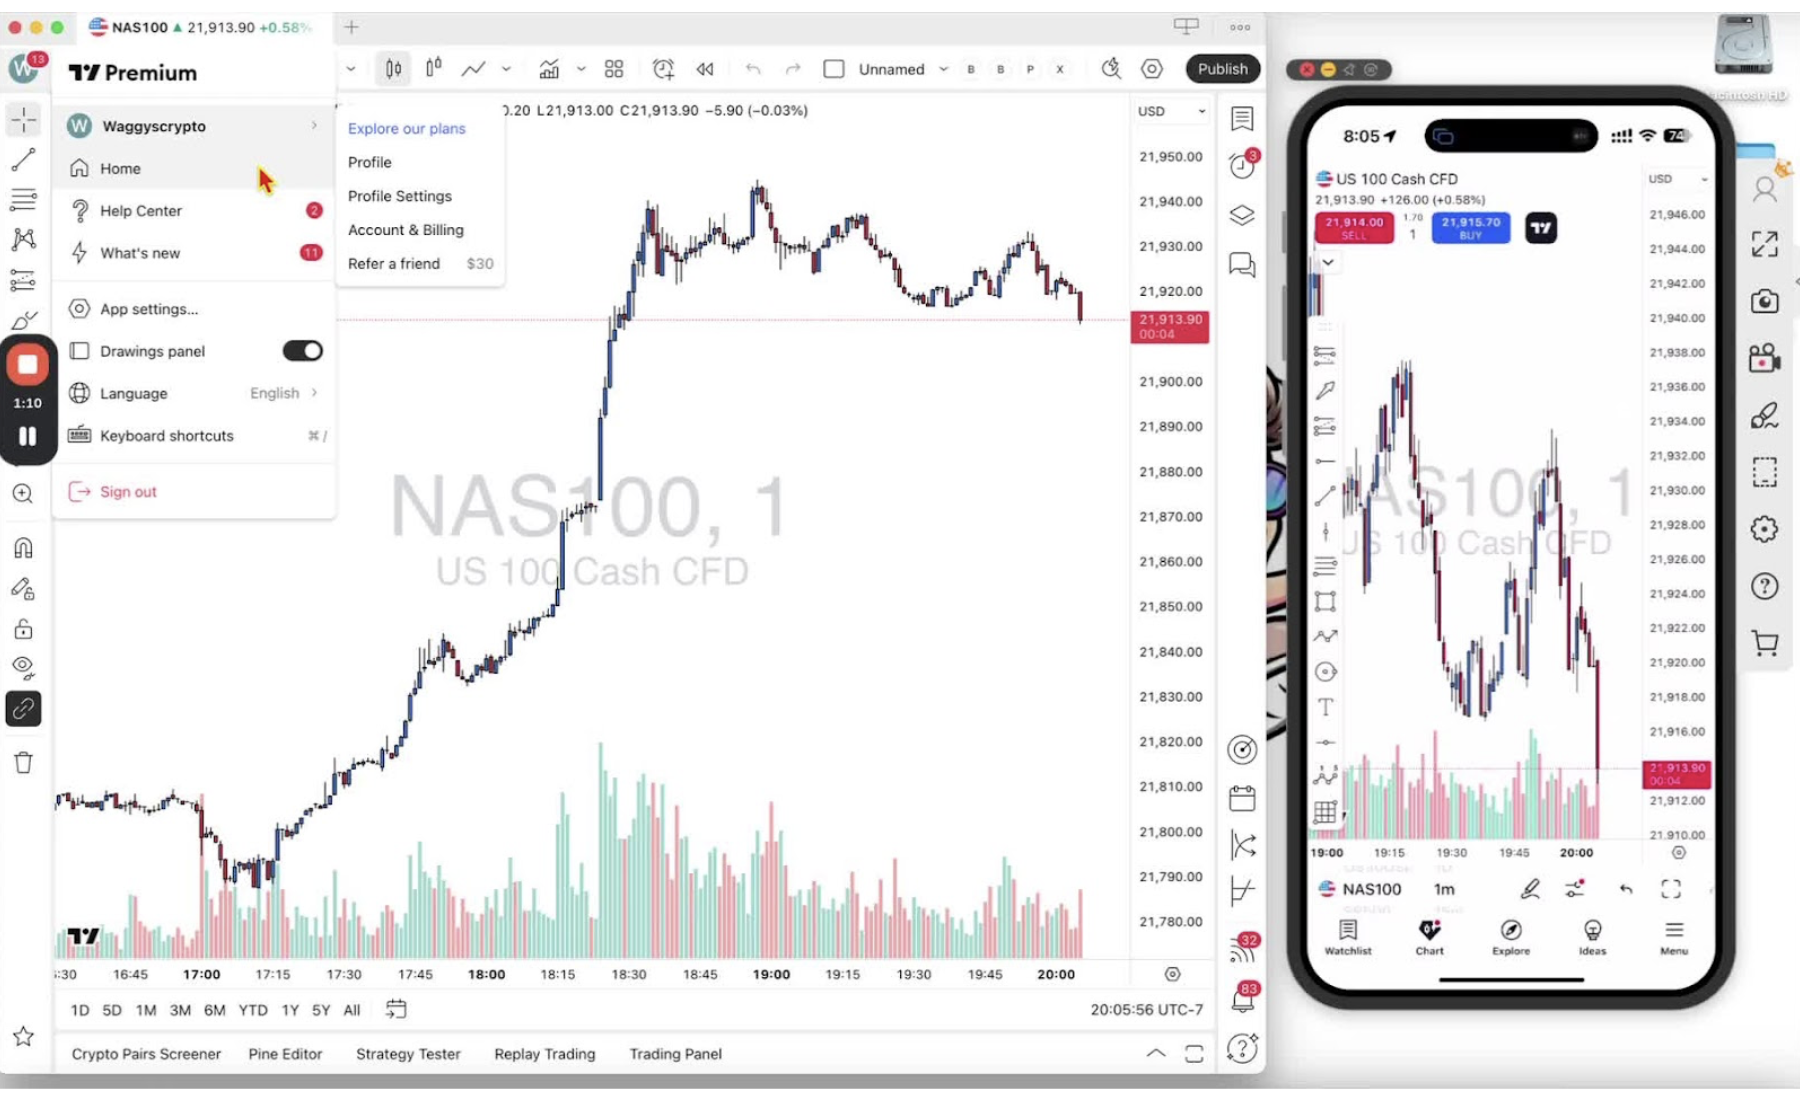
    Finding TradingView ID on Desktop 0:36

    • Open the TradingView desktop app or web app.
    • Find the symbol with a letter in it. The letter is the first character of your ID.
    • Hover over it to see your ID (for example ‘Wagis Crypto’).
    • Click it to see it in full.

    Accessing Profile for TradingView ID 1:01

    • Hover over your name and select ‘Profile’.
    • Your TradingView ID is shown on this page.
    • Highlight and copy it to send to the indicator owner.

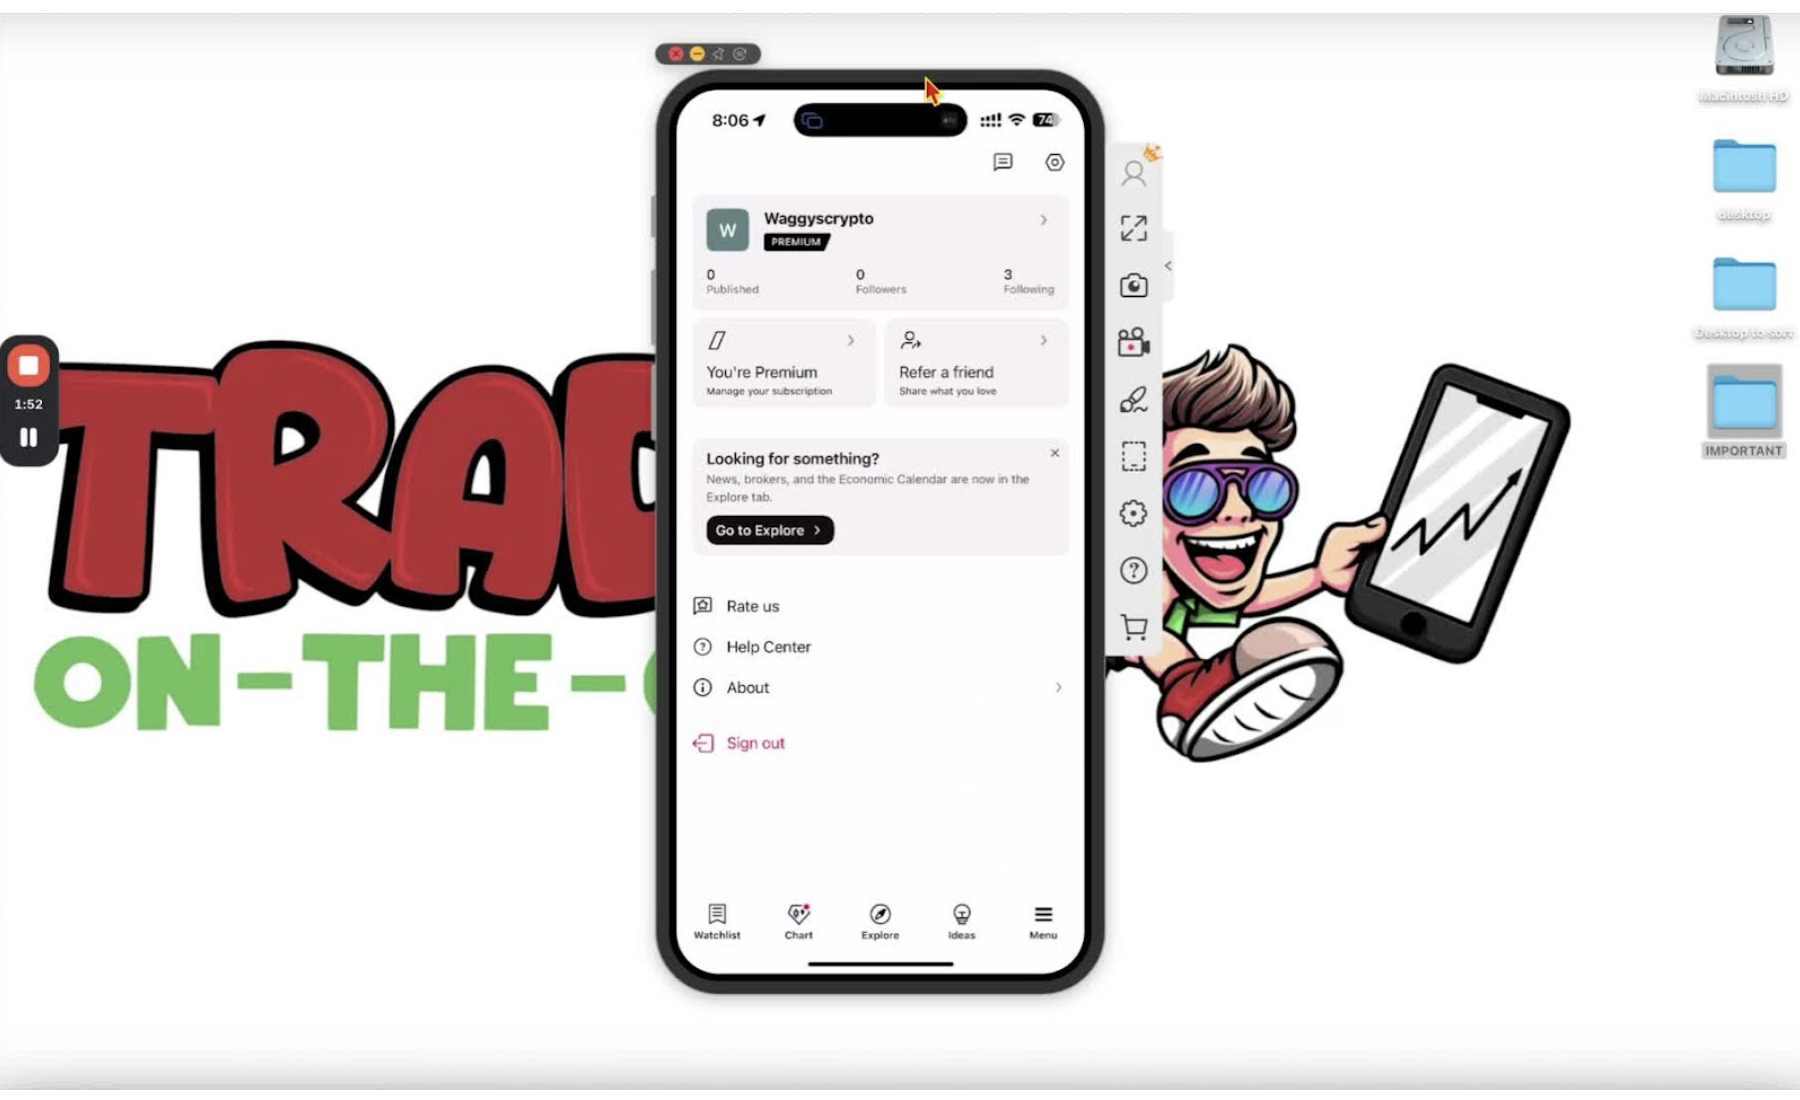
    Finding TradingView ID on Mobile 1:30

    • Open the TradingView mobile app.
    • Tap the menu button in the bottom right.
    • Your TradingView ID is shown at the top.

    Viewing and Editing TradingView ID on Mobile 1:39

    • Tap your ID to see it in full.
    • Tap the pencil icon to edit it.
    • Press and hold to copy it.
  • Step 2. Steps For Downloading and Installing TradingView Applications

    Step 2. Steps For Downloading and Installing TradingView Applications

    Download and install the TradingView desktop and mobile apps, then sign in so your subscription is active on each device.

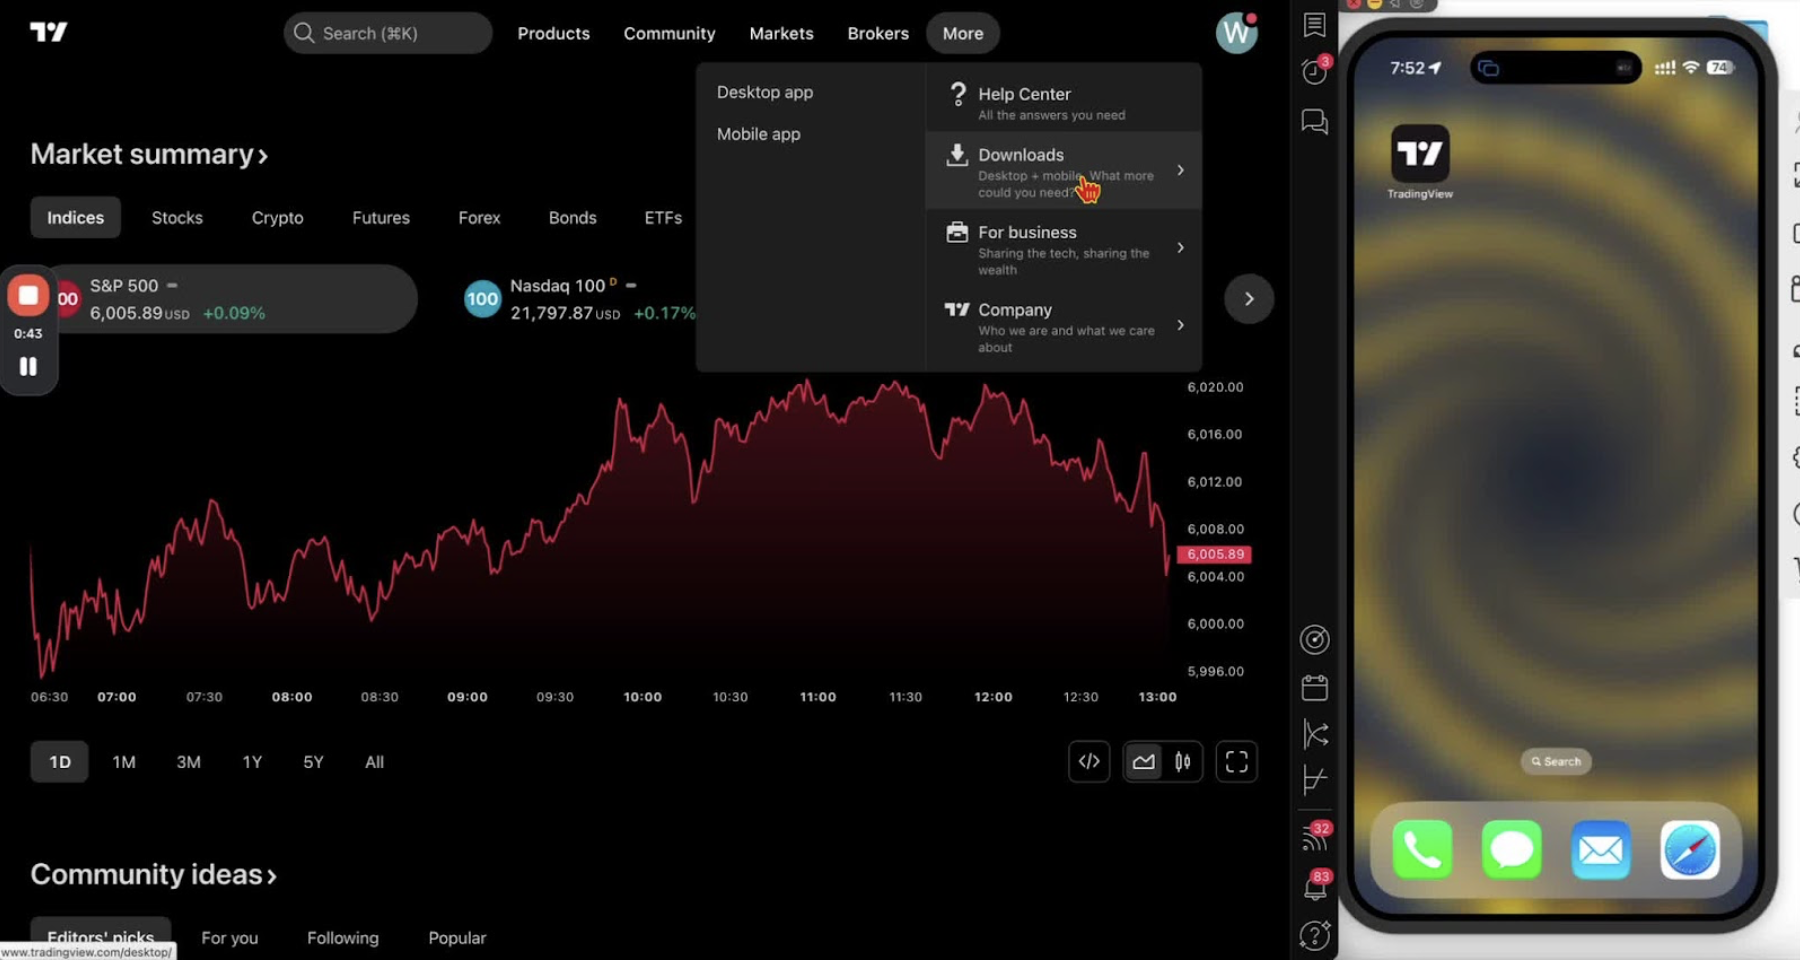
    Access TradingView Downloads 0:35

    • Go to the TradingView website.
    • If the menu is collapsed, click the three lines.
    • Click ‘More’, then ‘Downloads’.

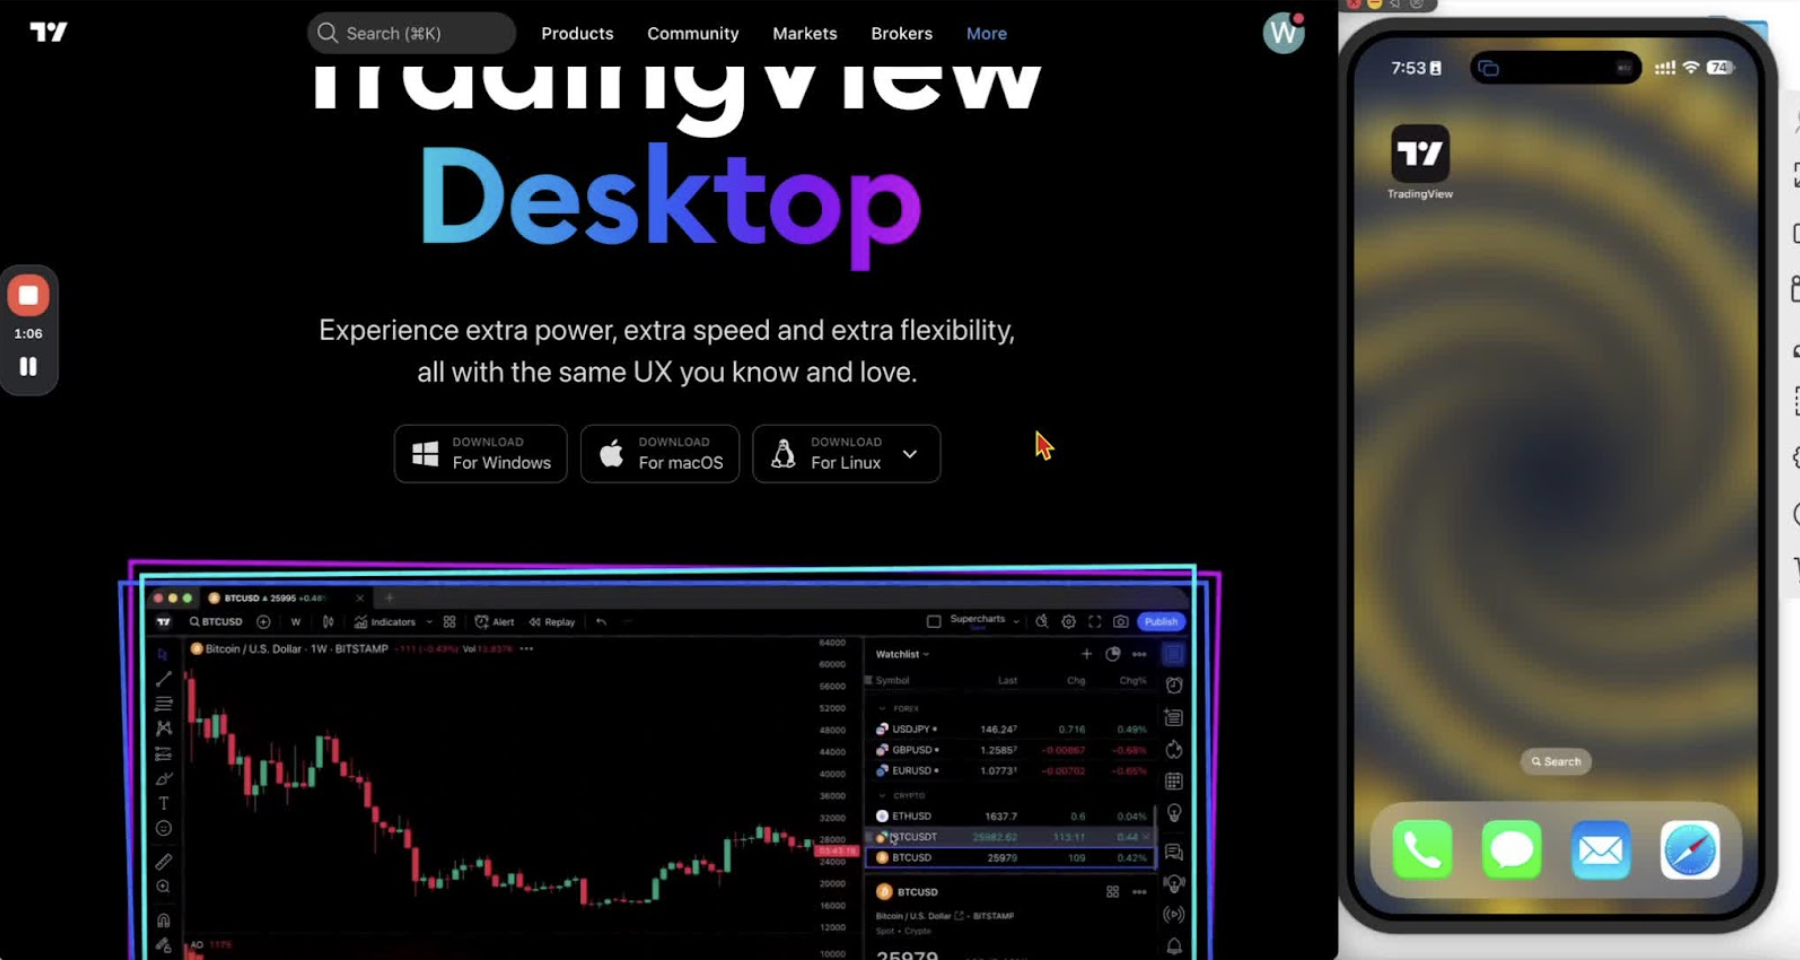
    Download the Desktop Application 0:40

    • Click ‘Desktop’.
    • Choose the download for your operating system (Windows, Mac, or Linux).

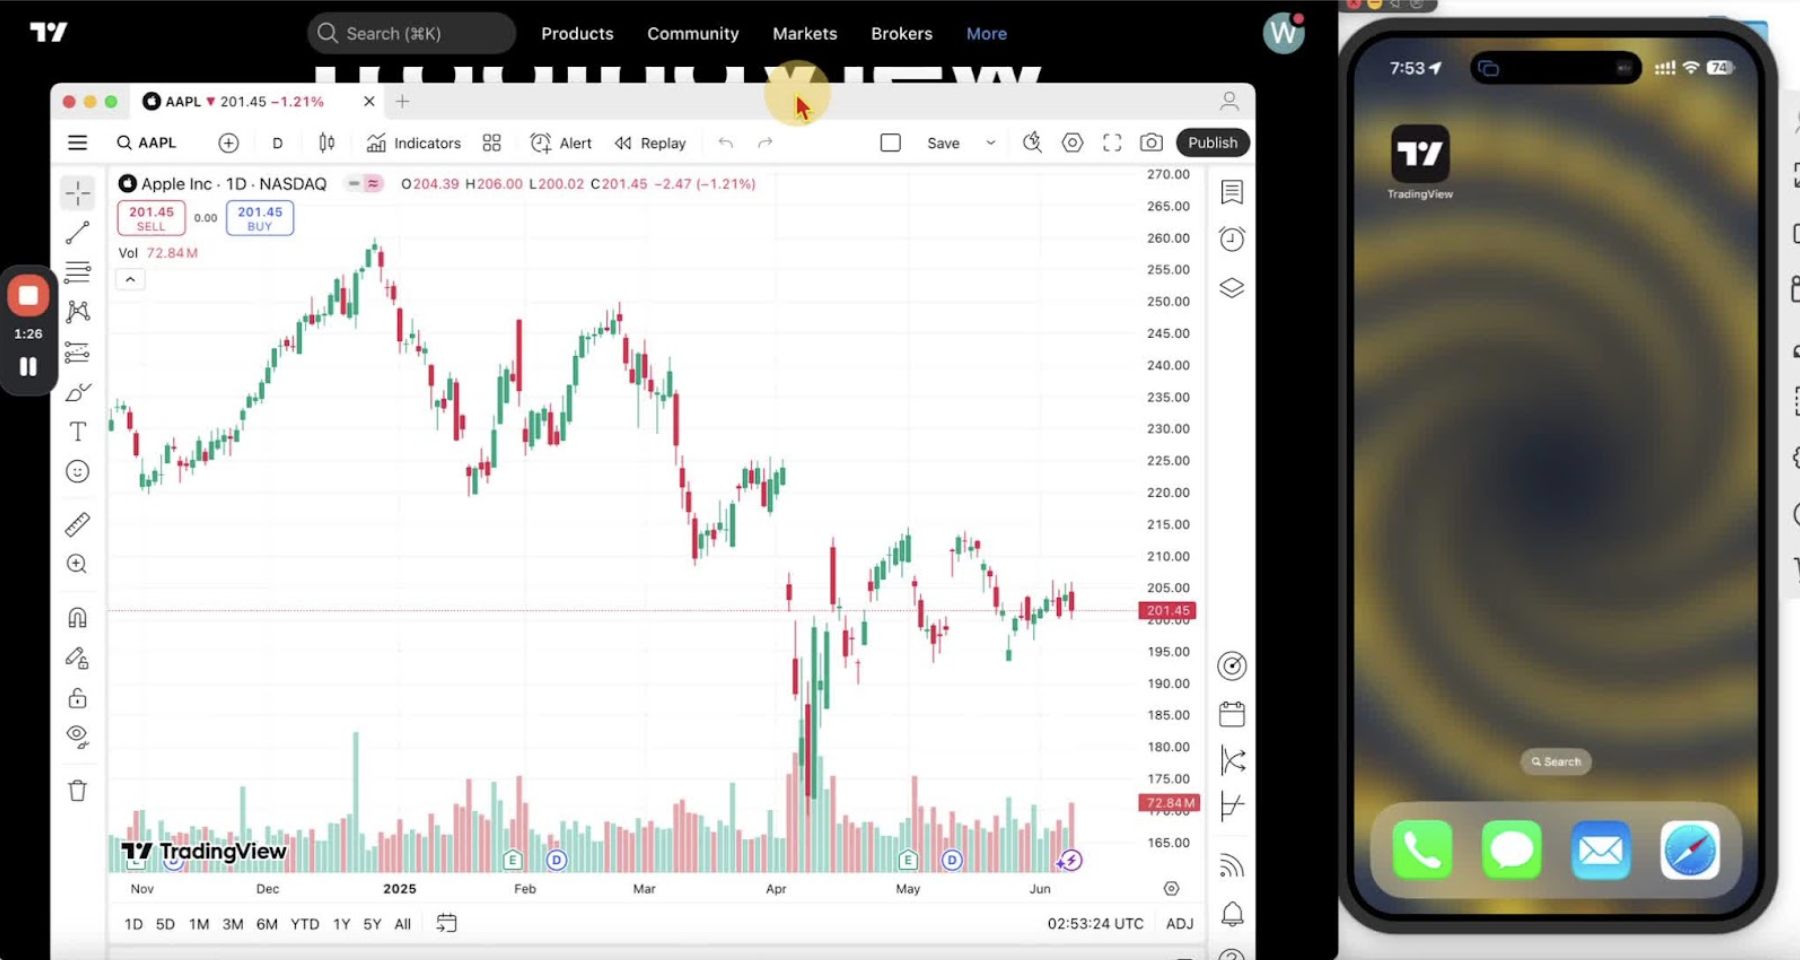
    Install the Desktop Application 1:03

    • Open your Downloads folder and run the installer.
    • Follow the installation prompts.

    Open and Sign In to the Desktop Application 1:22

    • Open TradingView from your applications folder.
    • Click the person icon in the top right corner.
    • Choose ‘Sign in with browser’ or enter your credentials.

    Download the Mobile Application (iPhone) 2:18

    • Open the App Store.
    • Search for ‘TradingView’.
    • Tap ‘Get’.

    Download the Mobile Application (Android) 2:18

    • Open the Google Play Store or Samsung Store.
    • Search for ‘TradingView’.
    • Tap ‘Install’.

    Open and Sign In to the Mobile Application 3:03

    • Open the app.
    • Tap the menu in the bottom right corner and select ‘Sign in’.
    • Enter your credentials.
  • STEP 1. Setting Up TradingView Account and Market Data Package

    STEP 1. Setting Up TradingView Account and Market Data Package

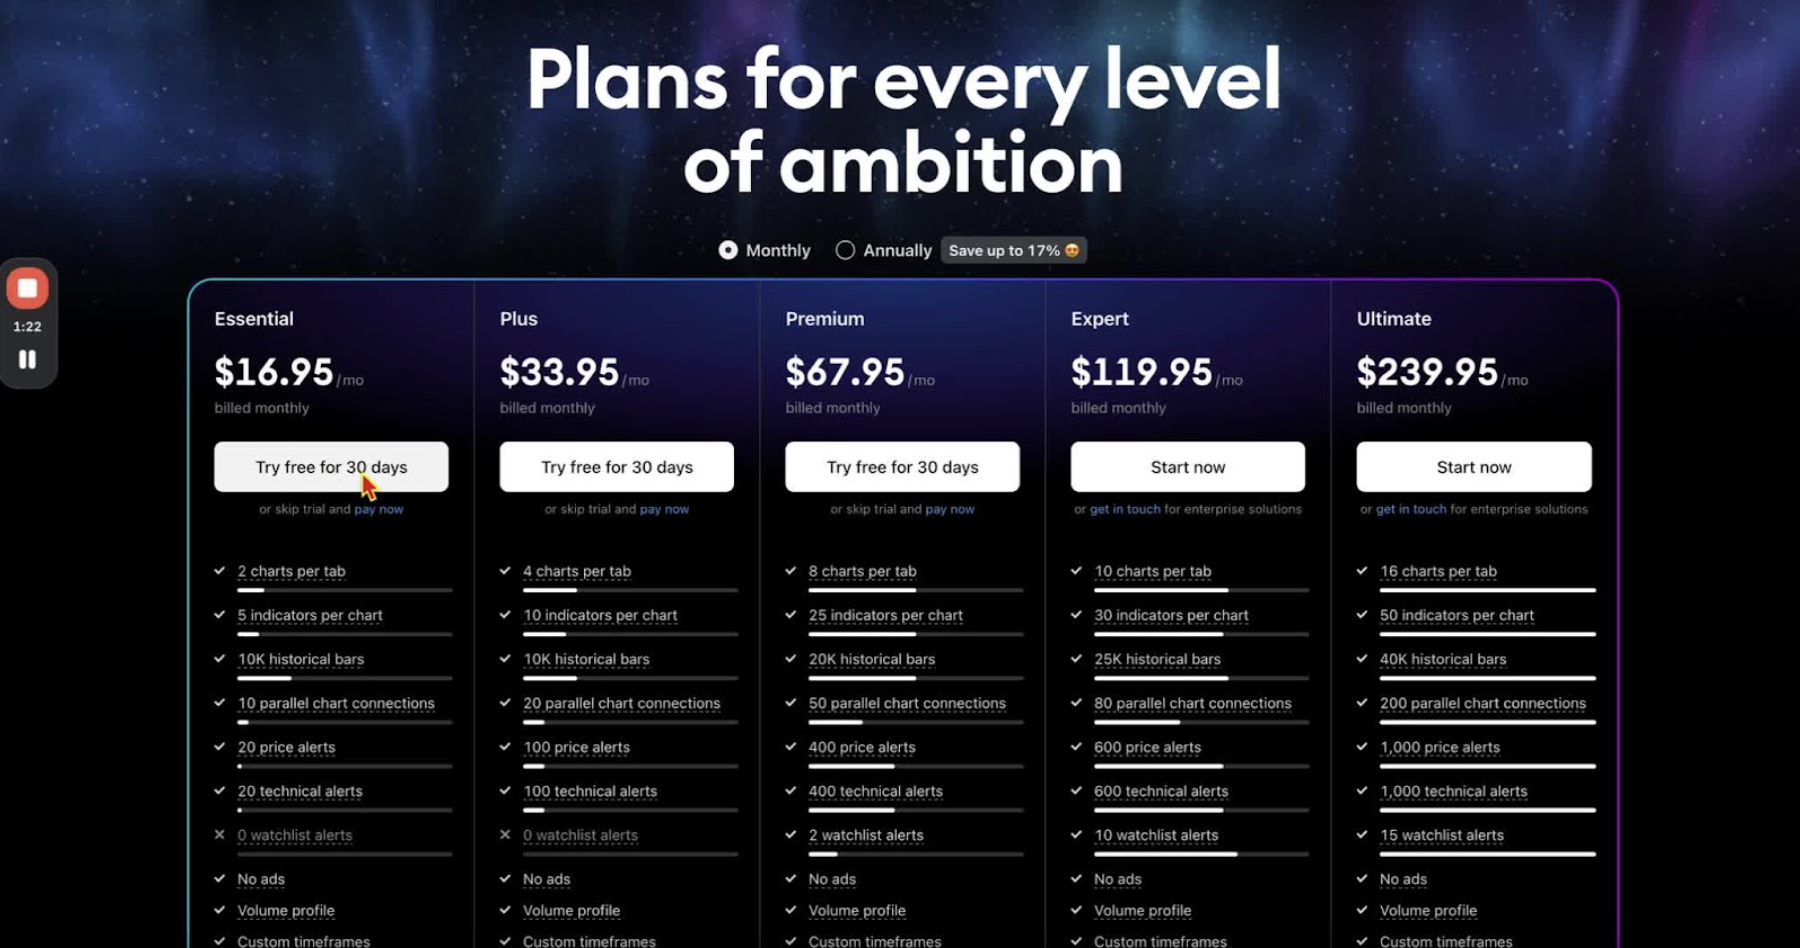
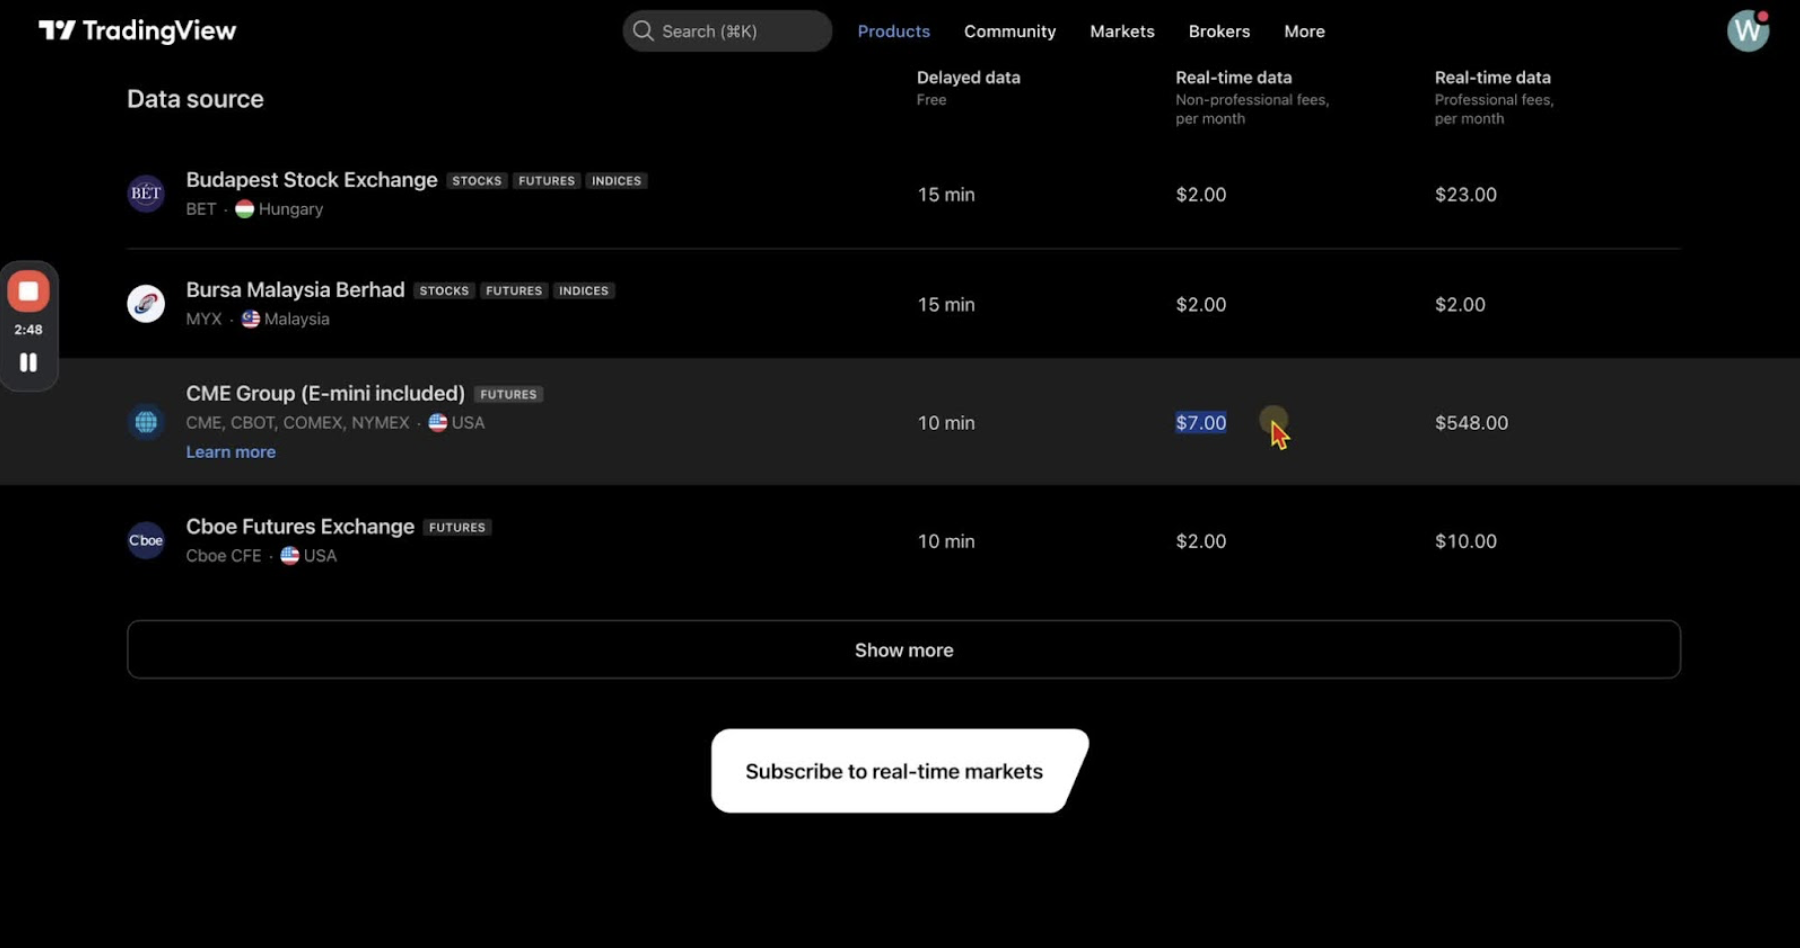
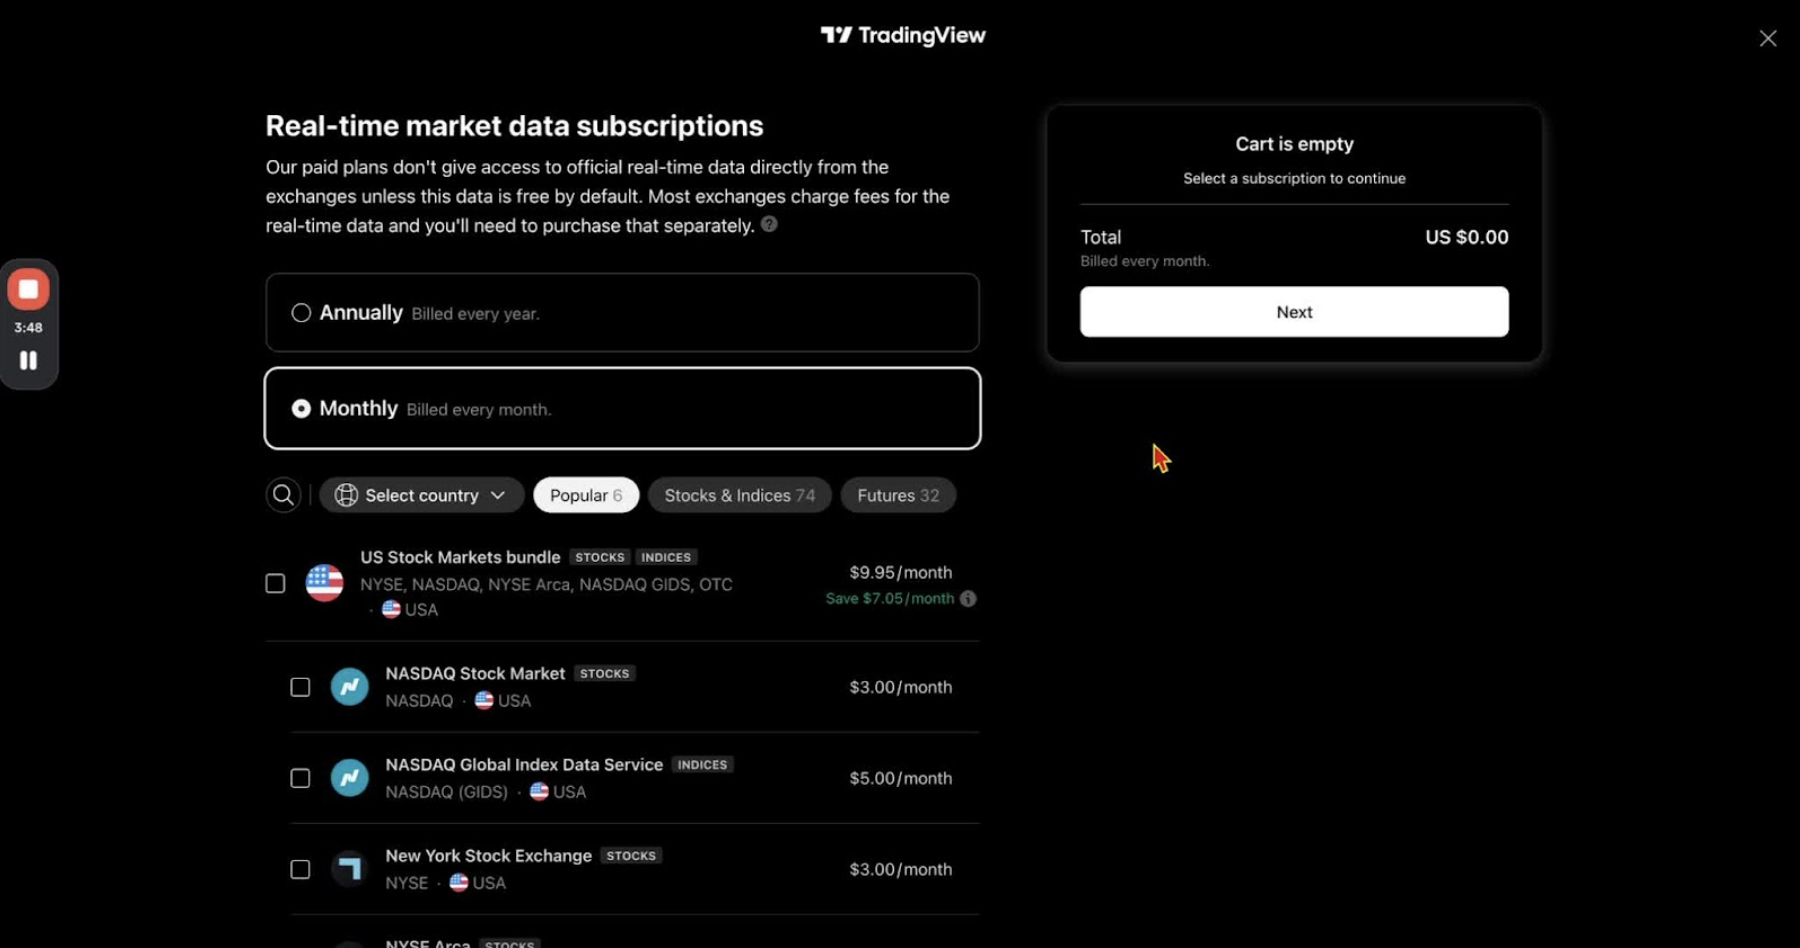
    Create a TradingView account and add the CME futures market data package. The Essential plan is $14/month billed annually or $16.95/month billed monthly, with a 30-day free trial. CME Group futures data (e-mini included) is $7/month on top. Annual billing is cheaper if you plan to keep the account.

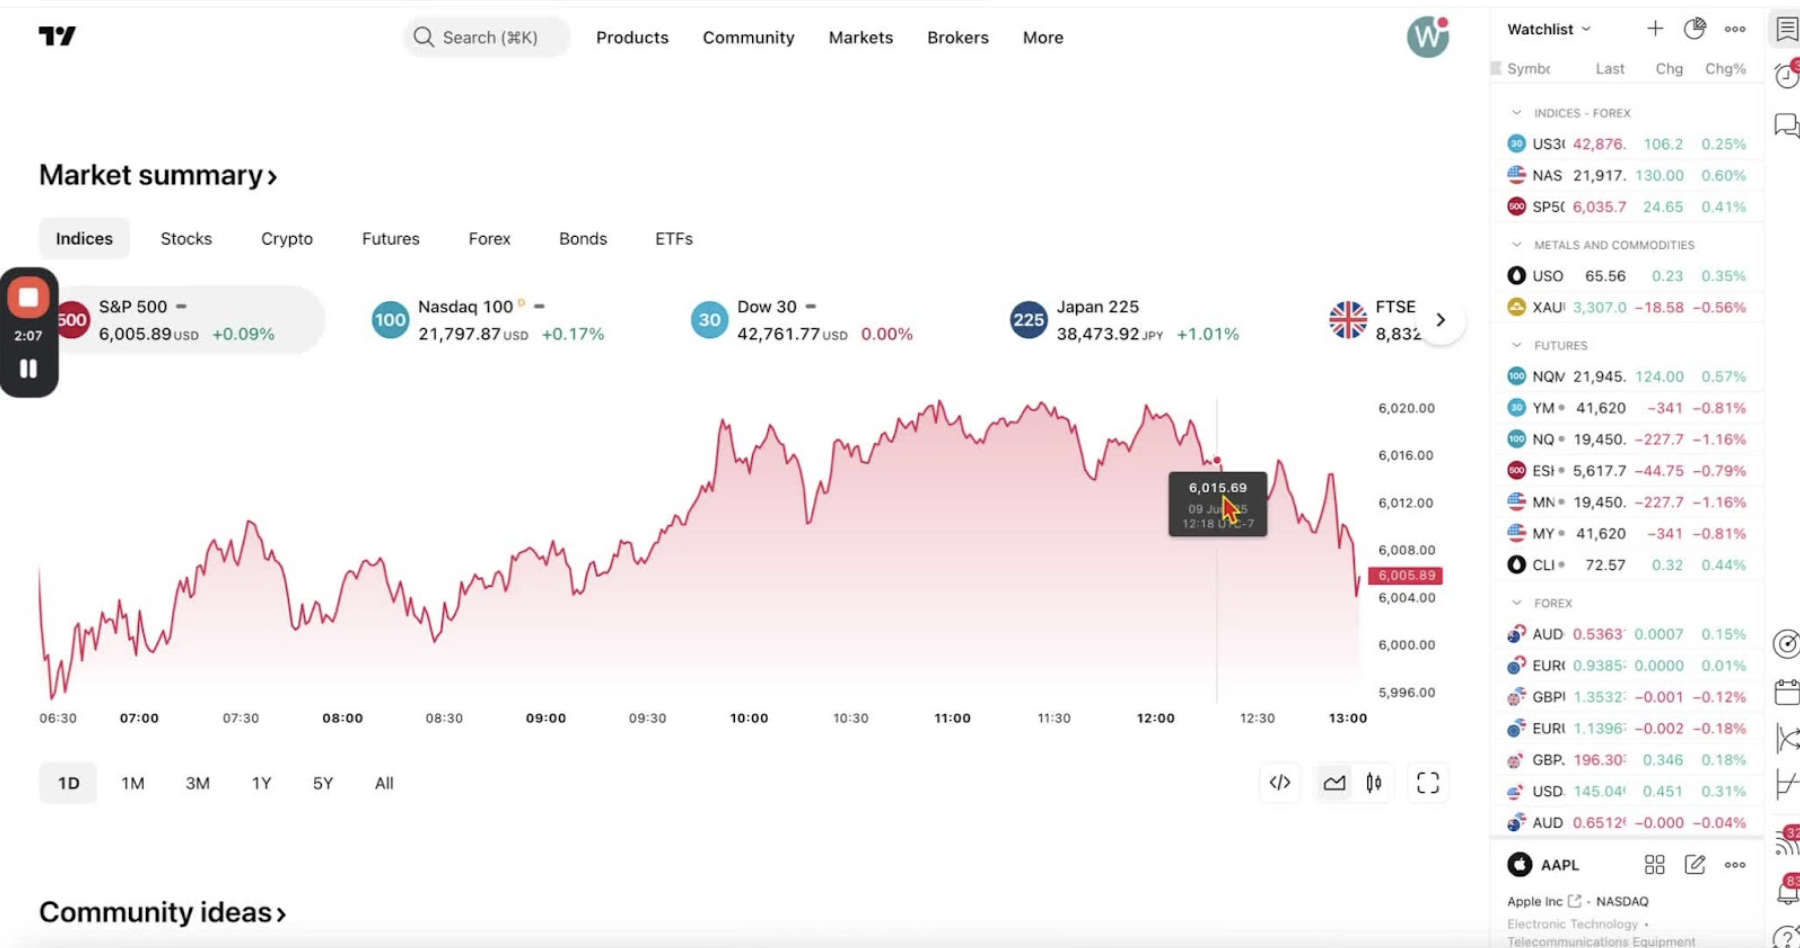
    Access TradingView 0:13

    • Open the TradingView site from the provided link.

    Start the Registration Process 0:30

    • Click ‘Get Started for Free’ at the top right.

    Choose the Essential Package 0:43

    • Select the Essential Package: $14/month billed annually (17% off) or $16.95/month billed monthly (16% off).
    • Take the 30-day free trial if you want to test it first.

    Create Your Account 1:20

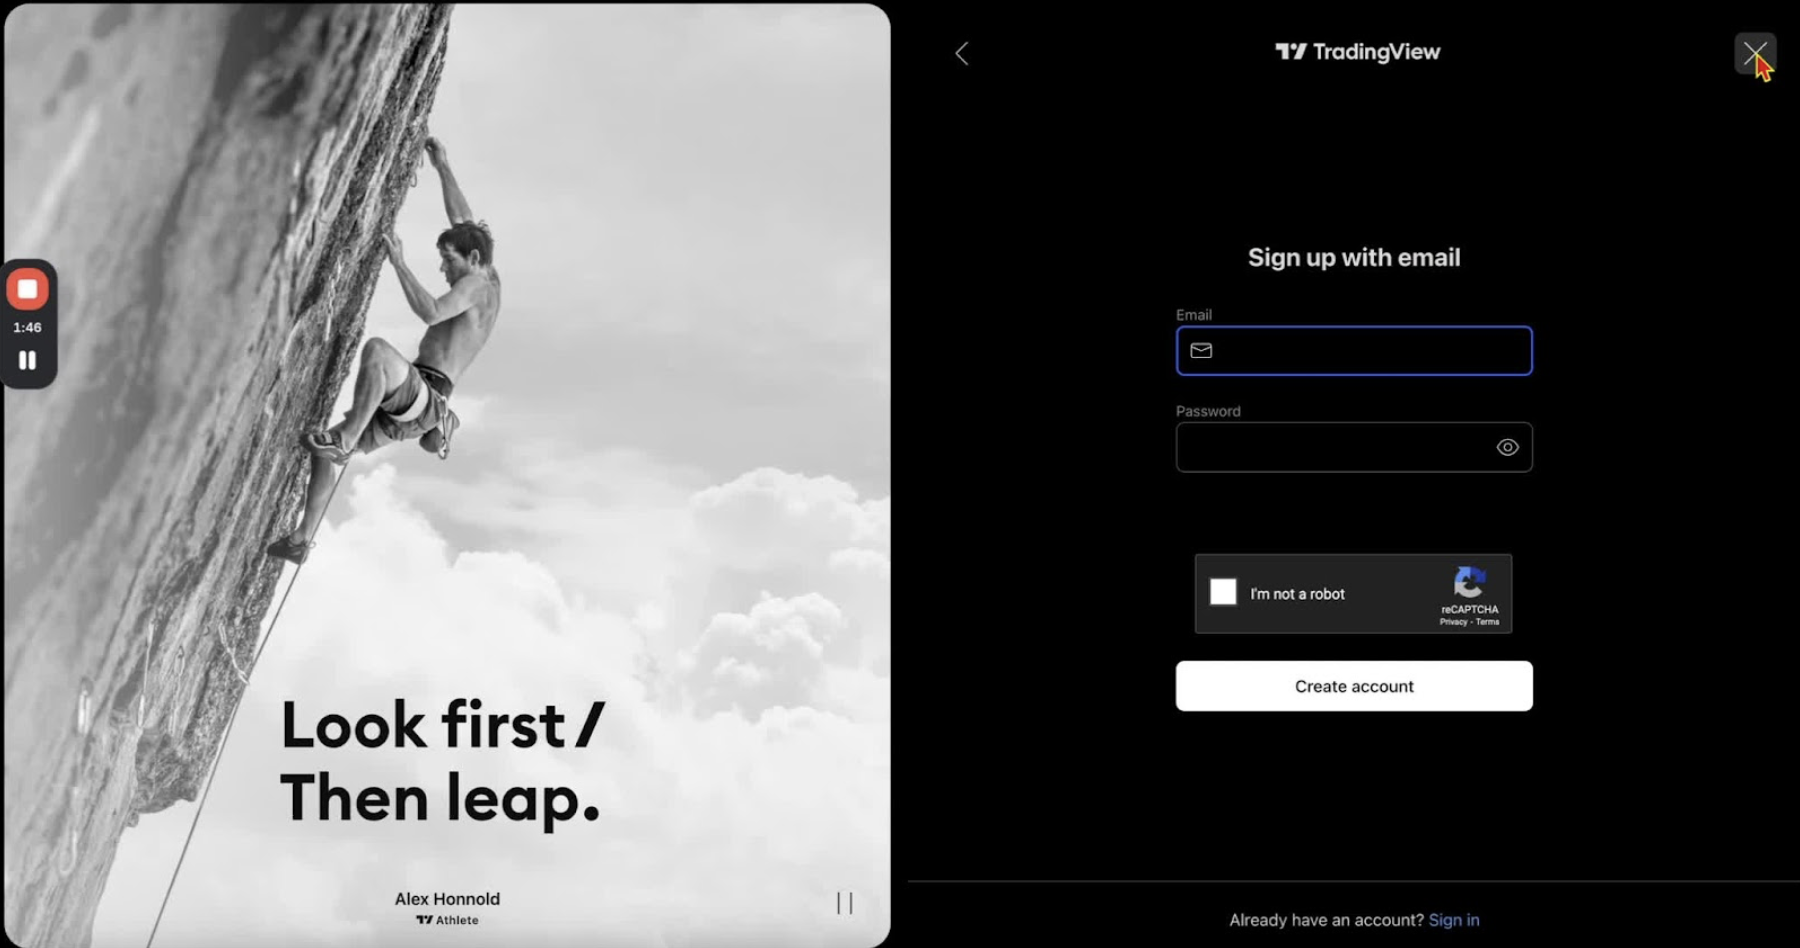
    • Sign up with your email and password.
    • Complete the CAPTCHA.
    • Enter payment details to finish.

    Sign In to TradingView 1:44

    • Click the person icon in the top right corner.
    • Select ‘Sign In’ and enter your credentials.

    Access Market Data Package for Futures 2:02

    • Make sure you are signed in first.
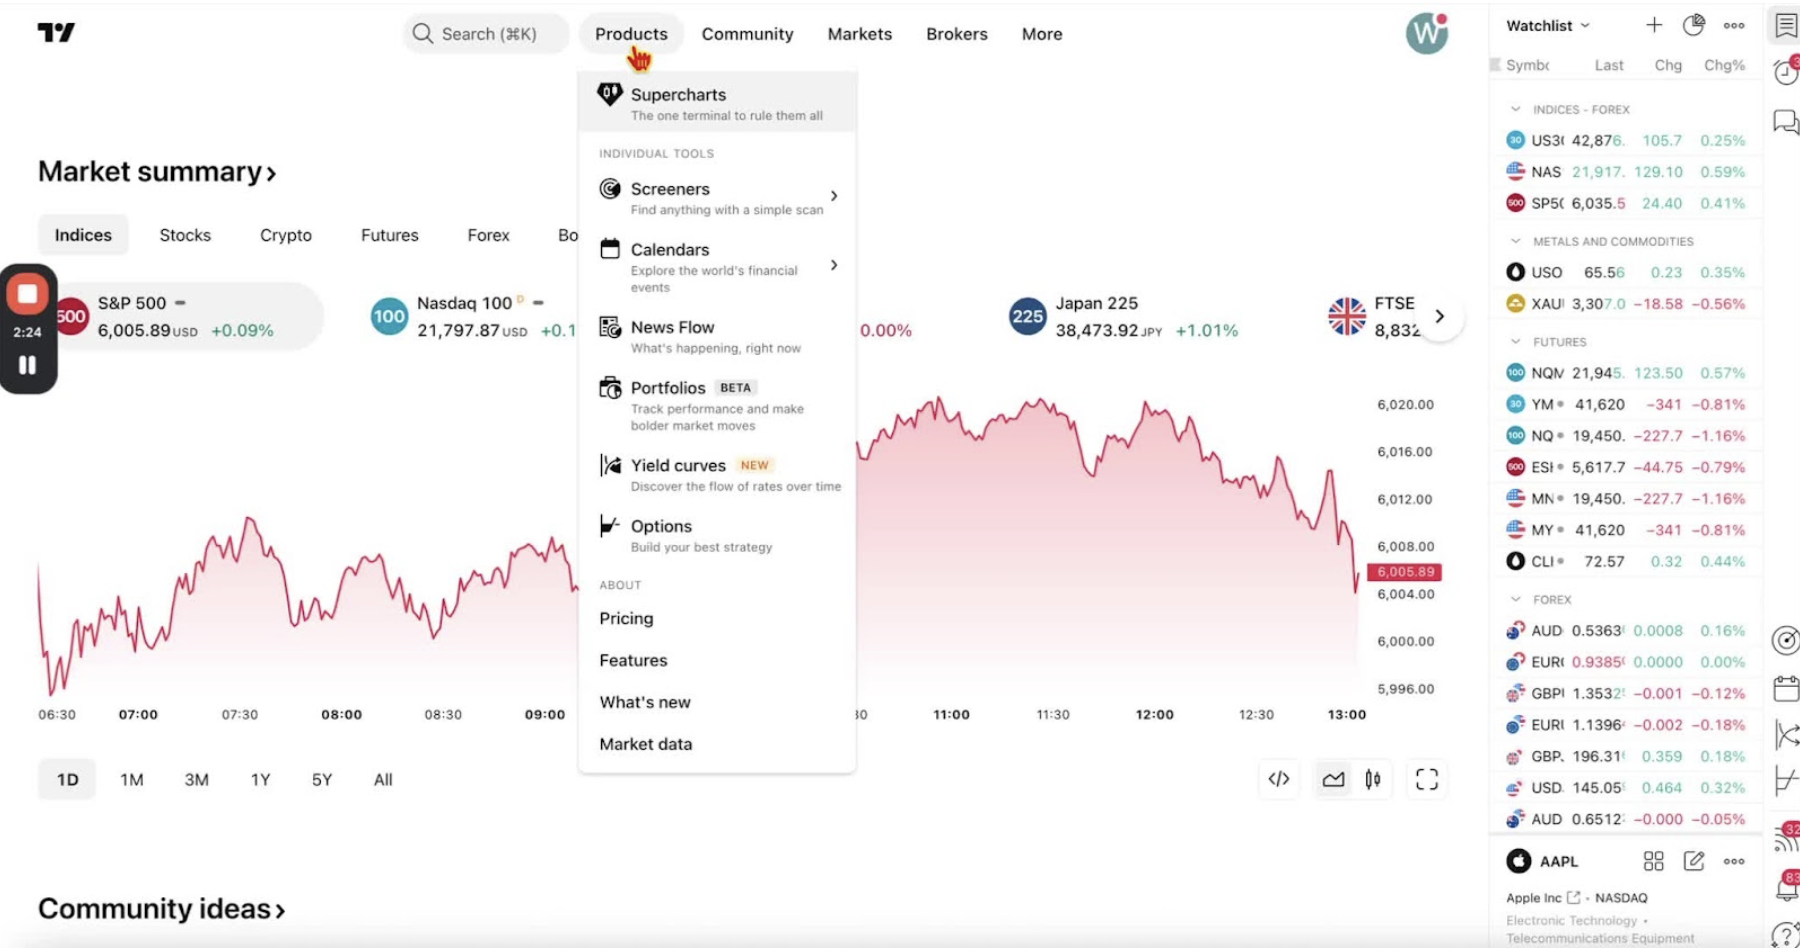
    • Go to ‘Products’ and scroll down to ‘Market Data’.

    Subscribe to CME Group Futures Data 2:16

    • Scroll to ‘Futures’ and select ‘CME Group, e-mini included’.
    • Click ‘Learn More’ to see the subscription options.

    Complete Subscription Process 2:39

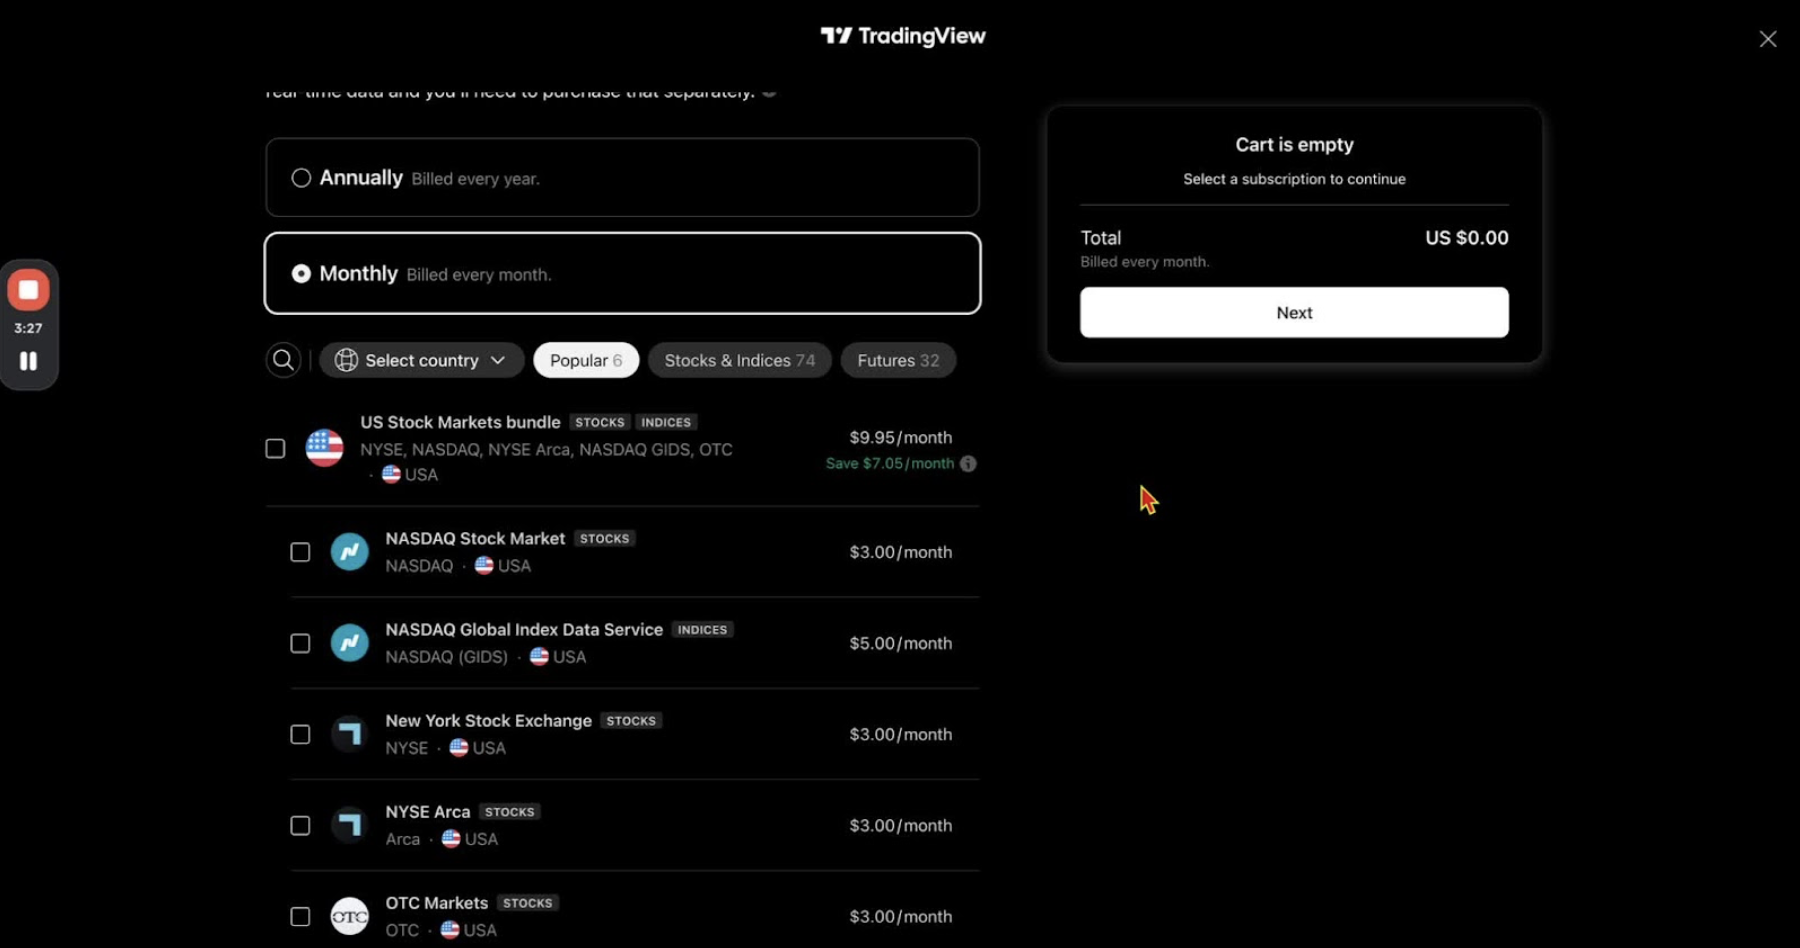
    • Choose annual or monthly billing for the $7/month subscription.
    • Select the CME Group option and click ‘Next’ to go to checkout.

    Confirm Subscription 3:18

    • Complete the purchase to activate real-time CME data on futures charts.

    Verify Data Availability 3:39

    • Open any futures chart (for example NQ) and check that real-time data is showing.