Category: Tradingview

  • Step 19. Guide to Removing Swing High and Swing Low Boxes

    Step 19. Guide to Removing Swing High and Swing Low Boxes

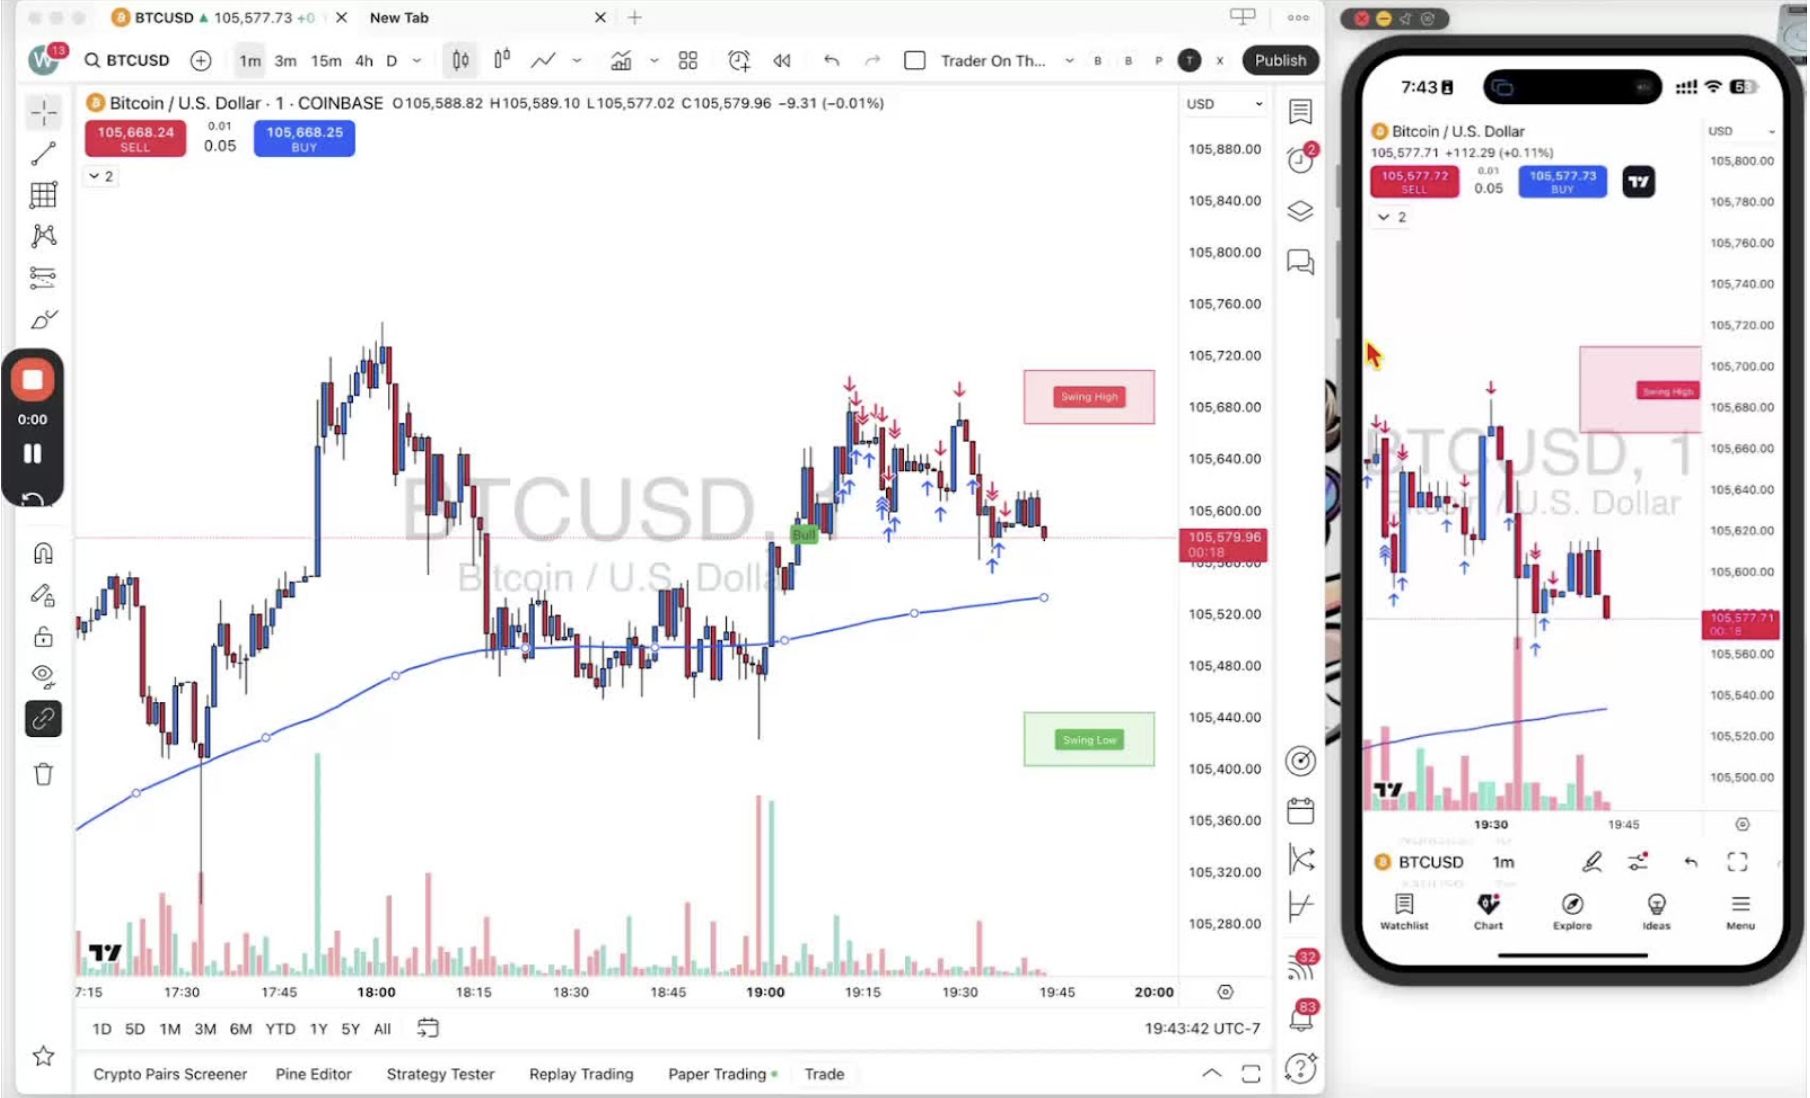
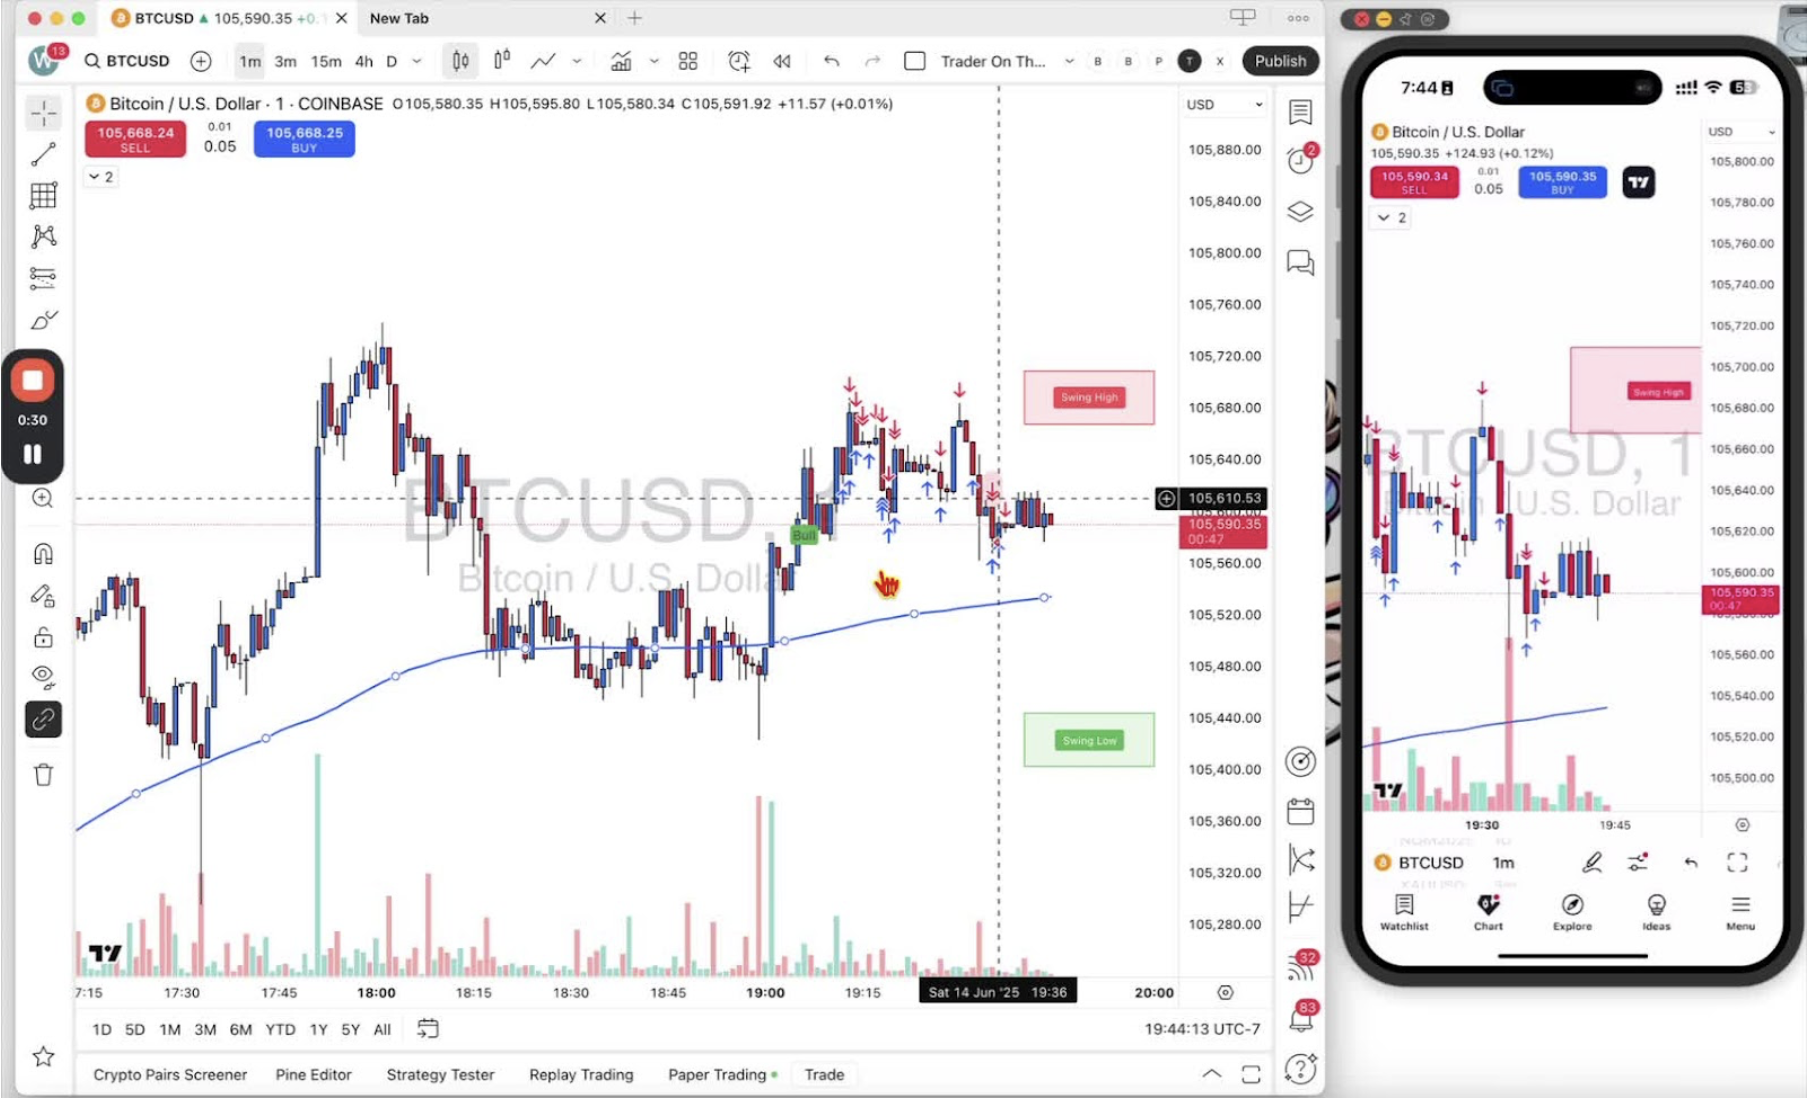
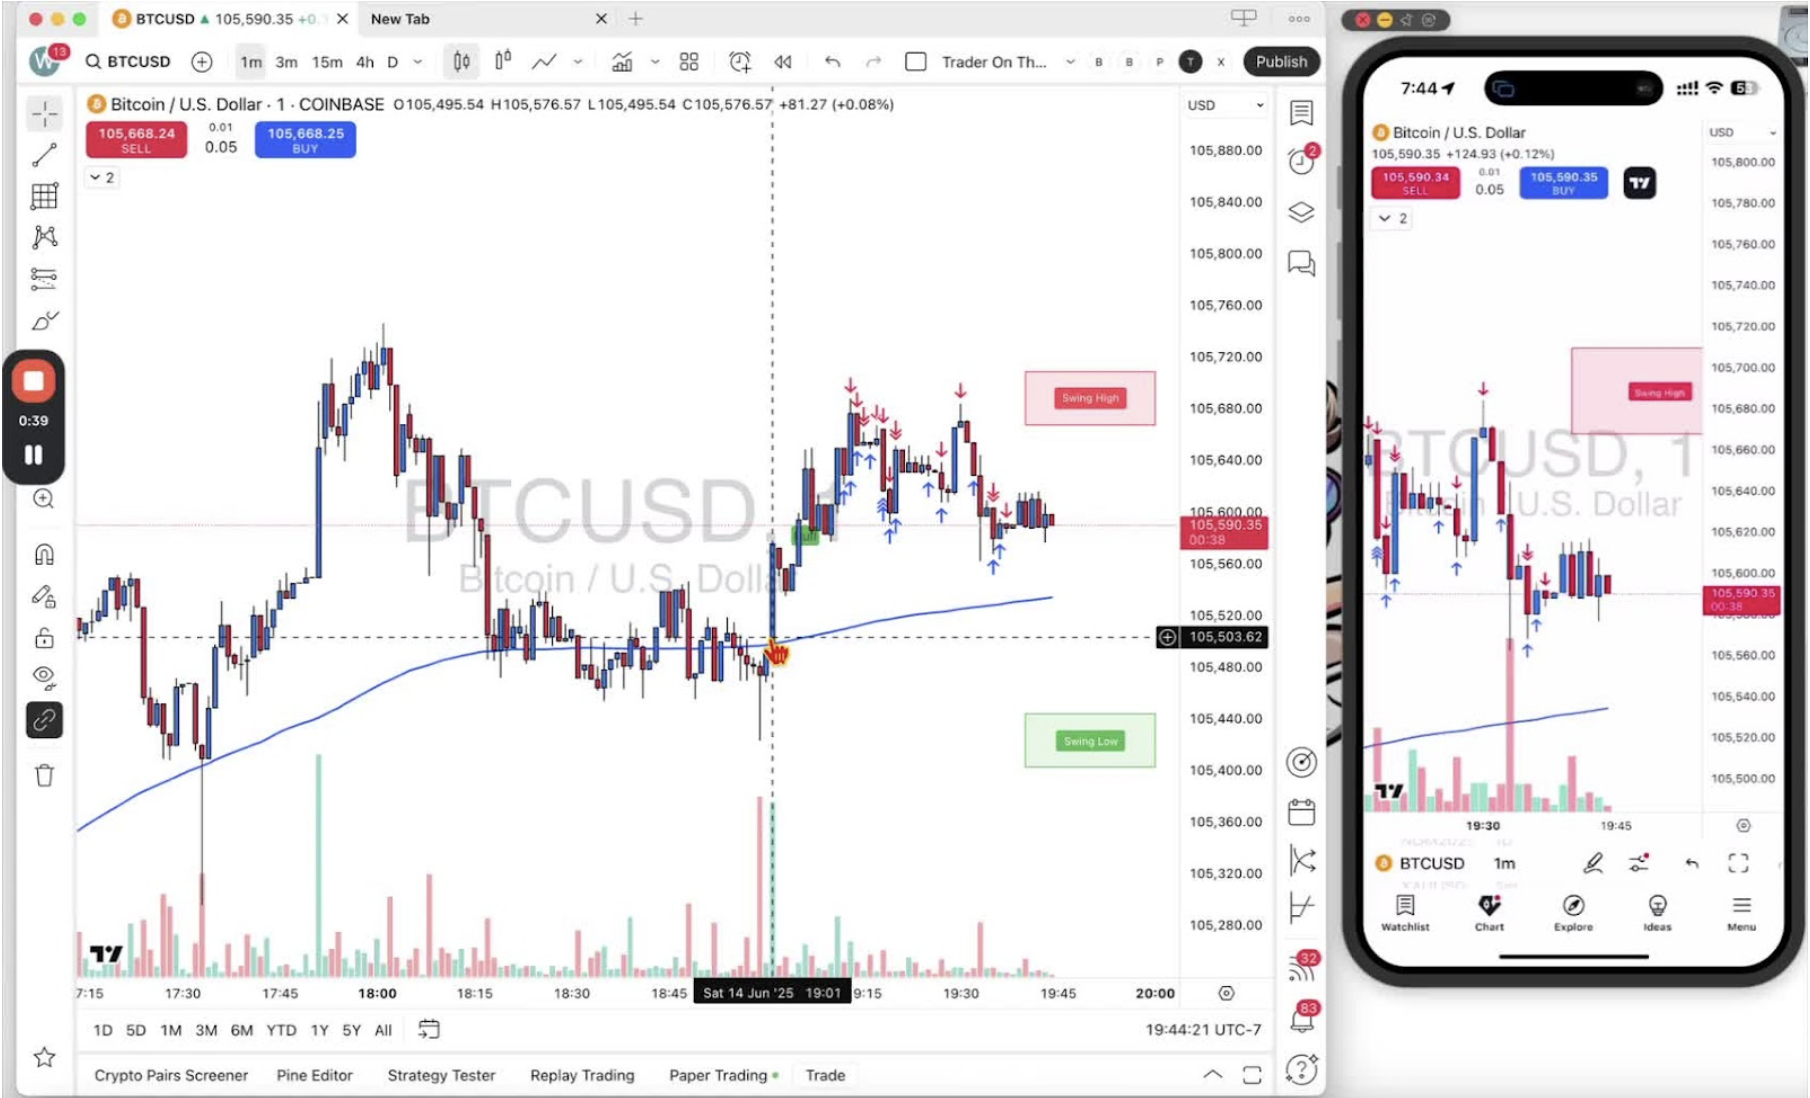
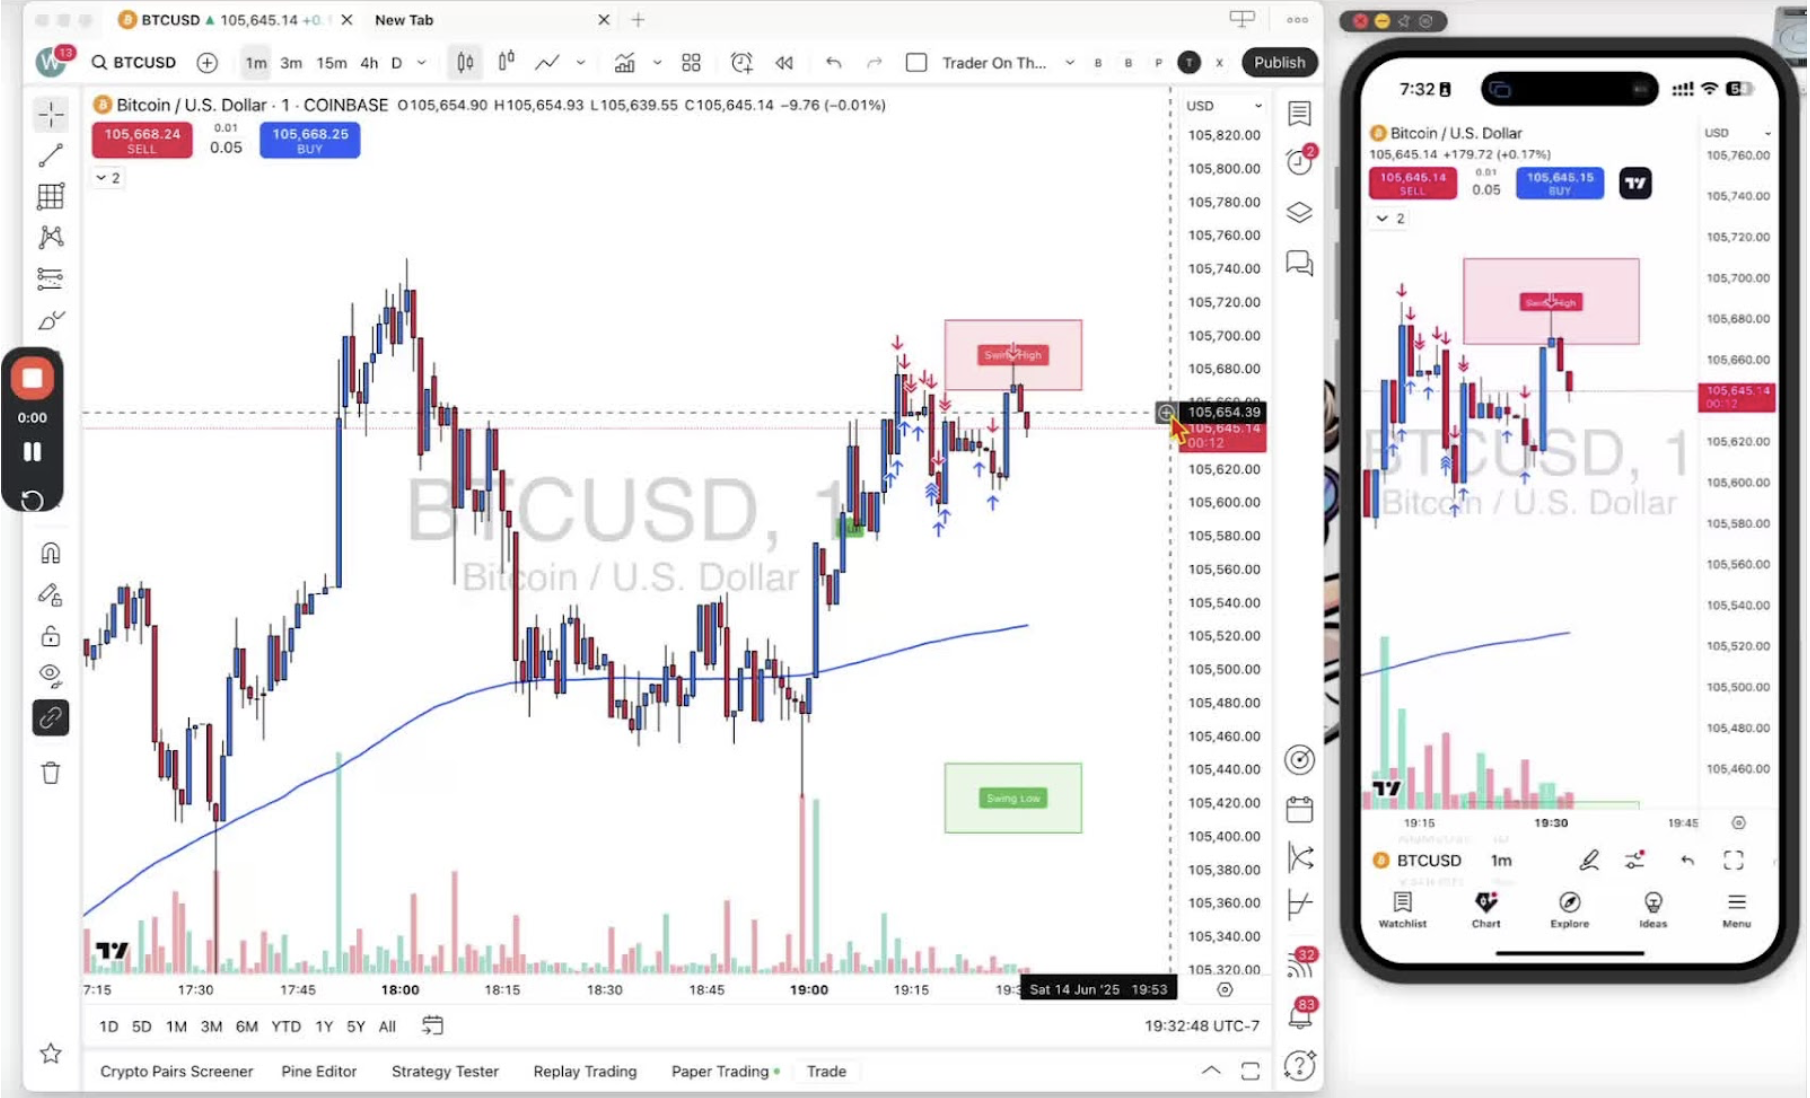
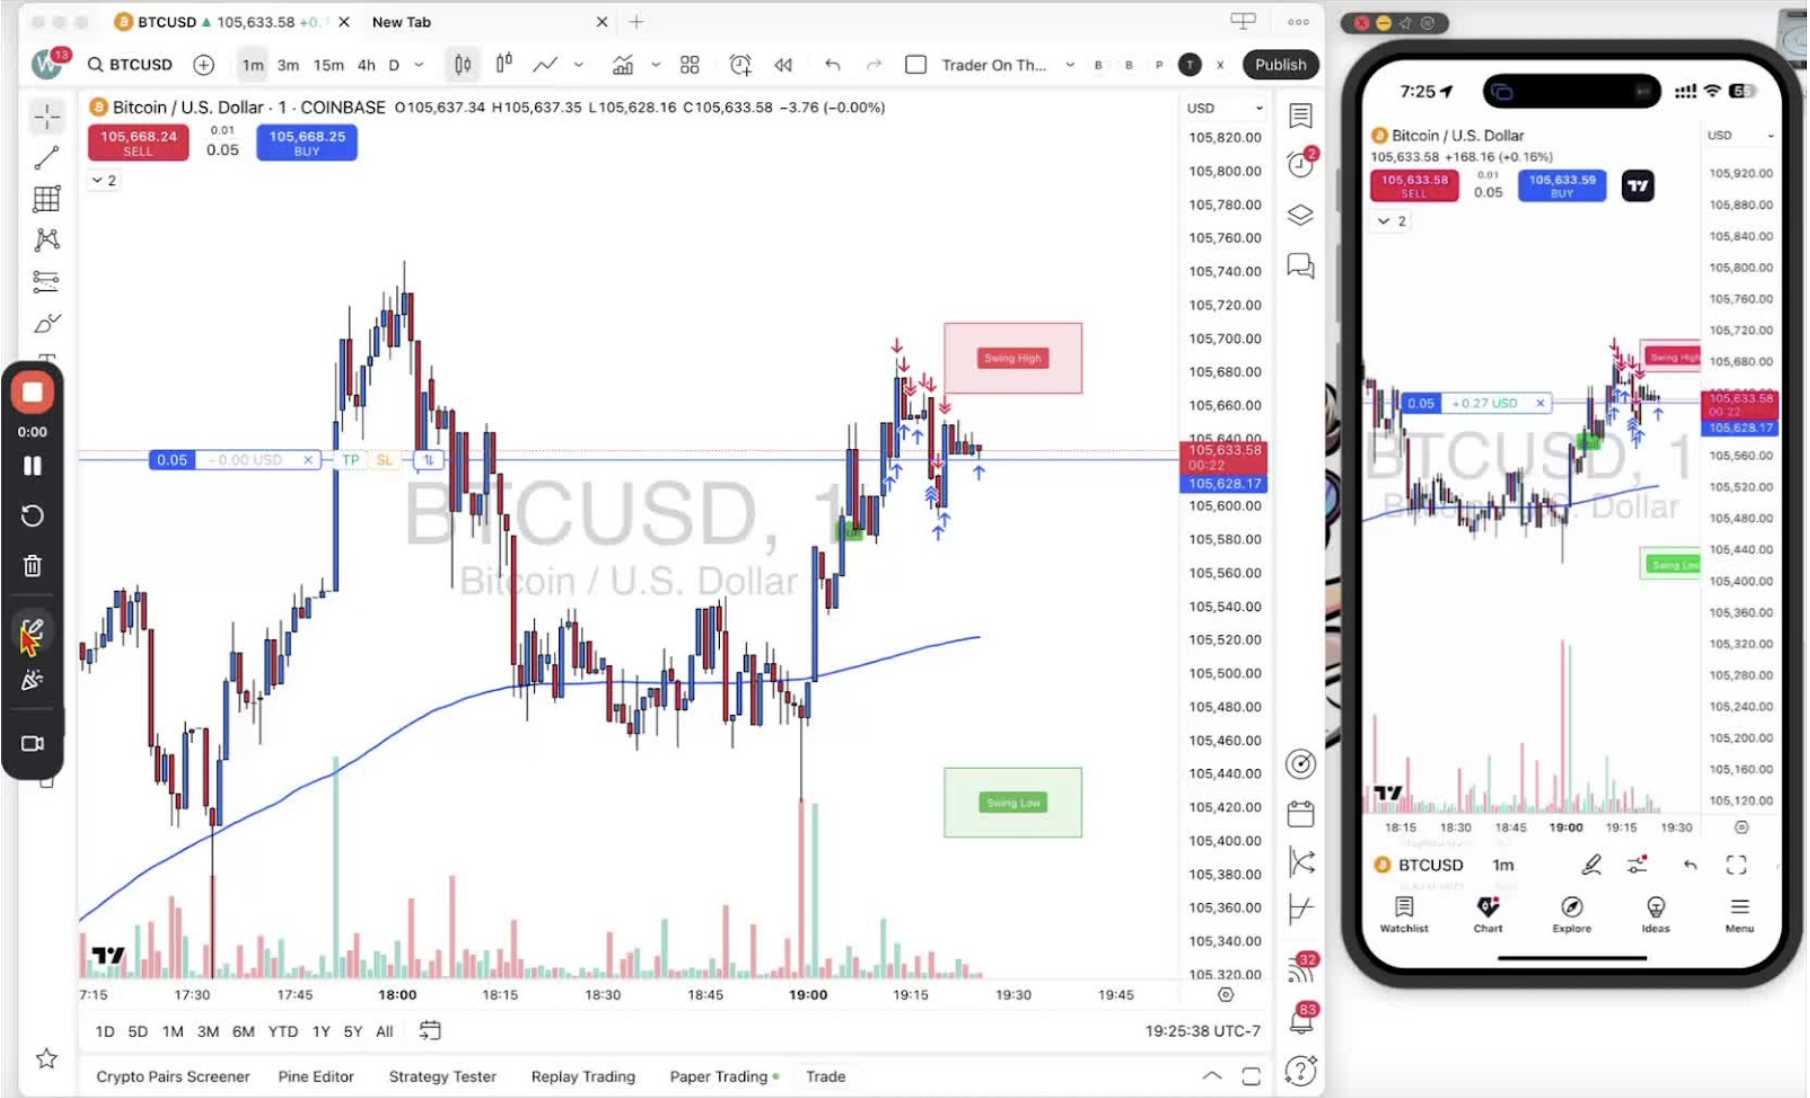
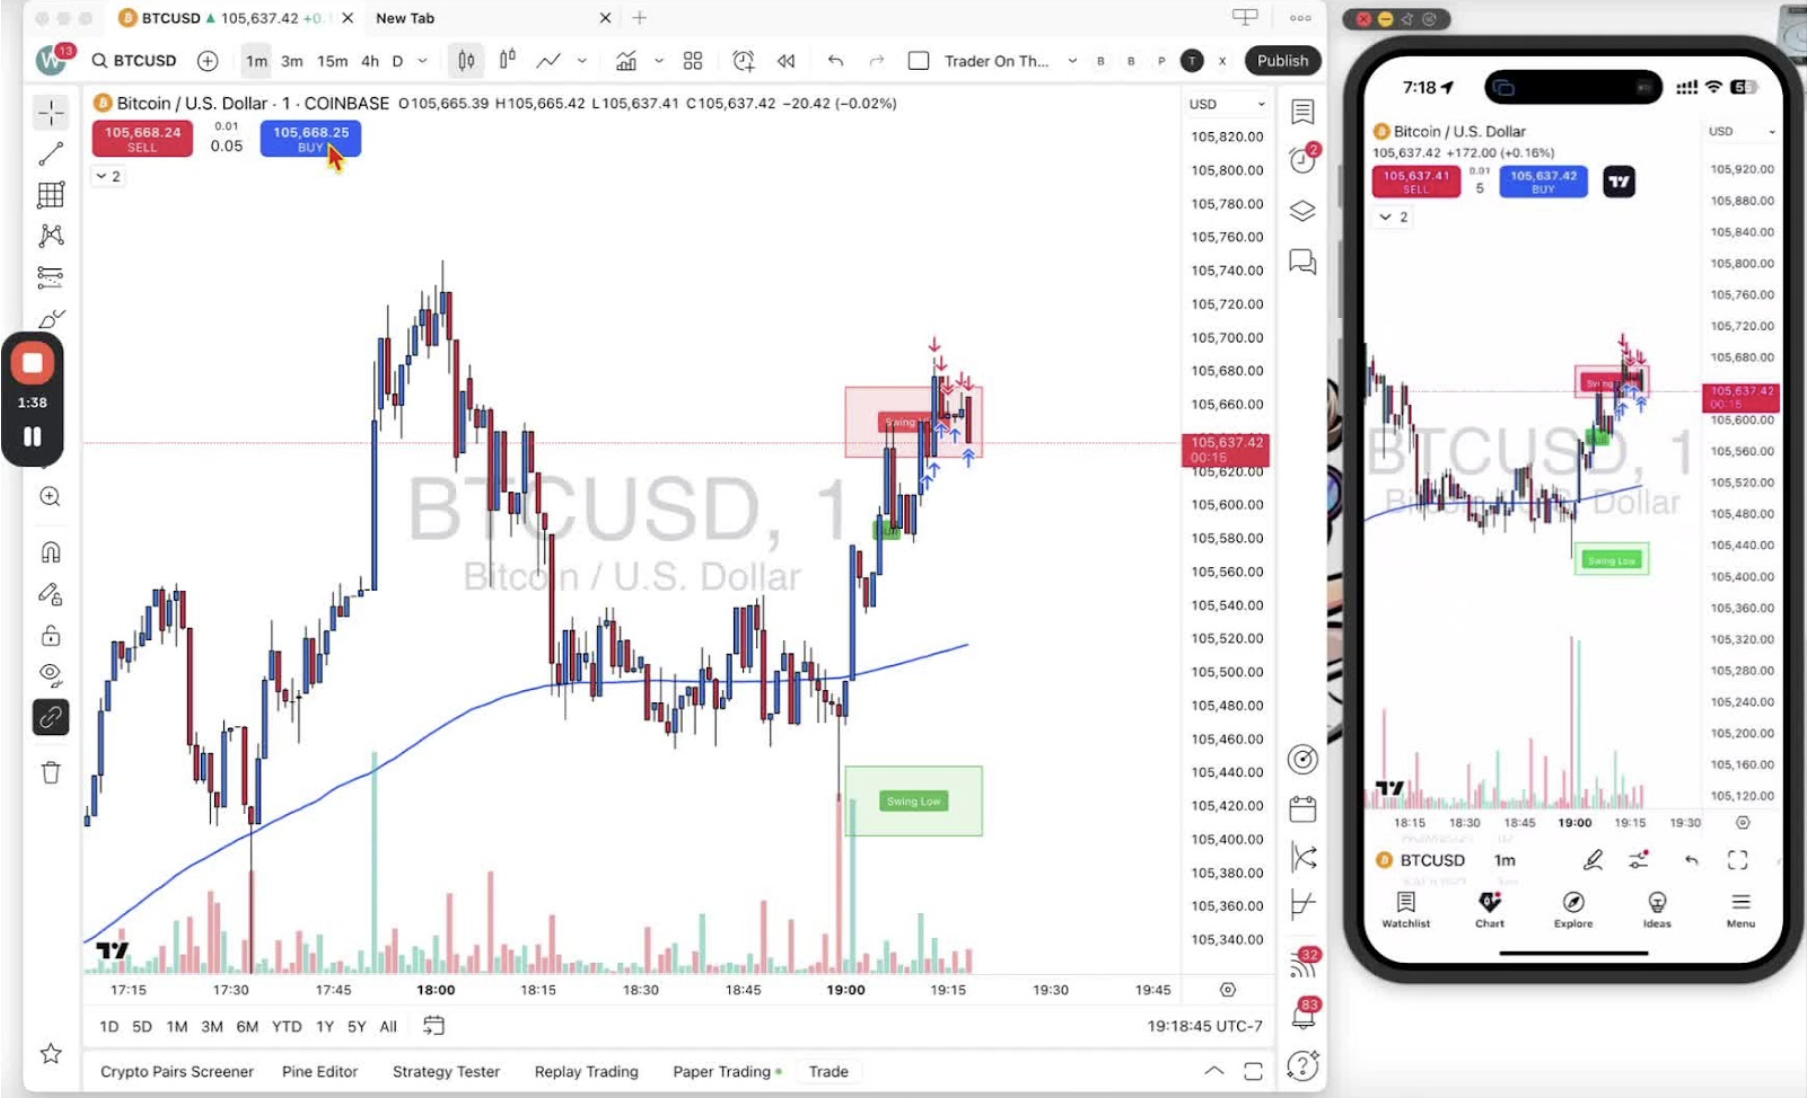
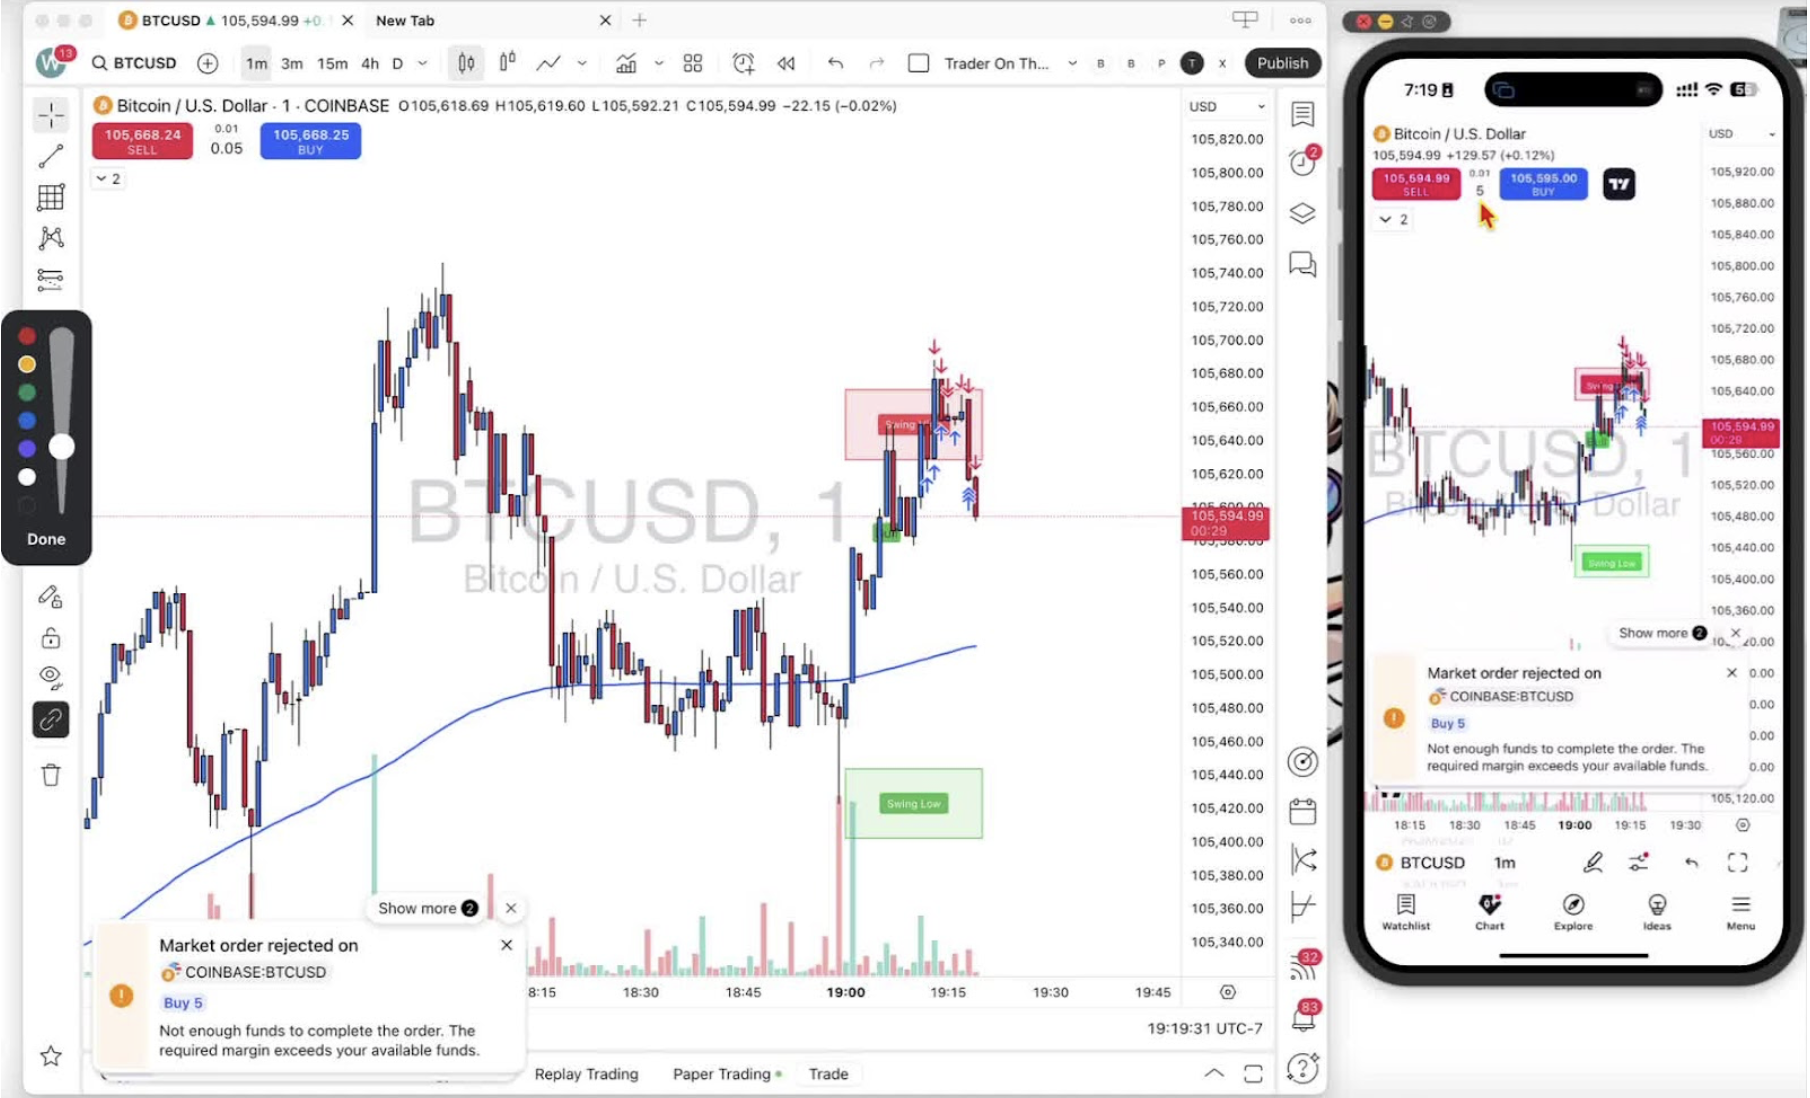
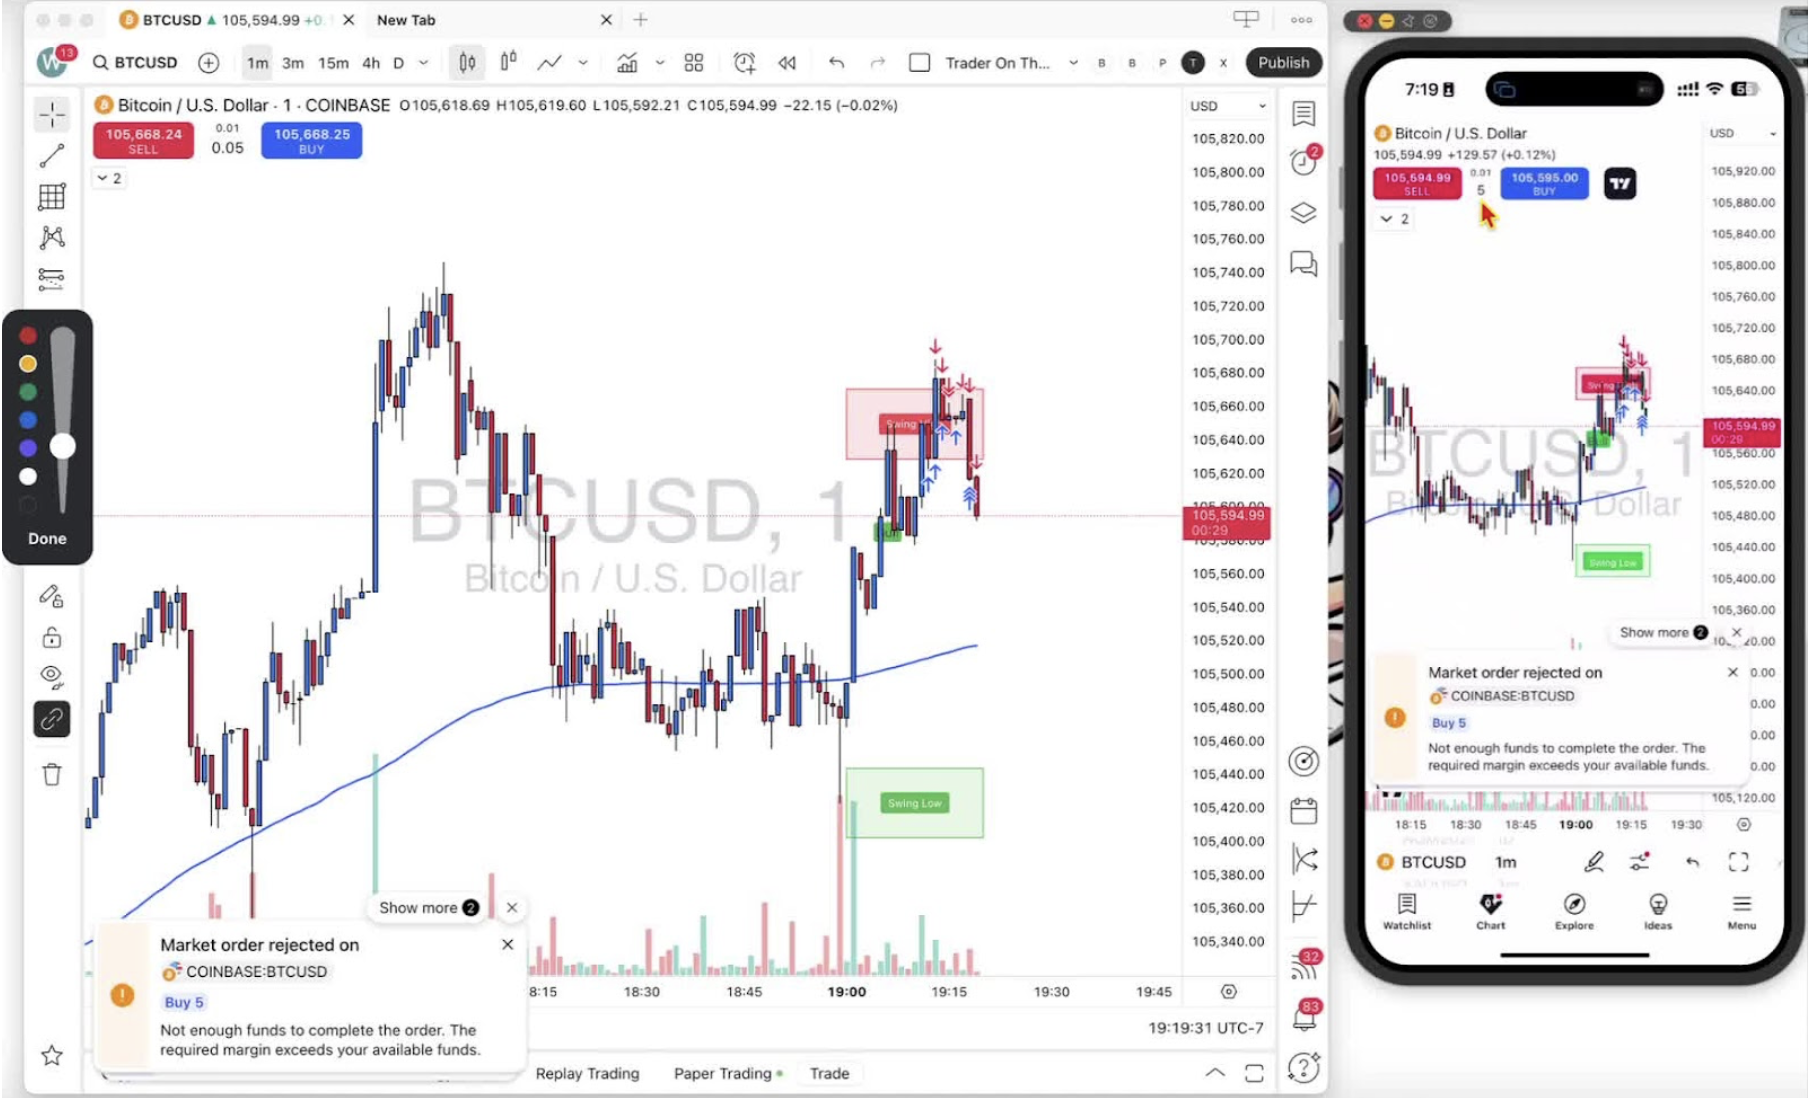
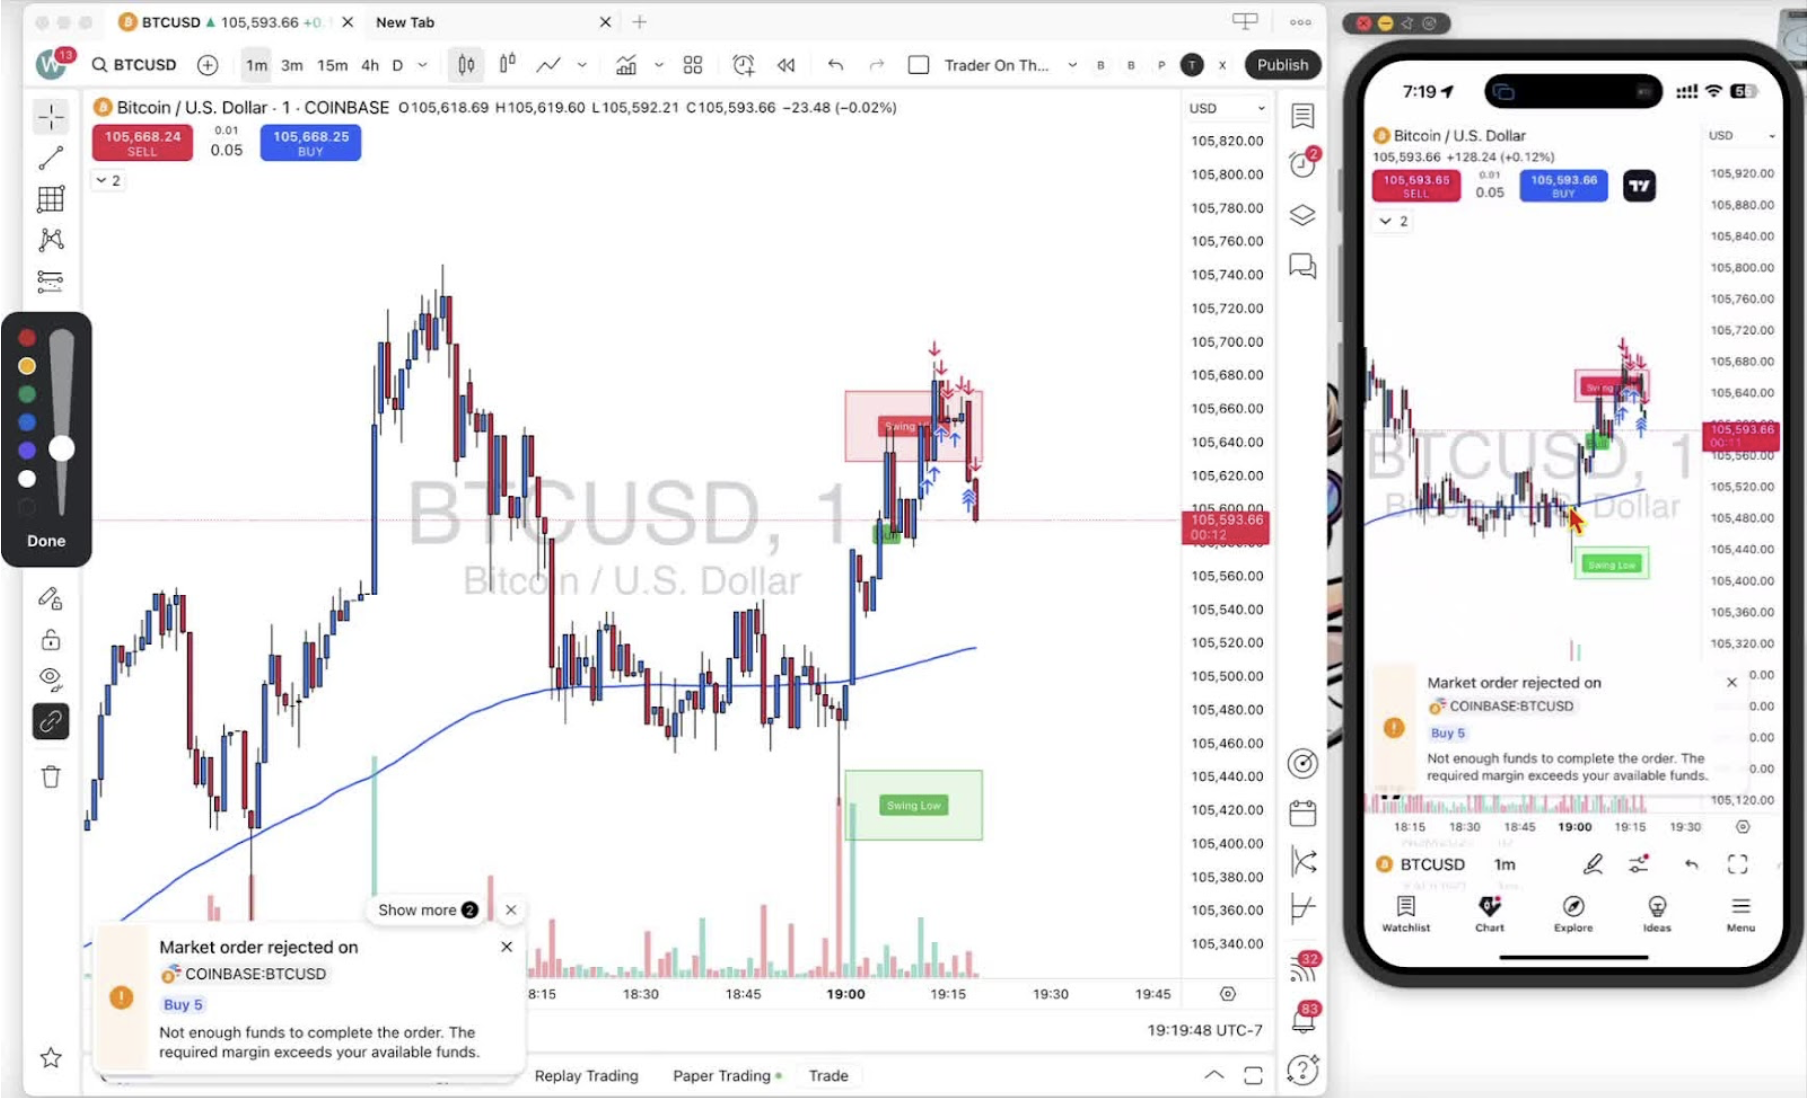
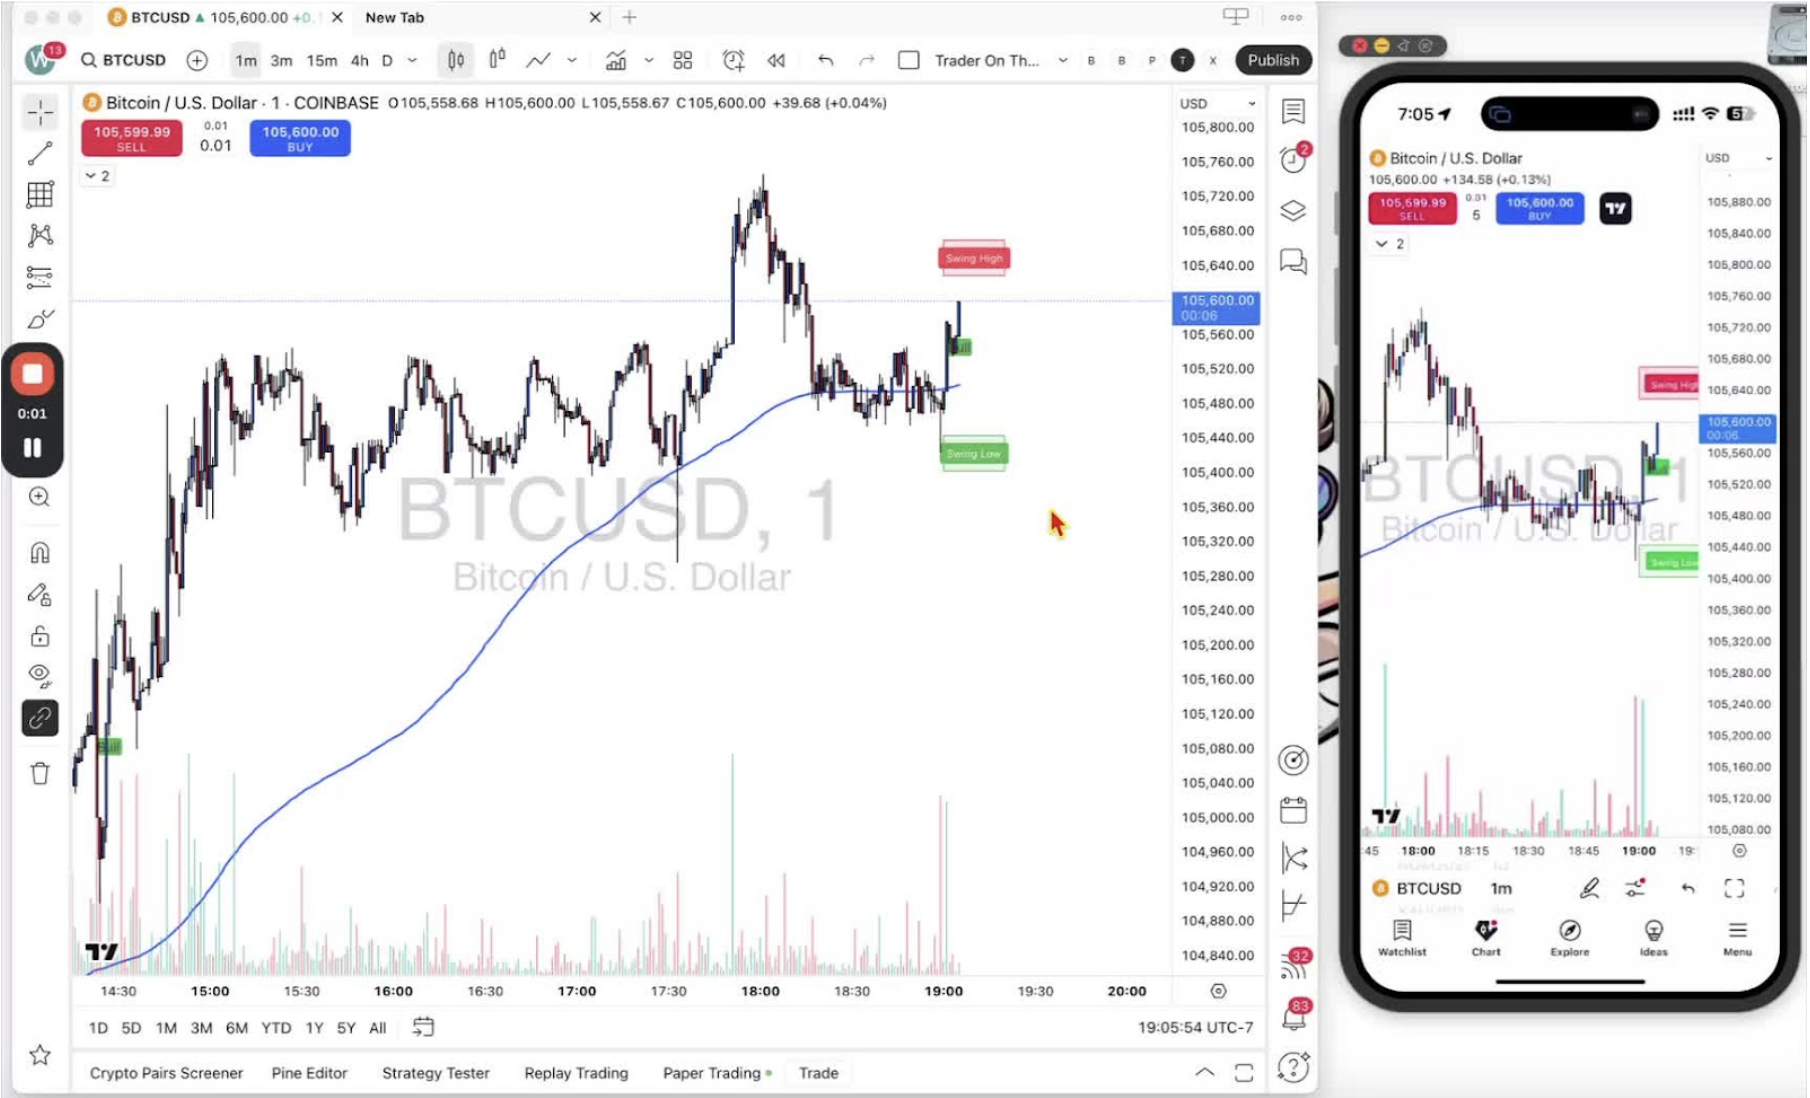
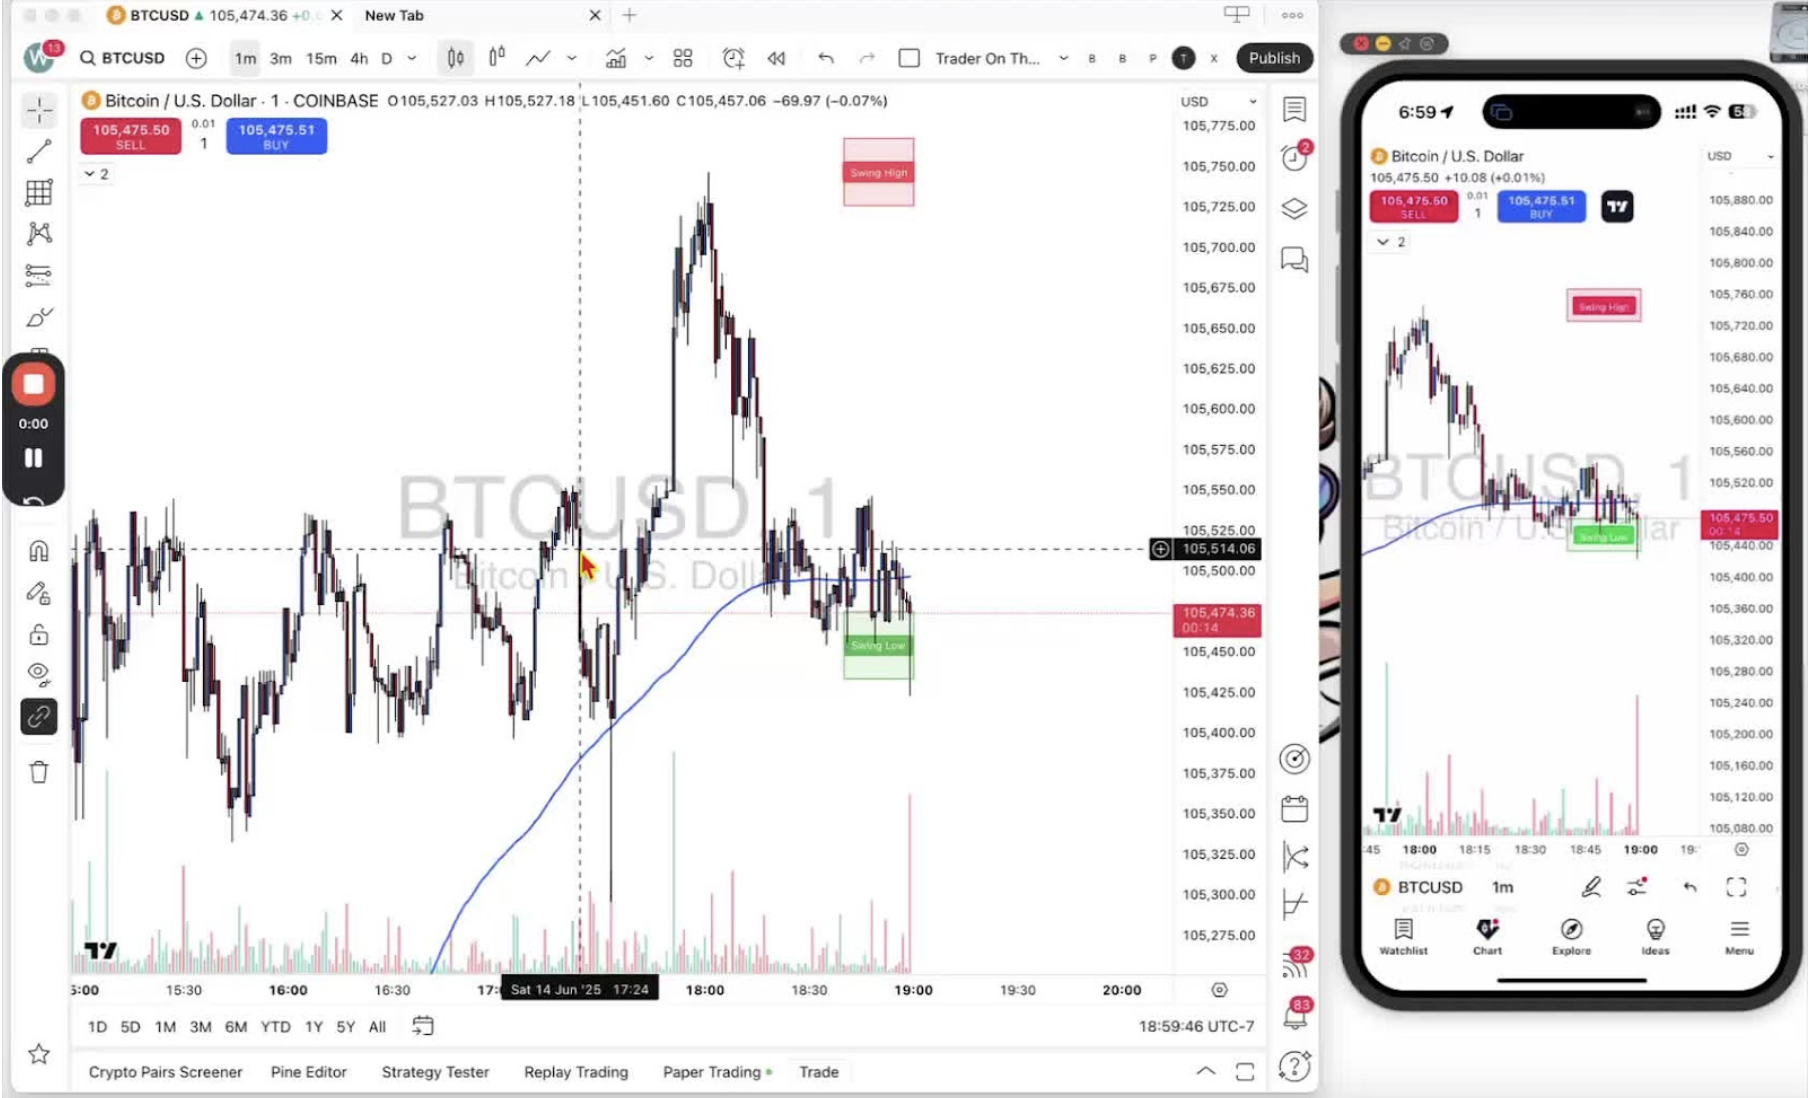
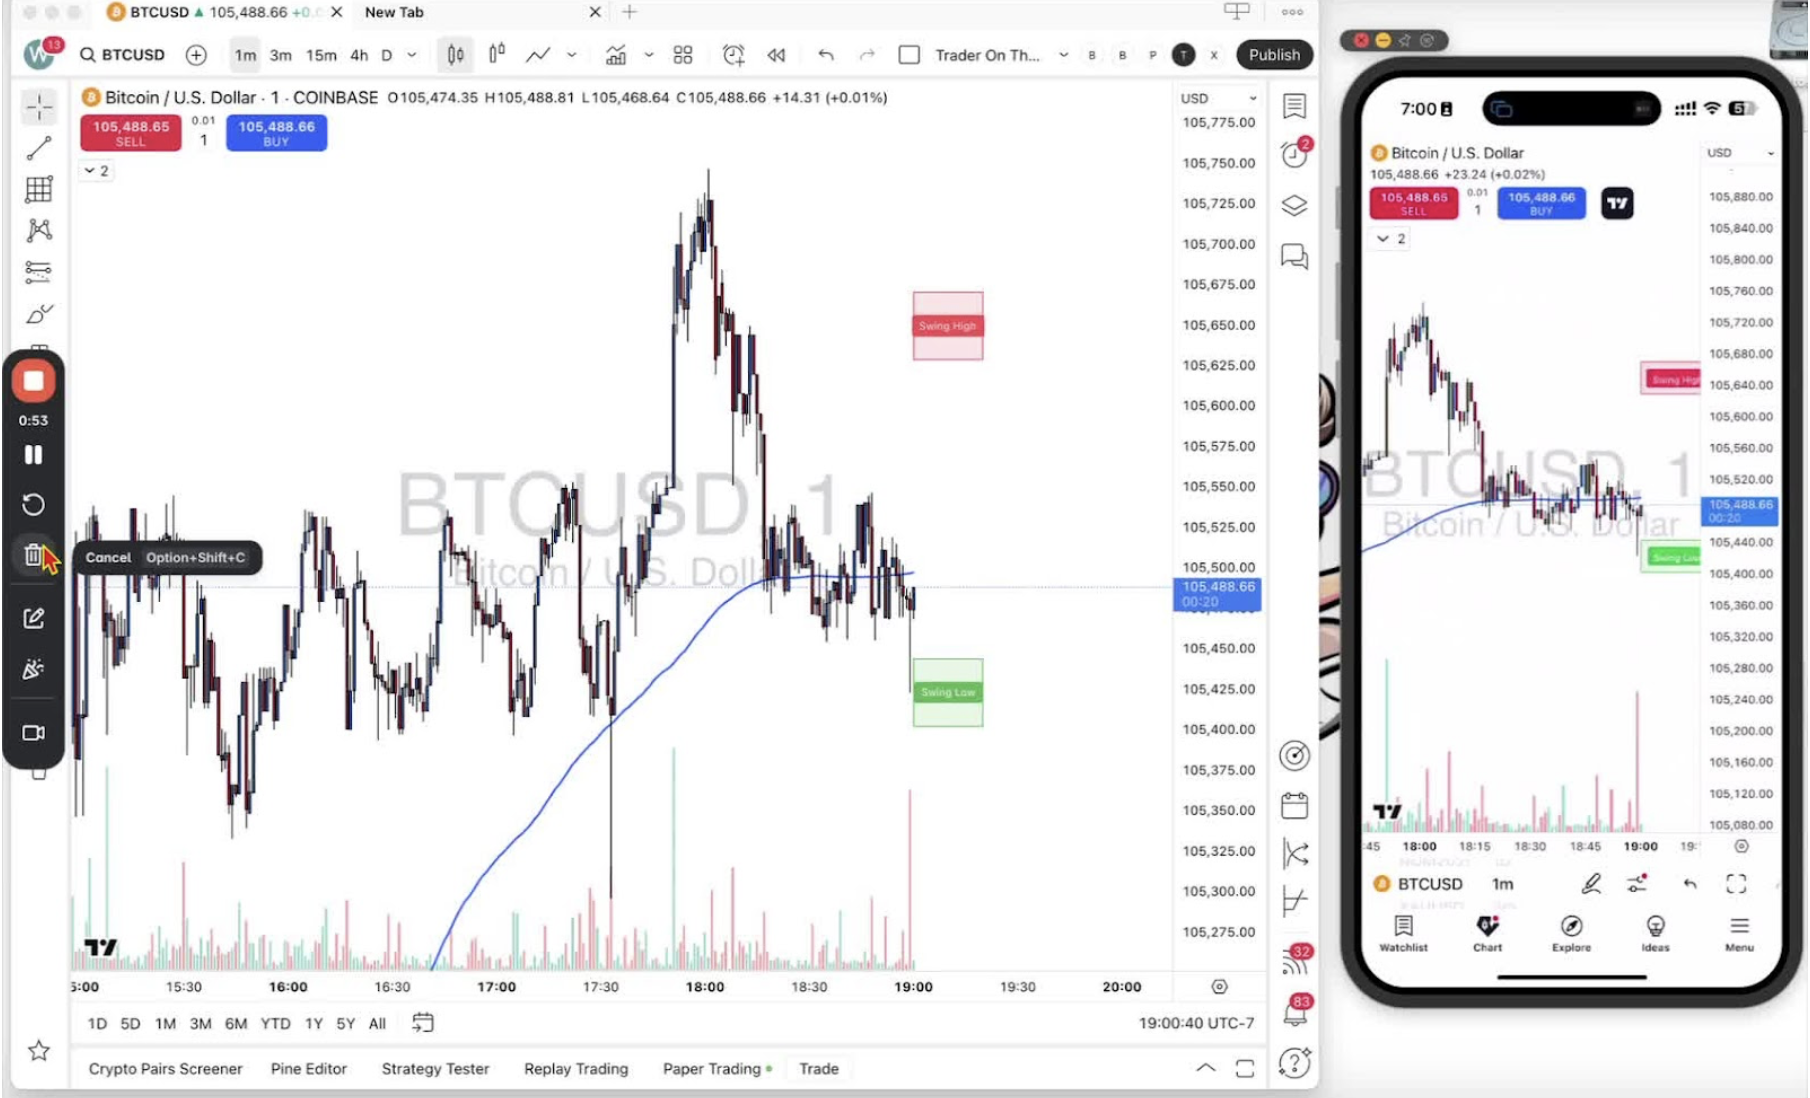
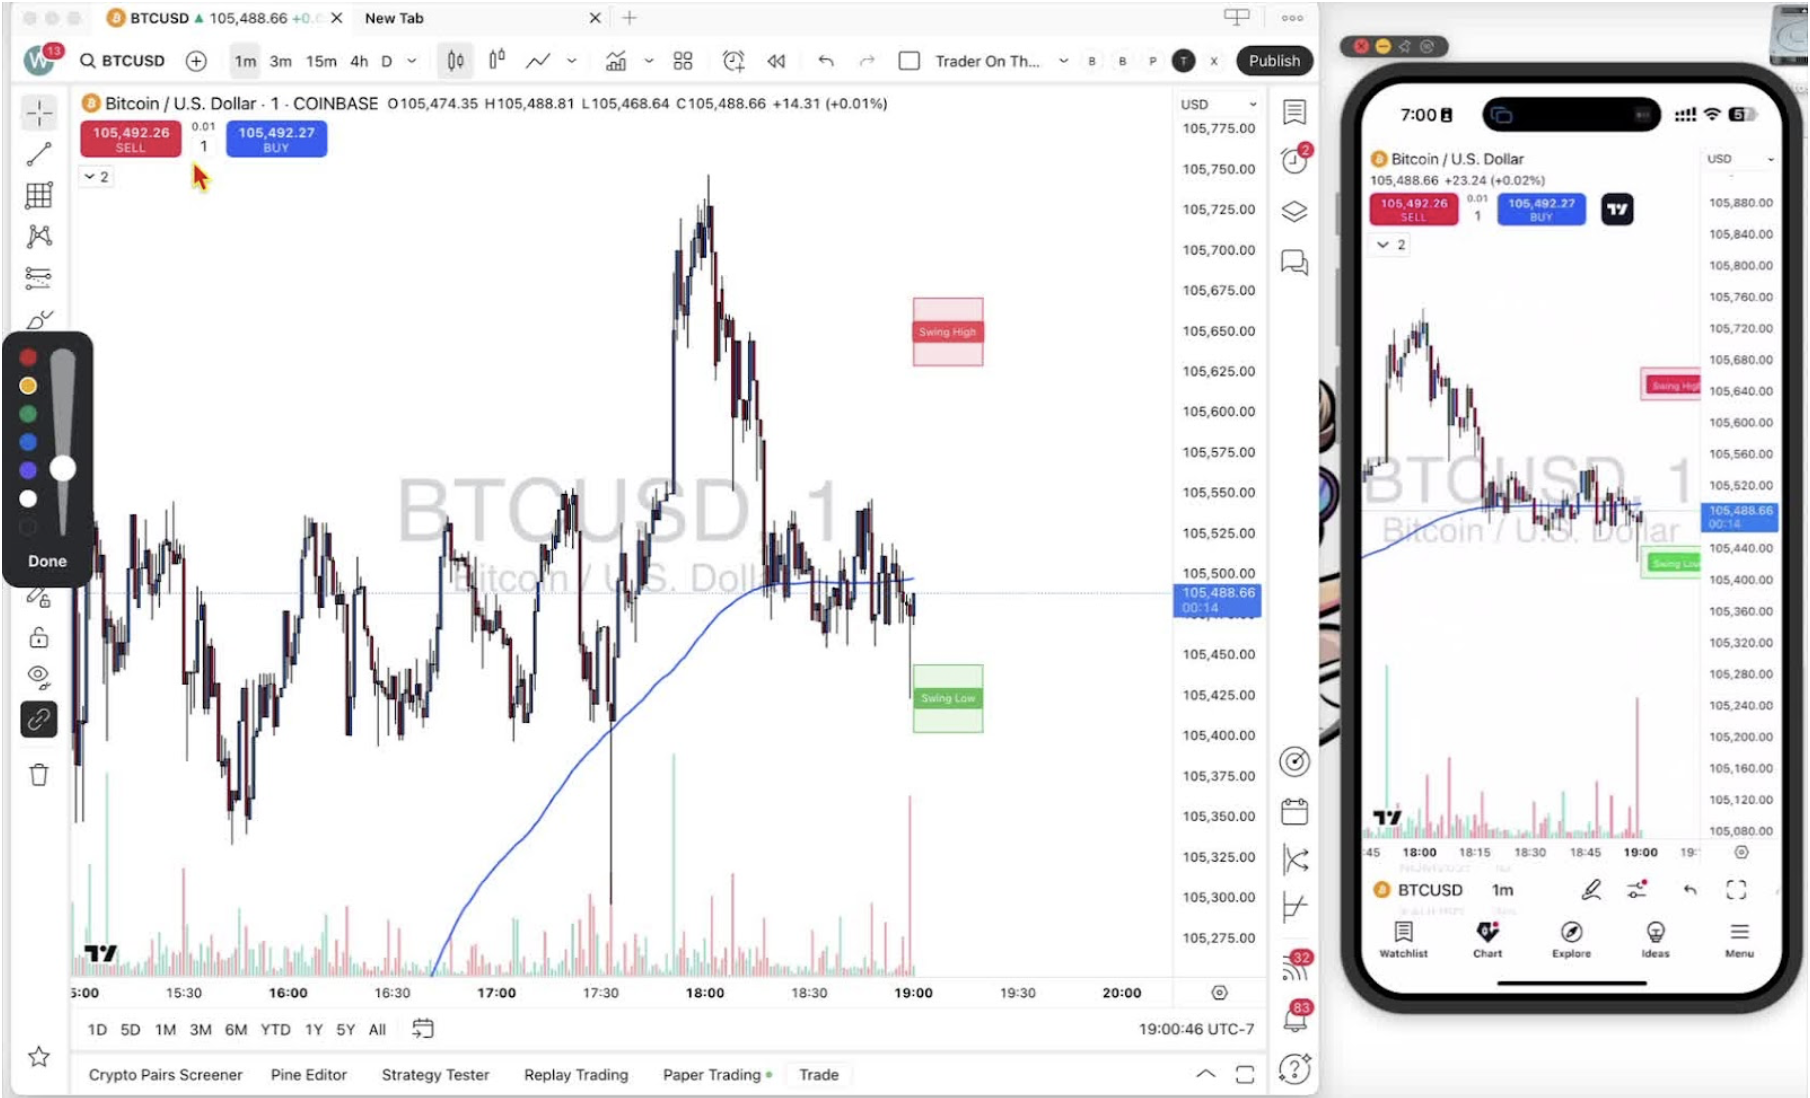
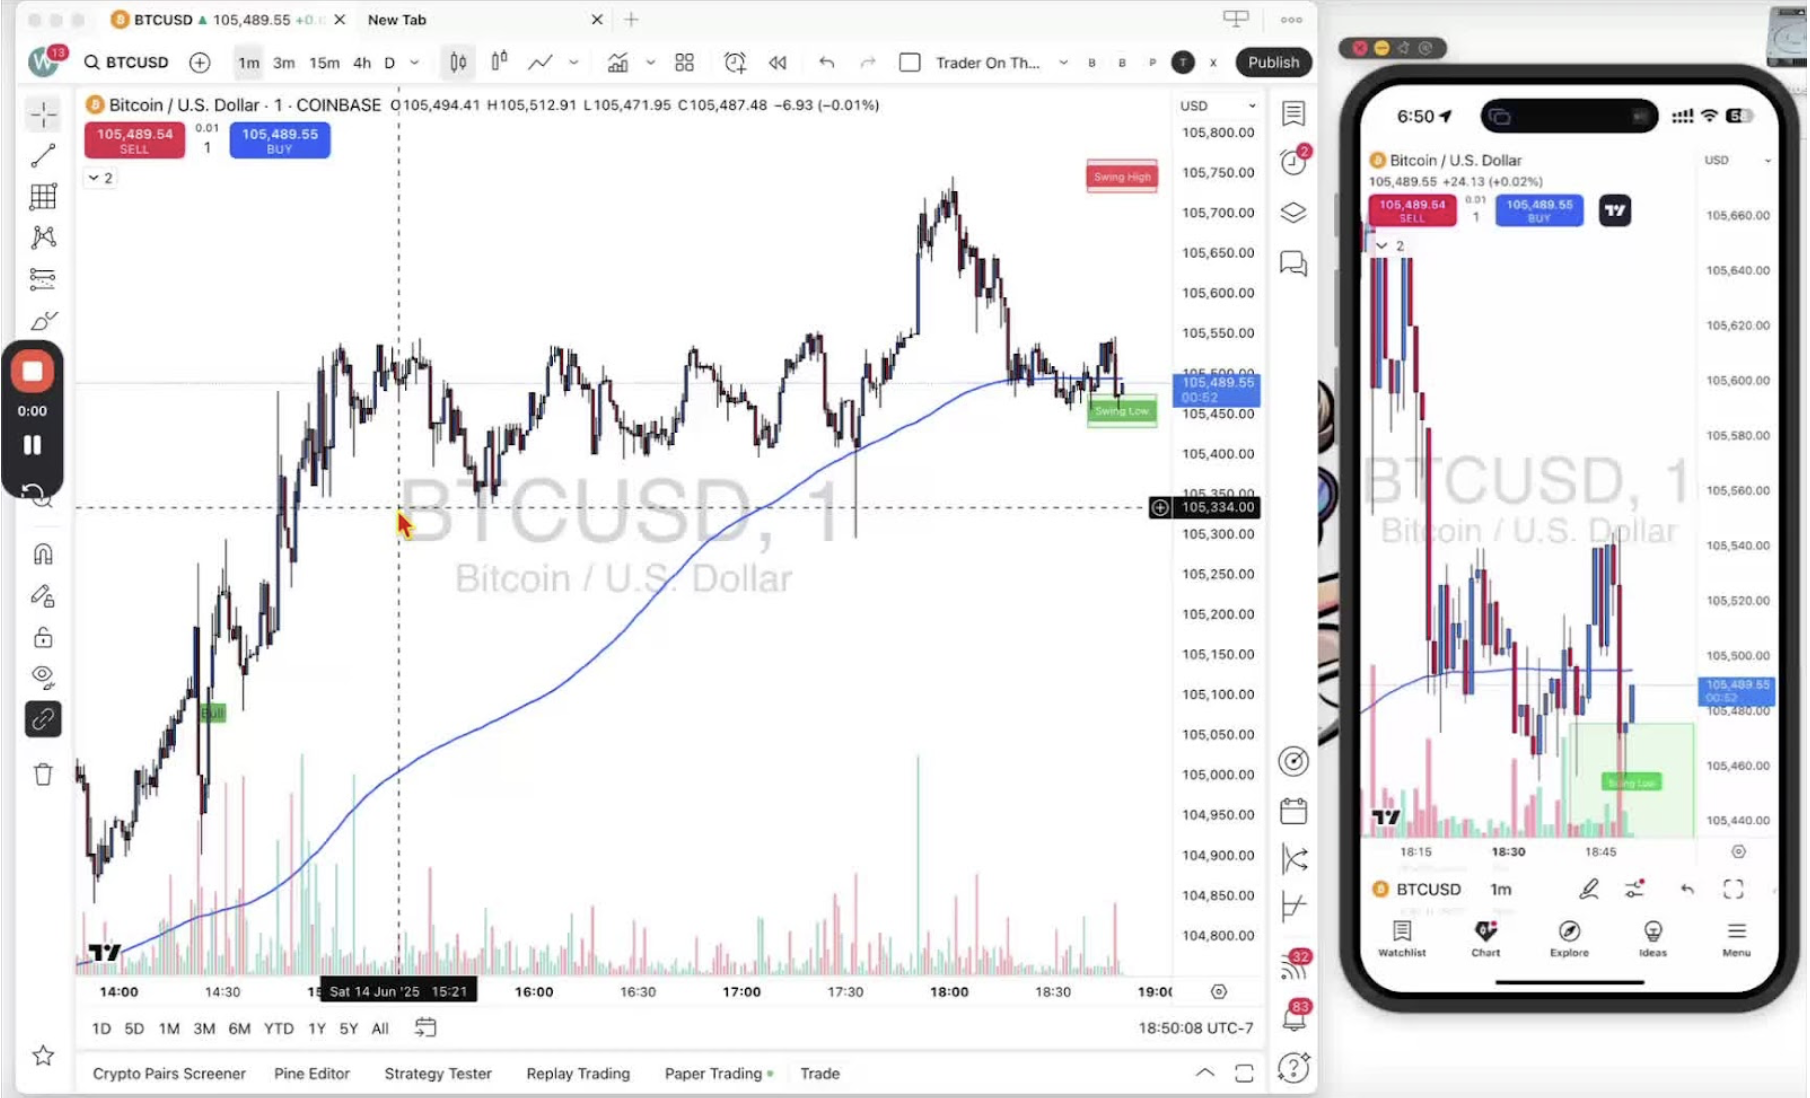
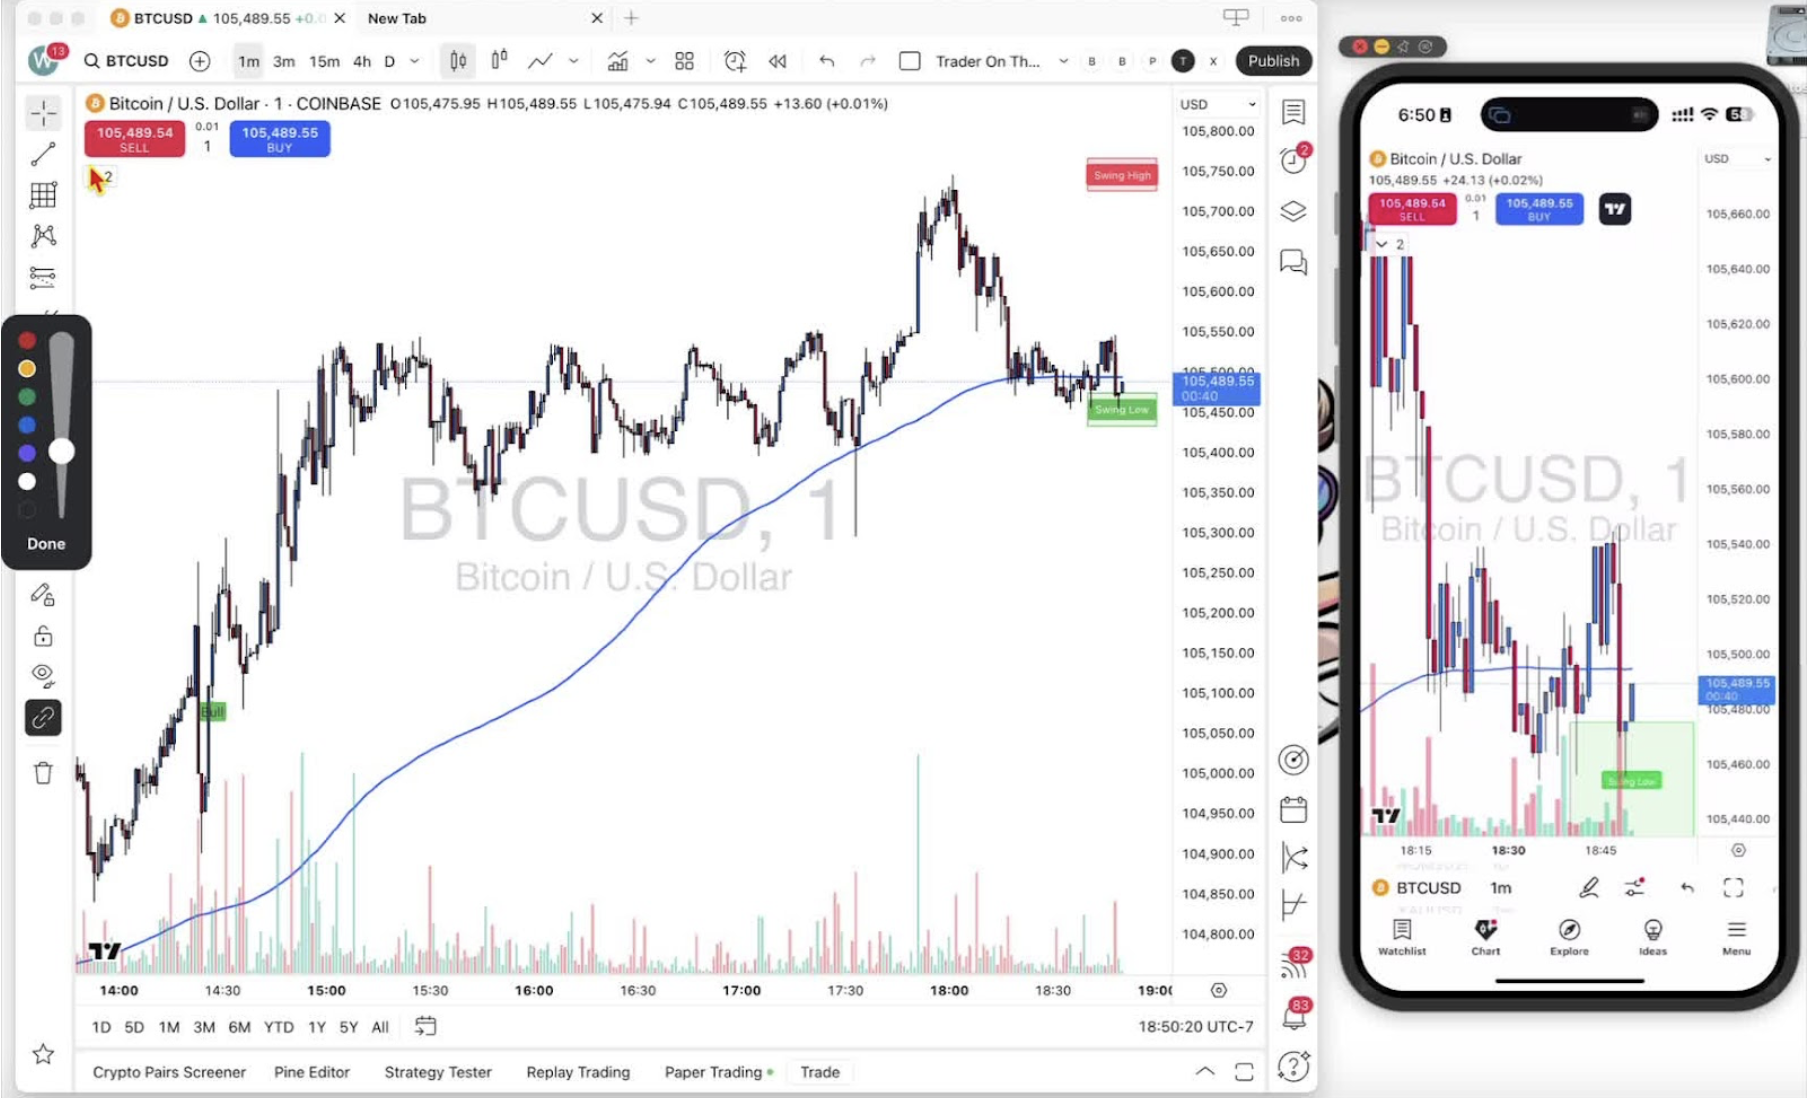
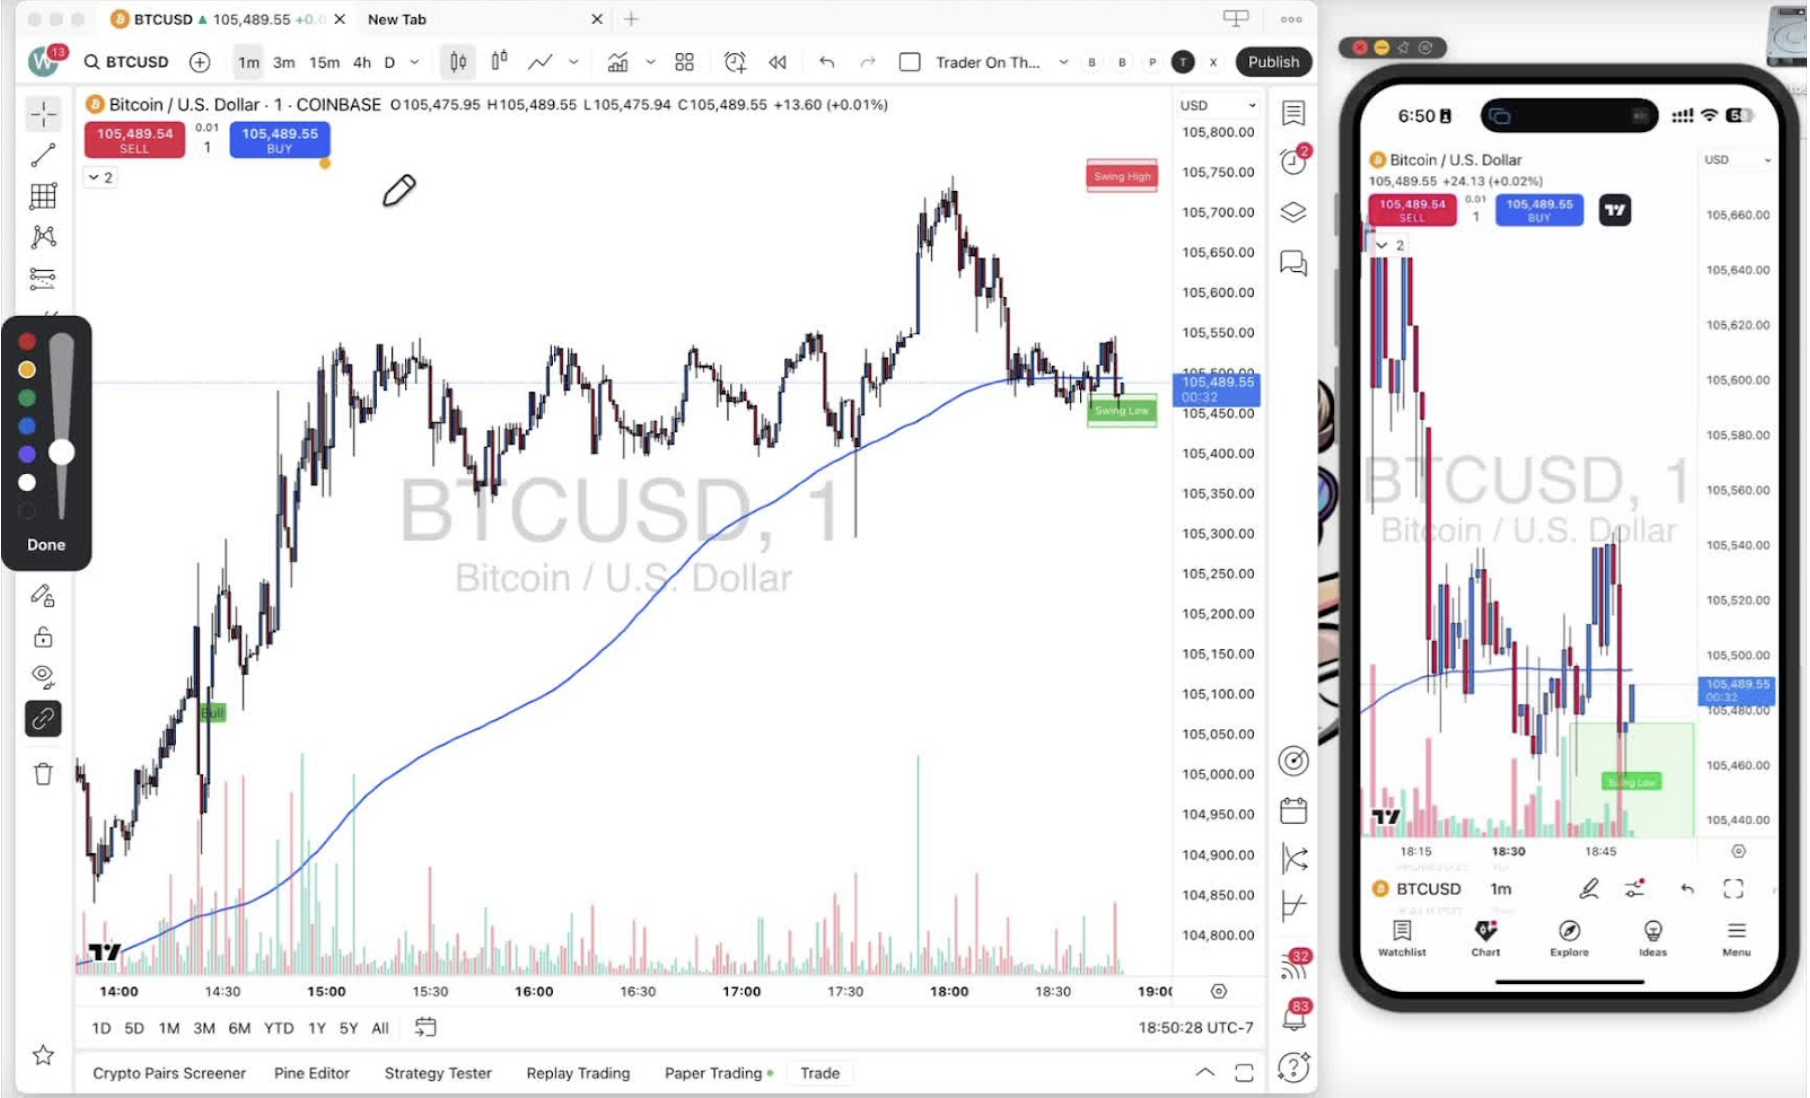
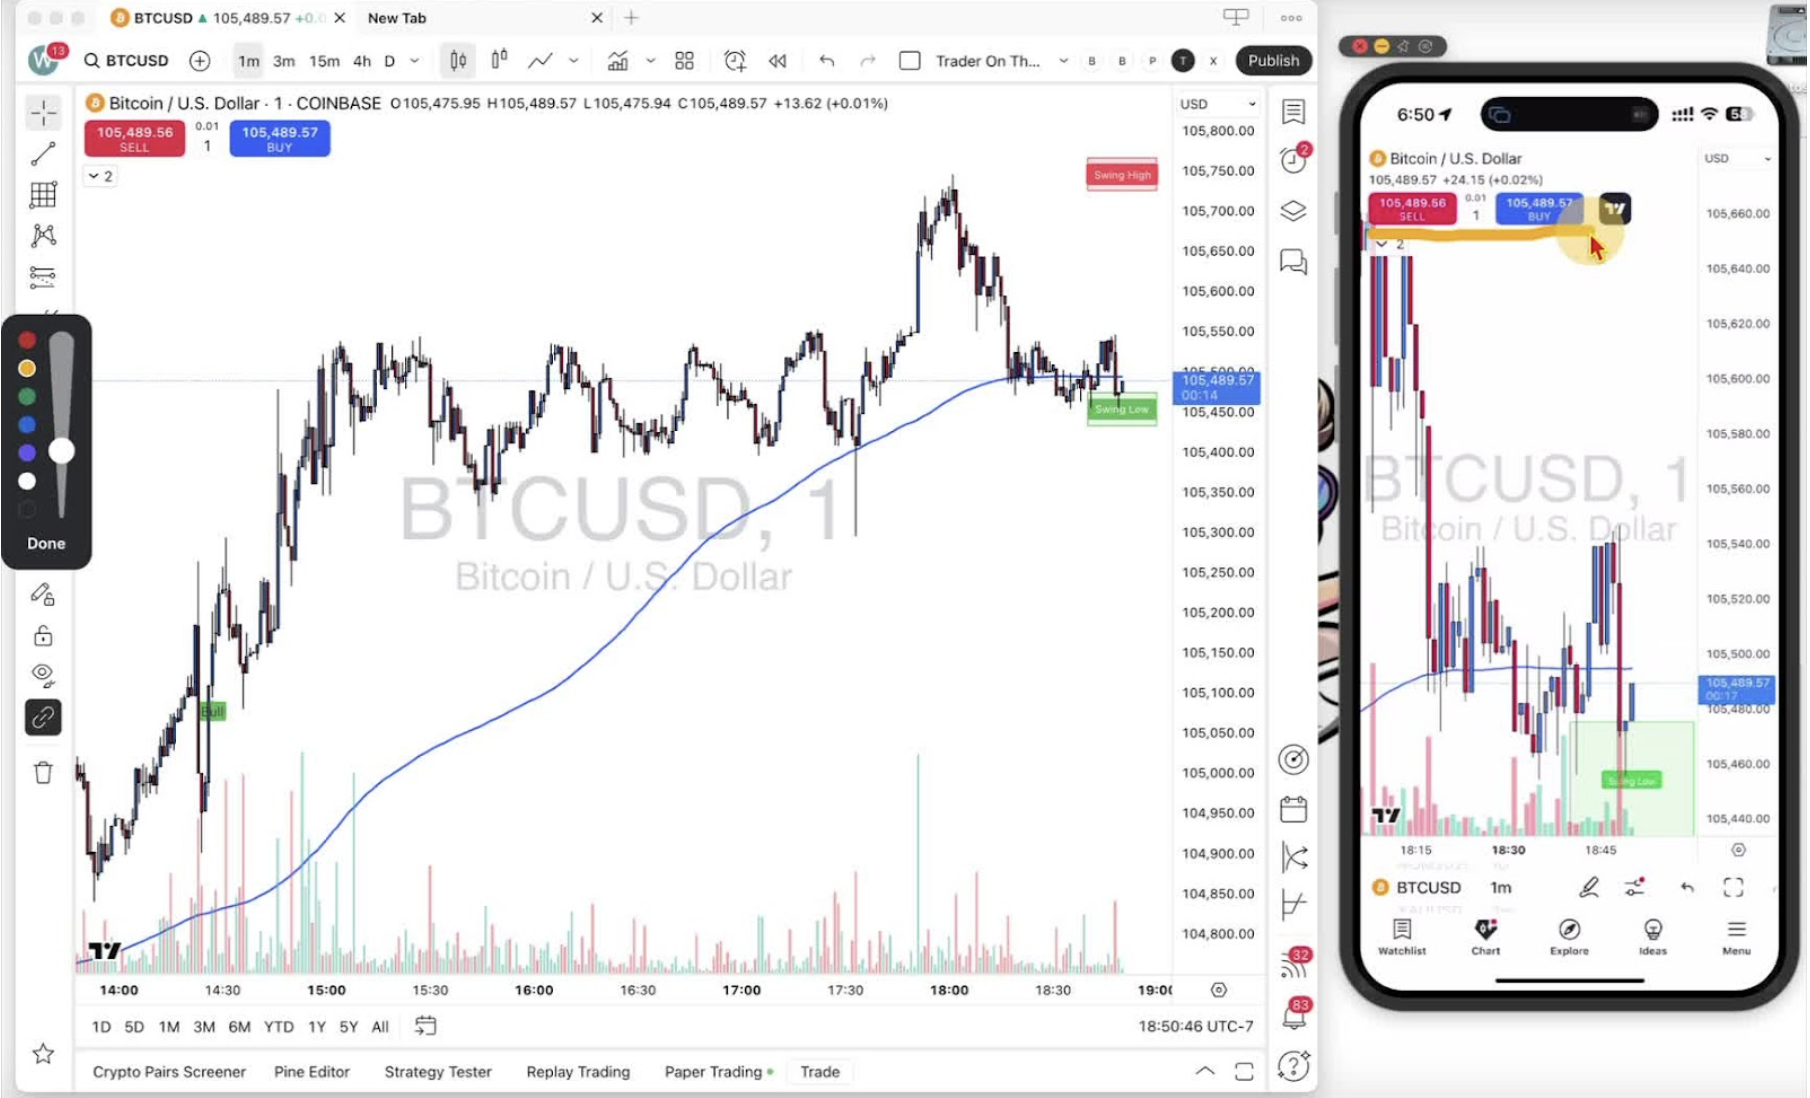
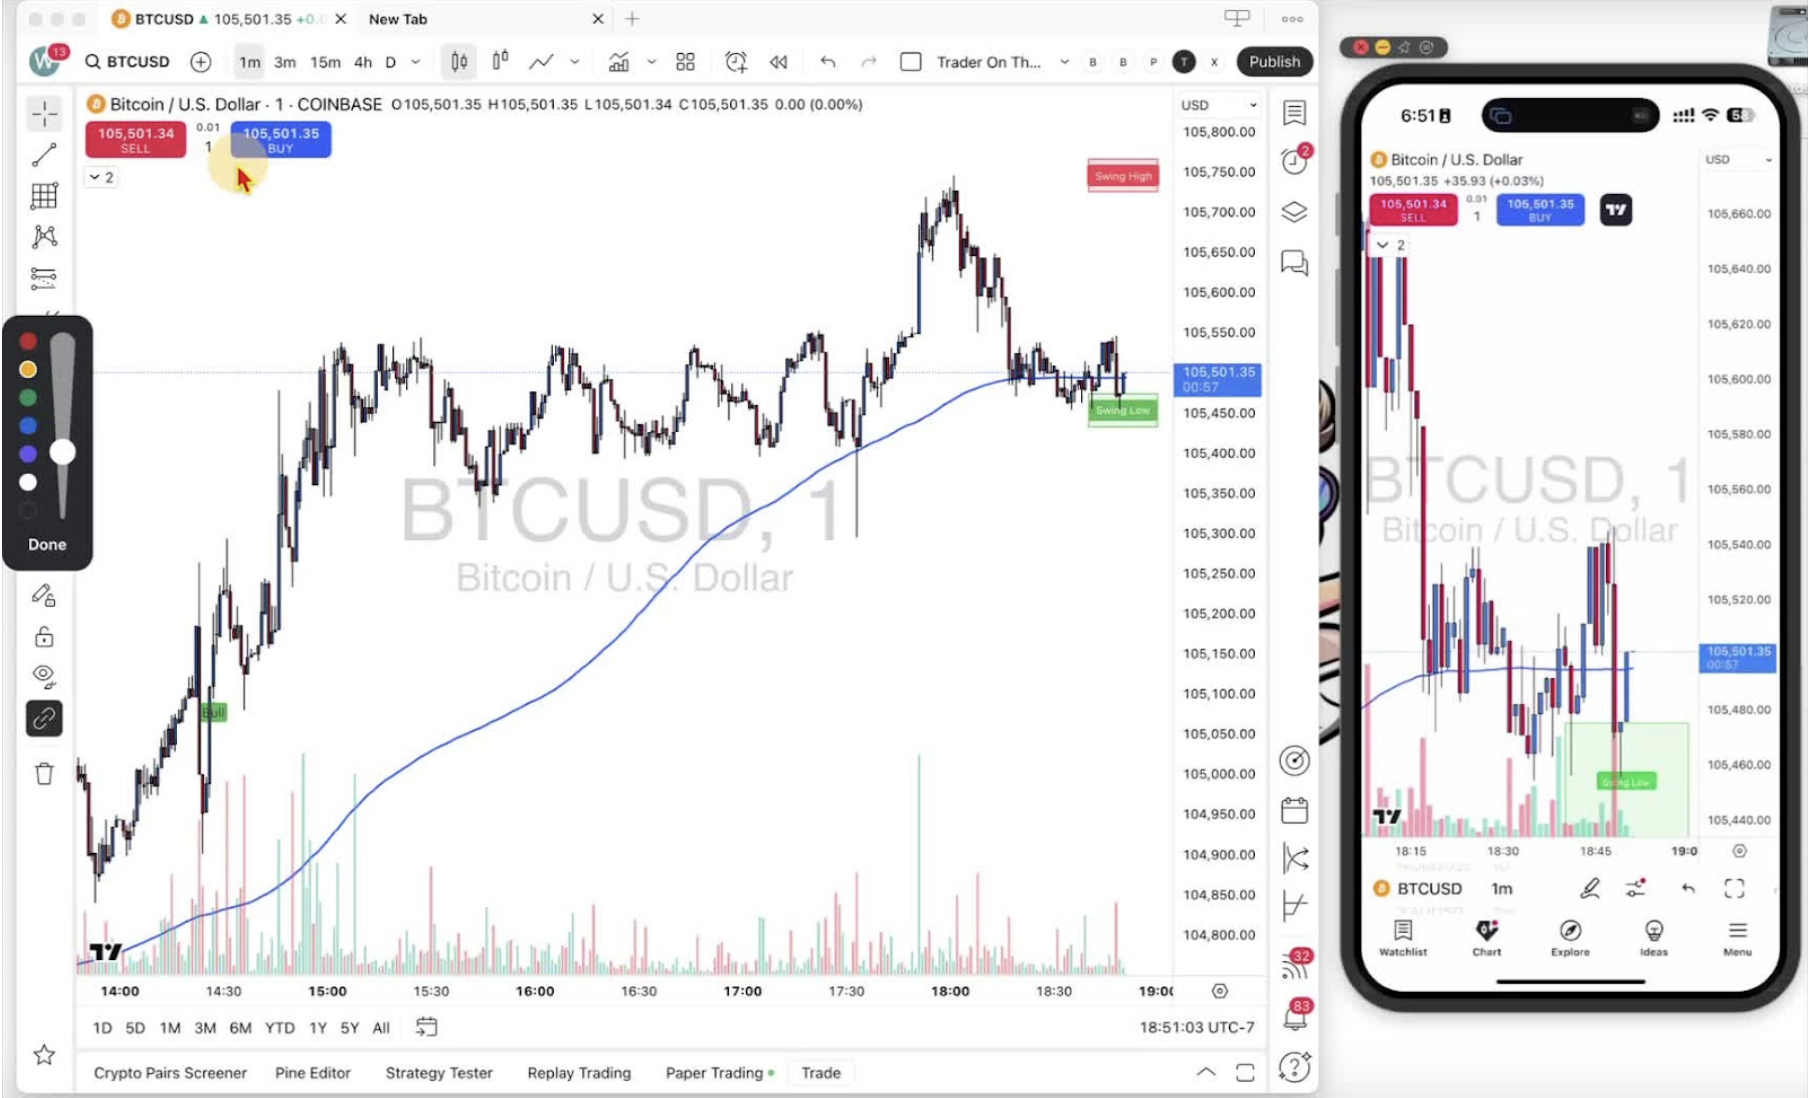
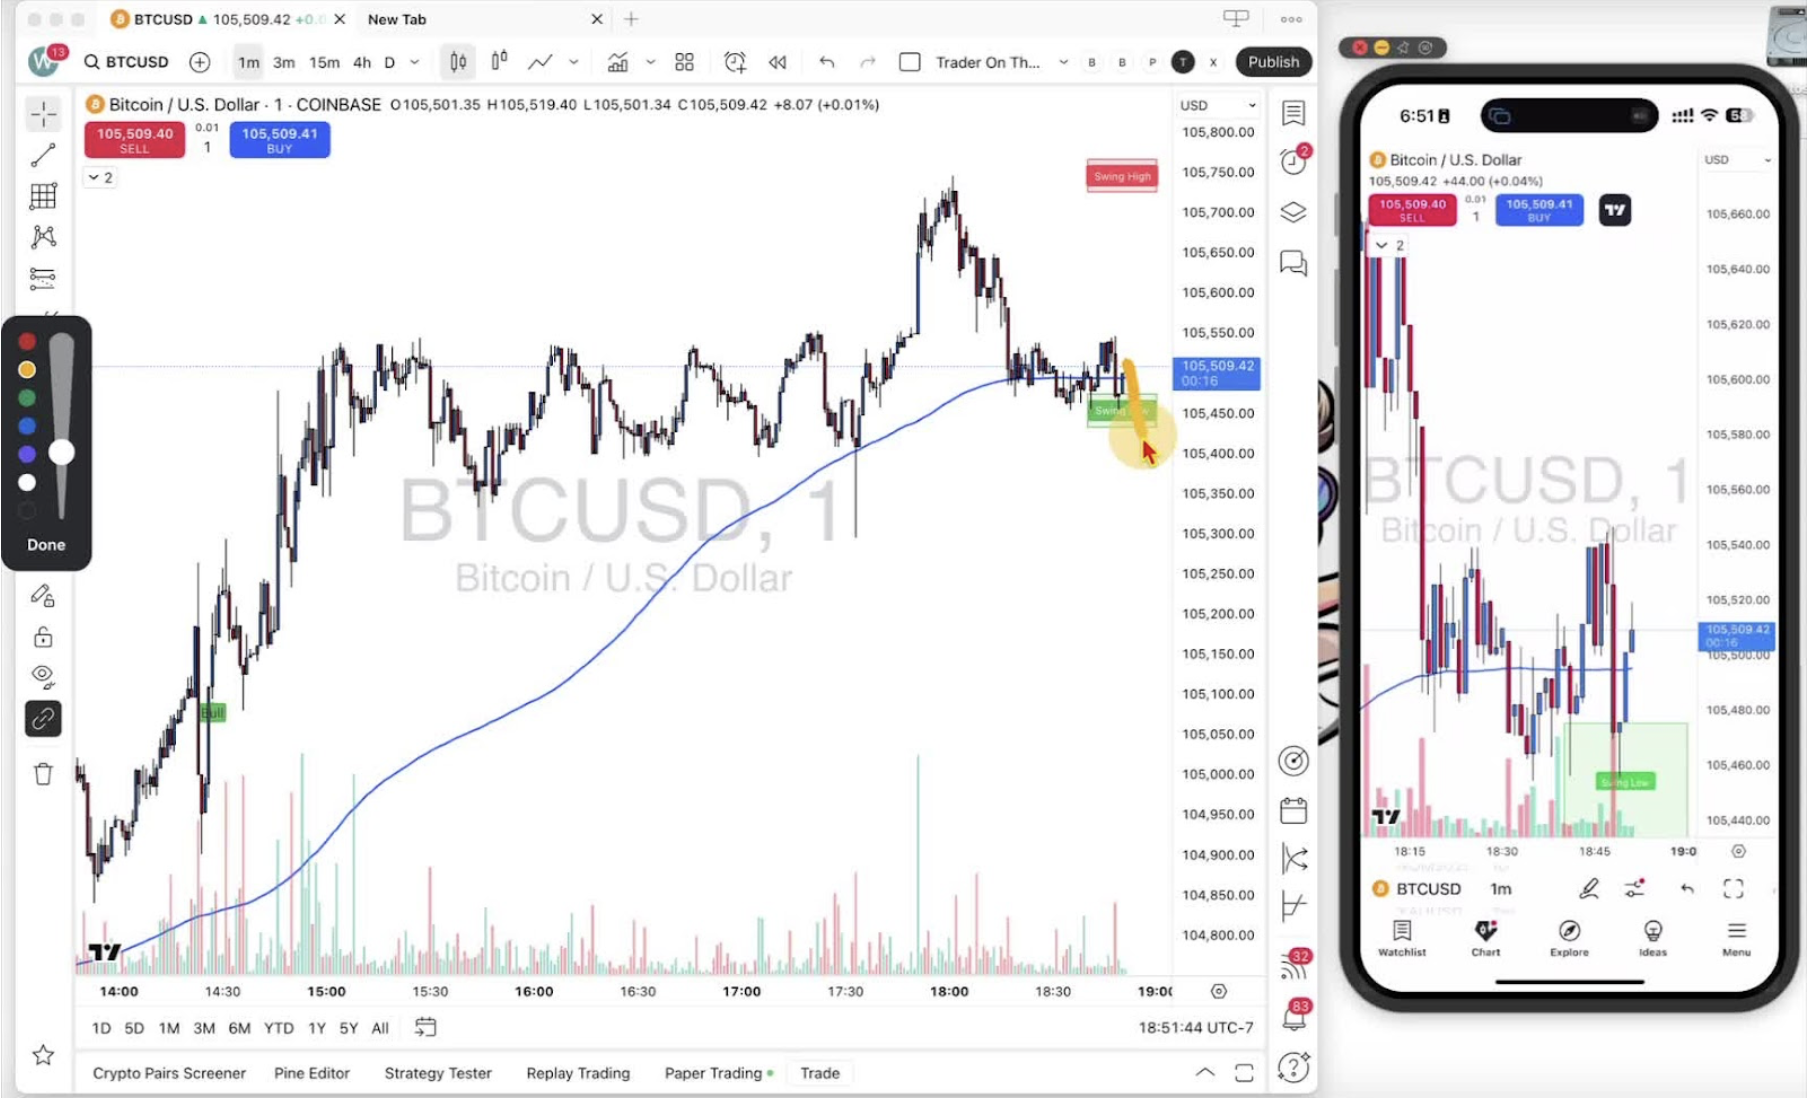
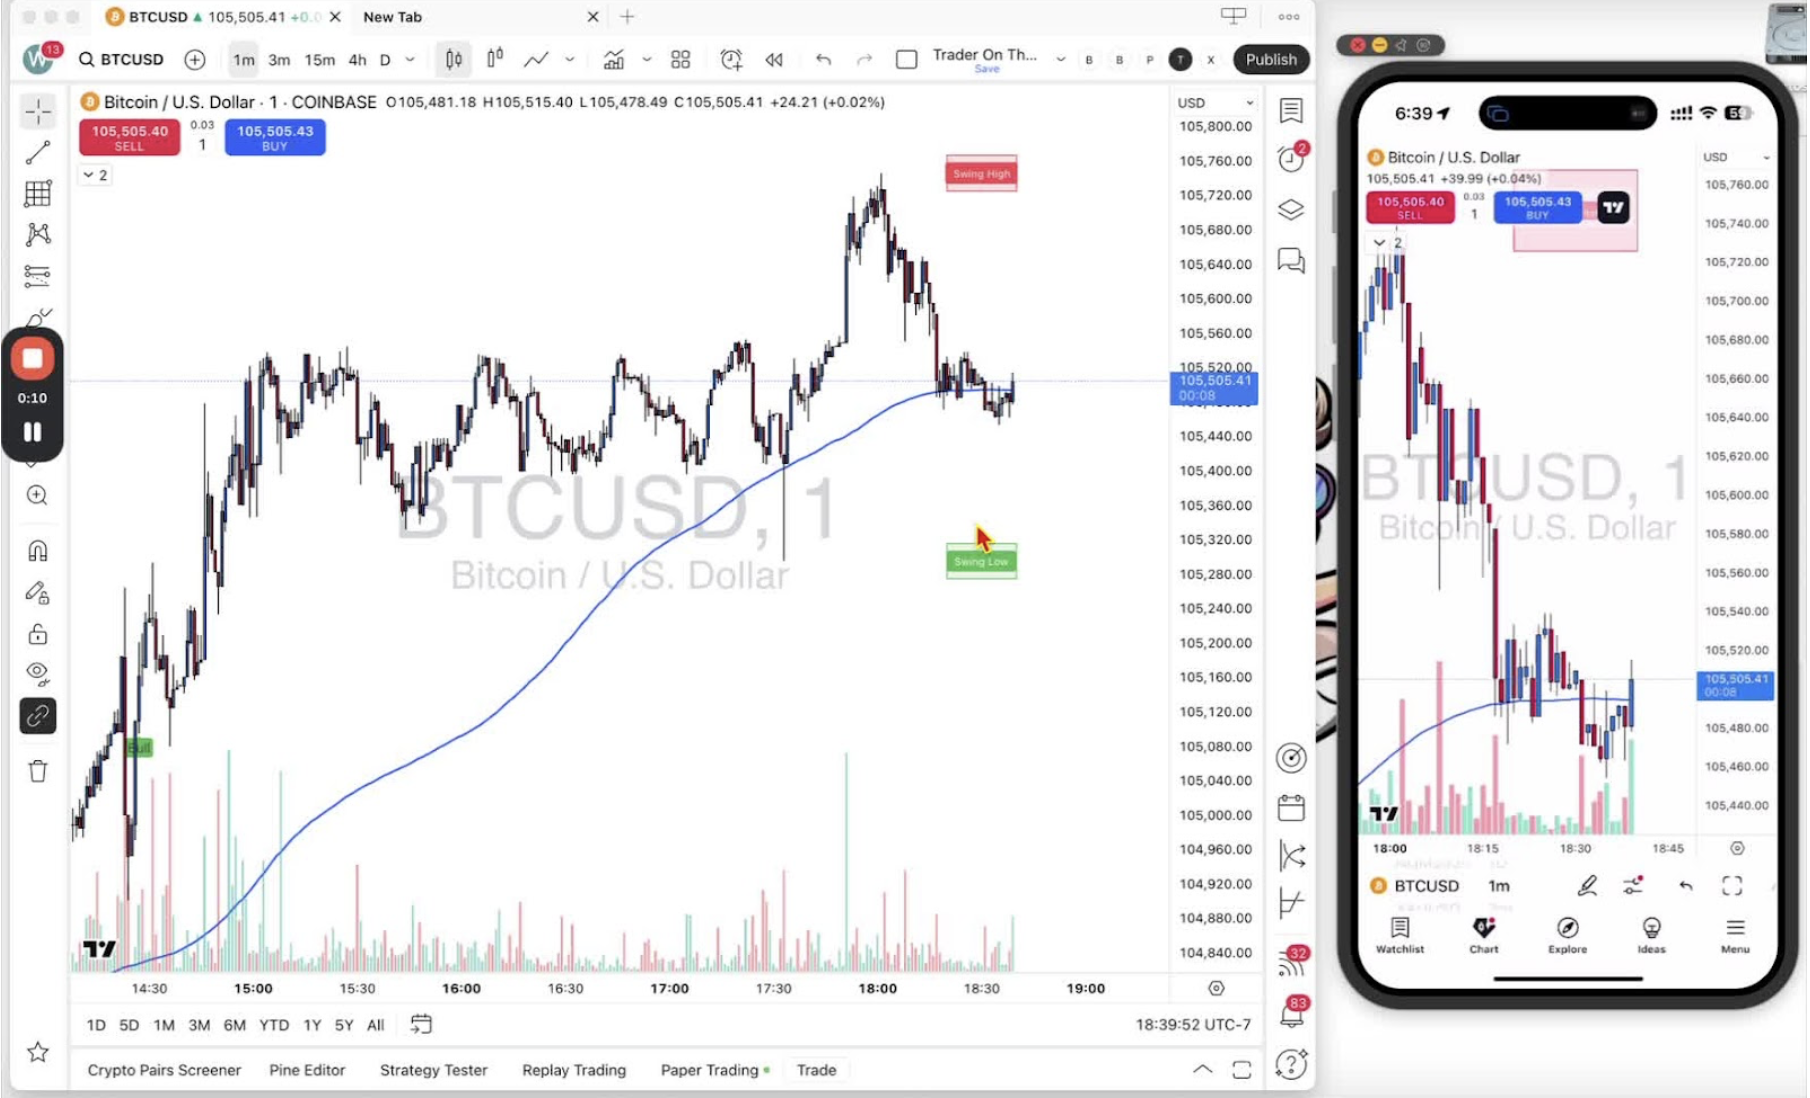
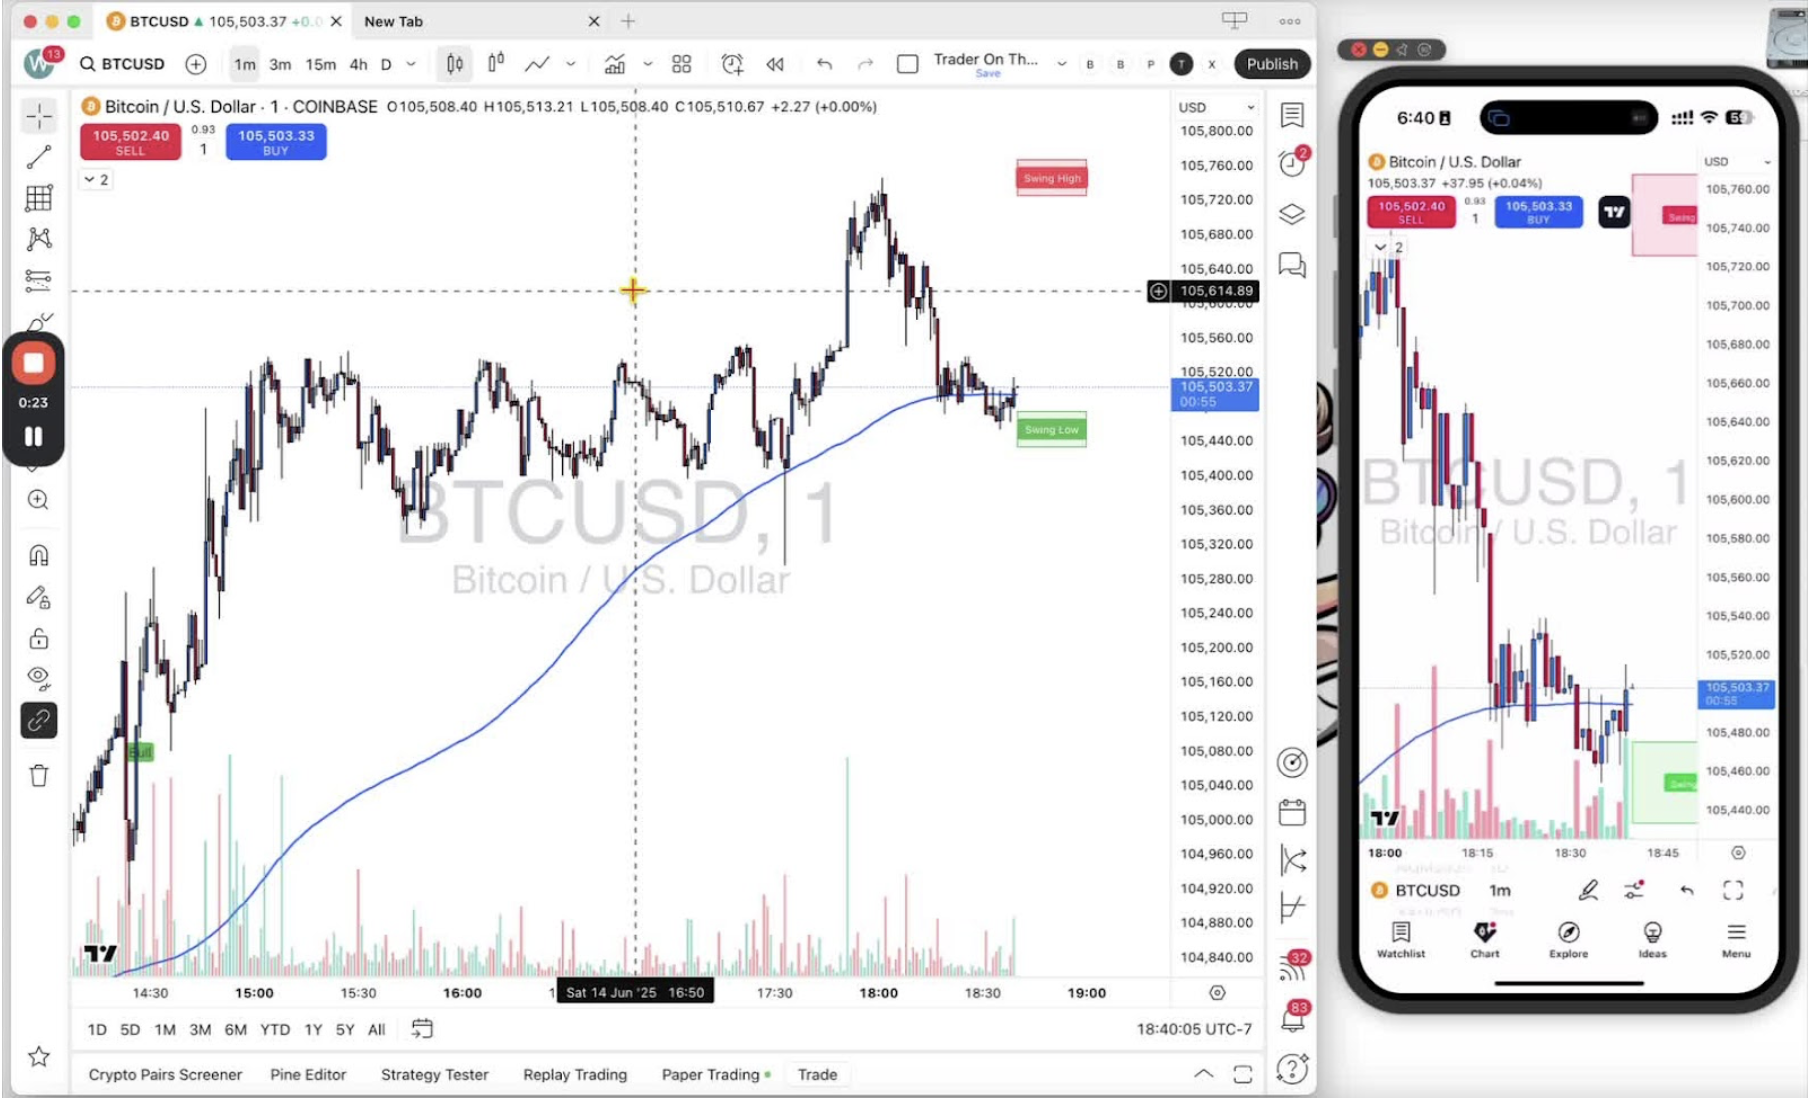
    Remove the swing high and swing low boxes (and their labels) from the Trader on the Go indicator on desktop and mobile. Tick the same options again to bring them back.

    Access Indicator Settings on Desktop 0:14
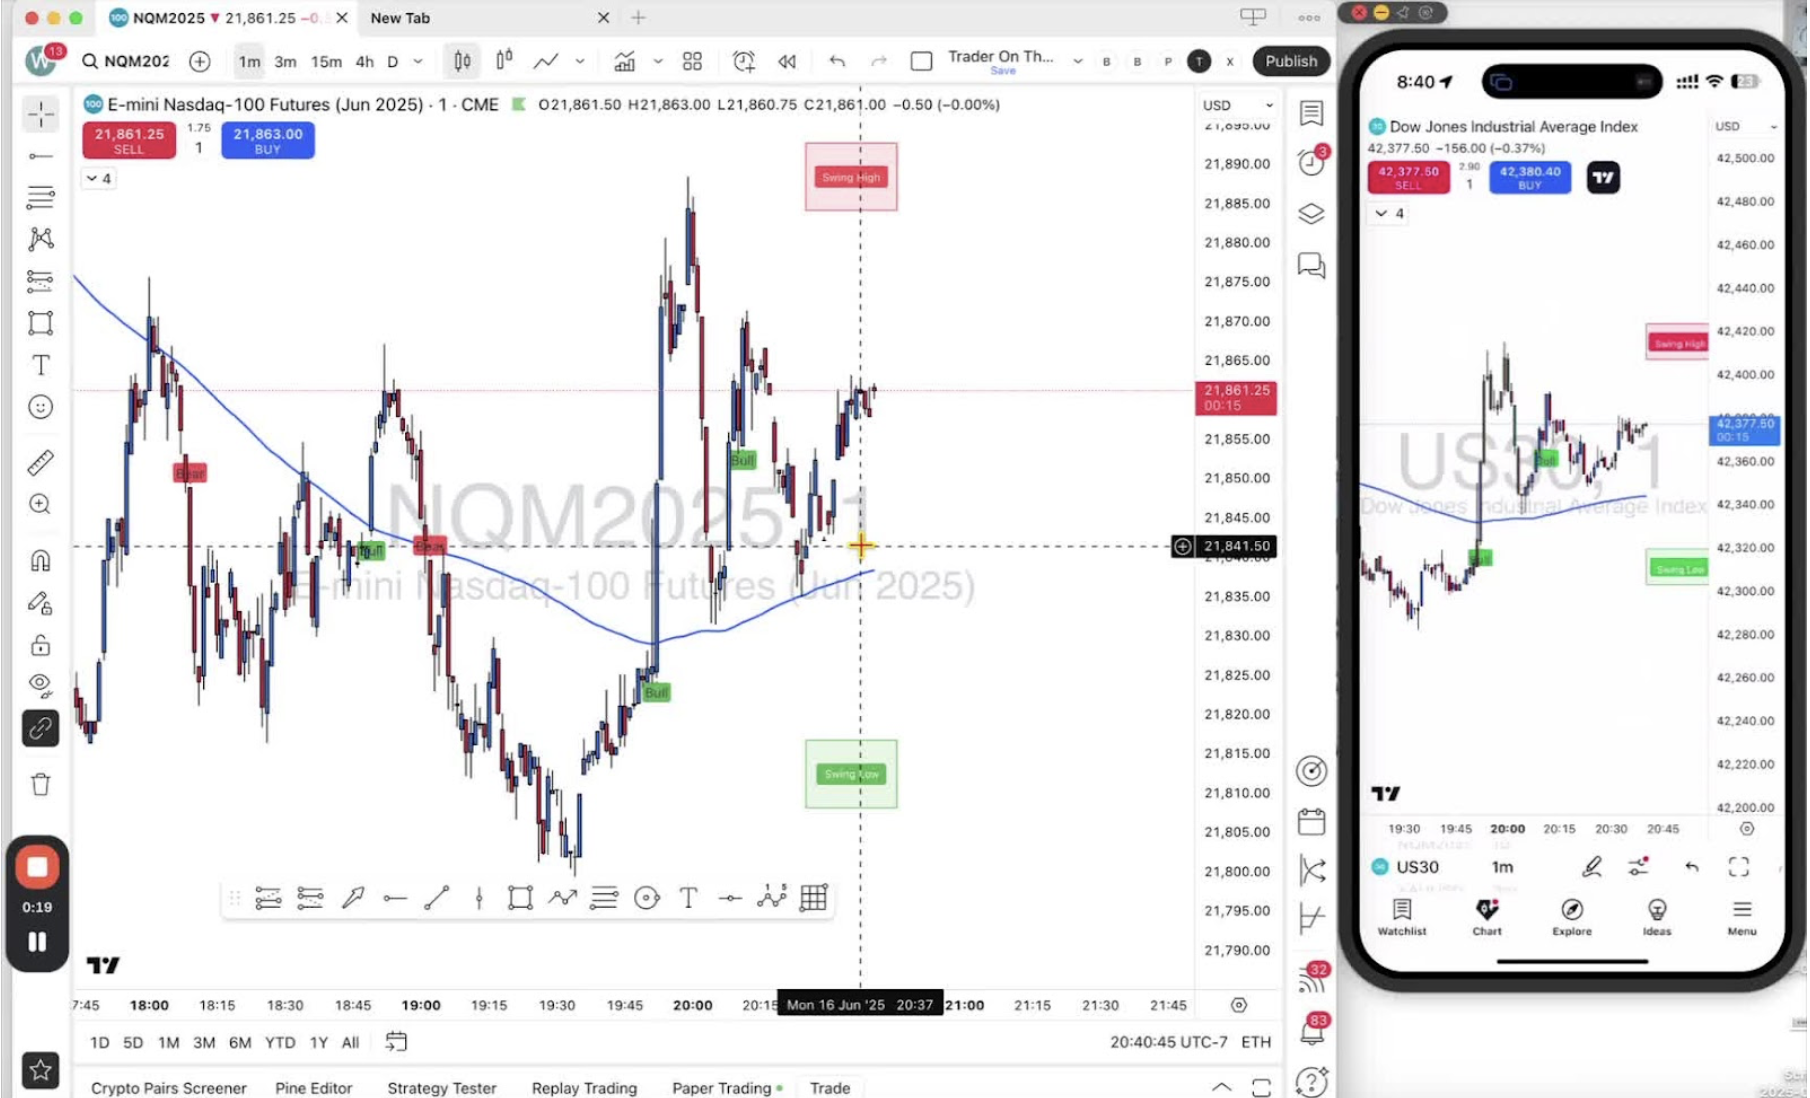
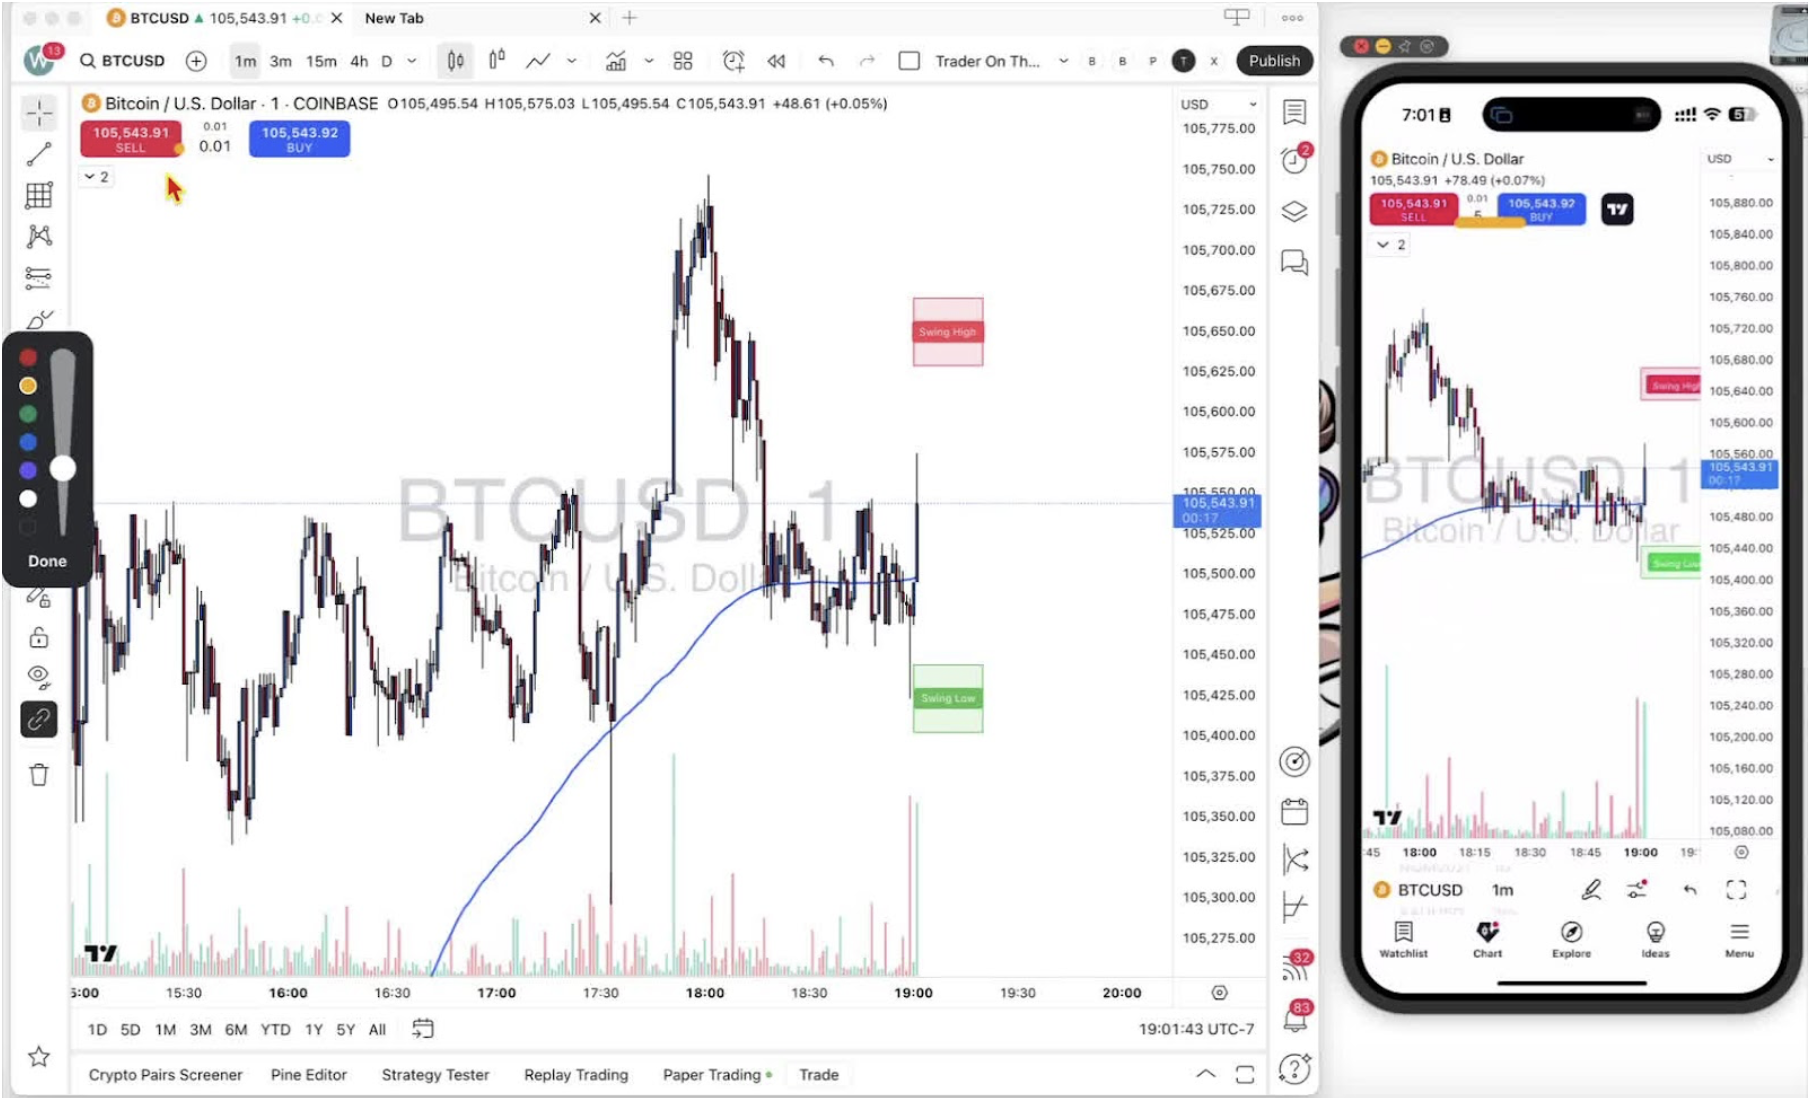
    • Click the ‘Show Indicators’ legend under the red sell button. It may show as a small arrow.

    Open Indicator List Menu 0:27
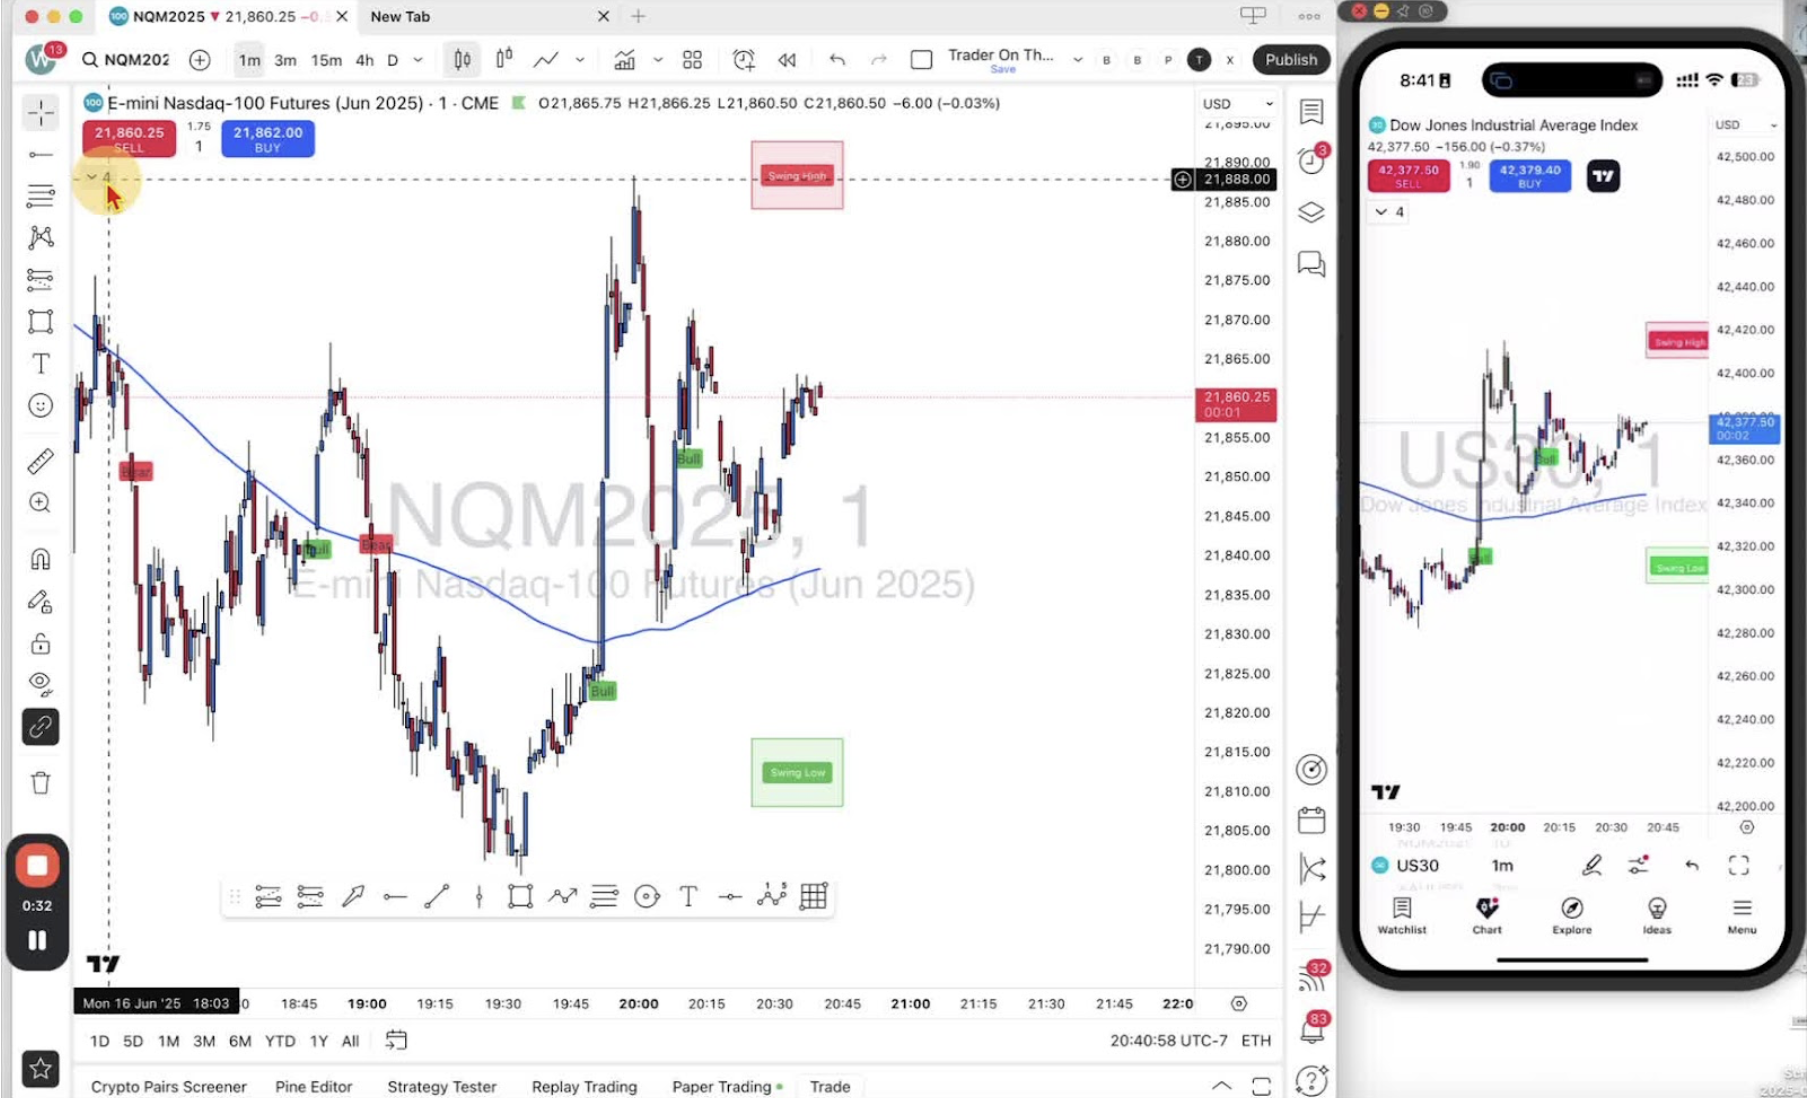
    • Hover over the indicator text to reveal the options.
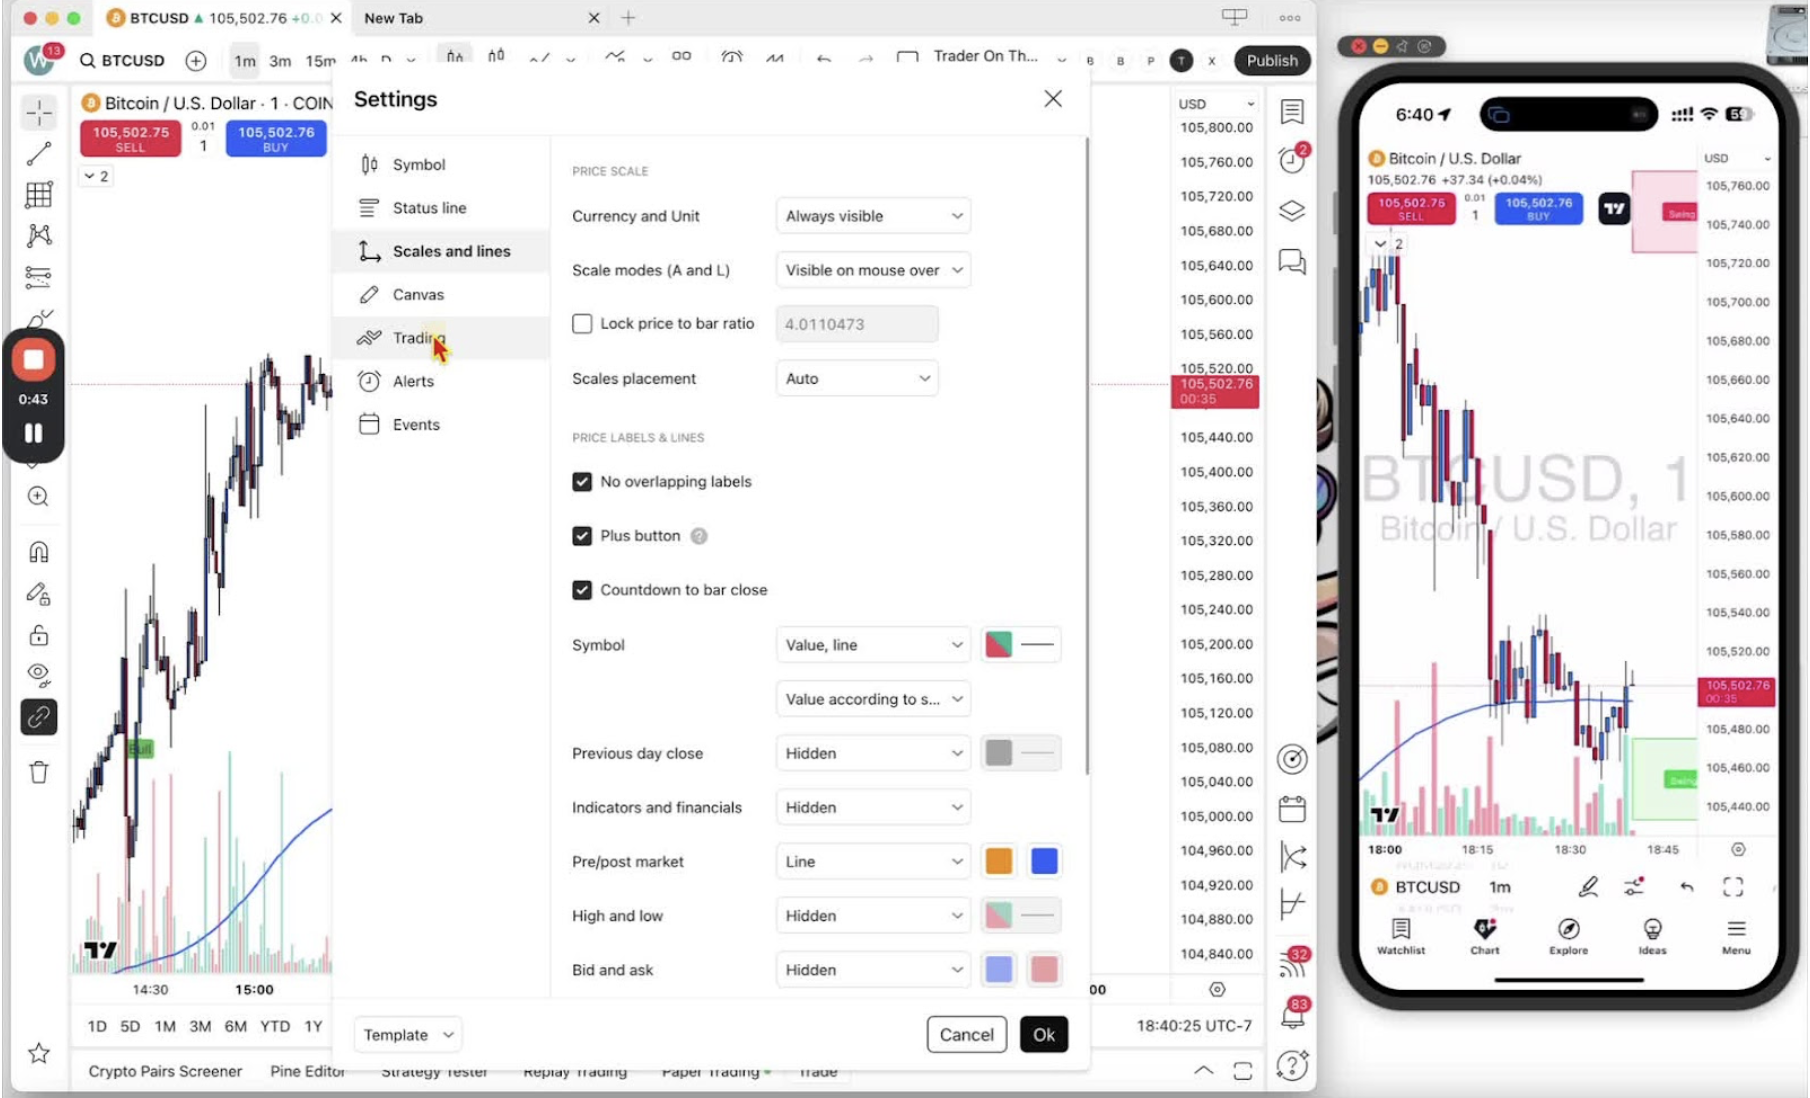
    • Click ‘Settings’.

    Navigate to Style Settings 0:40
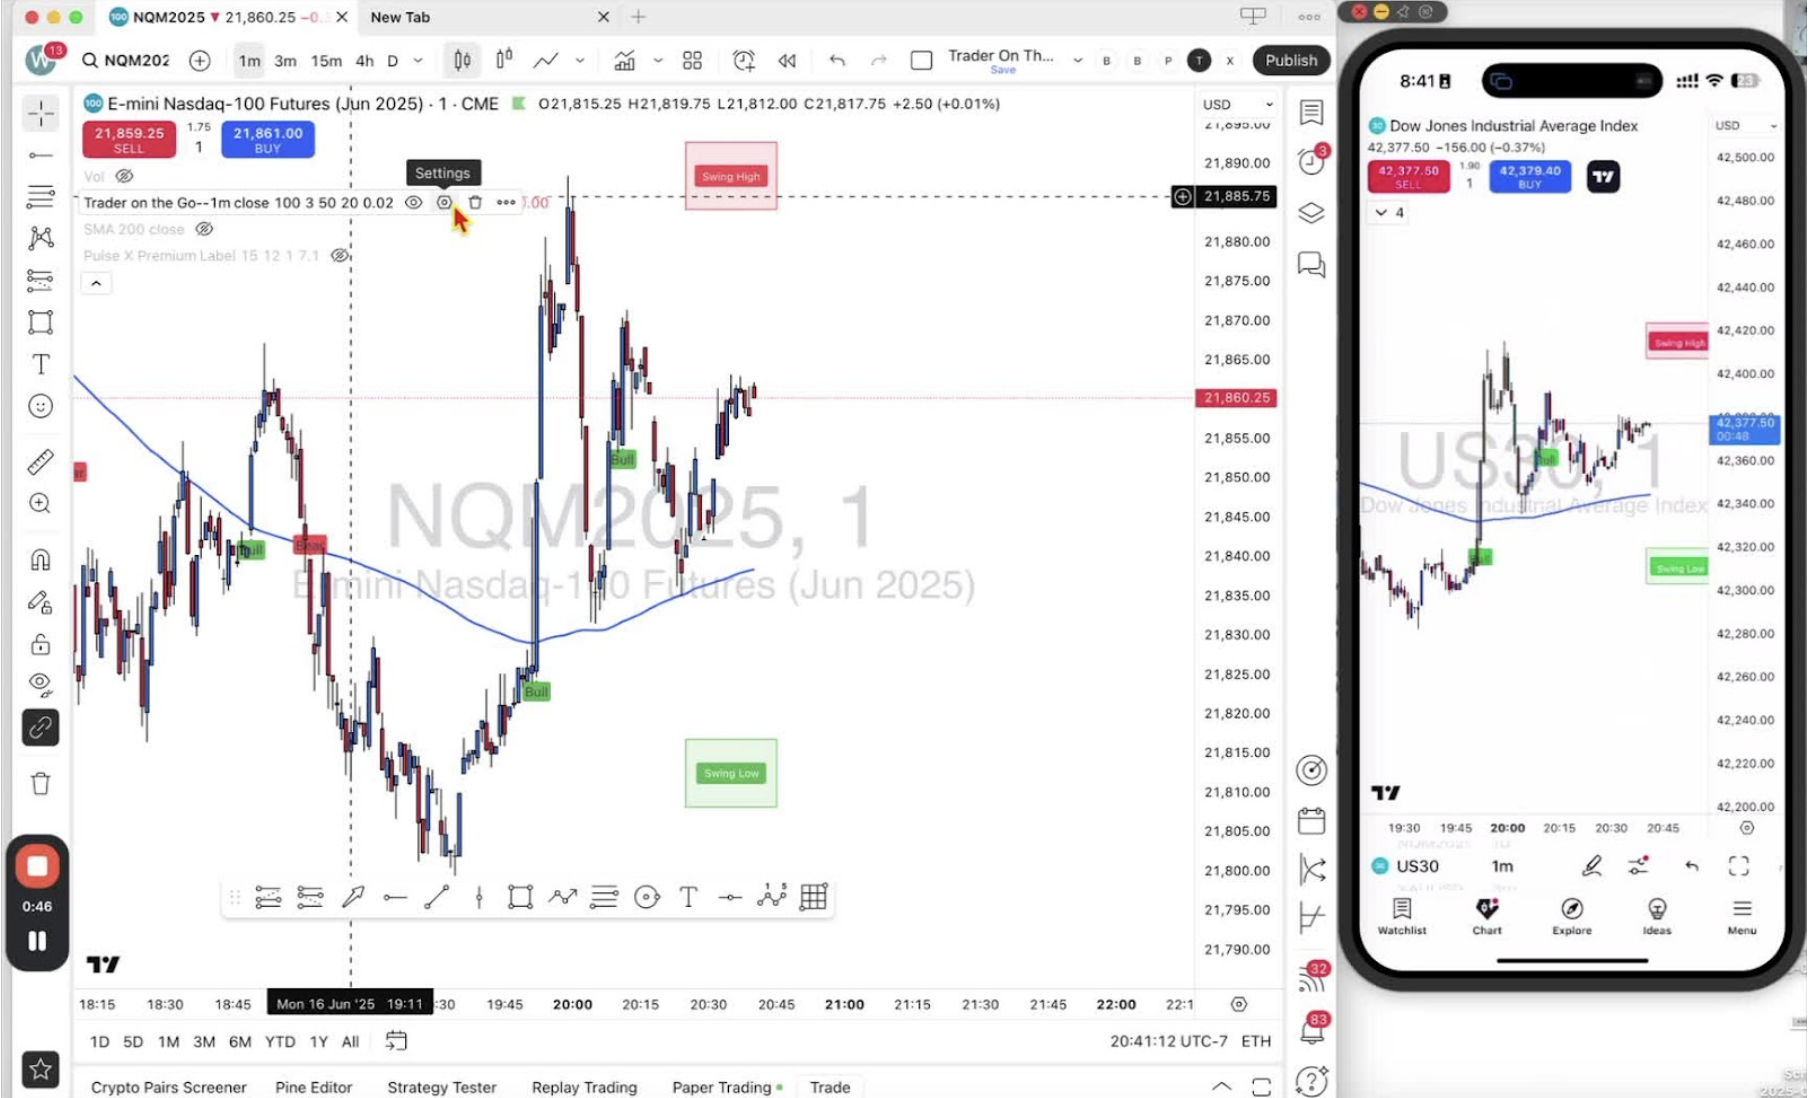
    • Click ‘Style’.
    • Scroll down to ‘Graphics Objects’.

    Remove Swing High and Low Boxes 0:56
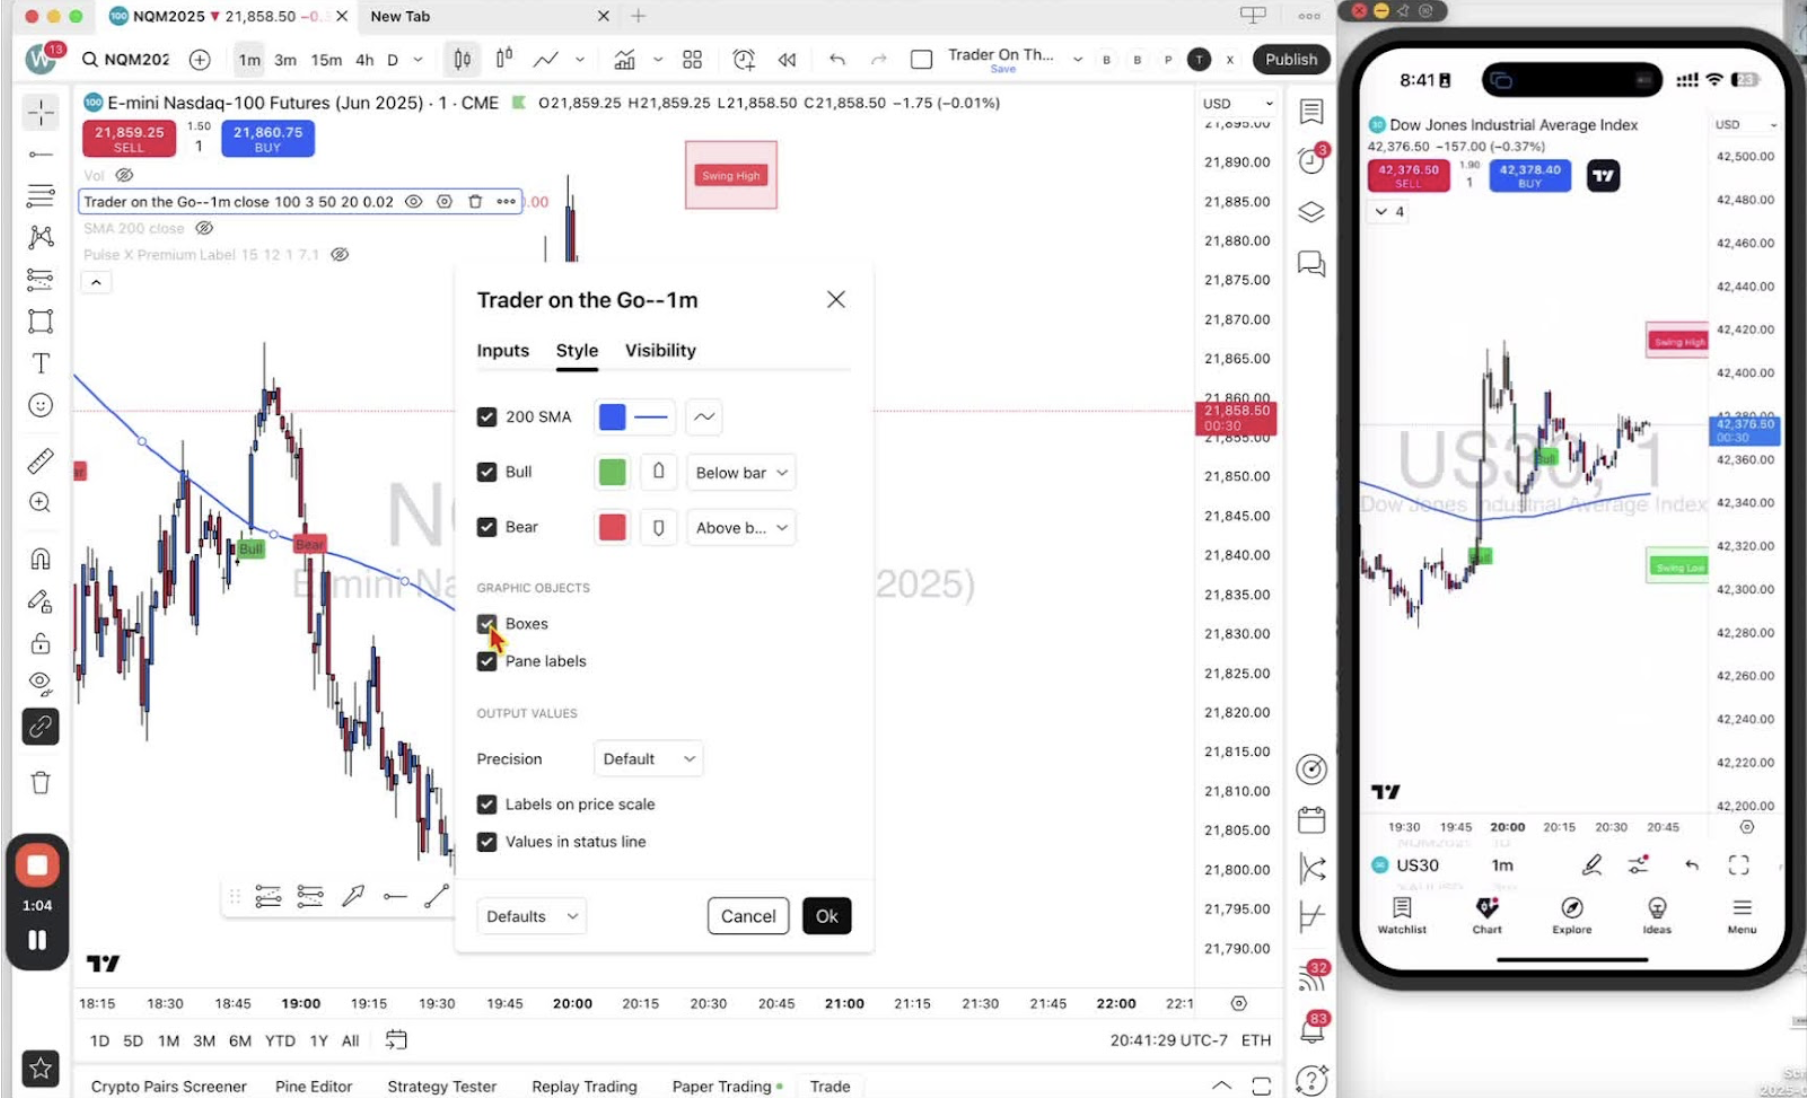
    • Untick ‘Boxes’ to remove the swing high and low boxes.
    • Untick ‘Paint Labels’ to remove the text labels.

    Restore Swing High and Low Boxes (if needed) 1:23
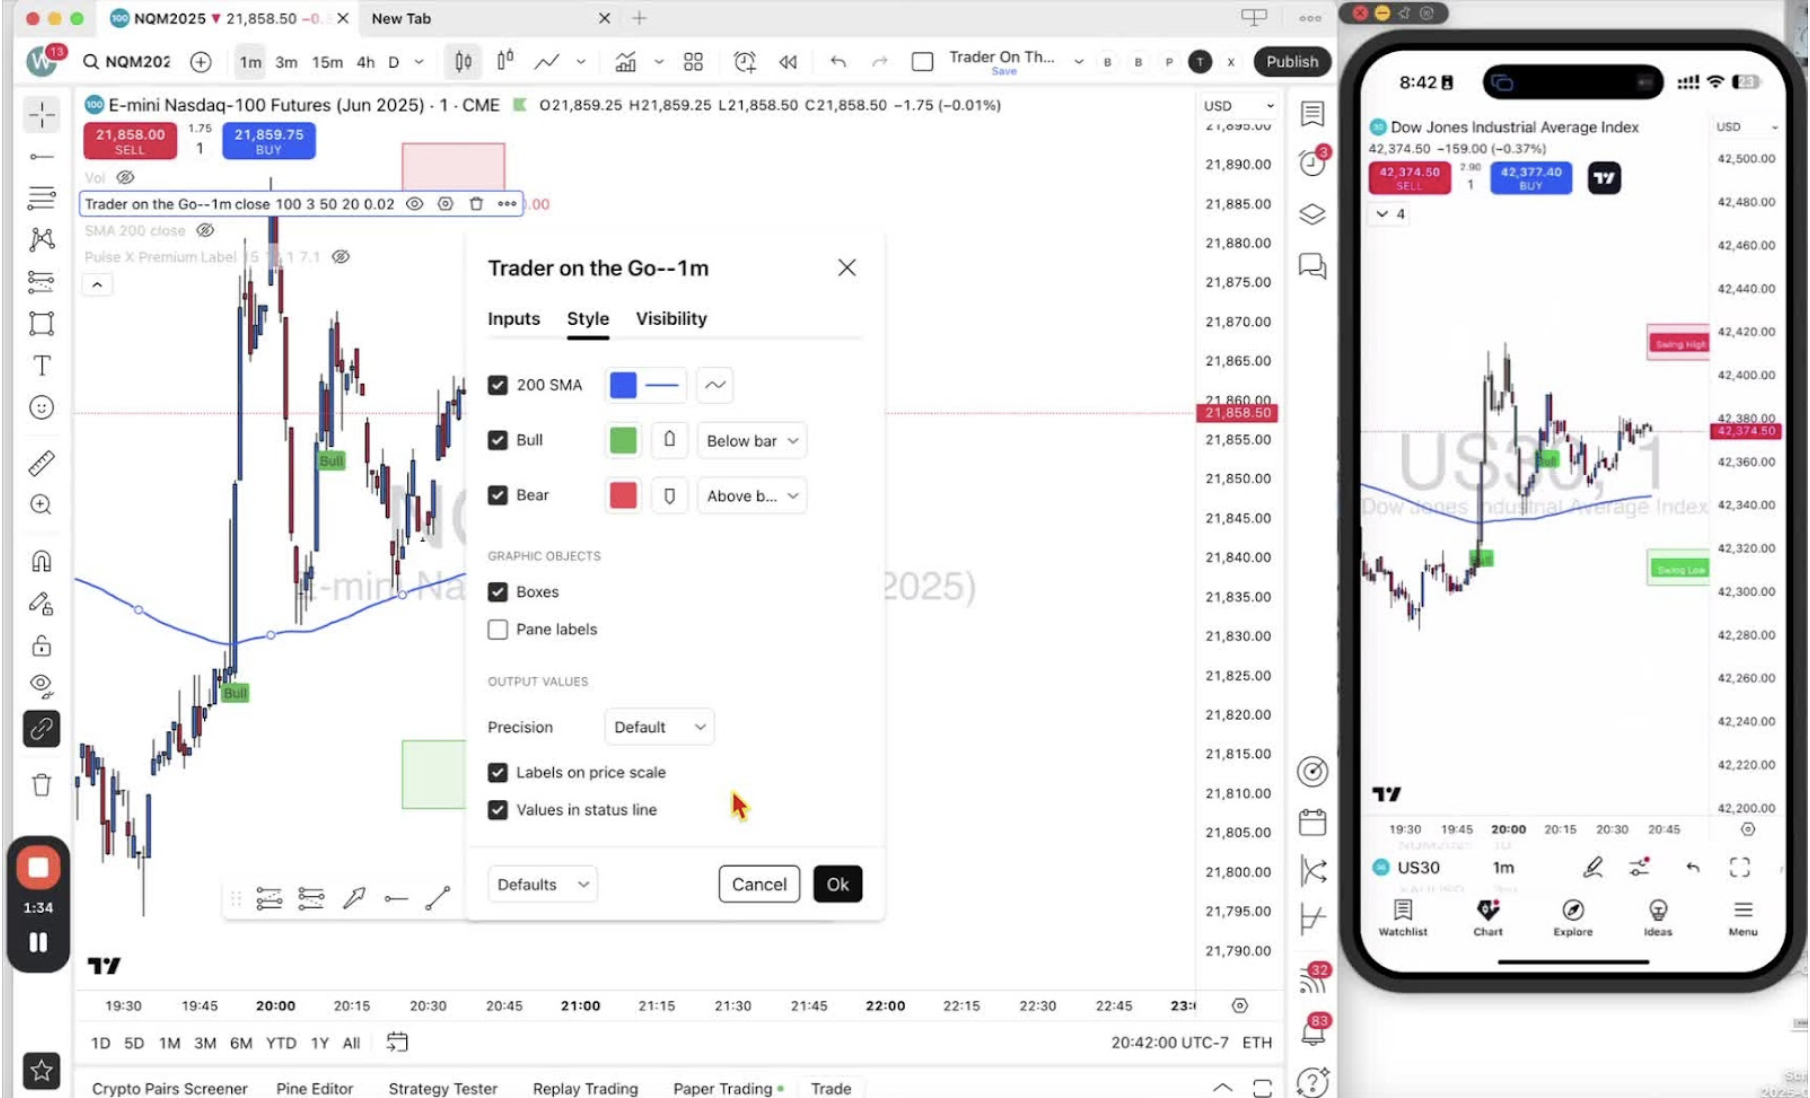
    • Go back to ‘Settings’ and tick ‘Boxes’ and ‘Paint Labels’.

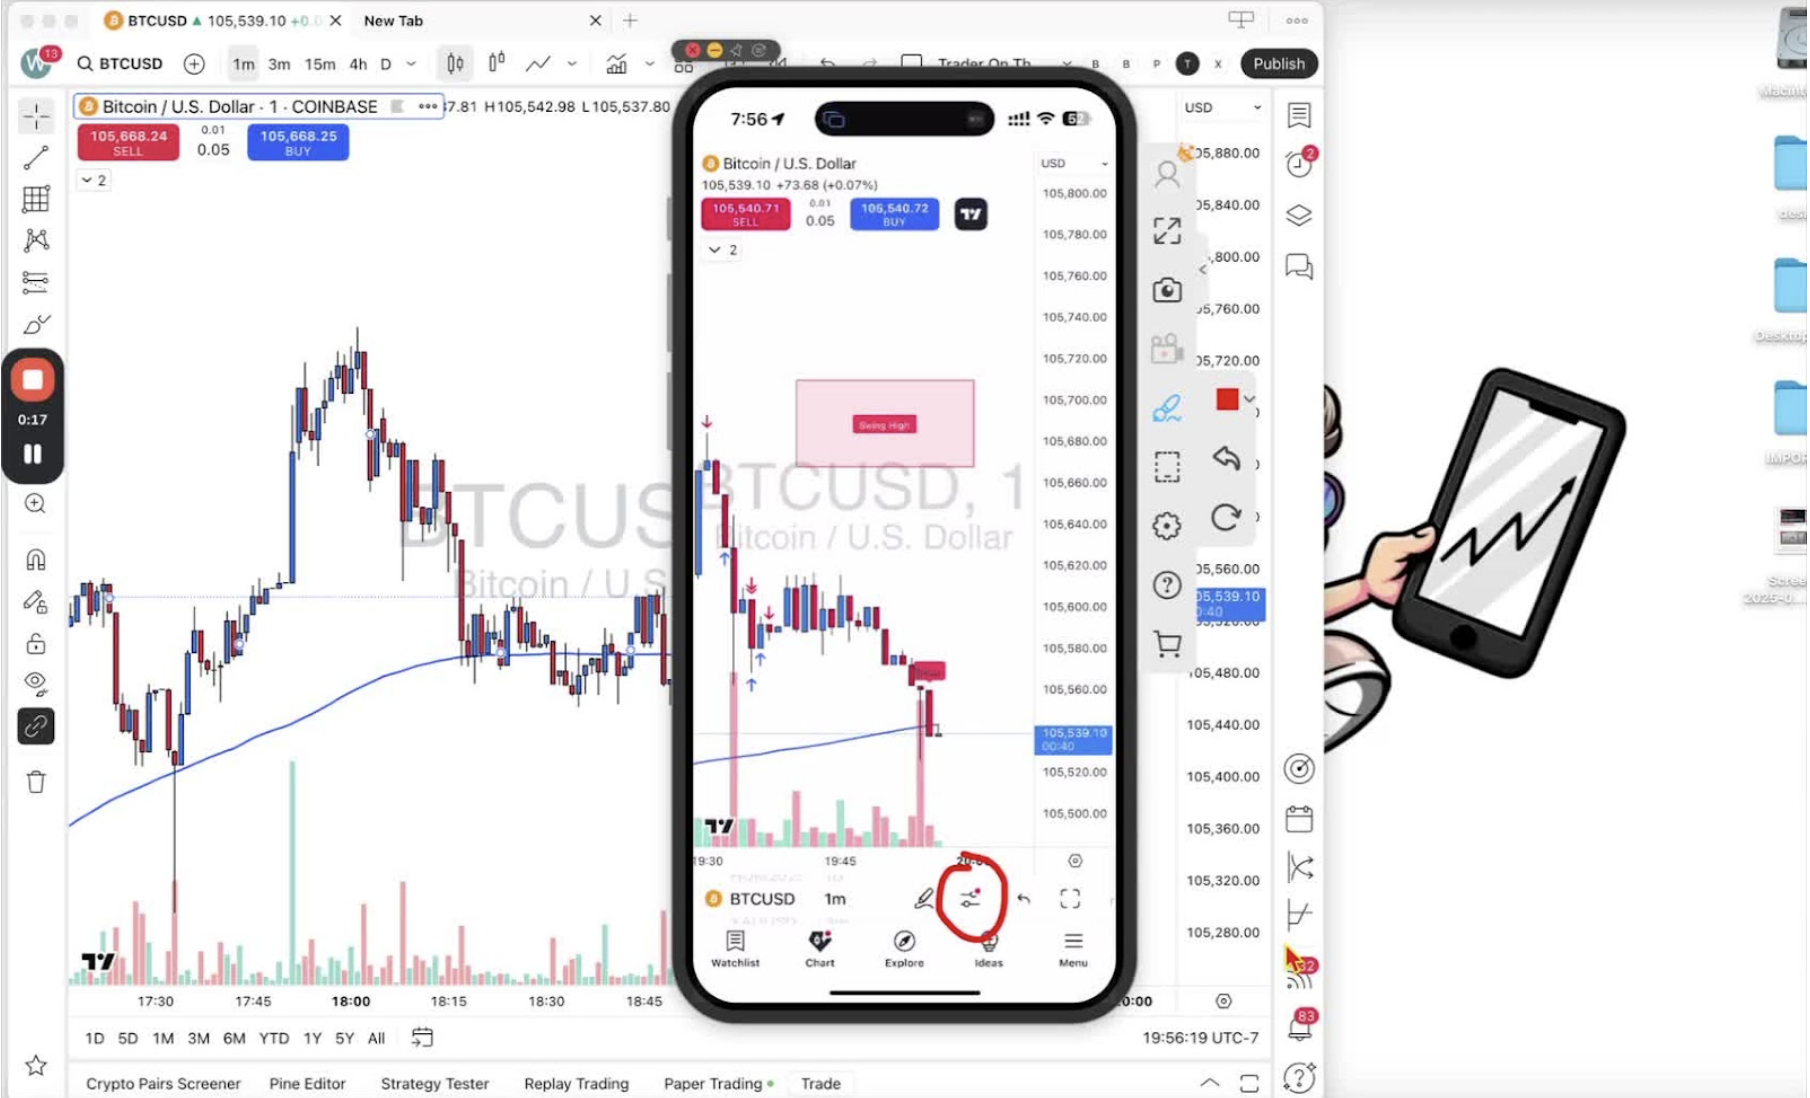
    Access Indicator Settings on Mobile 1:31
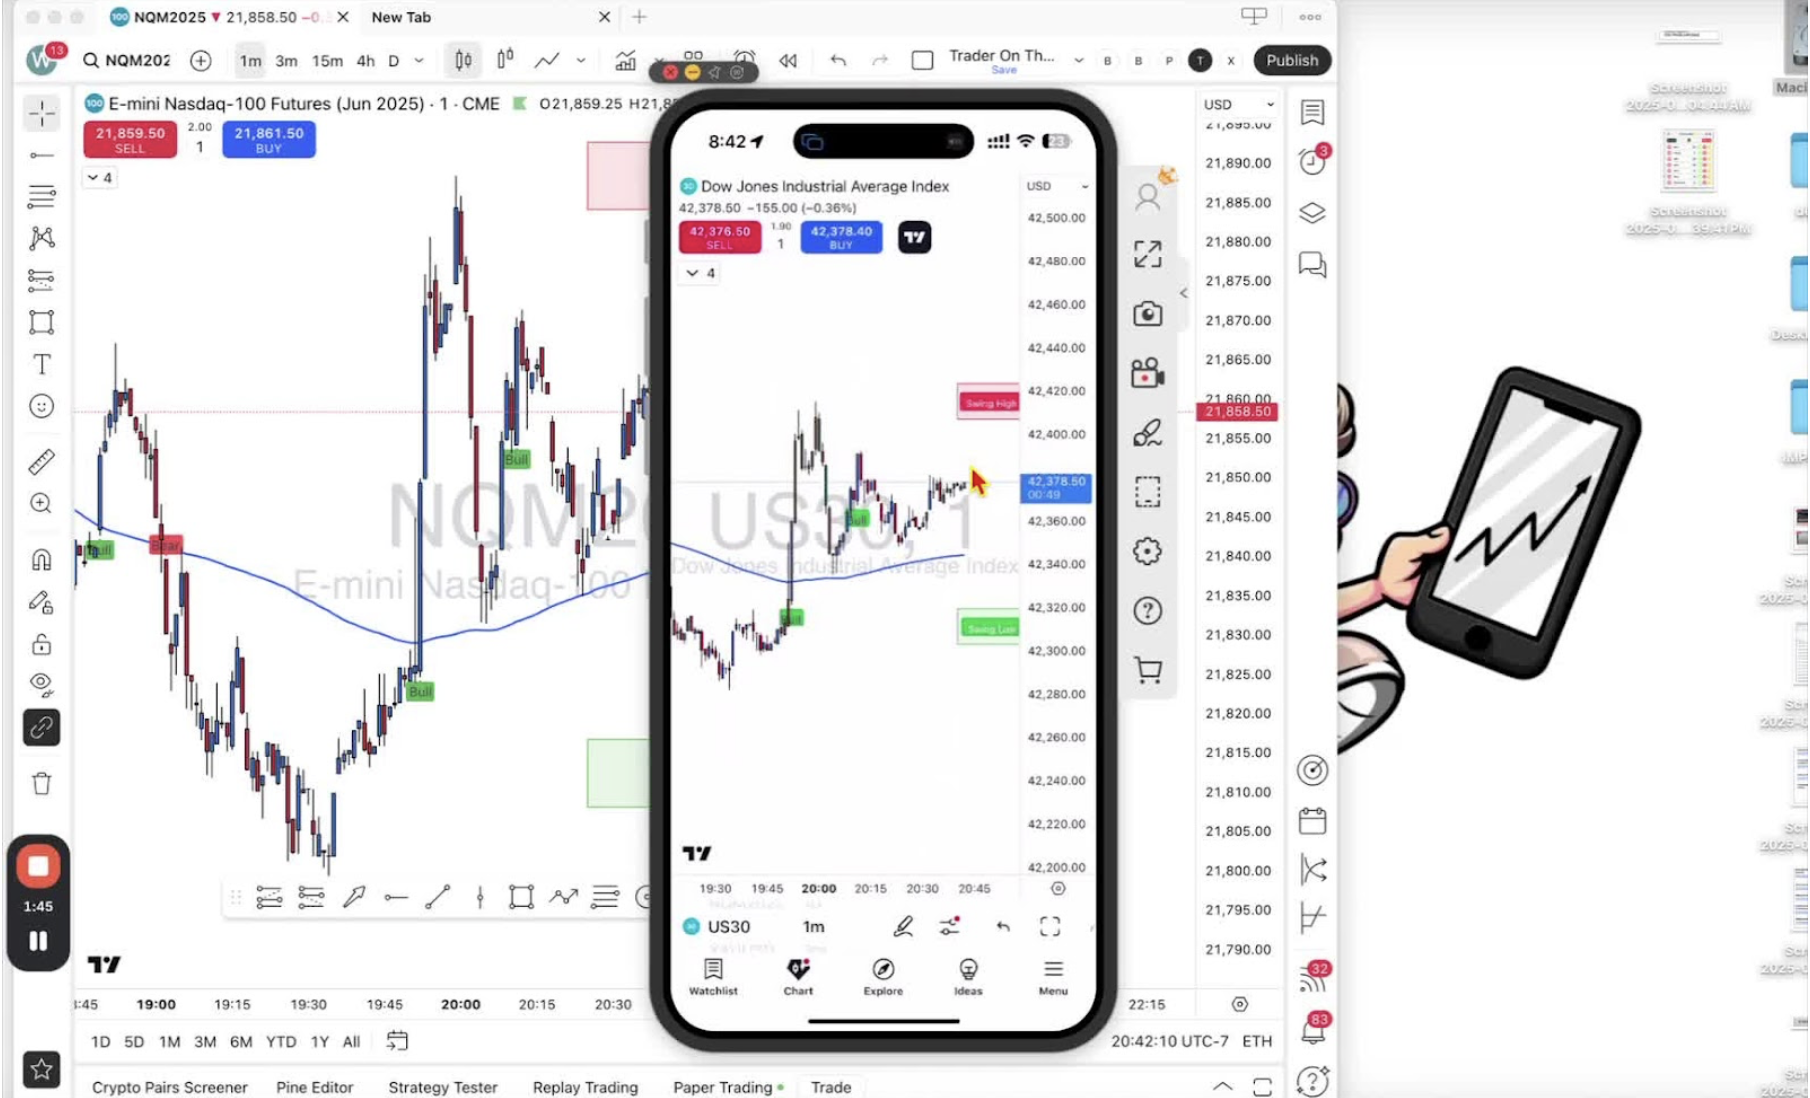
    • Tap the down arrow under the sell button.

    Open Mobile Indicator Menu 1:42
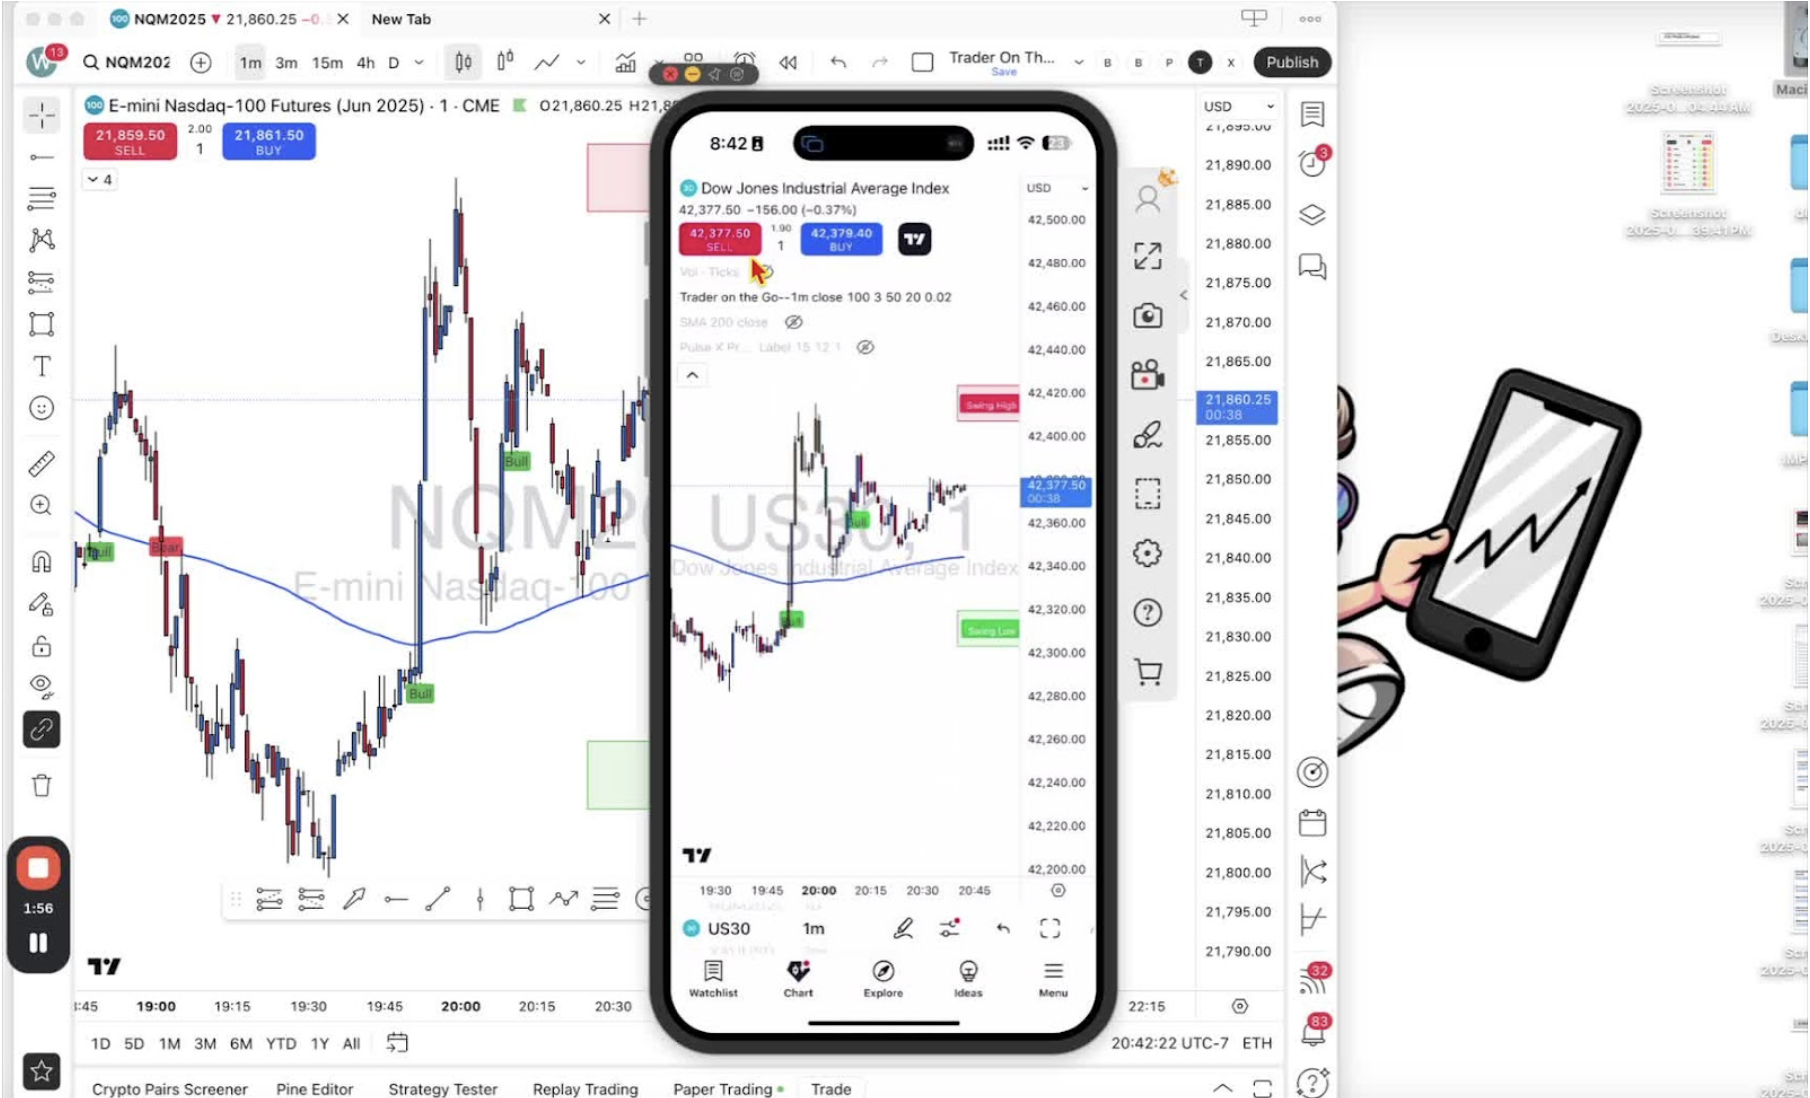
    • Tap ‘Trader on the Go’.

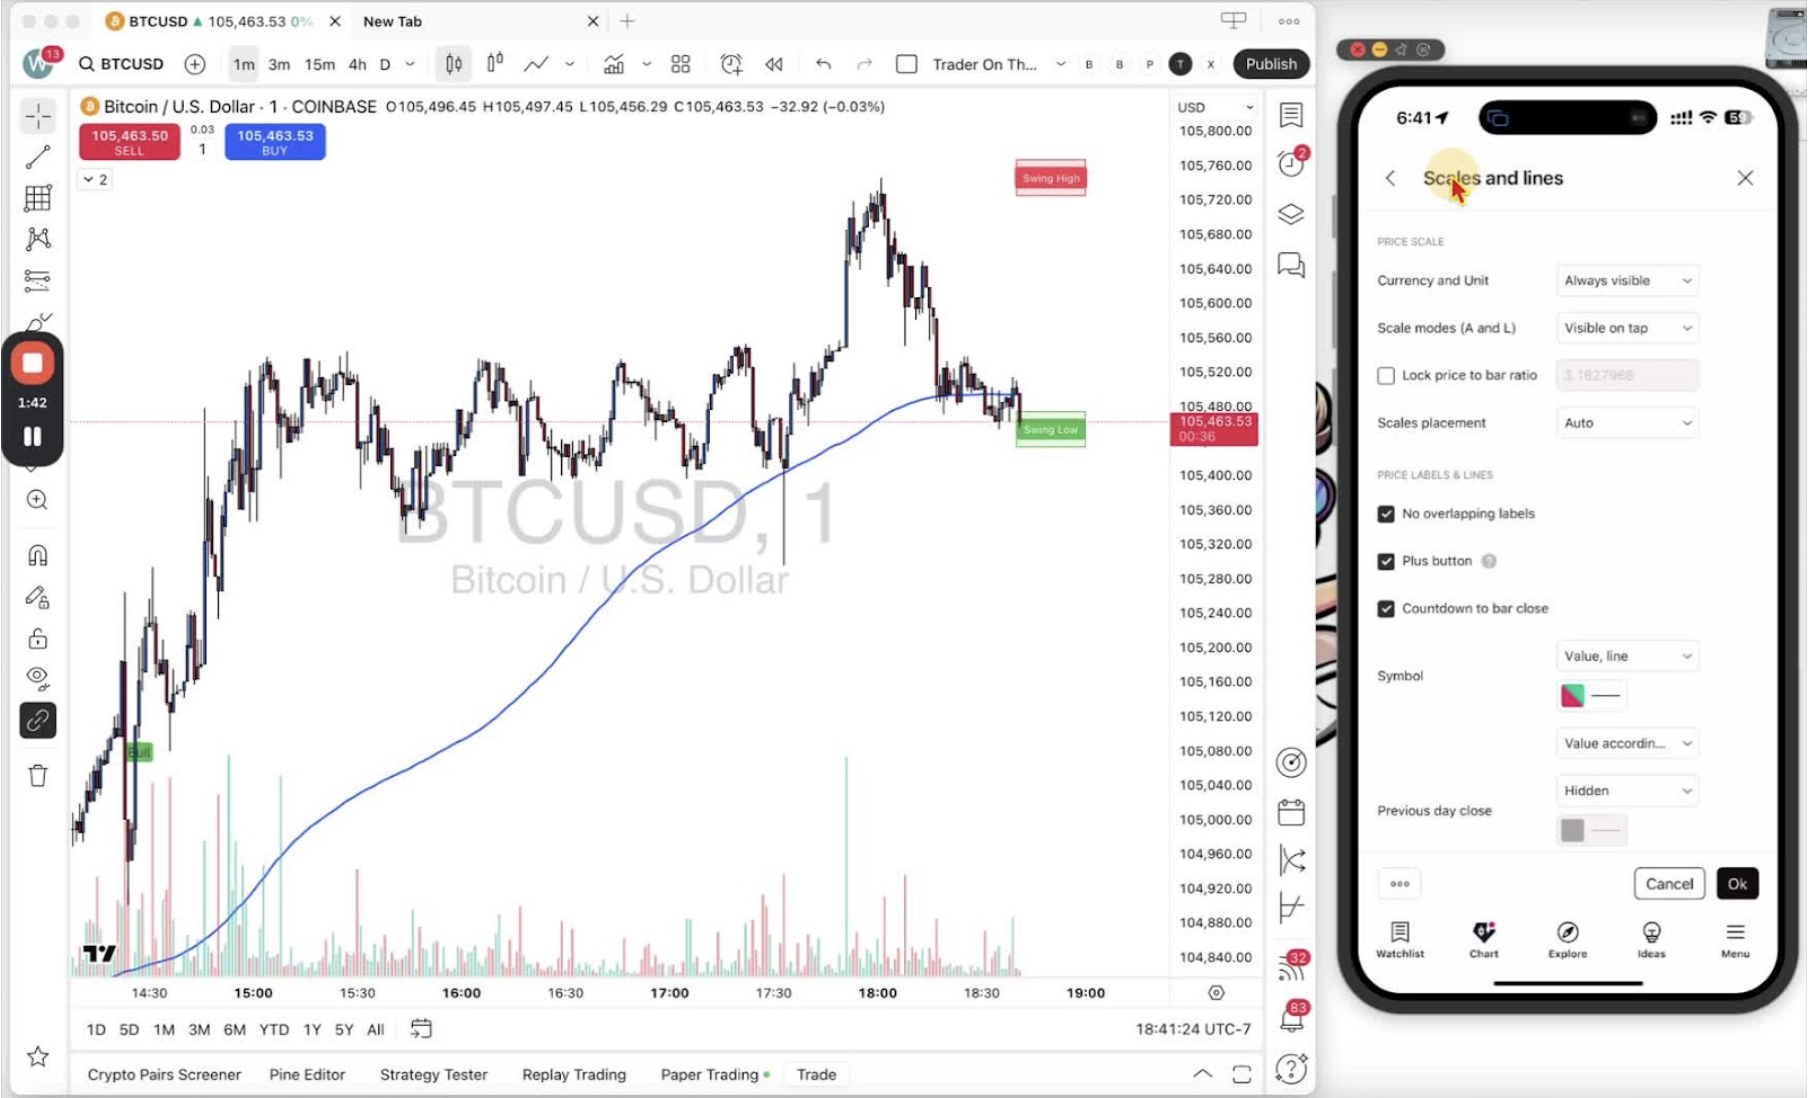
    Navigate to Mobile Settings 1:52

    • Tap ‘Settings’.

    Adjust Style Settings on Mobile 2:02
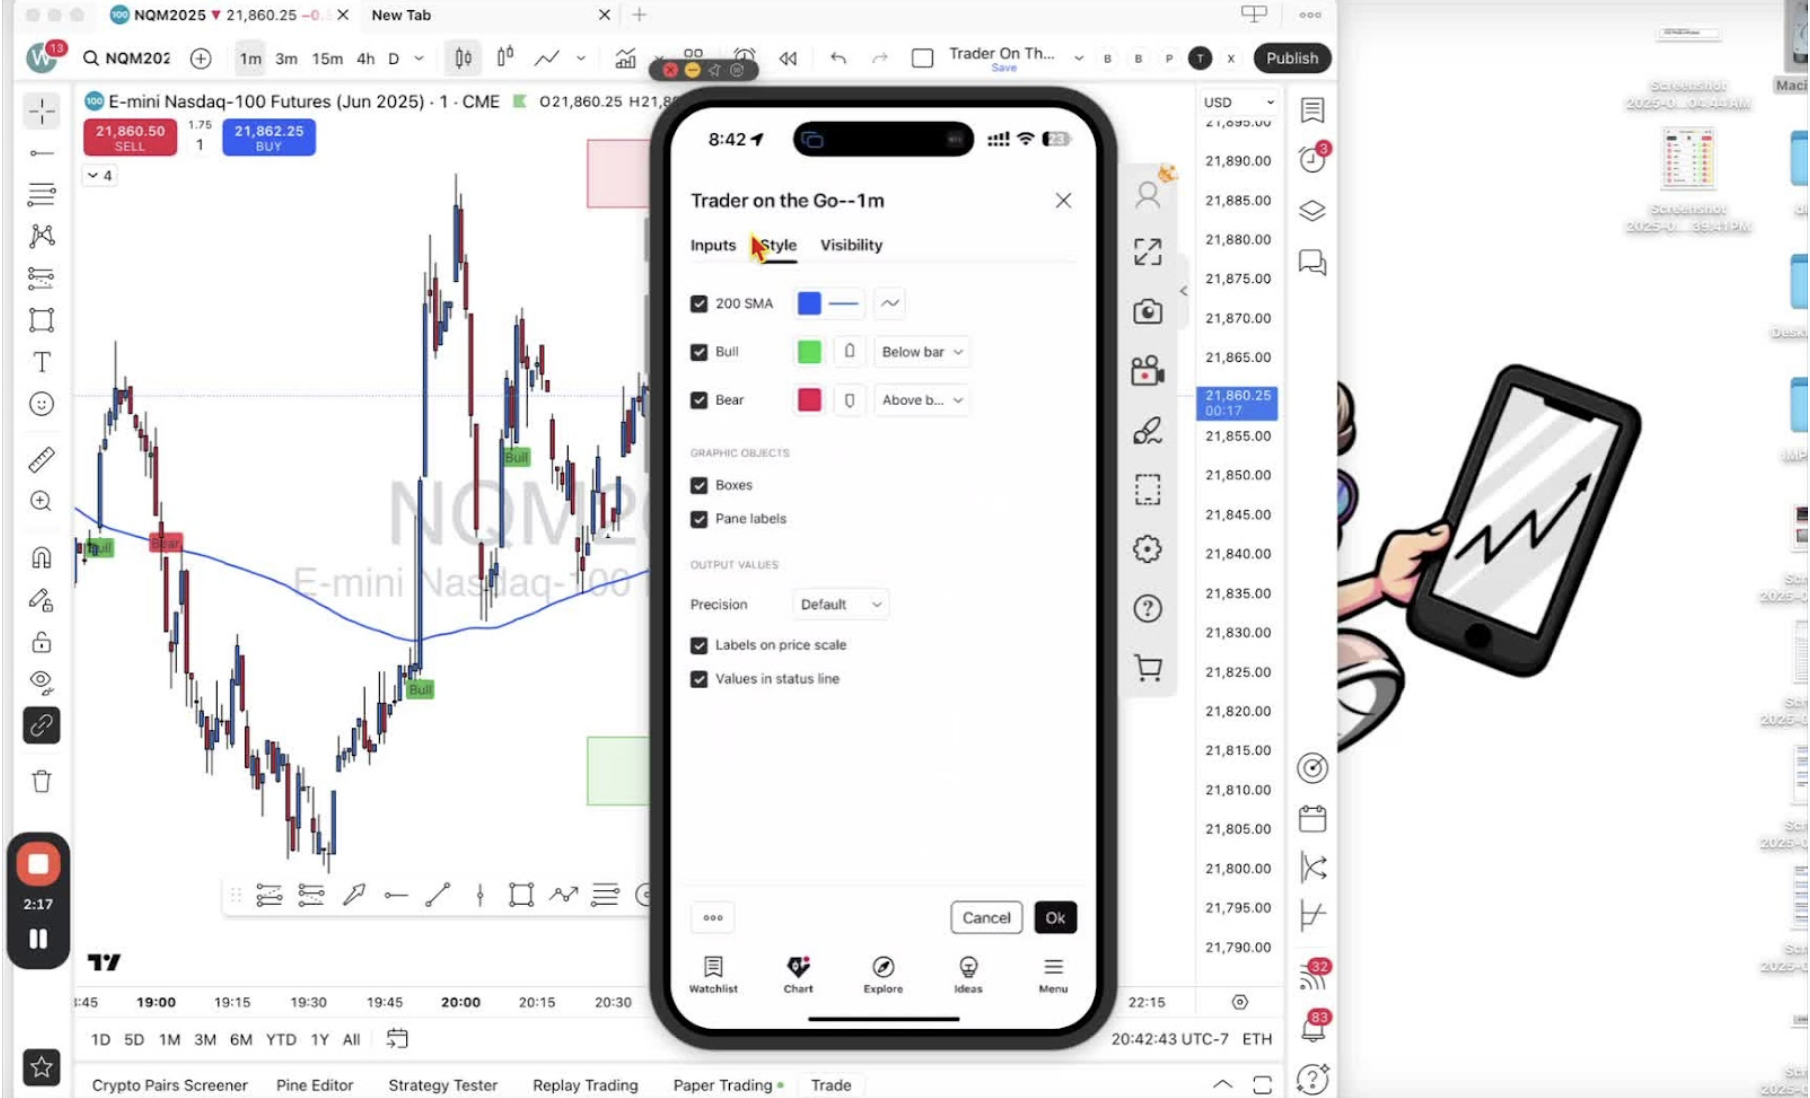
    • Open the ‘Style’ tab.
    • Scroll to ‘Graphics Objects’.

    Remove Swing High and Low Boxes on Mobile 2:09
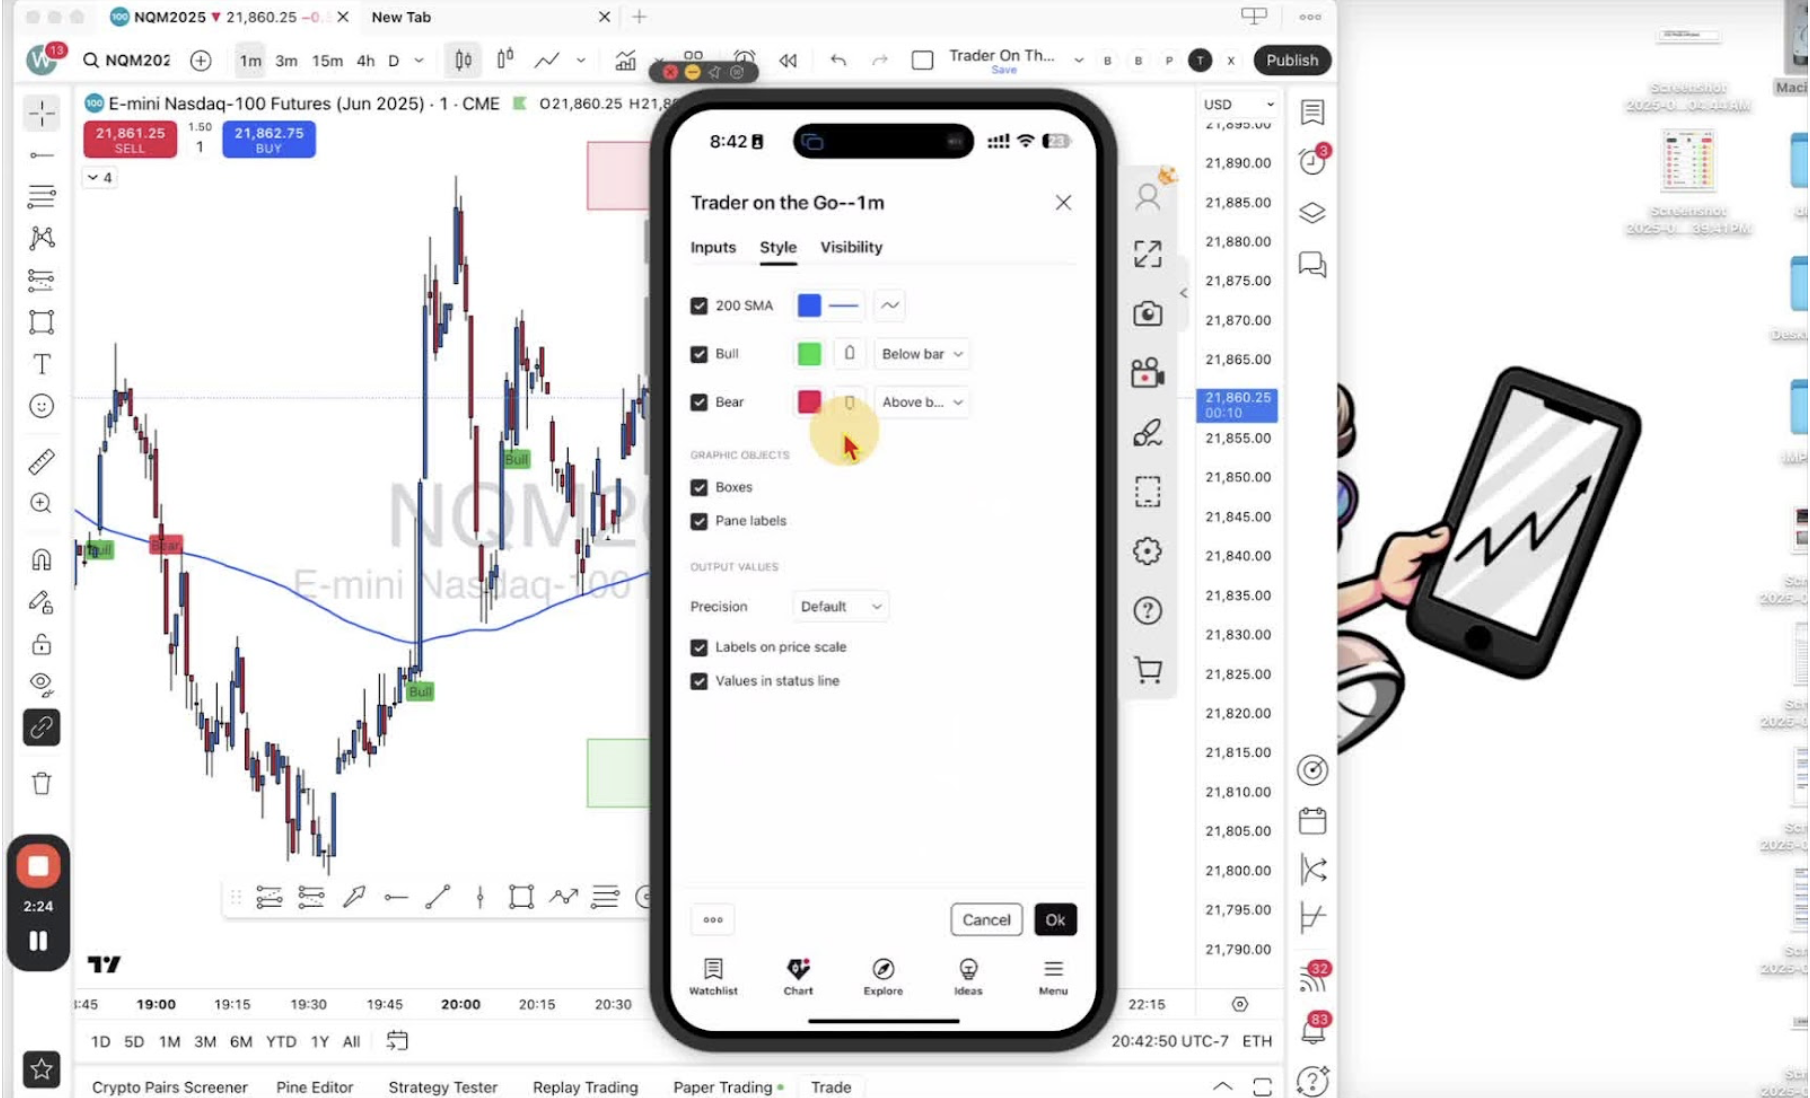
    • Untick ‘Boxes’ and ‘Paint Labels’.

    Restore Swing High and Low Boxes on Mobile (if needed) 2:29
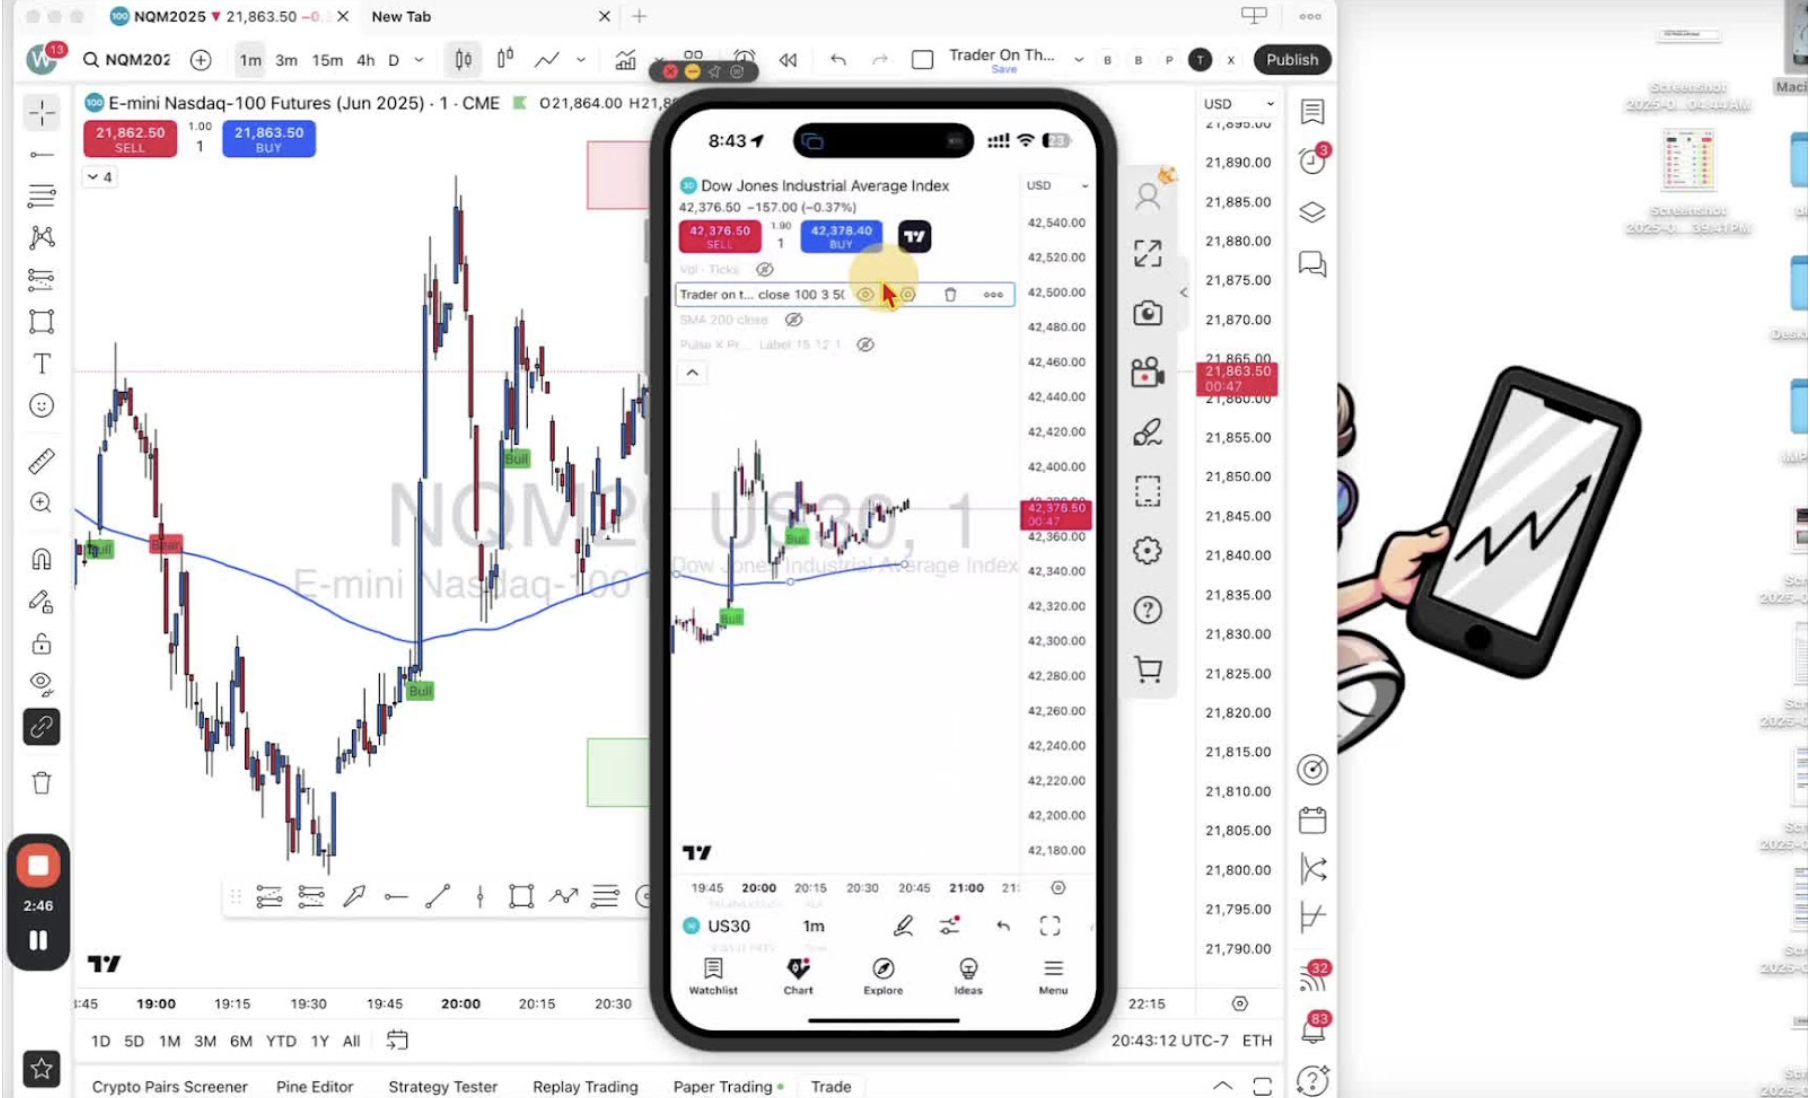
    • Tap ‘Trader on the Go’ again, then ‘Settings’, and tick the boxes or labels back on.
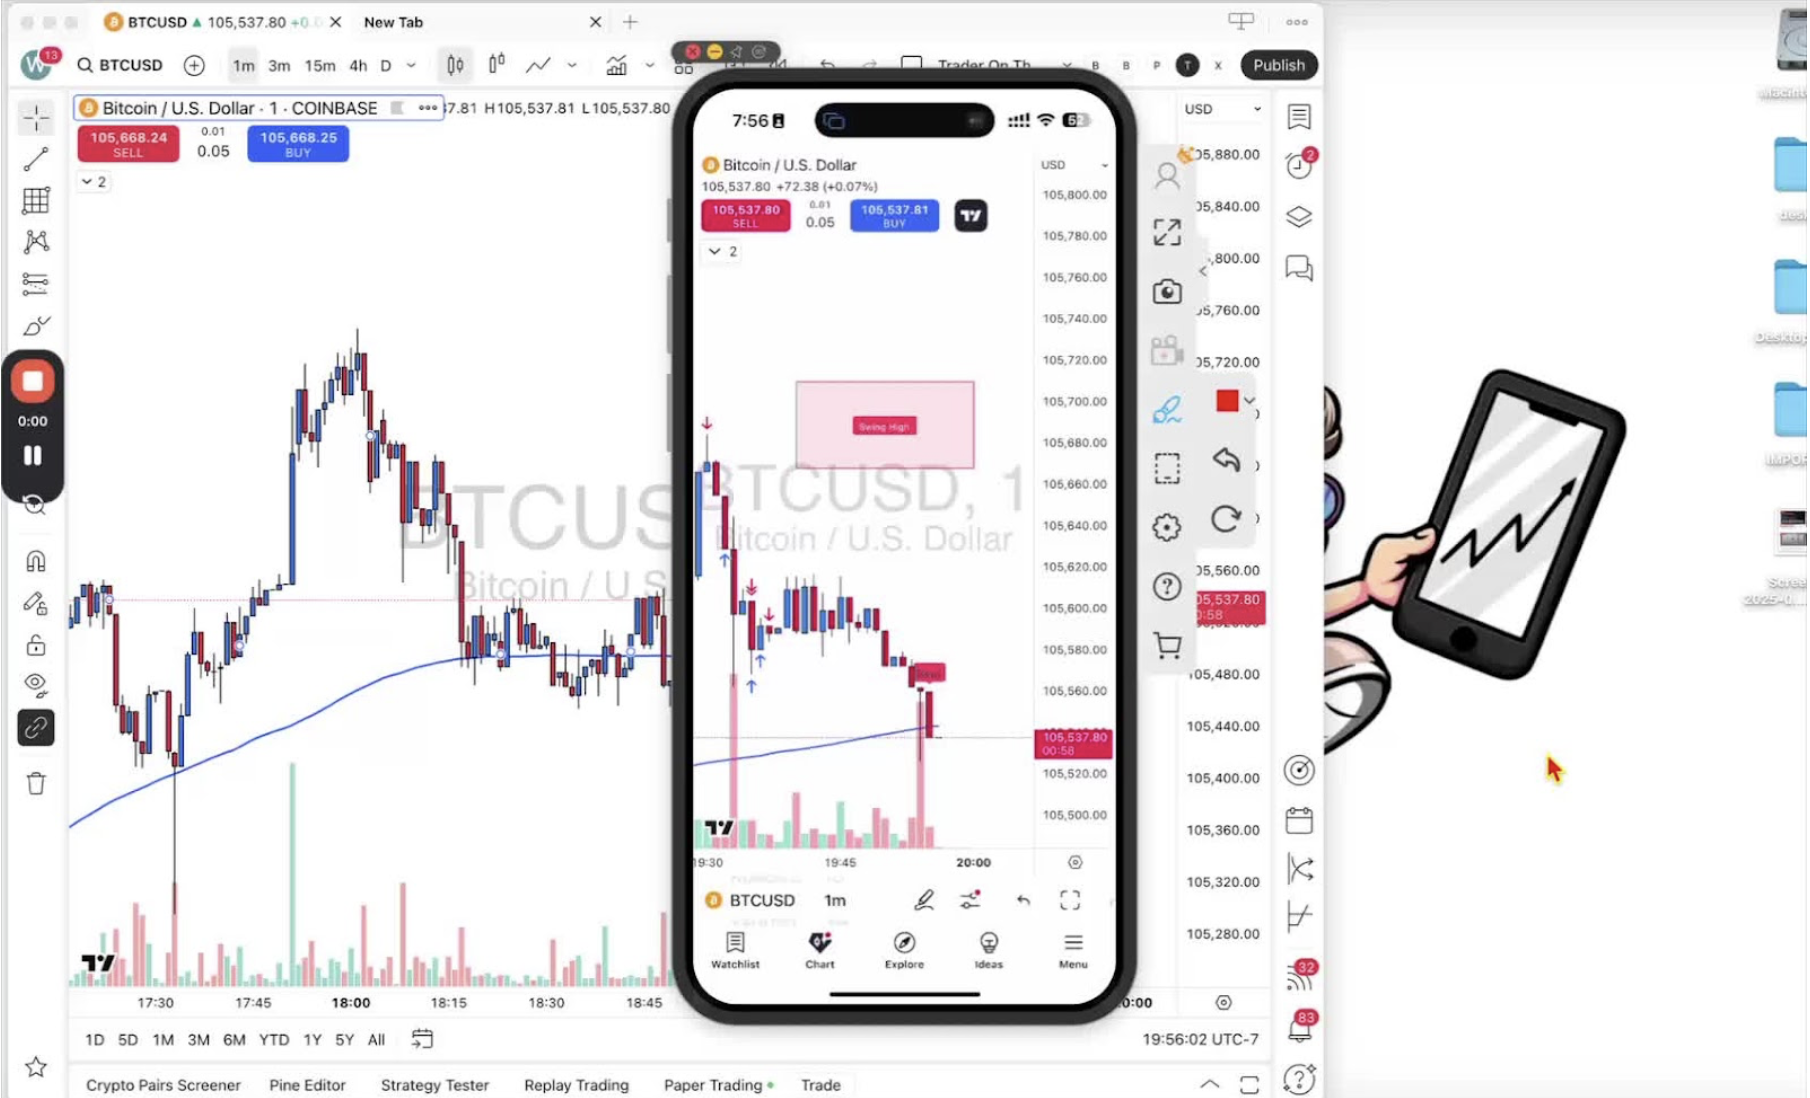
  • Step 18. Setting Alerts on Mobile TradingView Application

    Step 18. Setting Alerts on Mobile TradingView Application

    Set an alert for the Trader on the Go indicator in the TradingView mobile app. On mobile you can only set an alert for the symbol currently on the chart. Alerts sync across devices when you are logged in with the same TradingView ID.

    Access the Alert Menu 0:00

    • Open the mobile app.
    • Tap the two-lines-with-two-circles icon at the bottom.

    Select Alerts 0:14

    • Tap ‘Alert’.

    Create a New Alert 0:48

    • Tap the alarm clock icon with the plus sign.
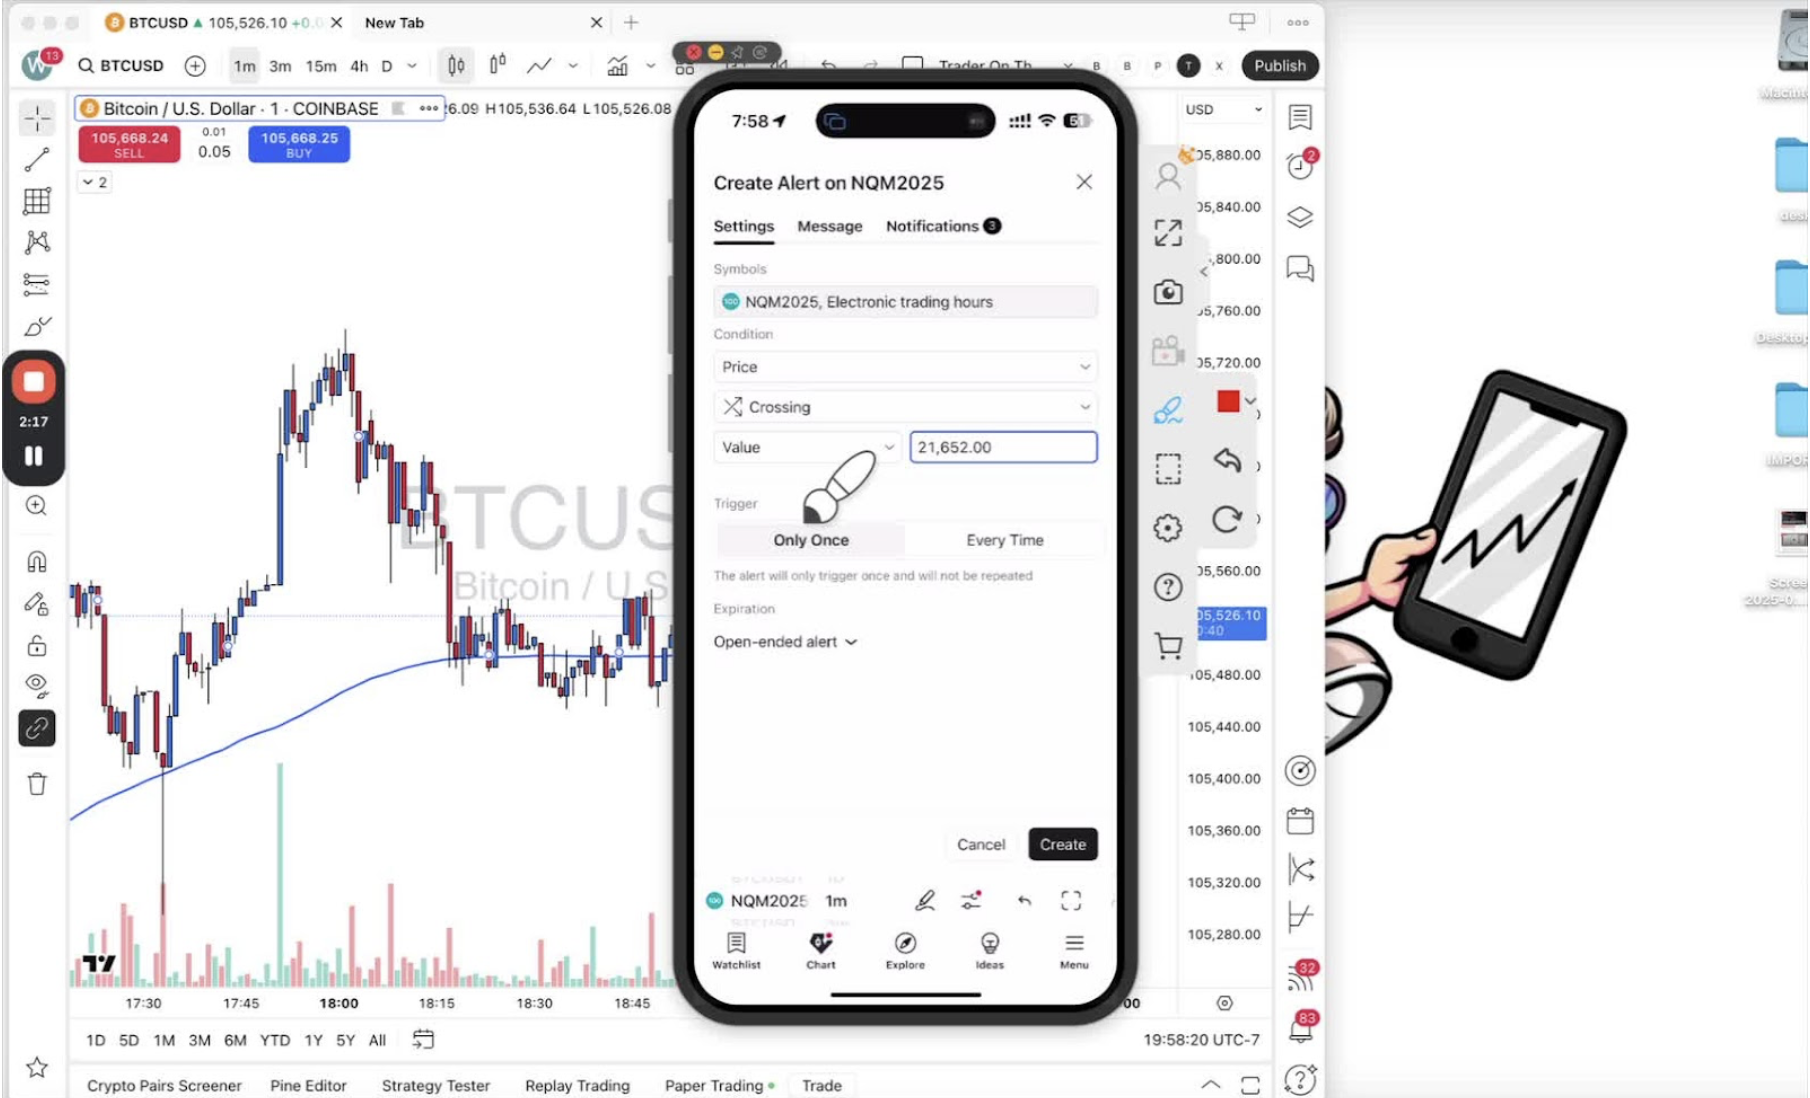
    • Only the current chart symbol can be selected.

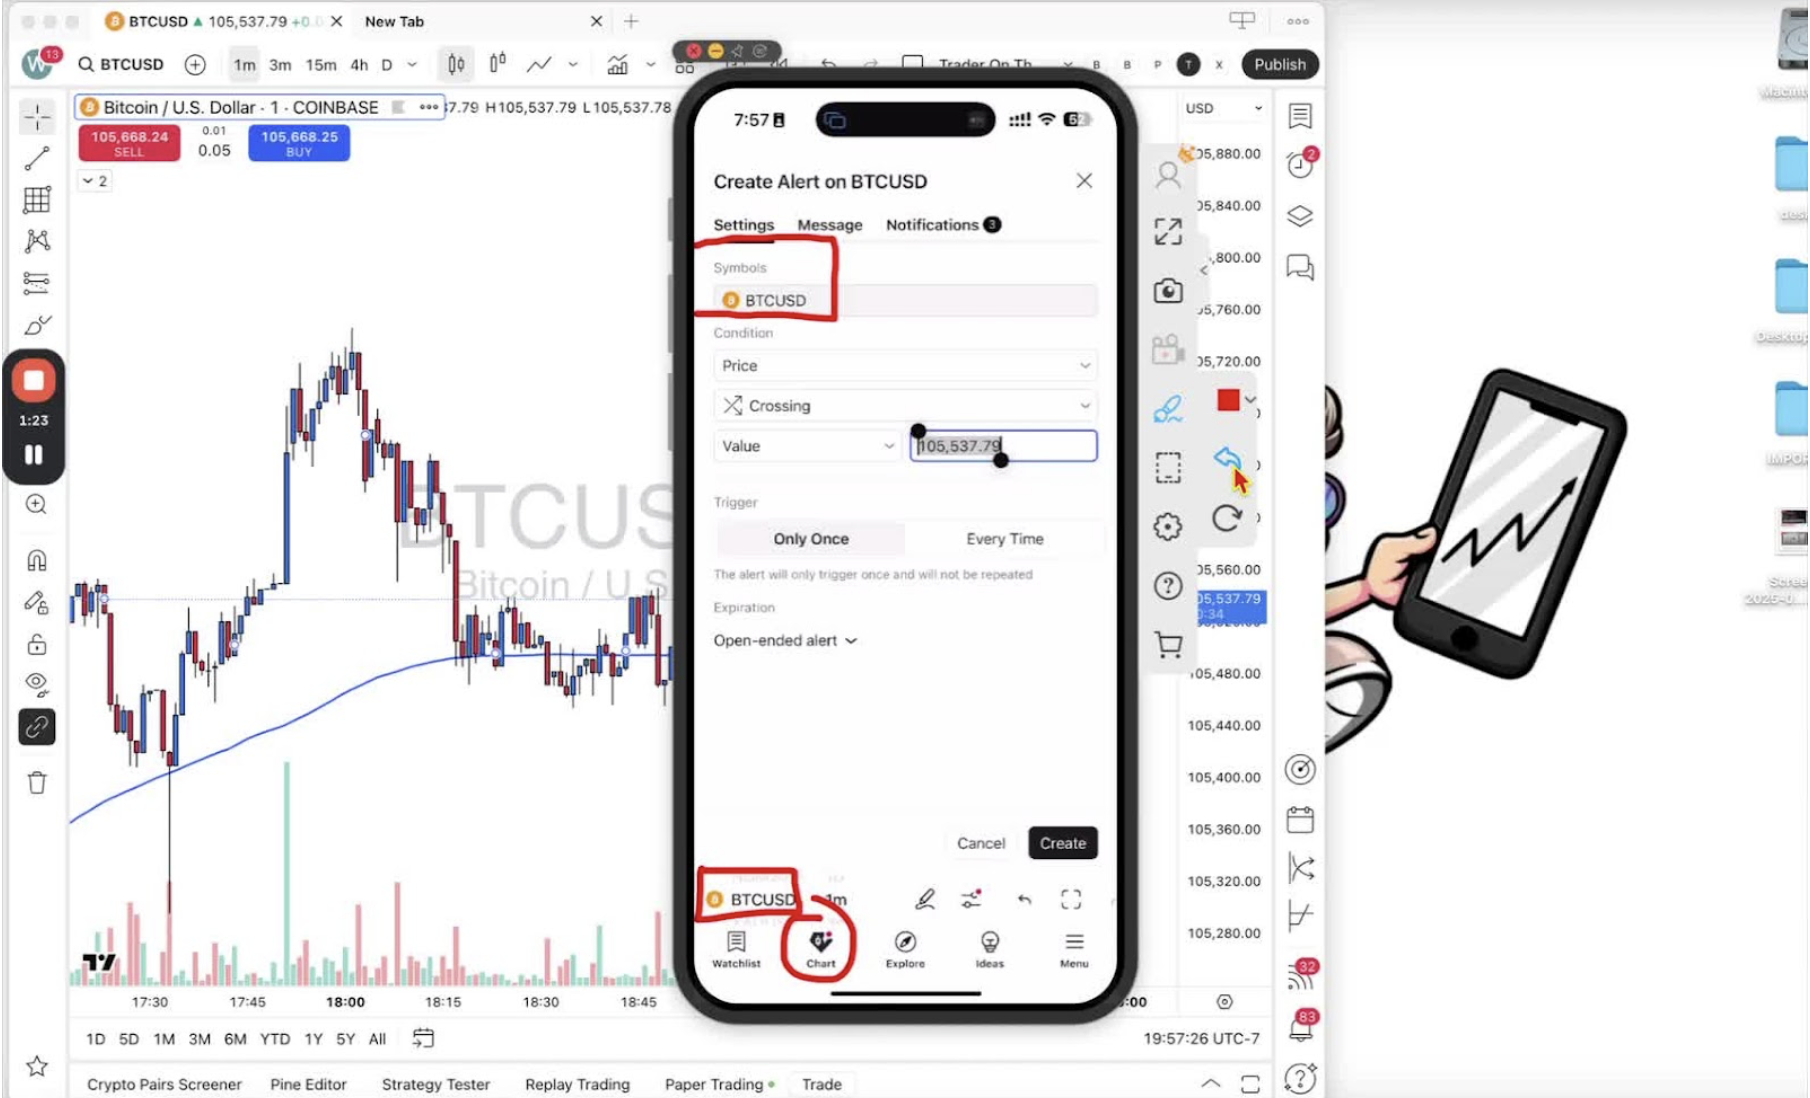
    Confirm the Current Symbol 1:15

    • Check you are on the right symbol (for example BTC USD).
    • To change it, leave the alert menu, switch symbol, and start again.

    Set Alert Conditions 2:05

    • Change the condition from price to ‘Trader on the Go’.
    • Choose the alert type (for example ‘All Alerts’).
    • Set the interval to 1 minute to match the chart.

    Create the Alert 2:41

    • Tap ‘Create’.

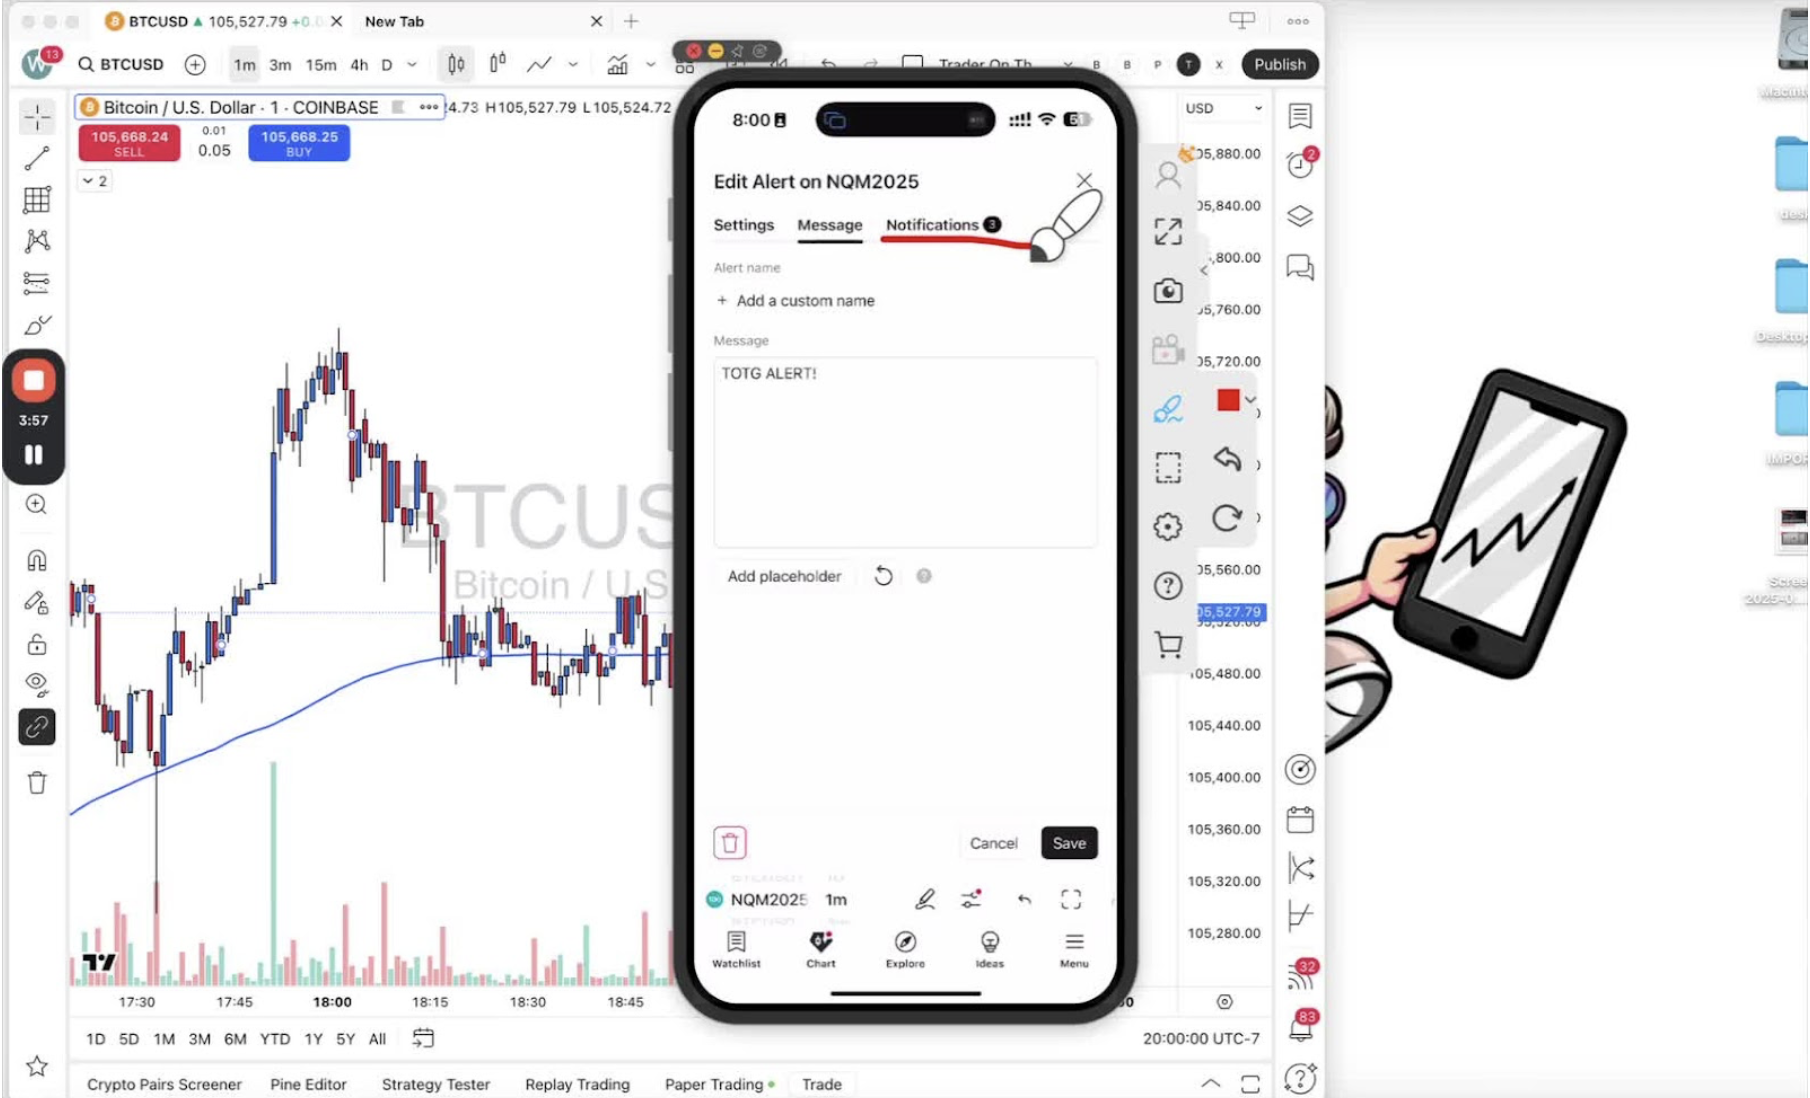
    Edit Alert Message 2:51

    • Tap the alert message to edit it.
    • Change it to something short (for example ‘TOG Alert’).

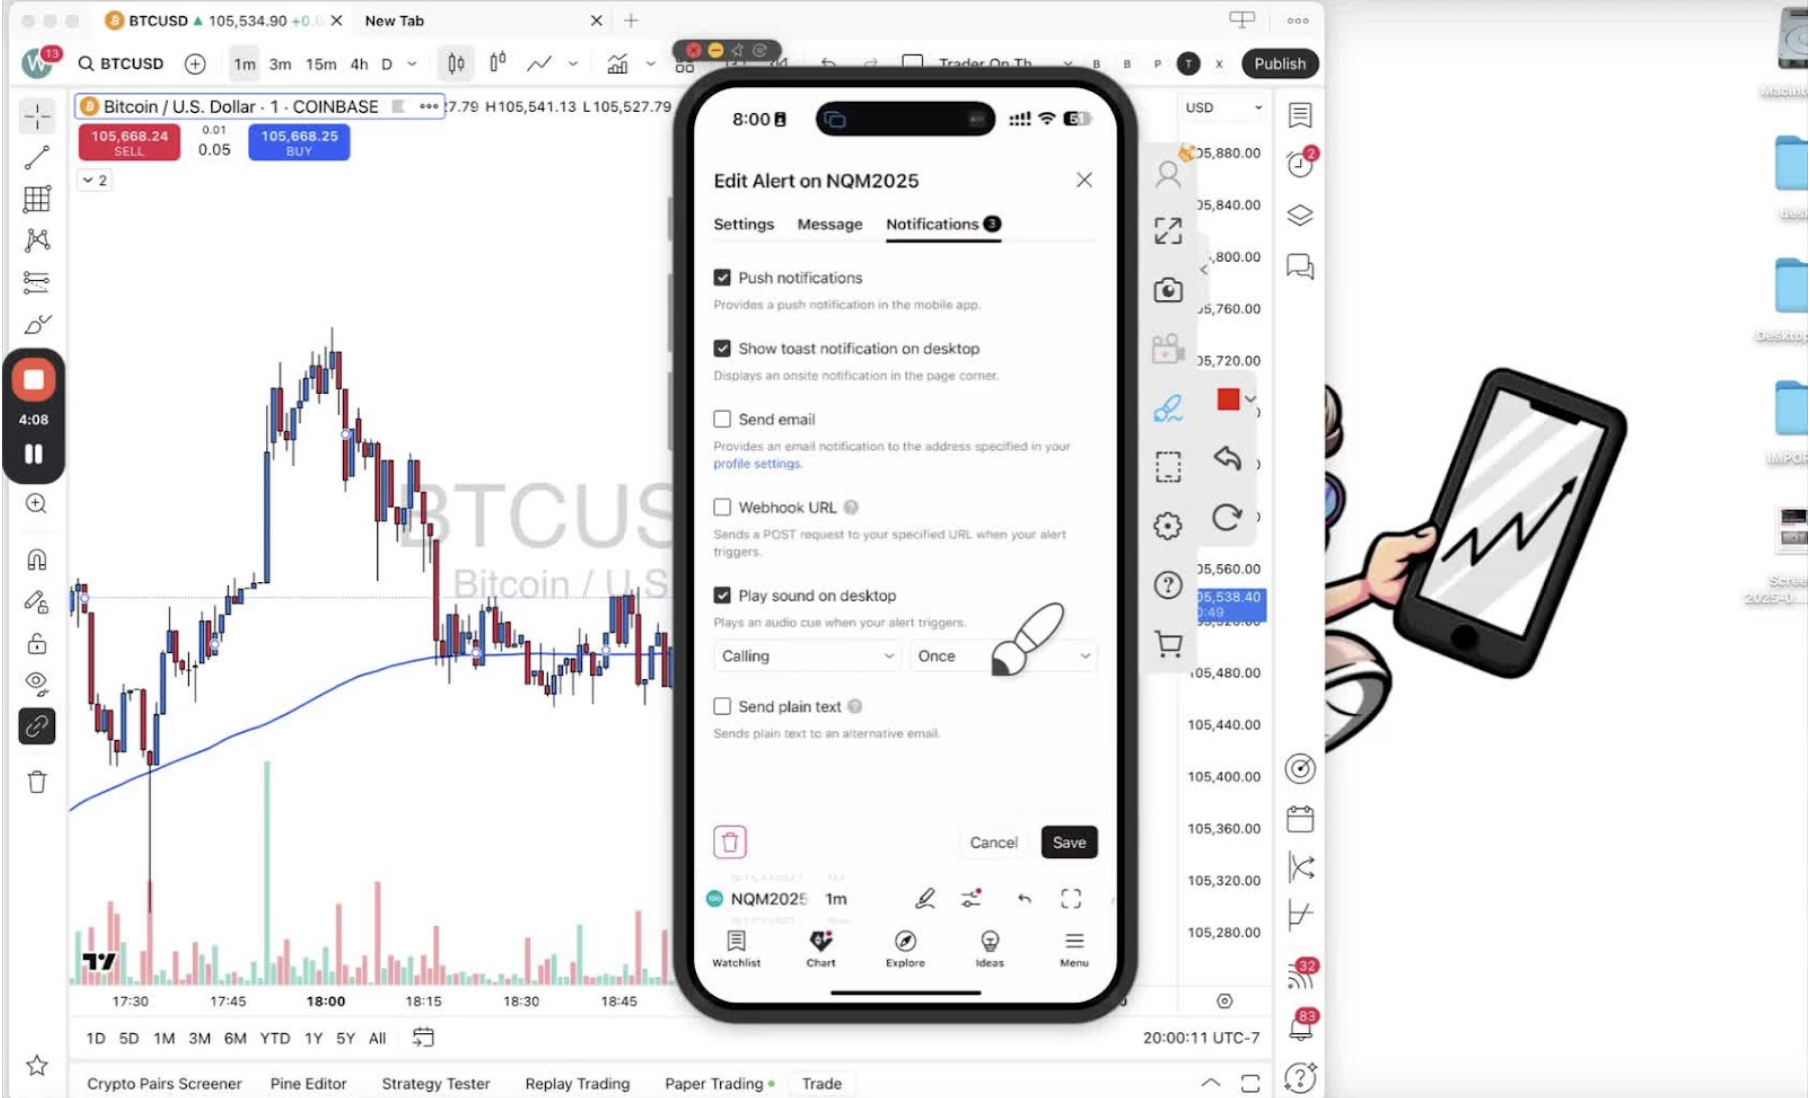
    Configure Notification Settings 3:35

    • Turn on push notifications.
    • Email and sound are optional.

    Save Changes 3:45

    • Tap ‘Save’.

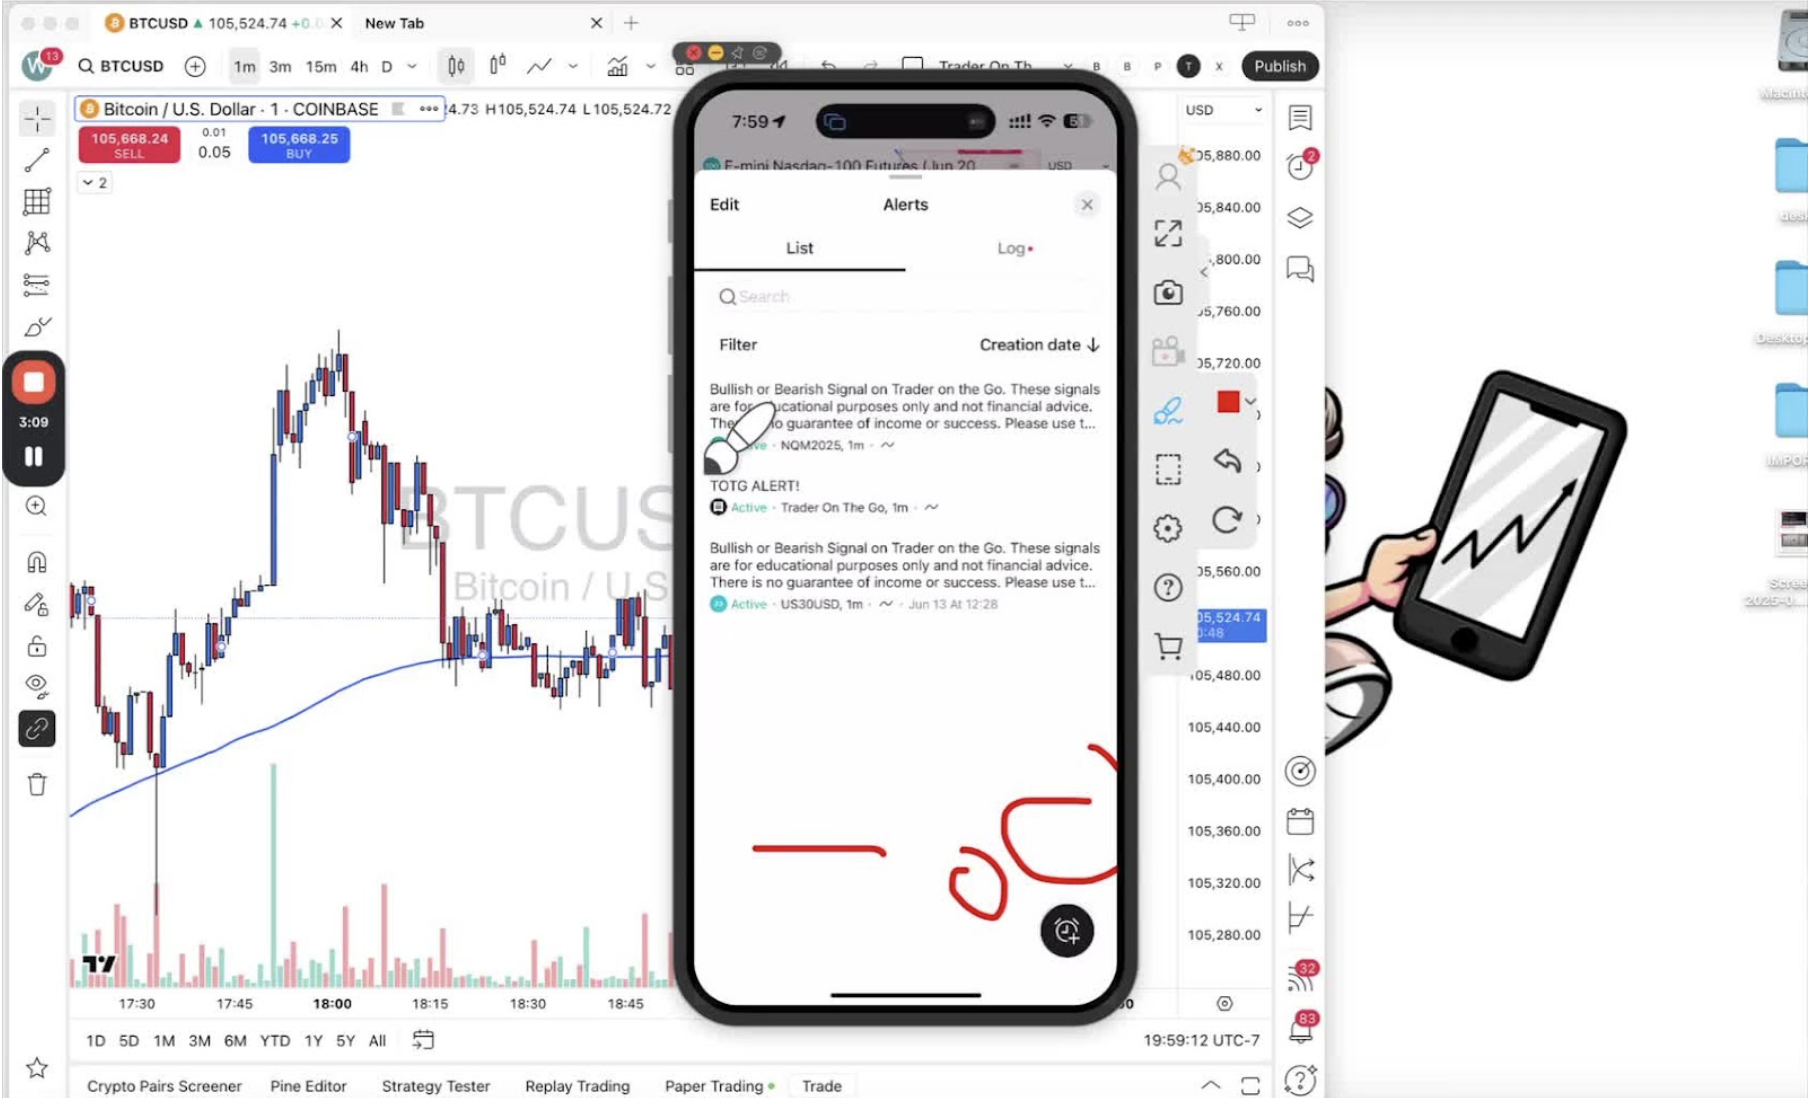
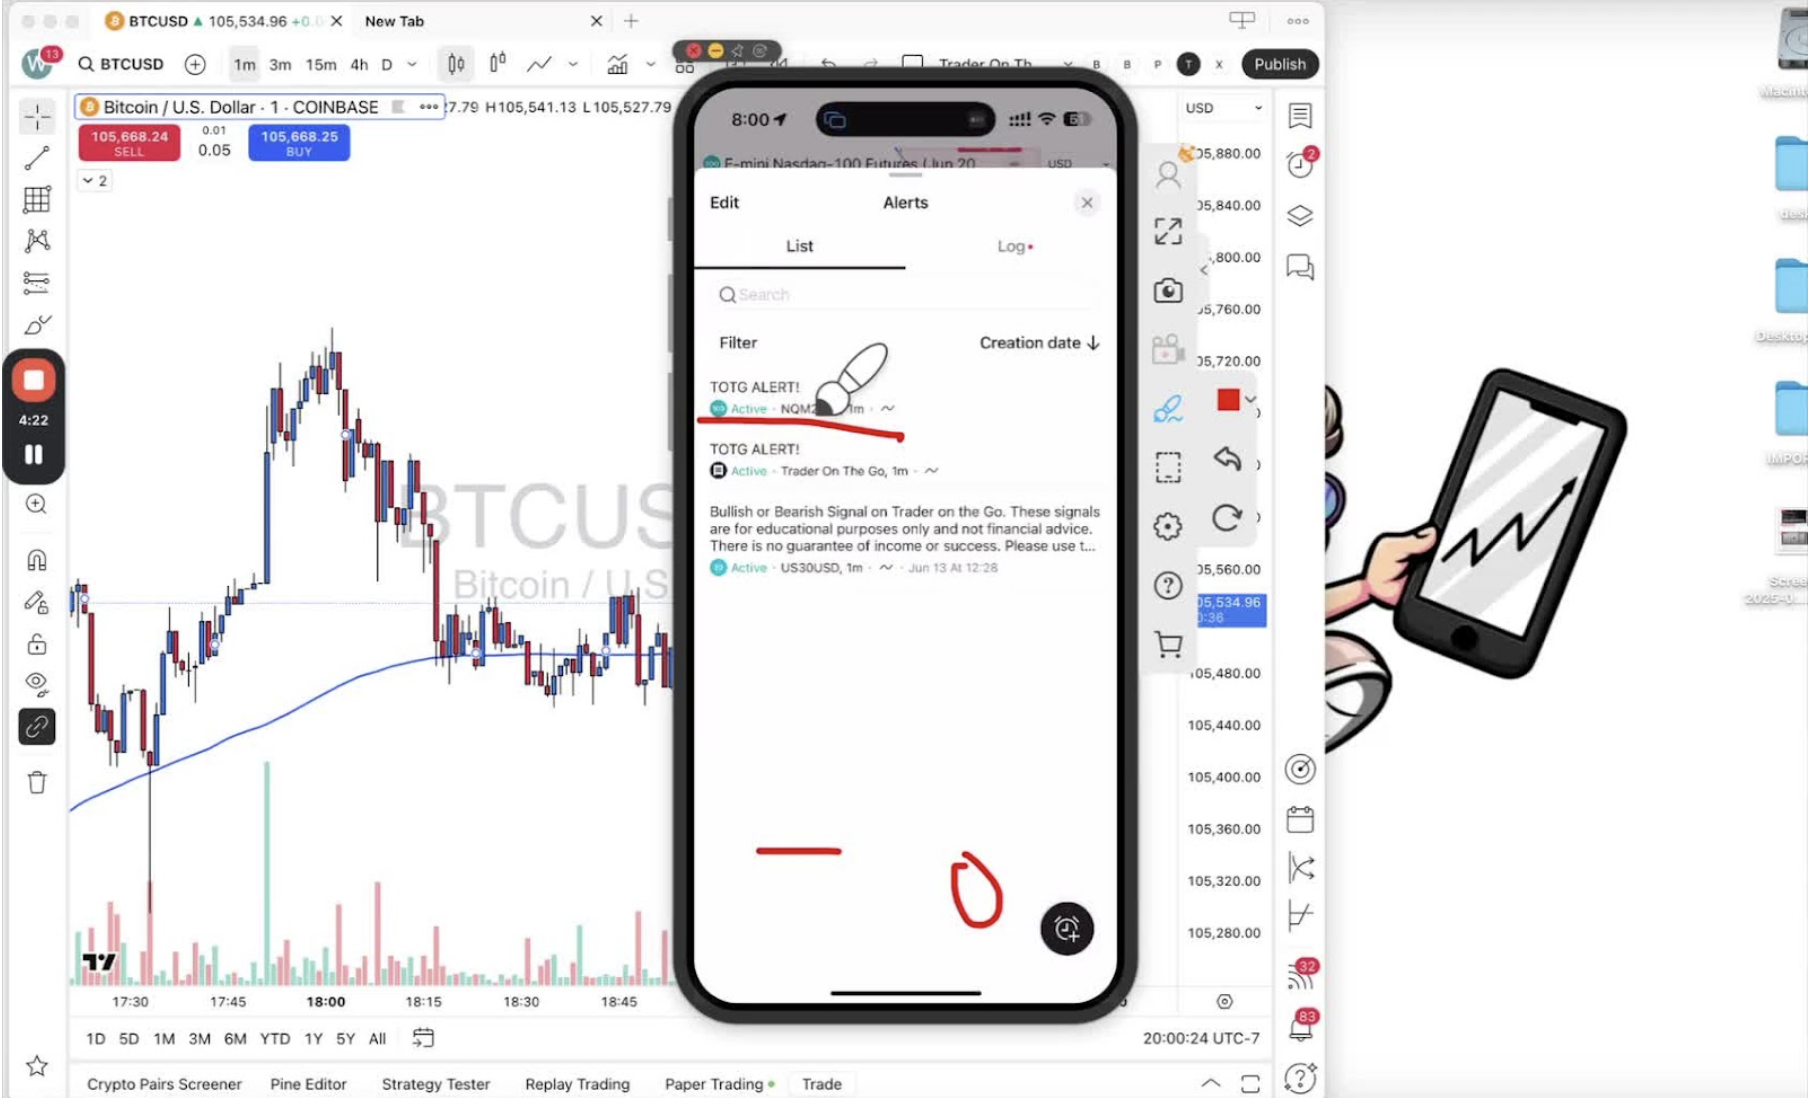
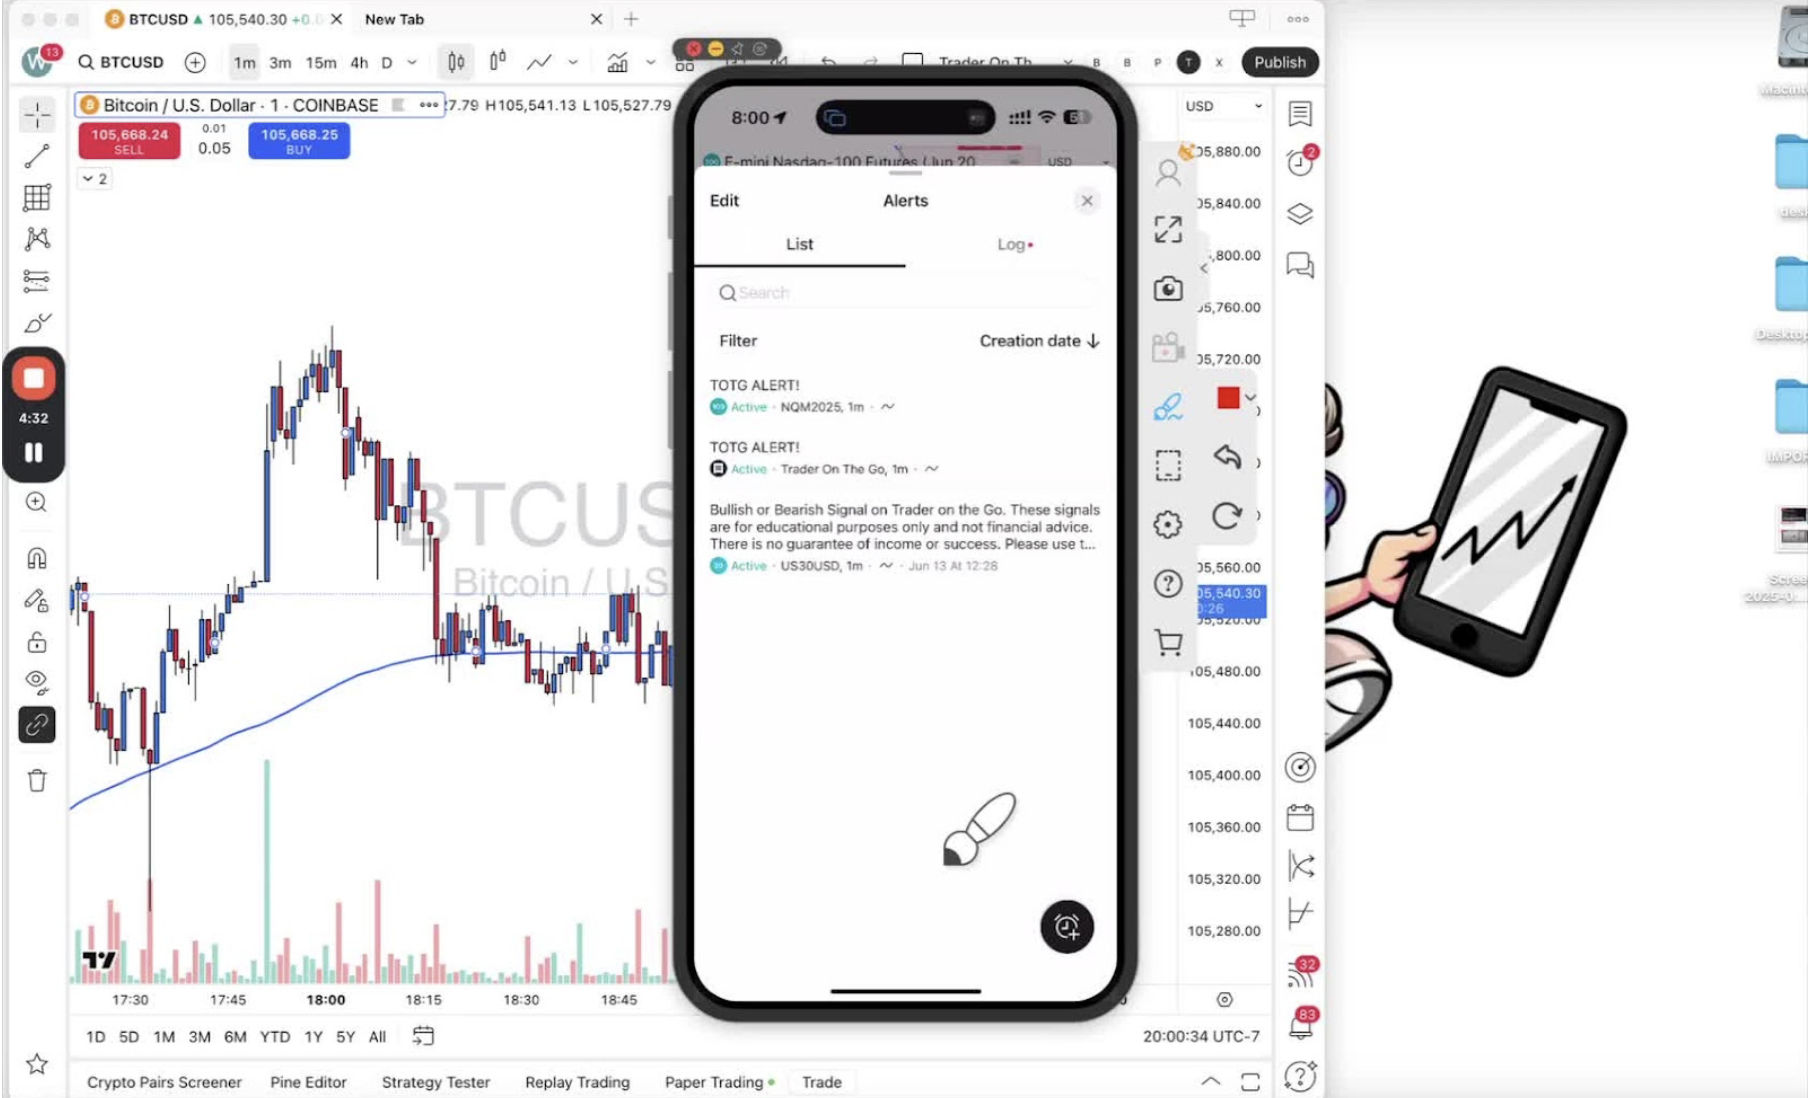
    Verify Alert Setup 3:57

    • Open the alerts menu and check the alert is active and named correctly.

    Respond to Alerts 4:07

    • When an alert fires, it pops up on your phone.
    • Tap it to open the chart and decide on the trade.
  • Step 17. Setting Alerts for Trader on the Go Indicator on TradingView Desktop

    Step 17. Setting Alerts for Trader on the Go Indicator on TradingView Desktop

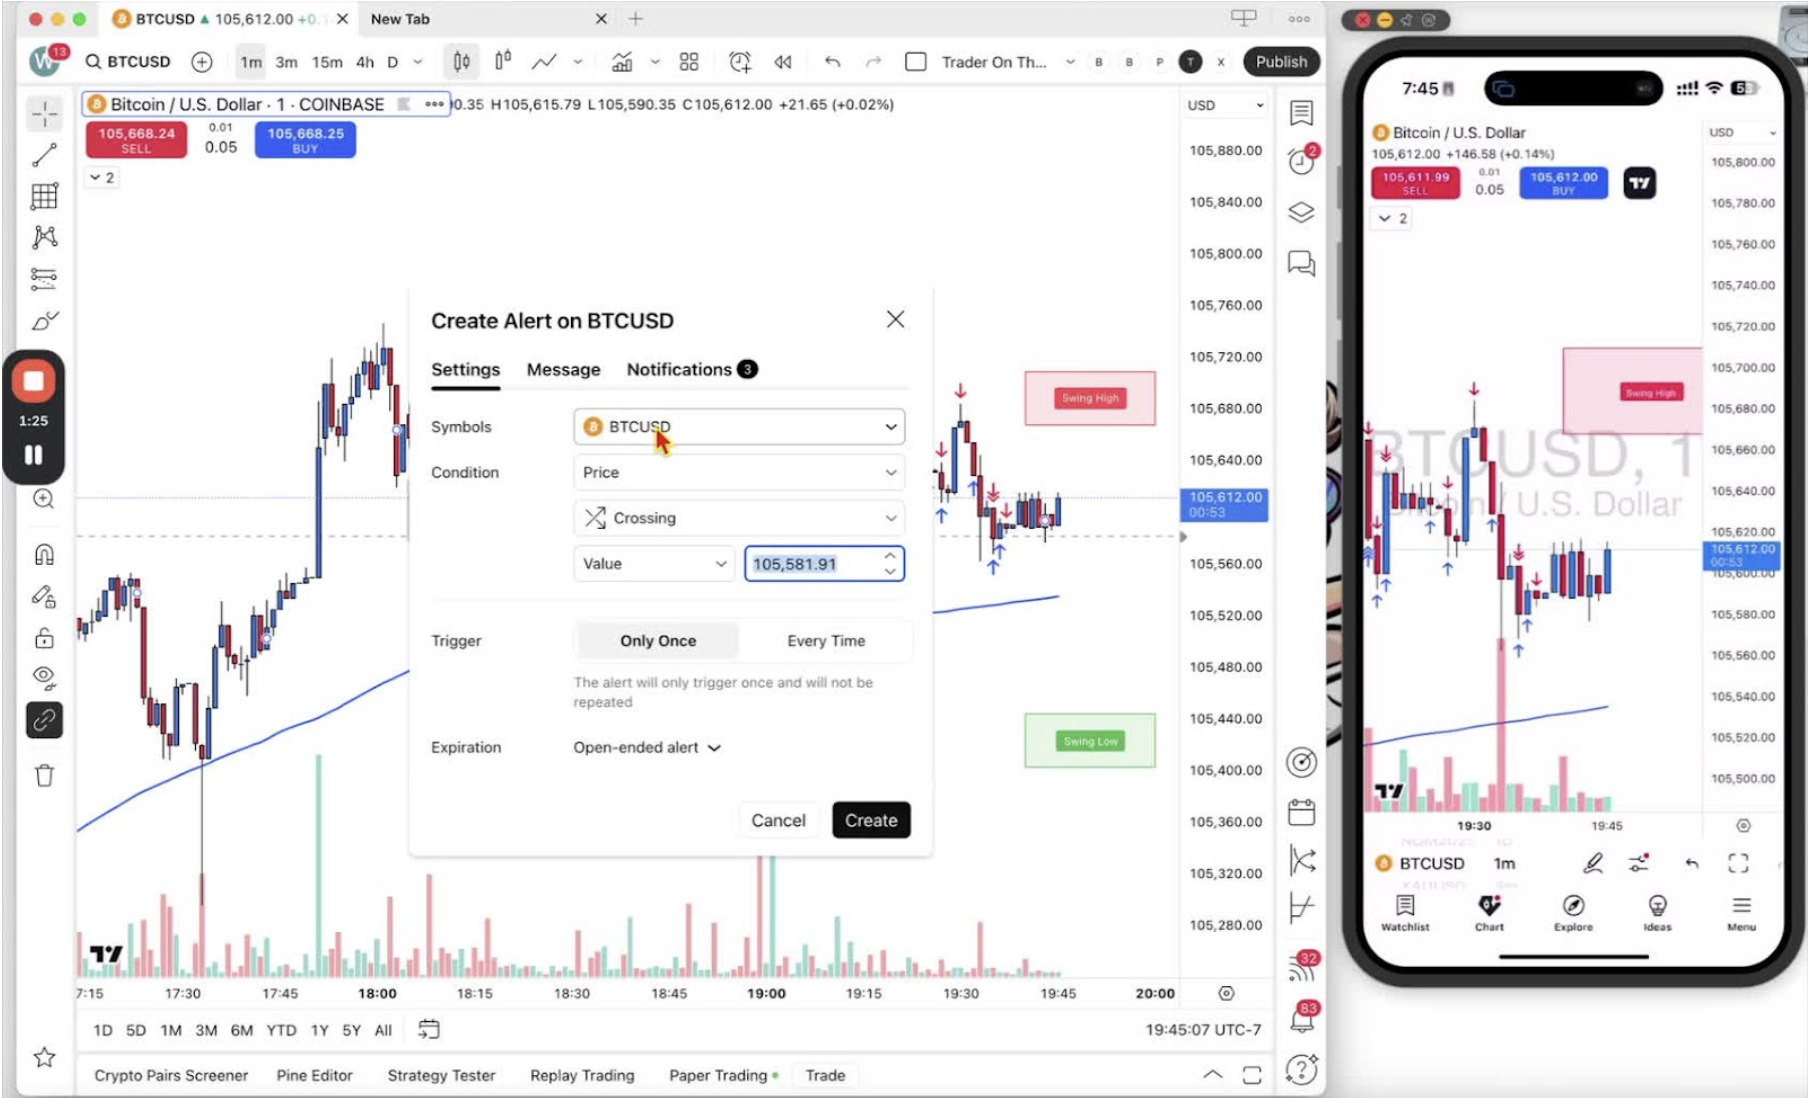
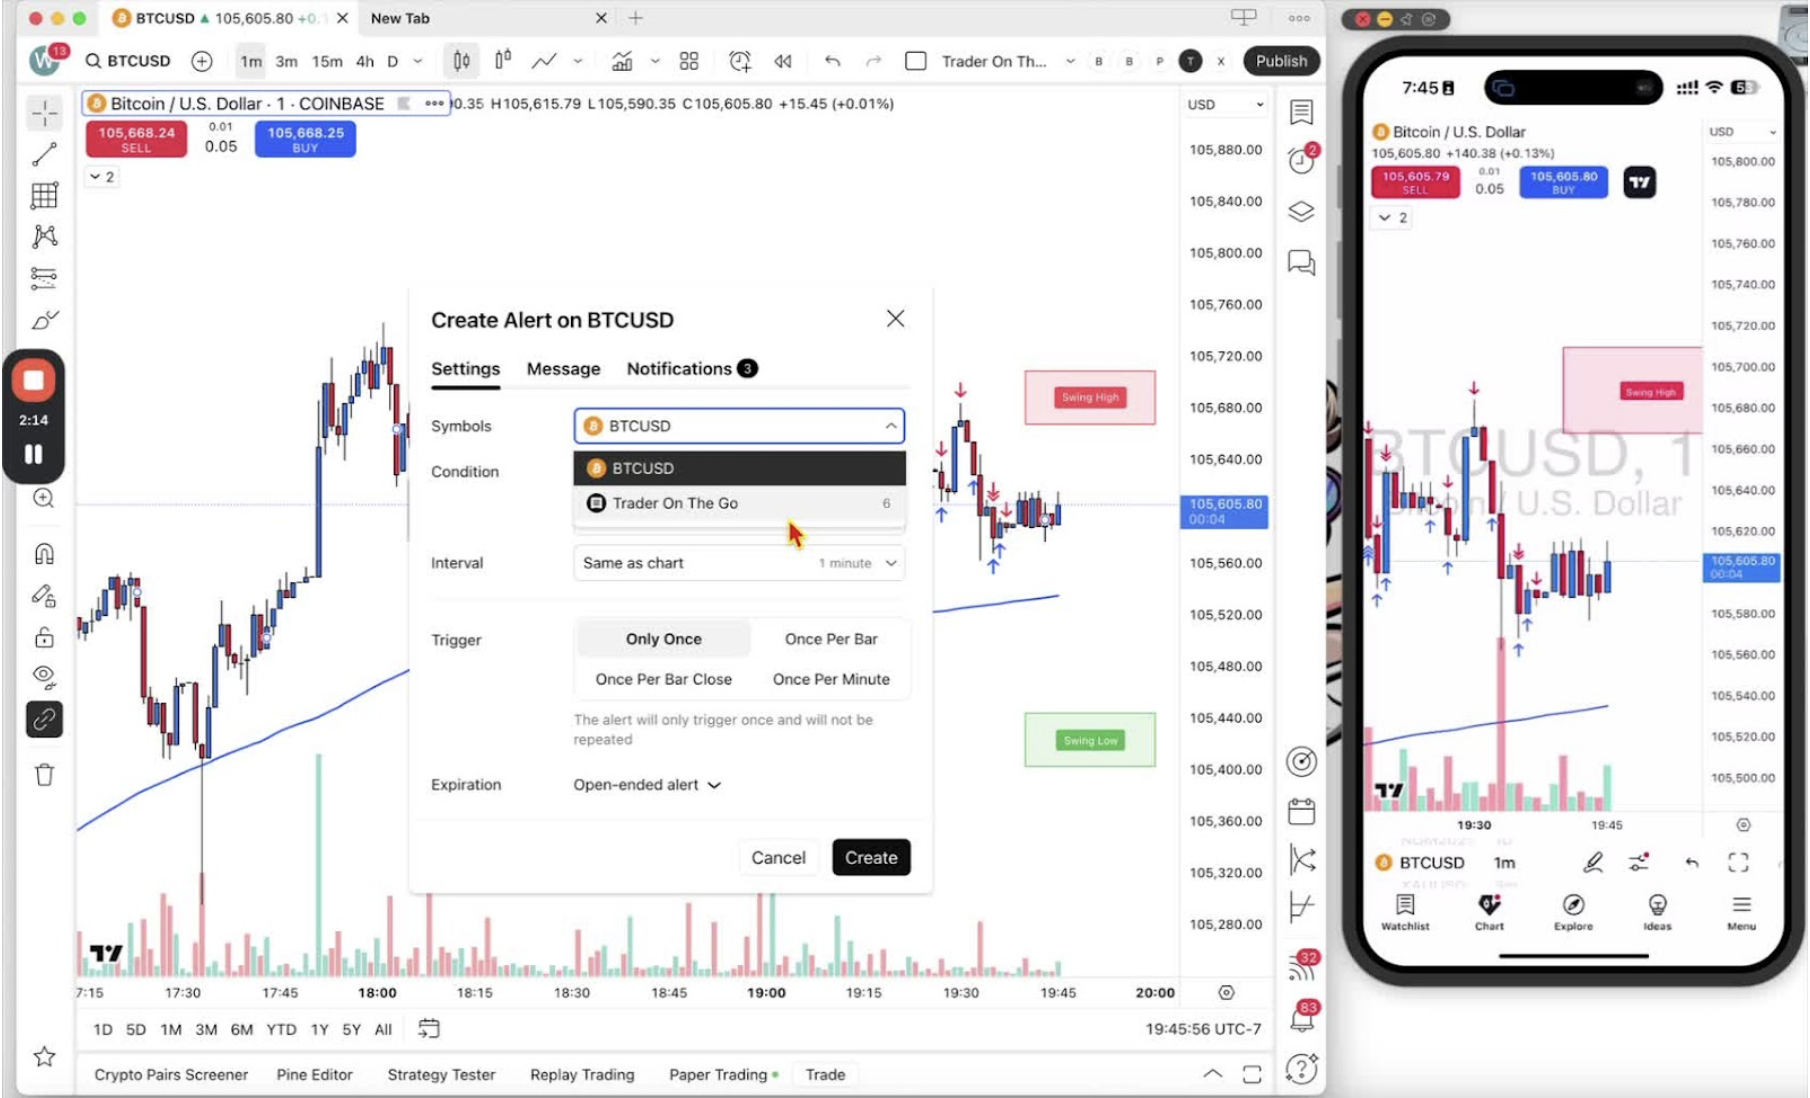
    Set an alert for the Trader on the Go indicator on TradingView desktop. Add your forex and futures pairs to a watchlist first so one alert can cover all of them. Mobile alerts are in Step 18.

    Accessing the Alert Setup on Desktop 0:28

    • Open the desktop app with the Trader on the Go indicator on the chart.

    Creating an Alert 0:36

    • Right-click the bull alert or the blue line on the chart.
    • Select ‘Add Alert’.

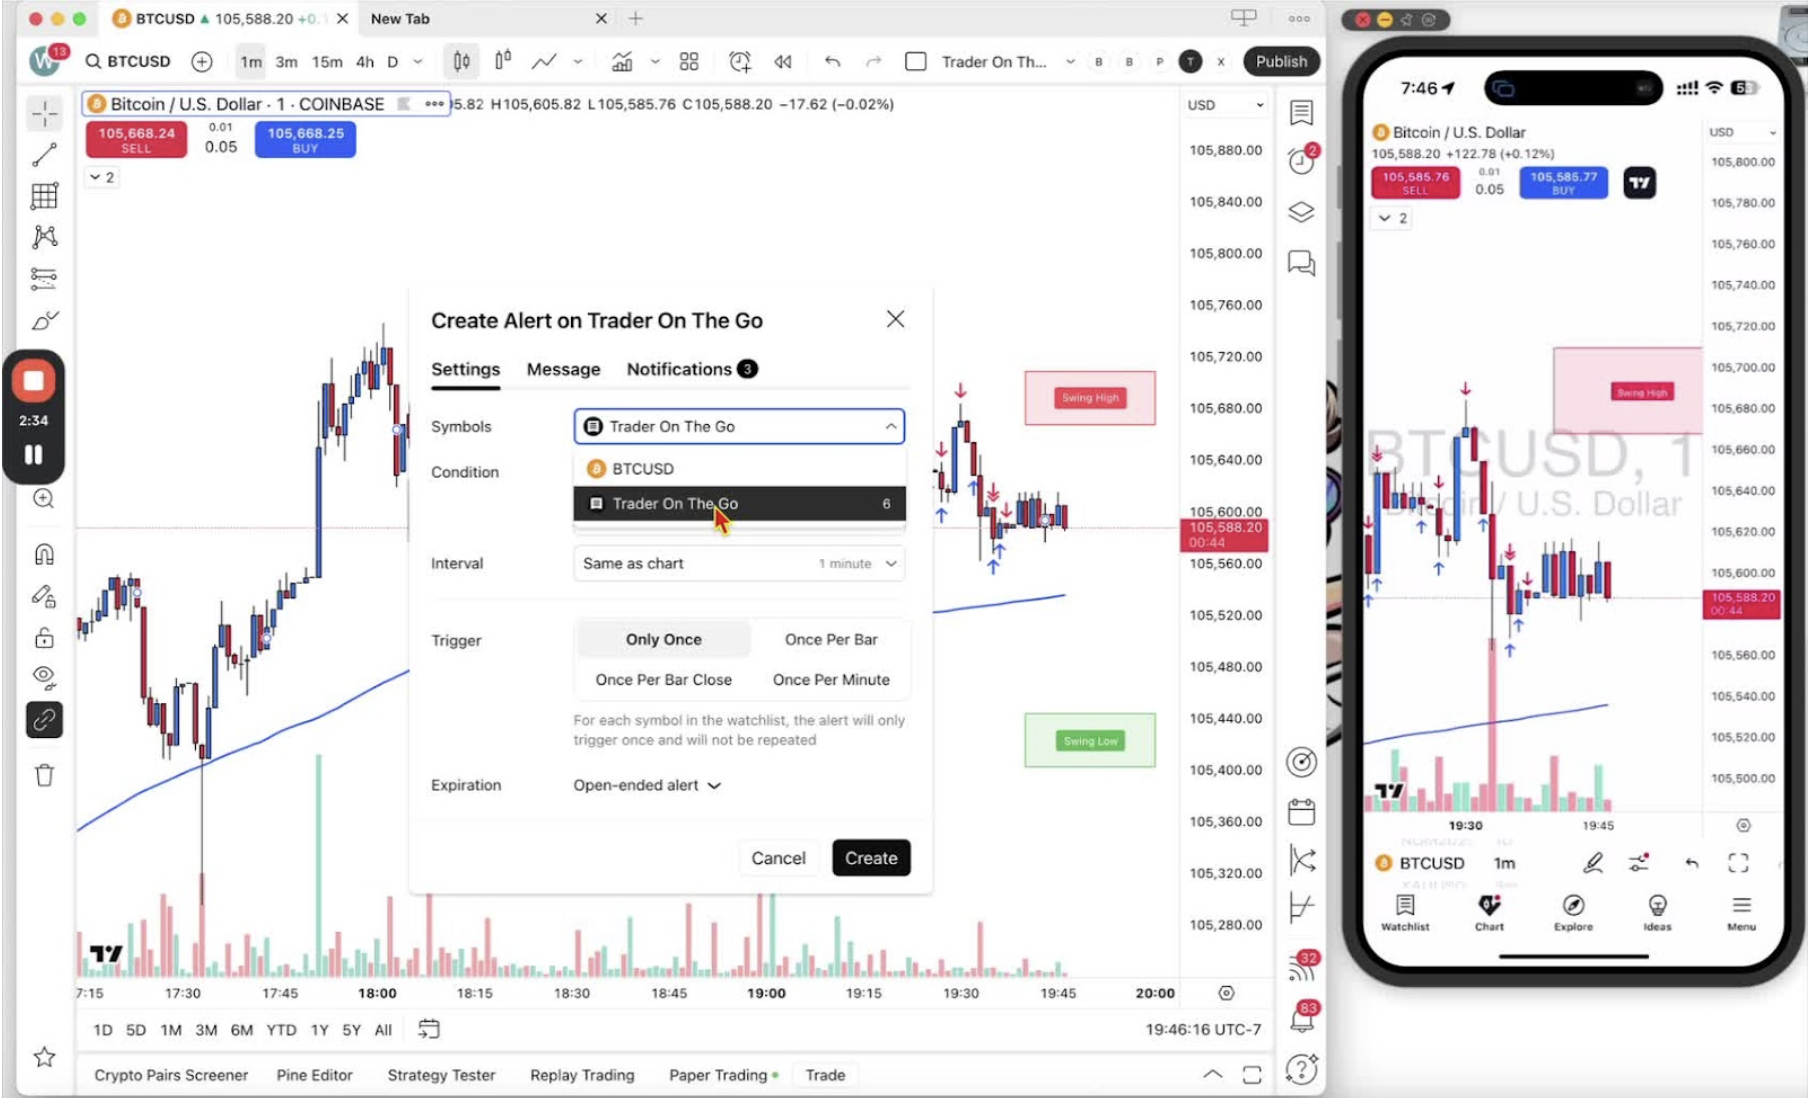
    Configuring the Alert Conditions 1:08

    • Check the symbol is right (for example BTC/USD).
    • Change the condition to ‘Trader on the Go – 1 Minute’ so alerts come from the indicator.

    Utilizing the Watch List 1:48

    • If you have a watchlist, select it so the alert covers every pair on it.

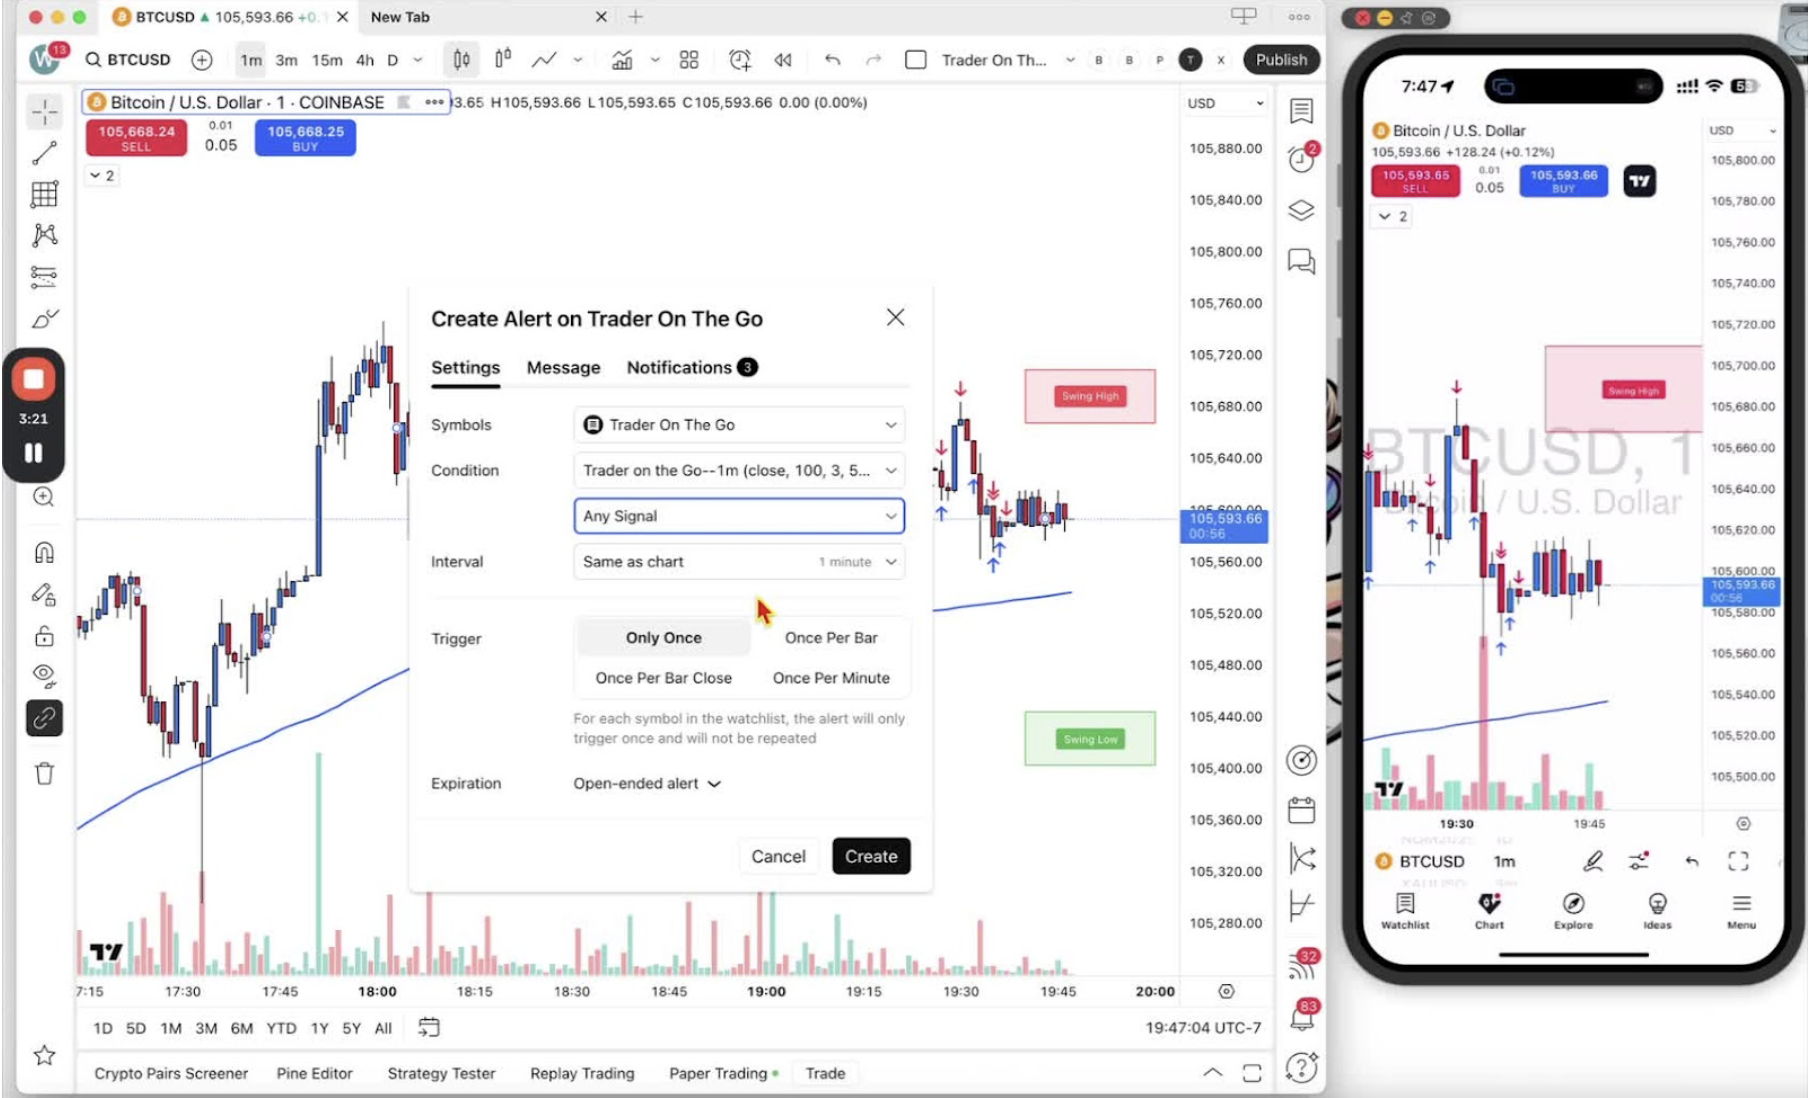
    Setting Alert Type 2:08

    • Set the alert type to ‘Any Signal’ to get every signal, above or below the blue line.

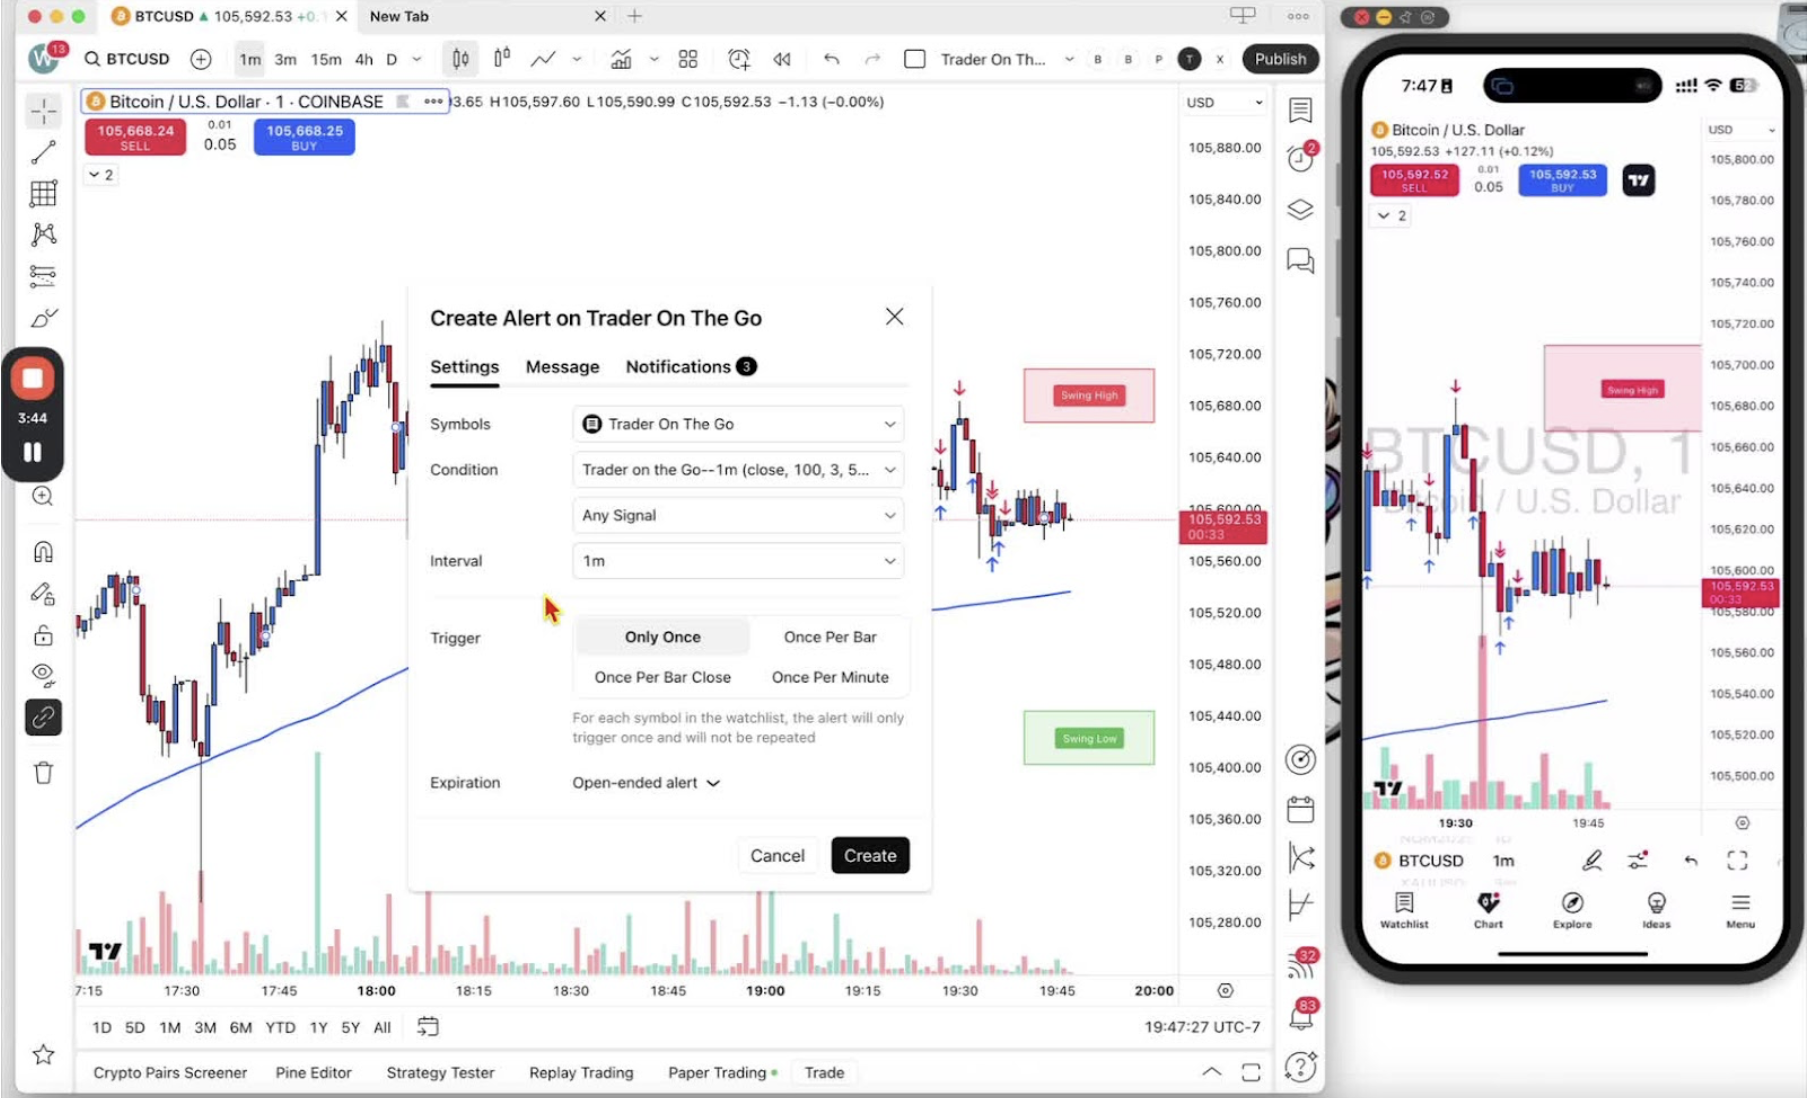
    Choosing the Time Interval 2:45

    • Set the interval to ‘1 Minute’ to match the chart.

    Alert Trigger Settings 3:07

    • Set the trigger to ‘Once per bar close’ so unclosed candles do not fire false alerts.

    Customizing Alert Message 4:10

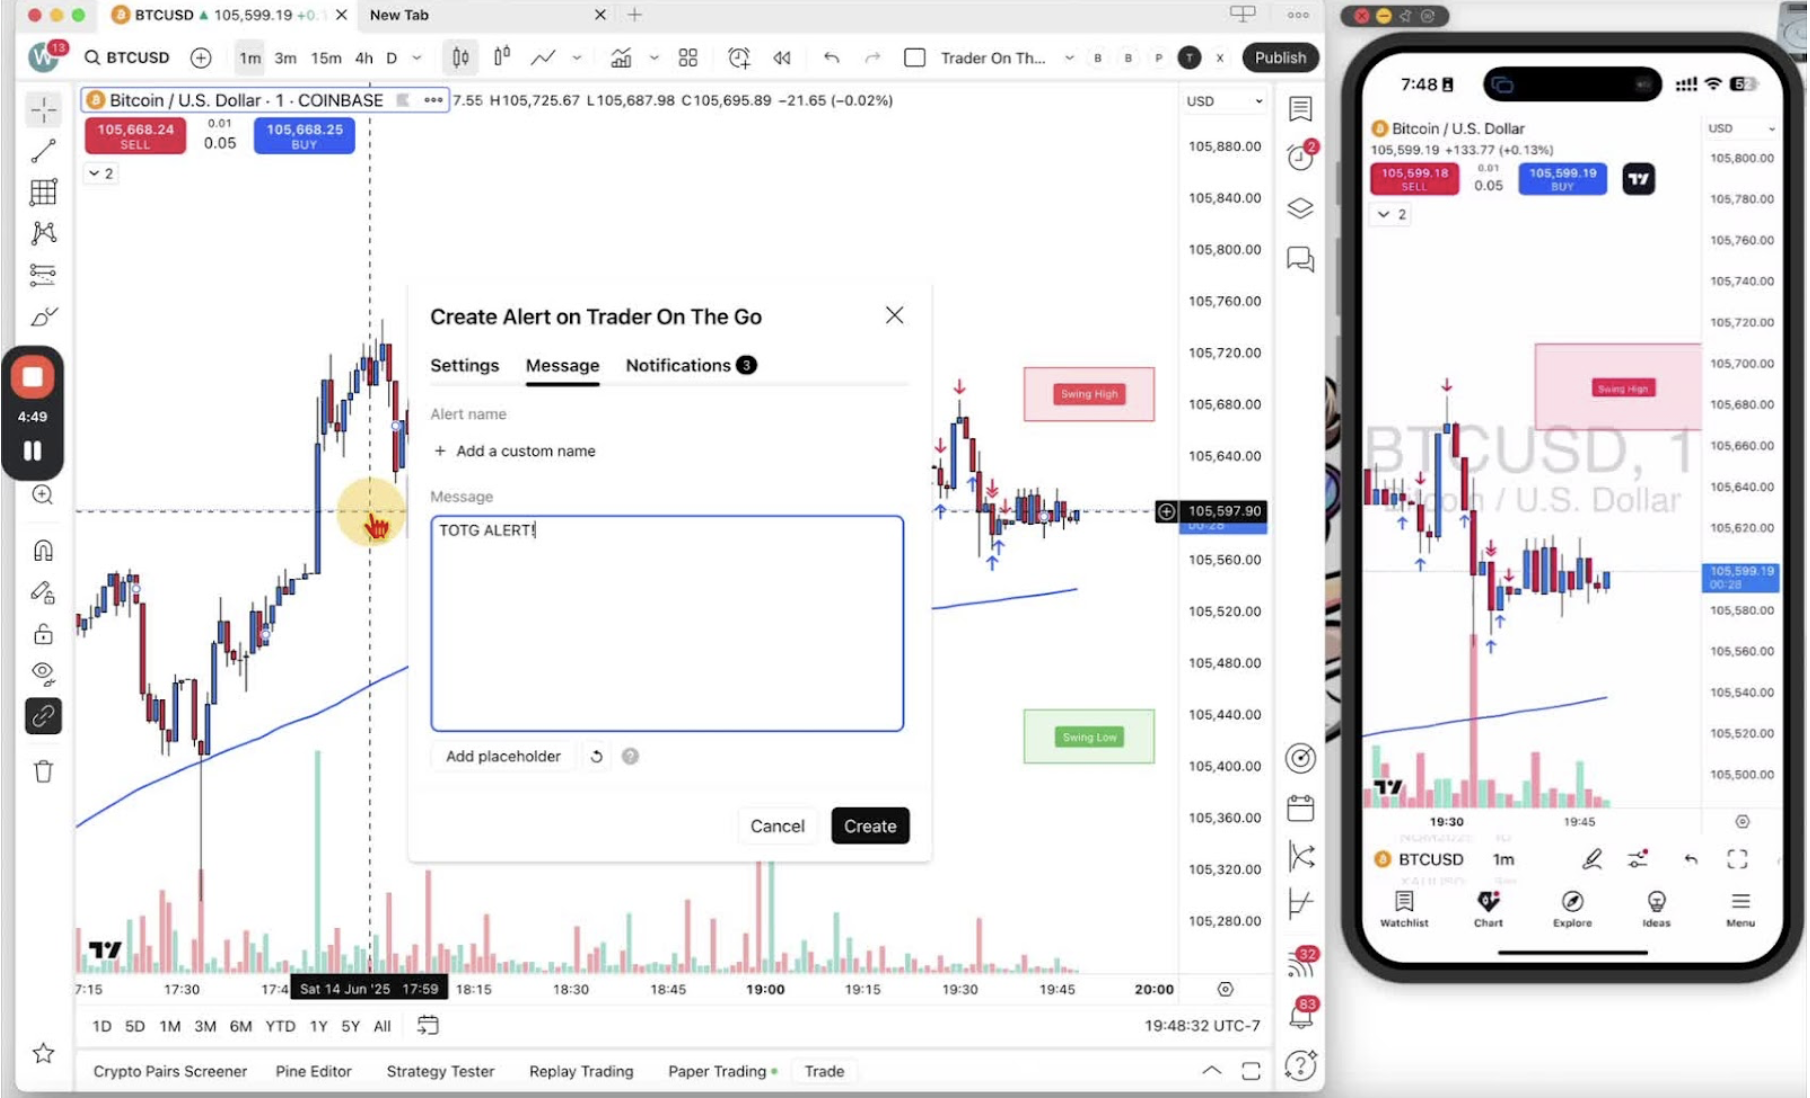
    • Change the alert message to ‘TOTG alert’ so it is easy to spot.

    Configuring Notification Settings 4:30

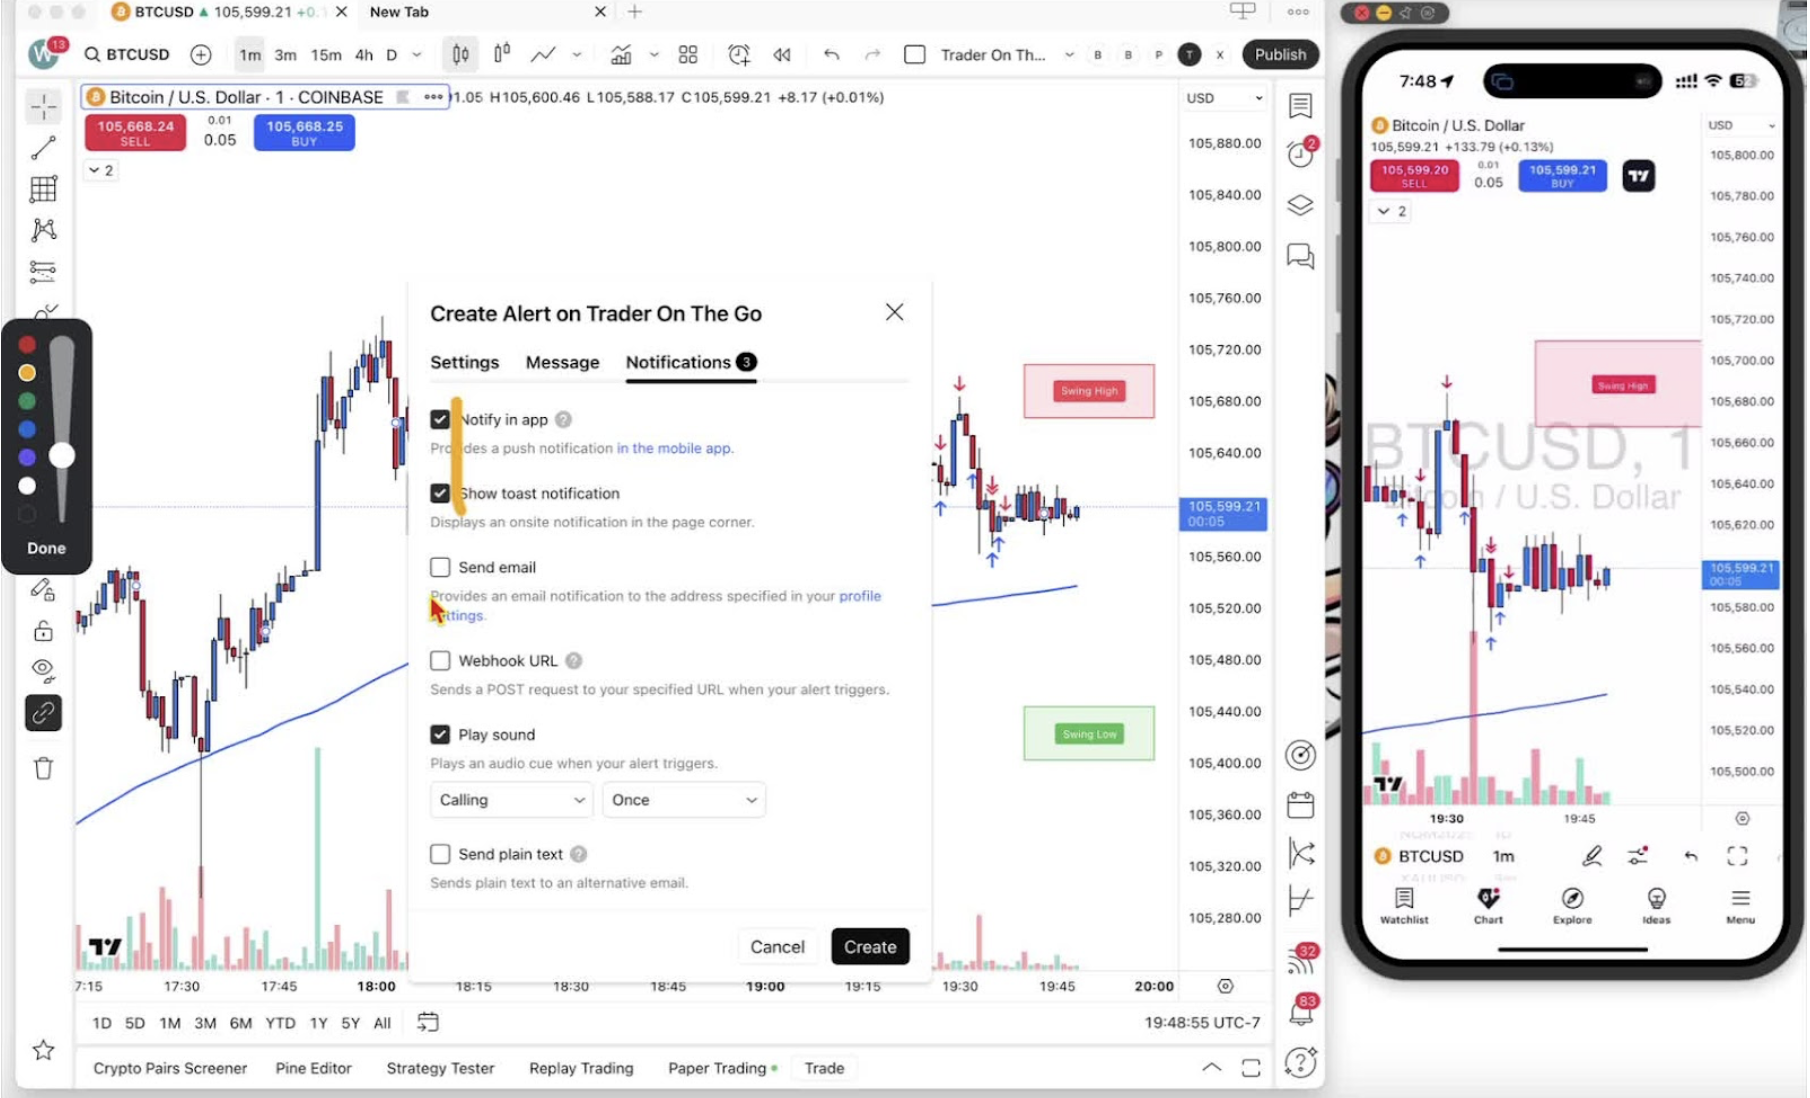
    • Turn on: notify in app, show toast notification, play sound.
    • Email is optional.

    Finalizing the Alert 4:53

    • Click ‘Create’.
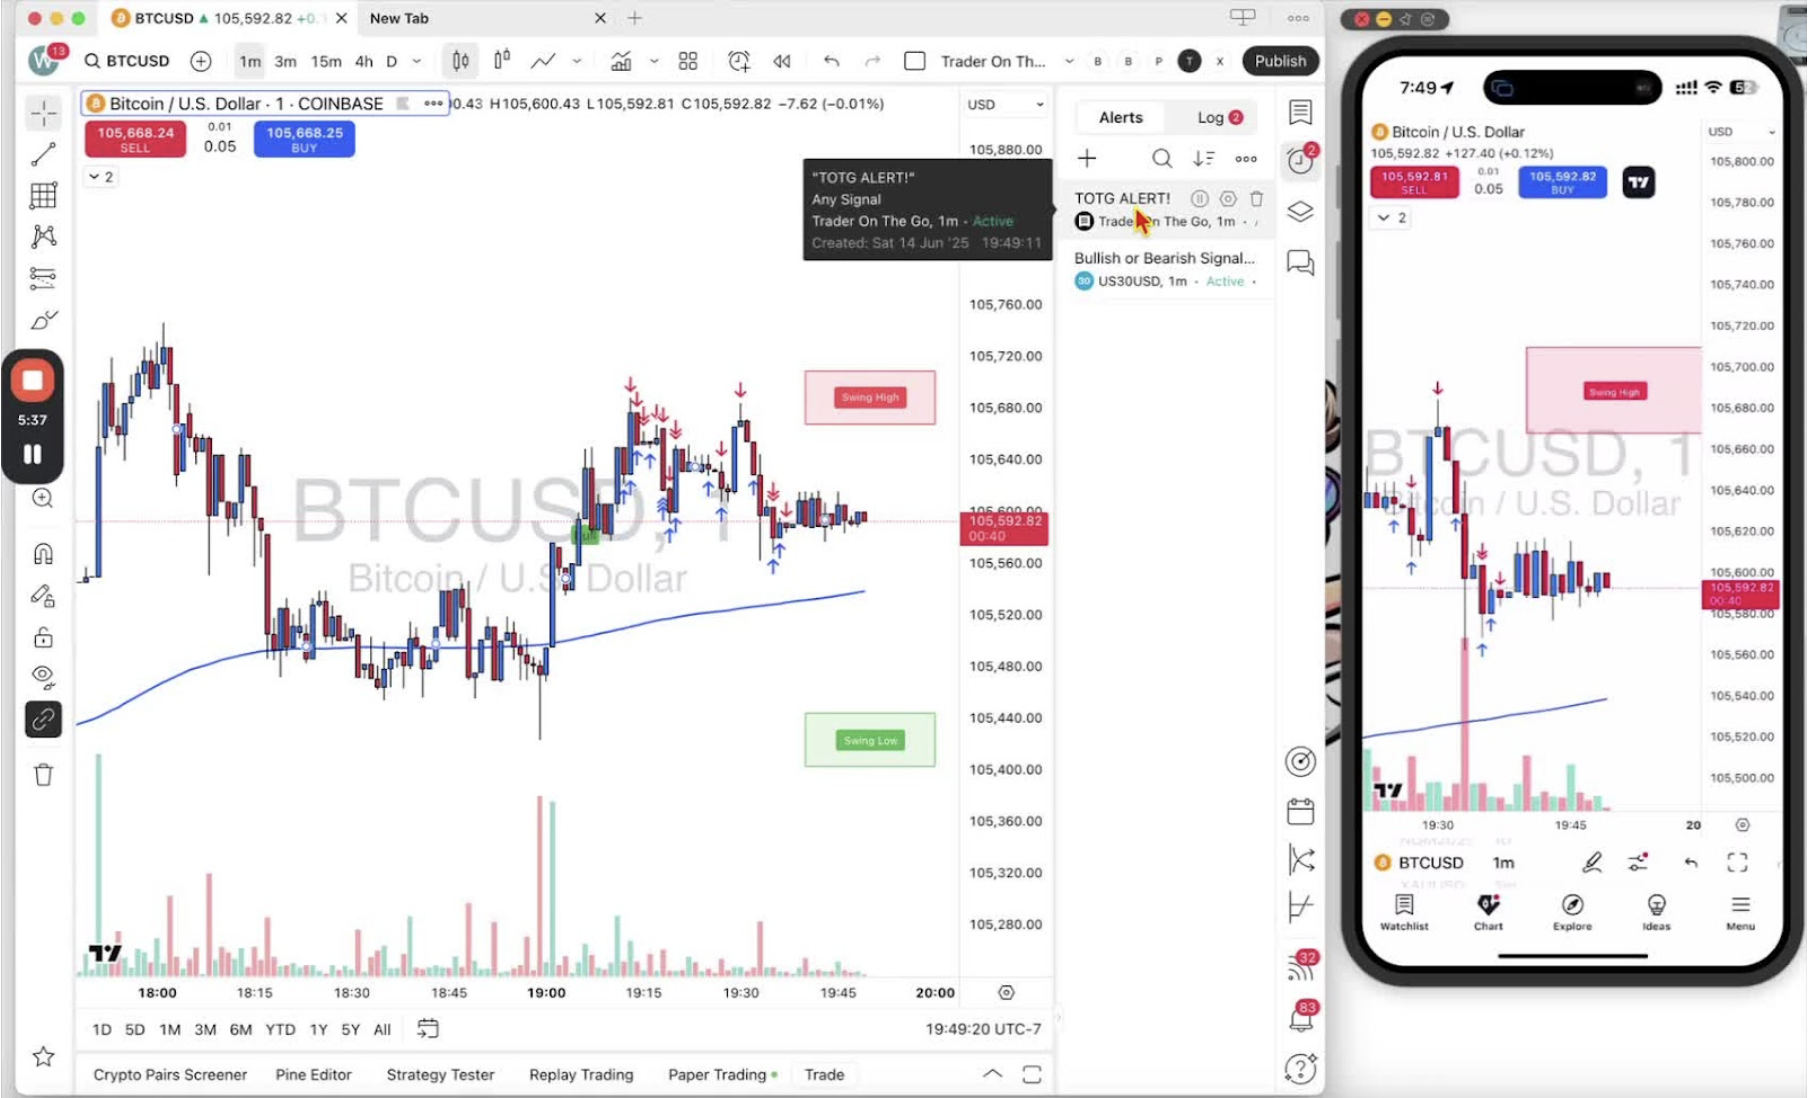
    • Check the alert appears in the alert clock.
  • Step 16. How to Set a Take Profit in Trading

    Step 16. How to Set a Take Profit in Trading

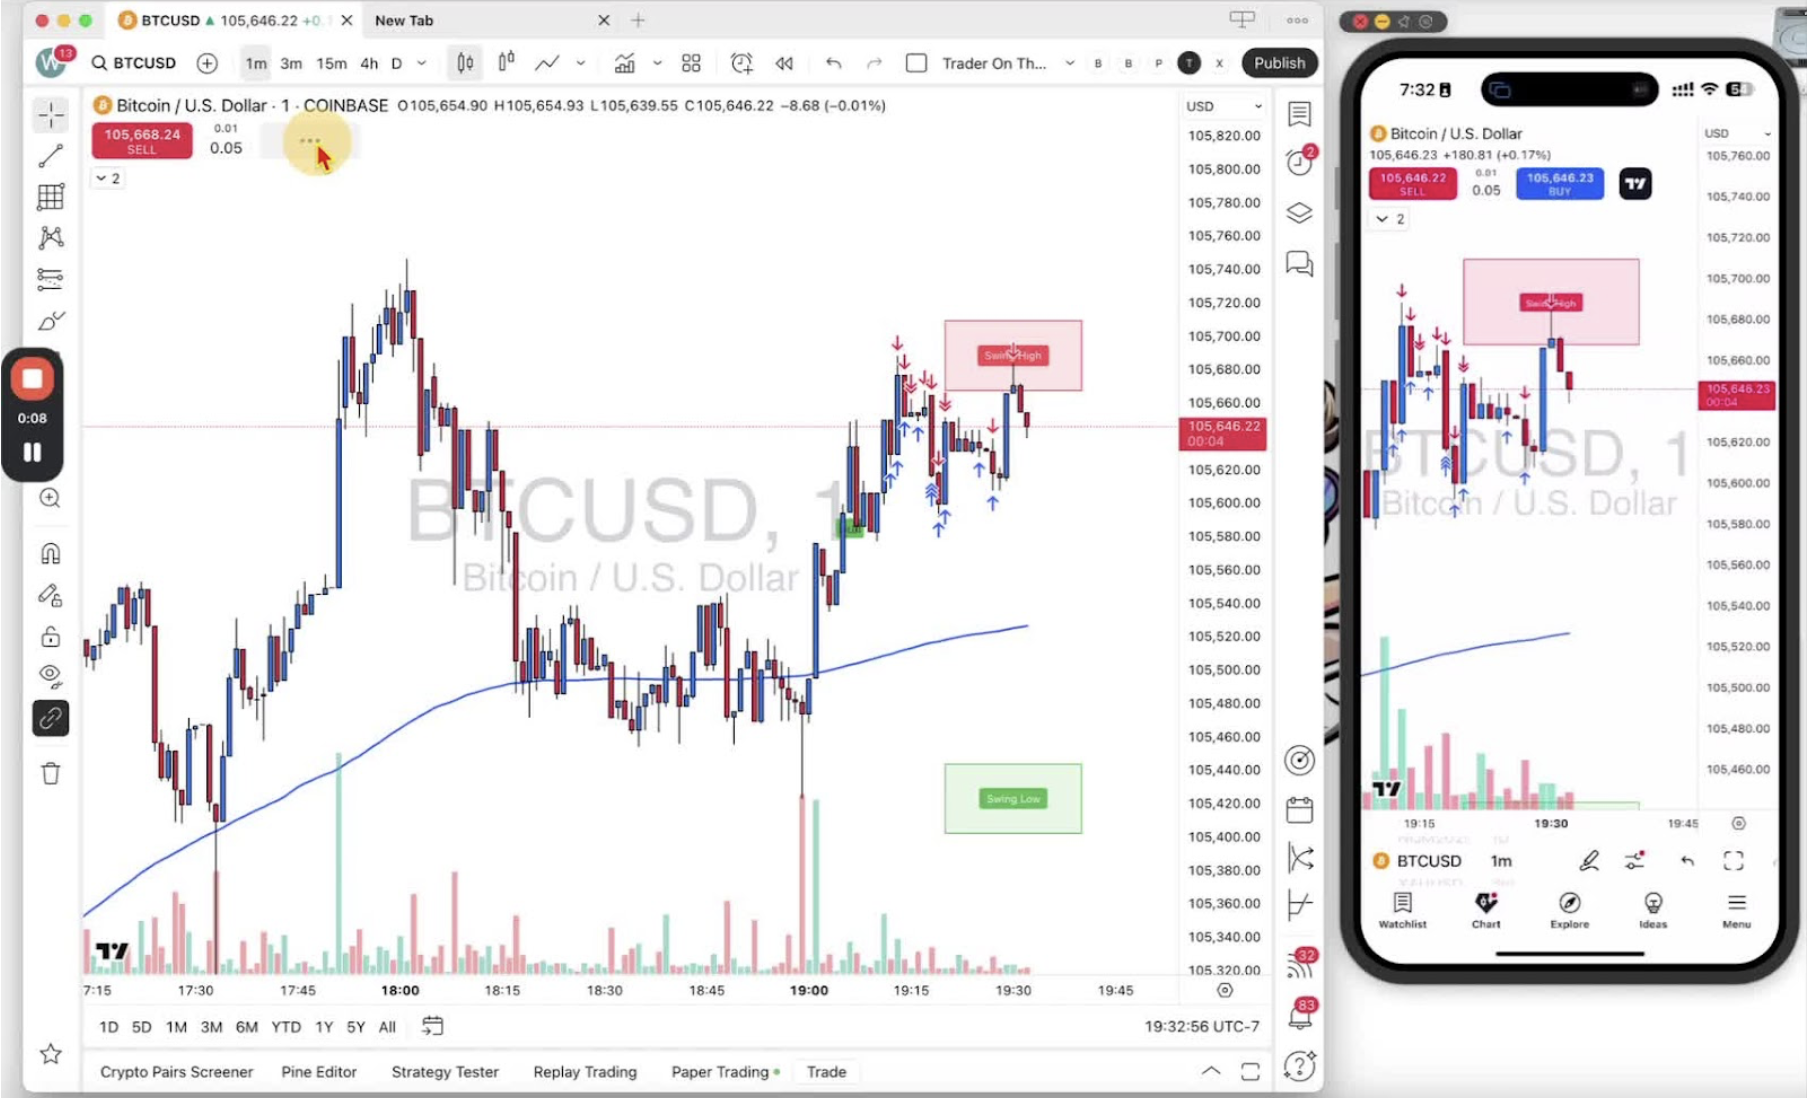
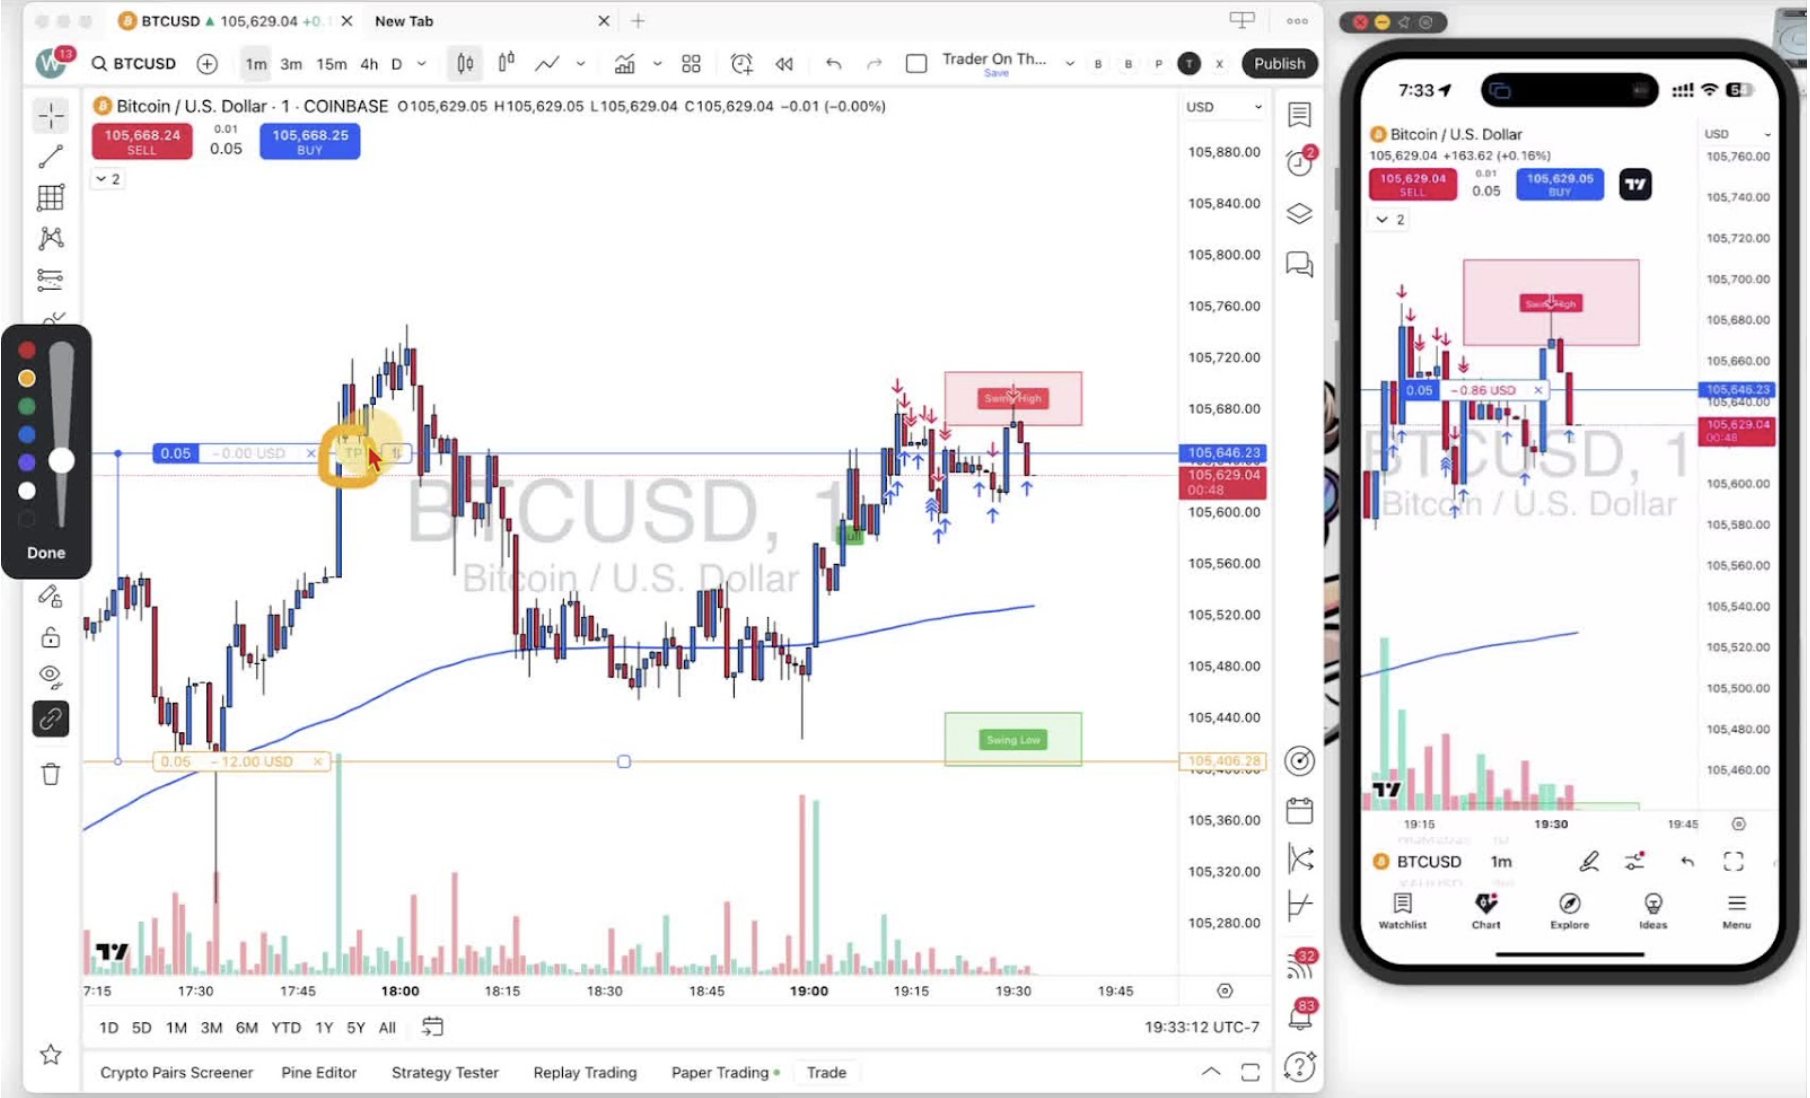
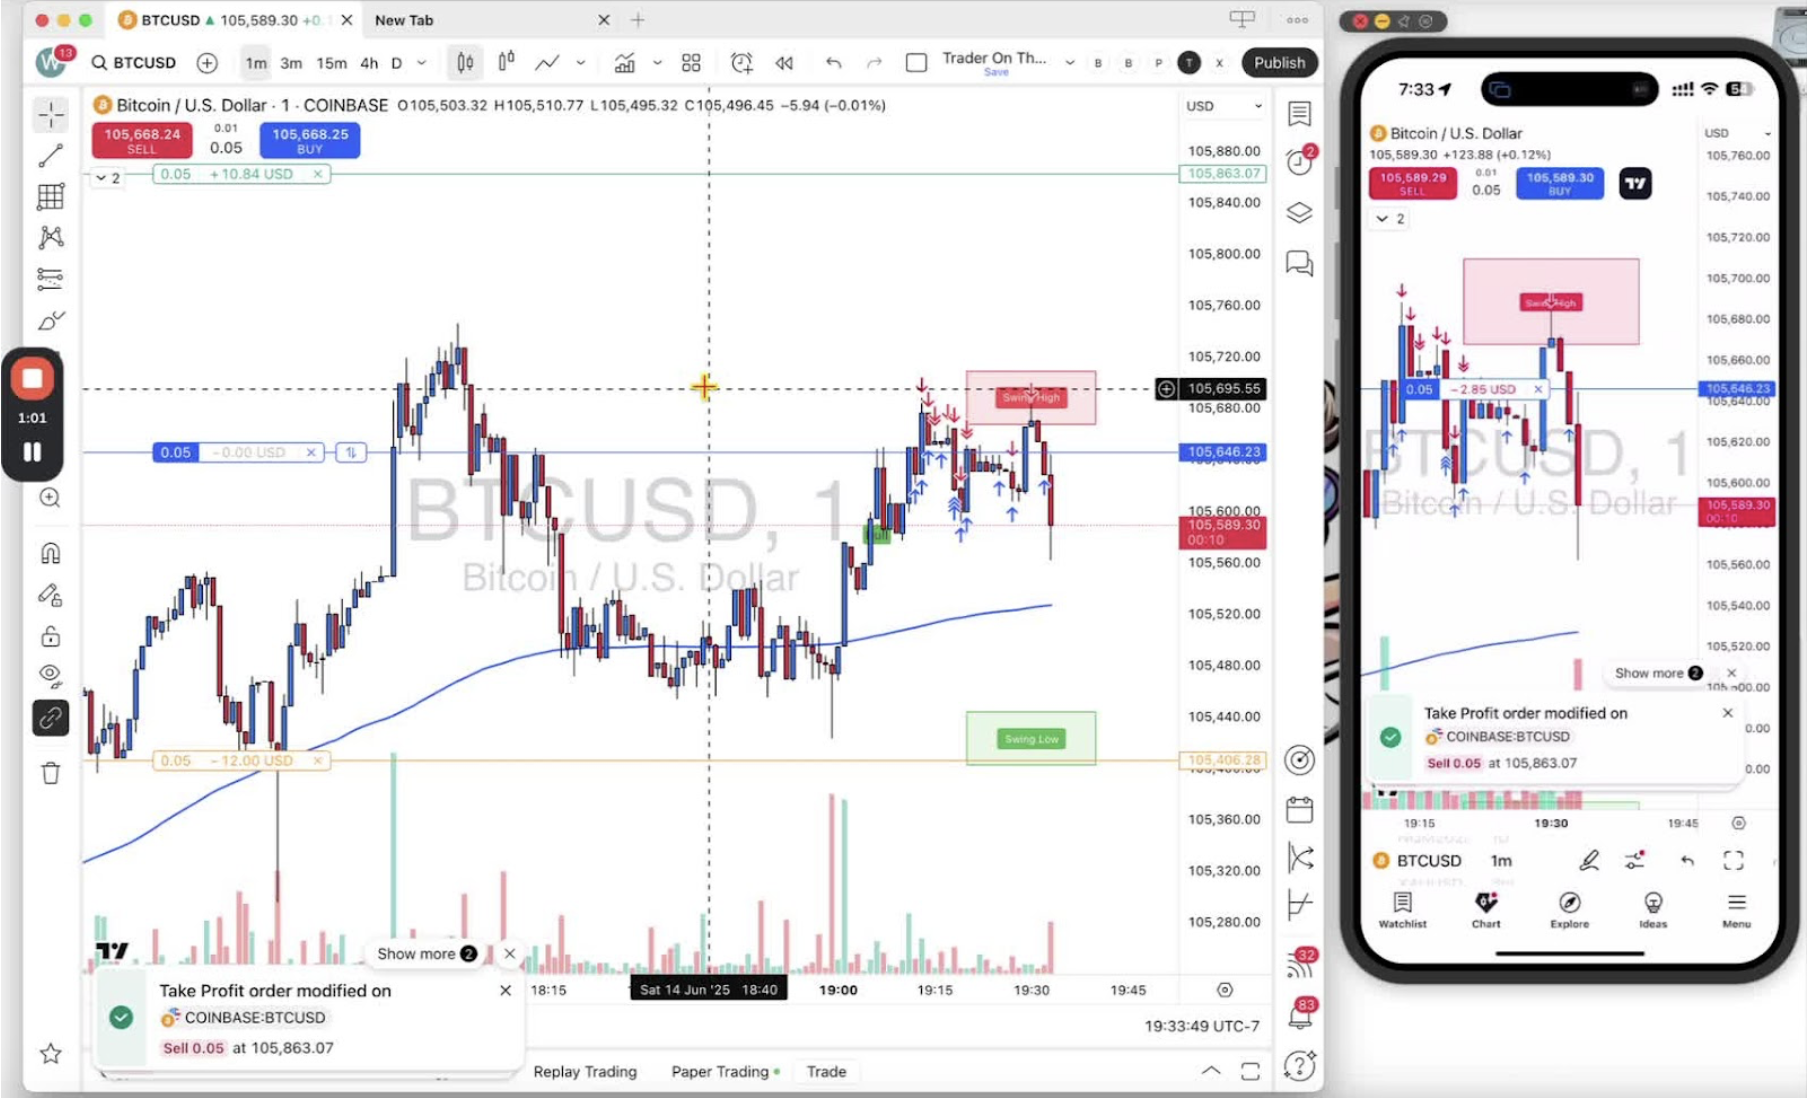
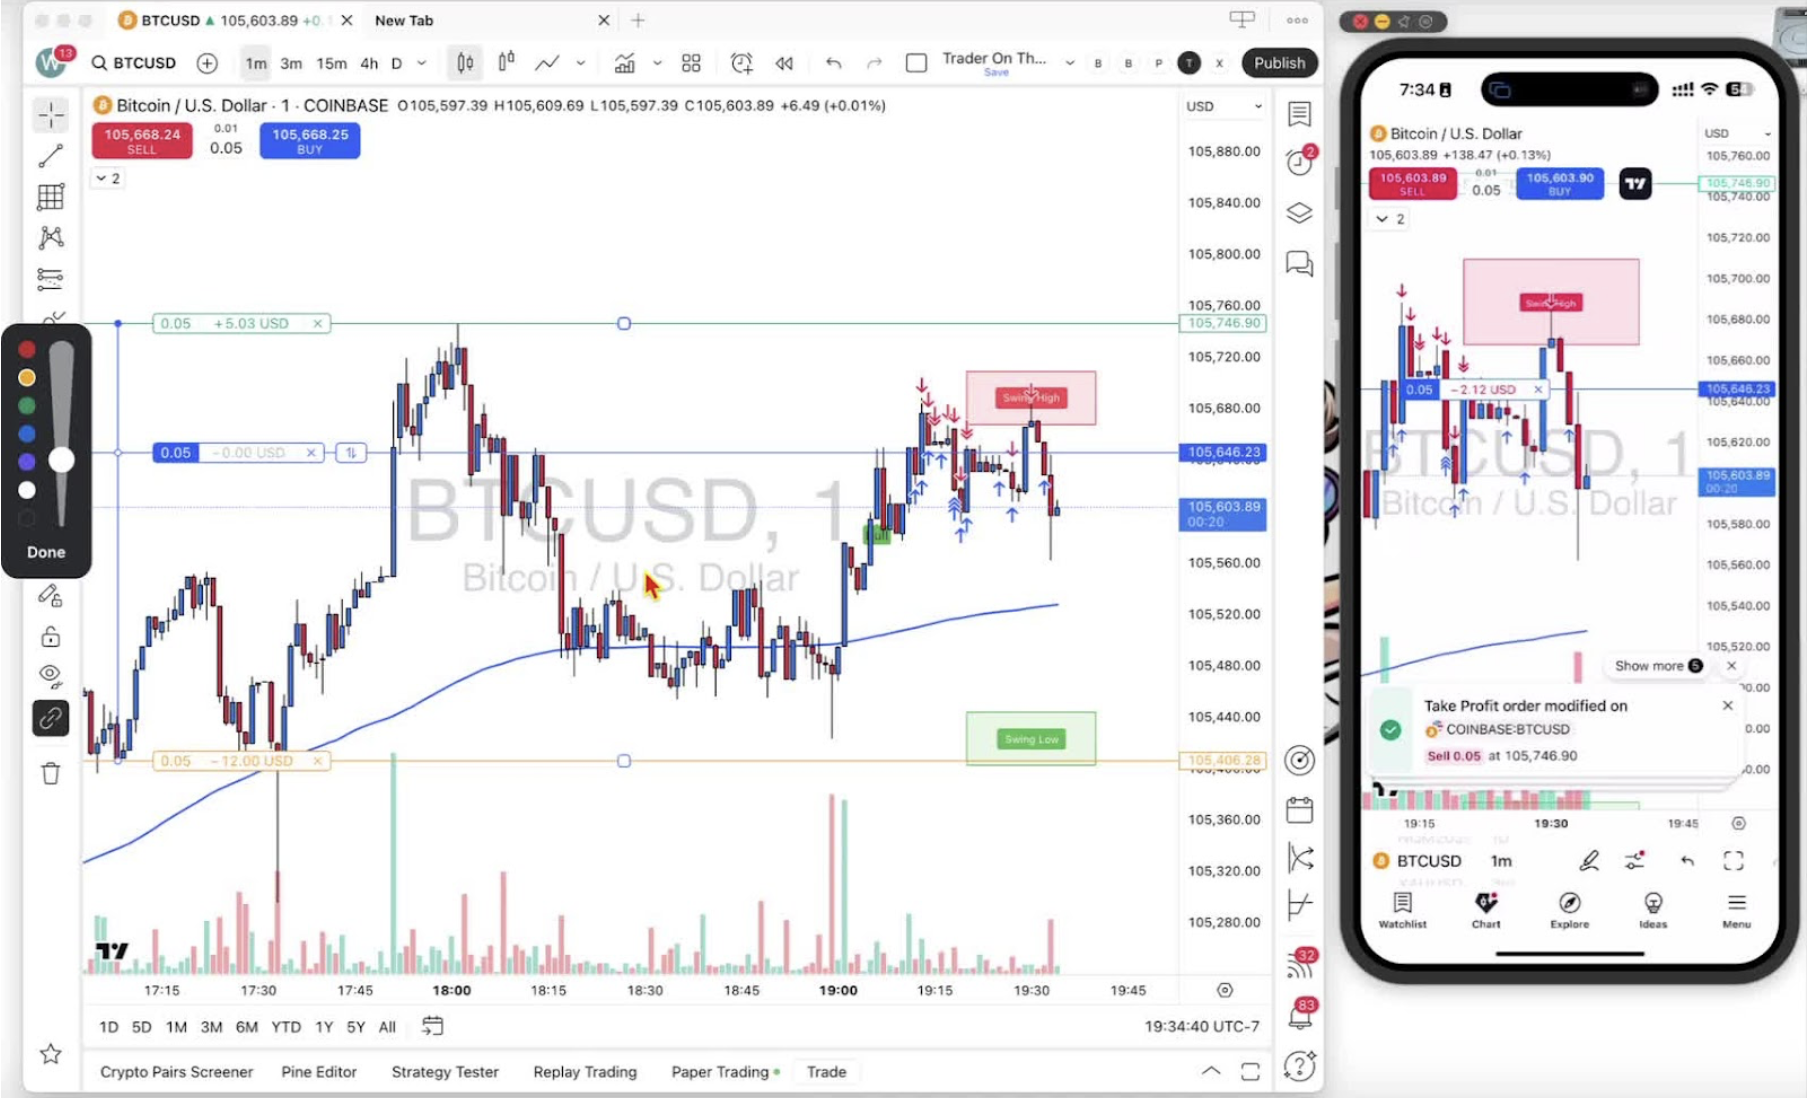
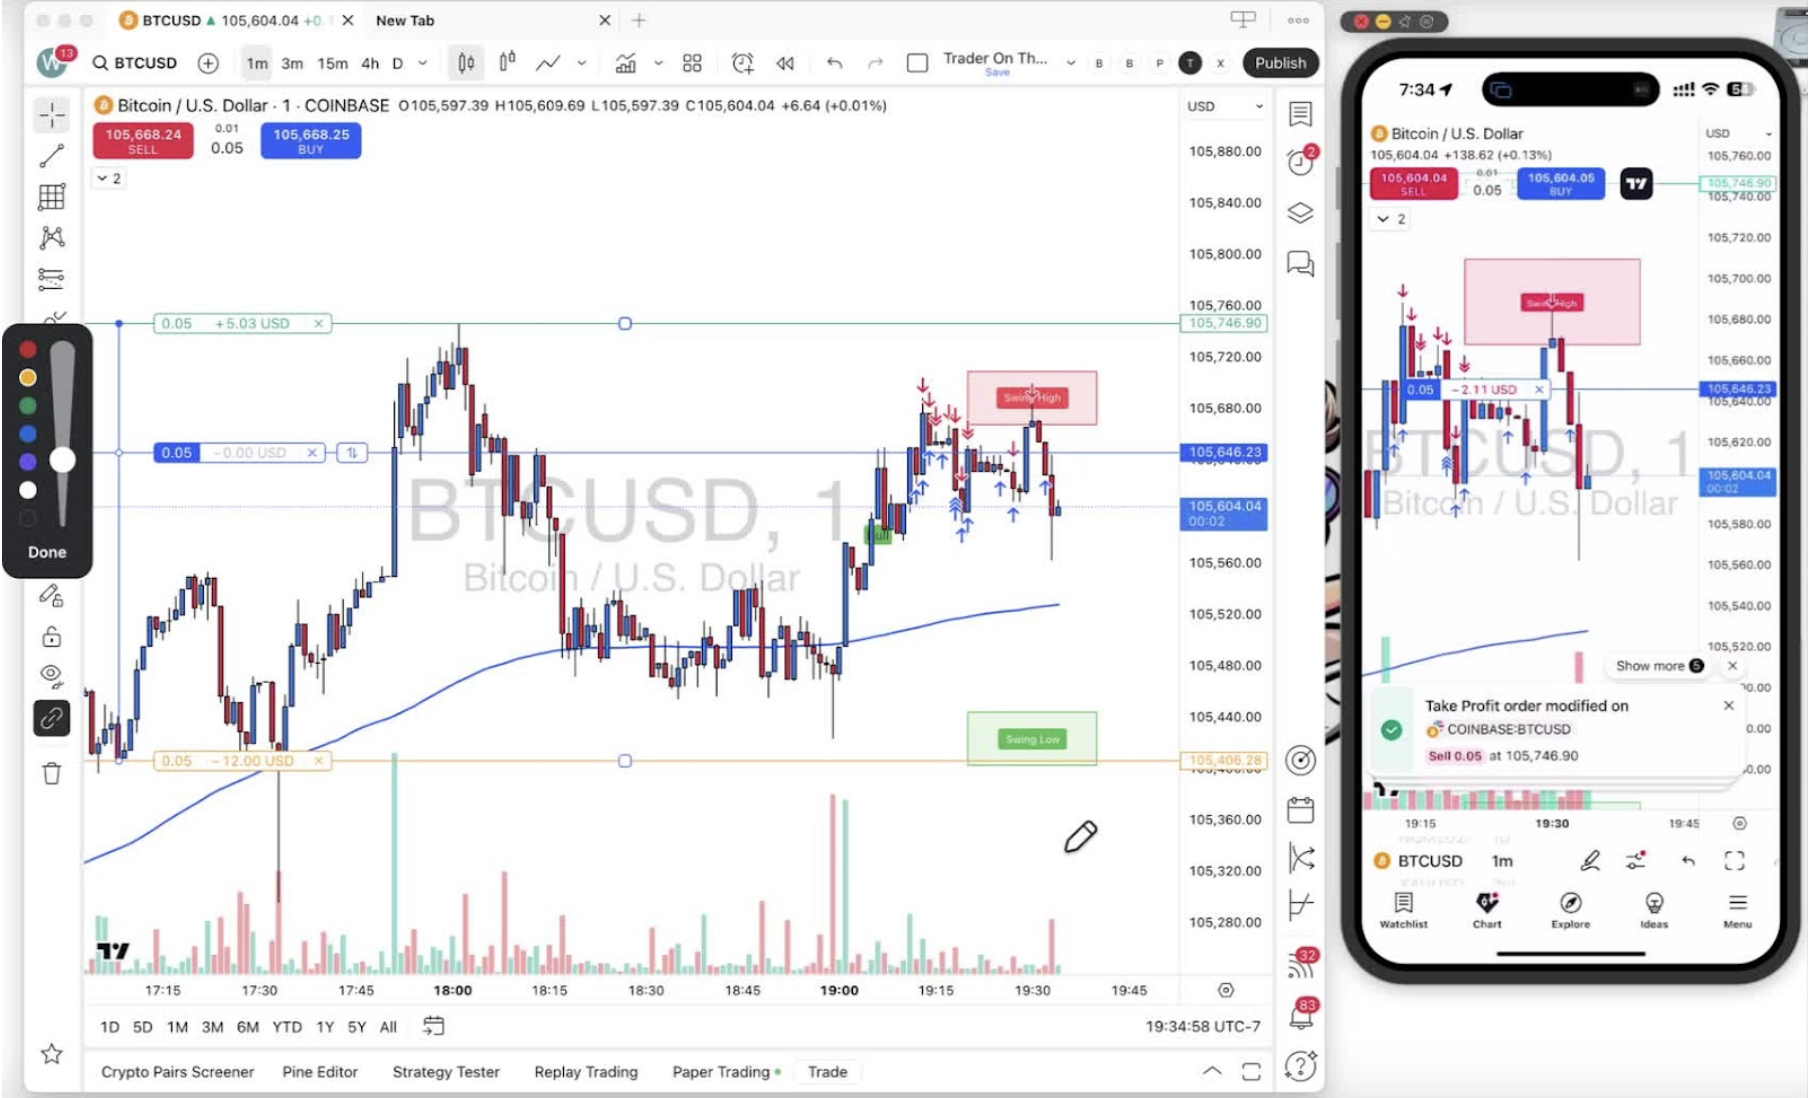
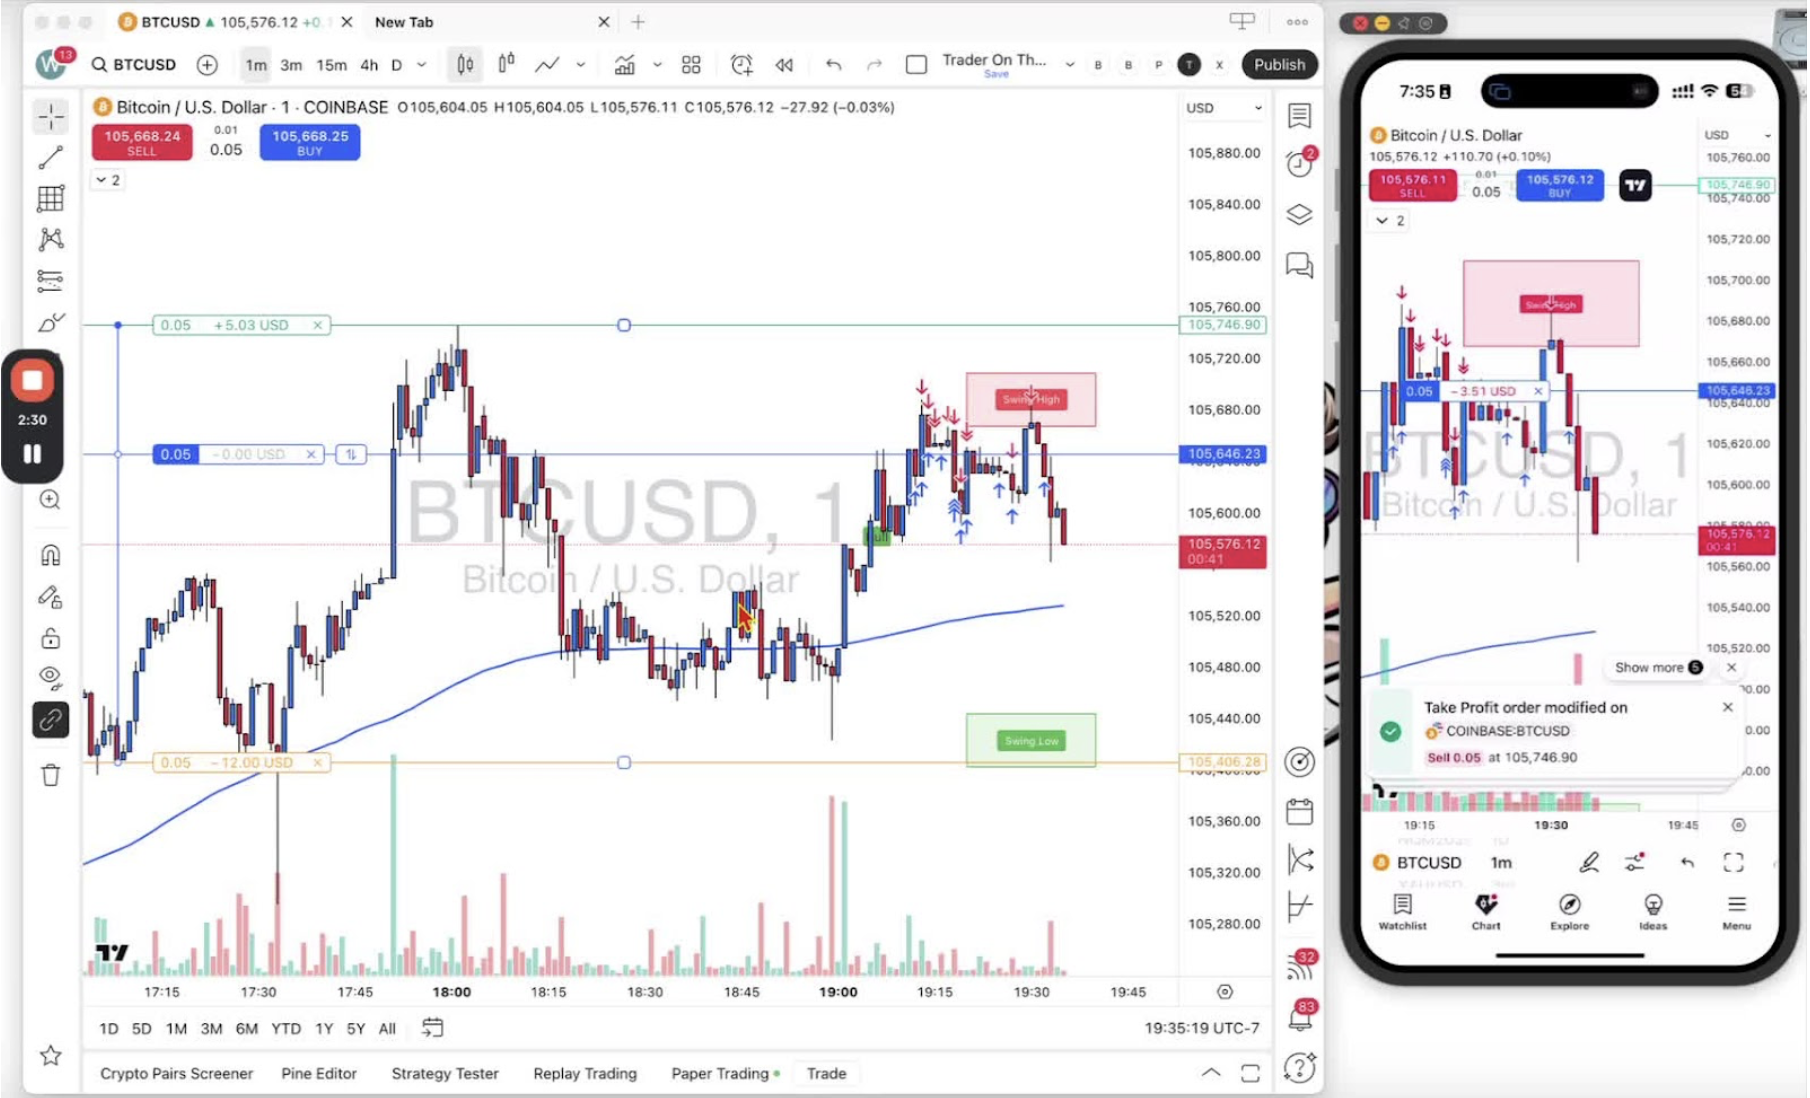
    Set a take profit (TP) on an open trade alongside the stop loss. When price reaches the TP, the trade closes on its own and you get a notification with the result (in the example, +$5.03).

    Setting Up a Trade on Desktop 0:06

    • Enter a trade on desktop.
    • Set a stop loss first (Step 15).

    Adding a Take Profit on Desktop 0:19

    • Find the TP (Take Profit) button on the trading interface.
    • Click and drag the TP line to your profit level.

    Adjusting Take Profit Position 0:49

    • If you click off the chart, the red TP square disappears.
    • Click your position to bring it back.

    Understanding Take Profit Functionality 1:32

    • The trade closes automatically when price hits the TP.

    Benefits of Using Take Profit 1:48

    • You can set the trade and step away.
    • TP against SL gives you a clear risk-to-reward.

    Setting Take Profit on Mobile 2:04

    • Exit the current trade and open a new one on mobile.

    Adjusting Take Profit on Mobile 2:24

    • Tap and drag the TP on the mobile chart.

    Final Adjustments and Confirmation 3:12

    • Release to confirm the TP position.
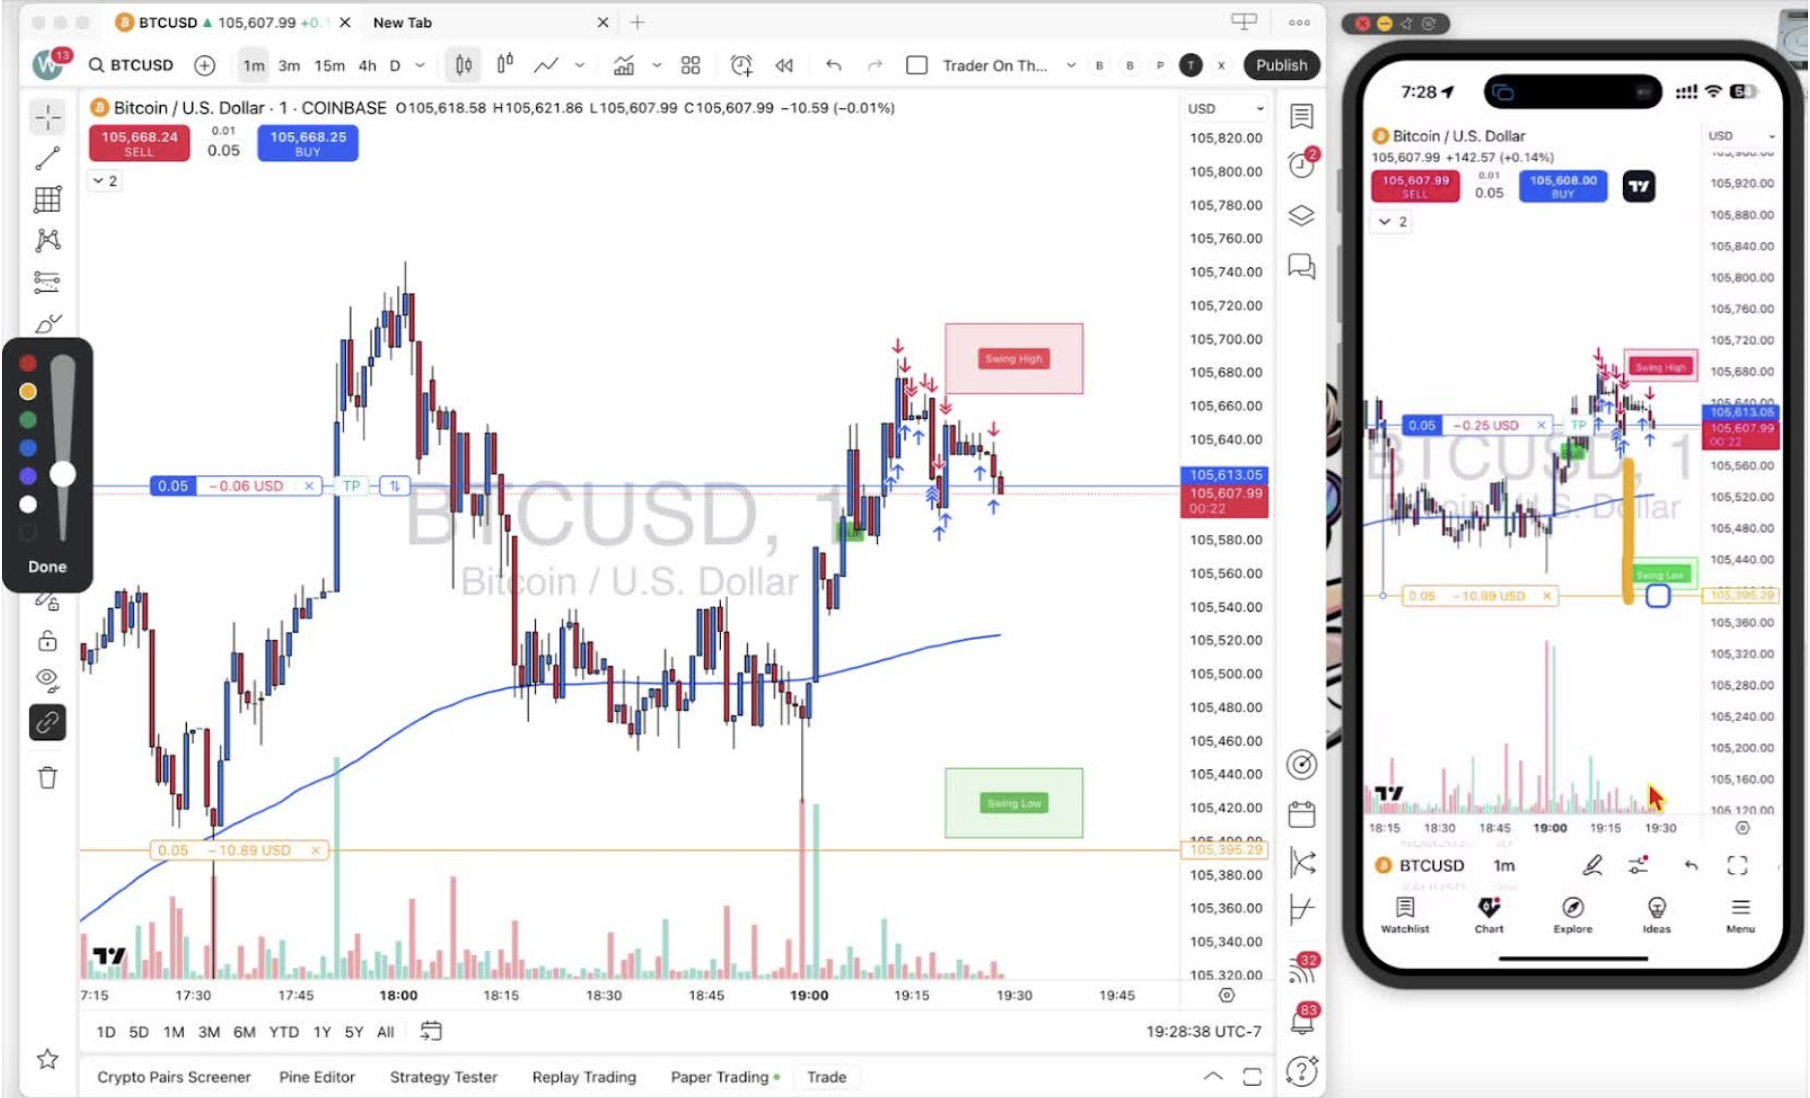
    • If the TP indicator disappears, tap your position to bring it back.
  • Step 15. How to Set and Manage a Stop-Loss in Trading

    Step 15. How to Set and Manage a Stop-Loss in Trading

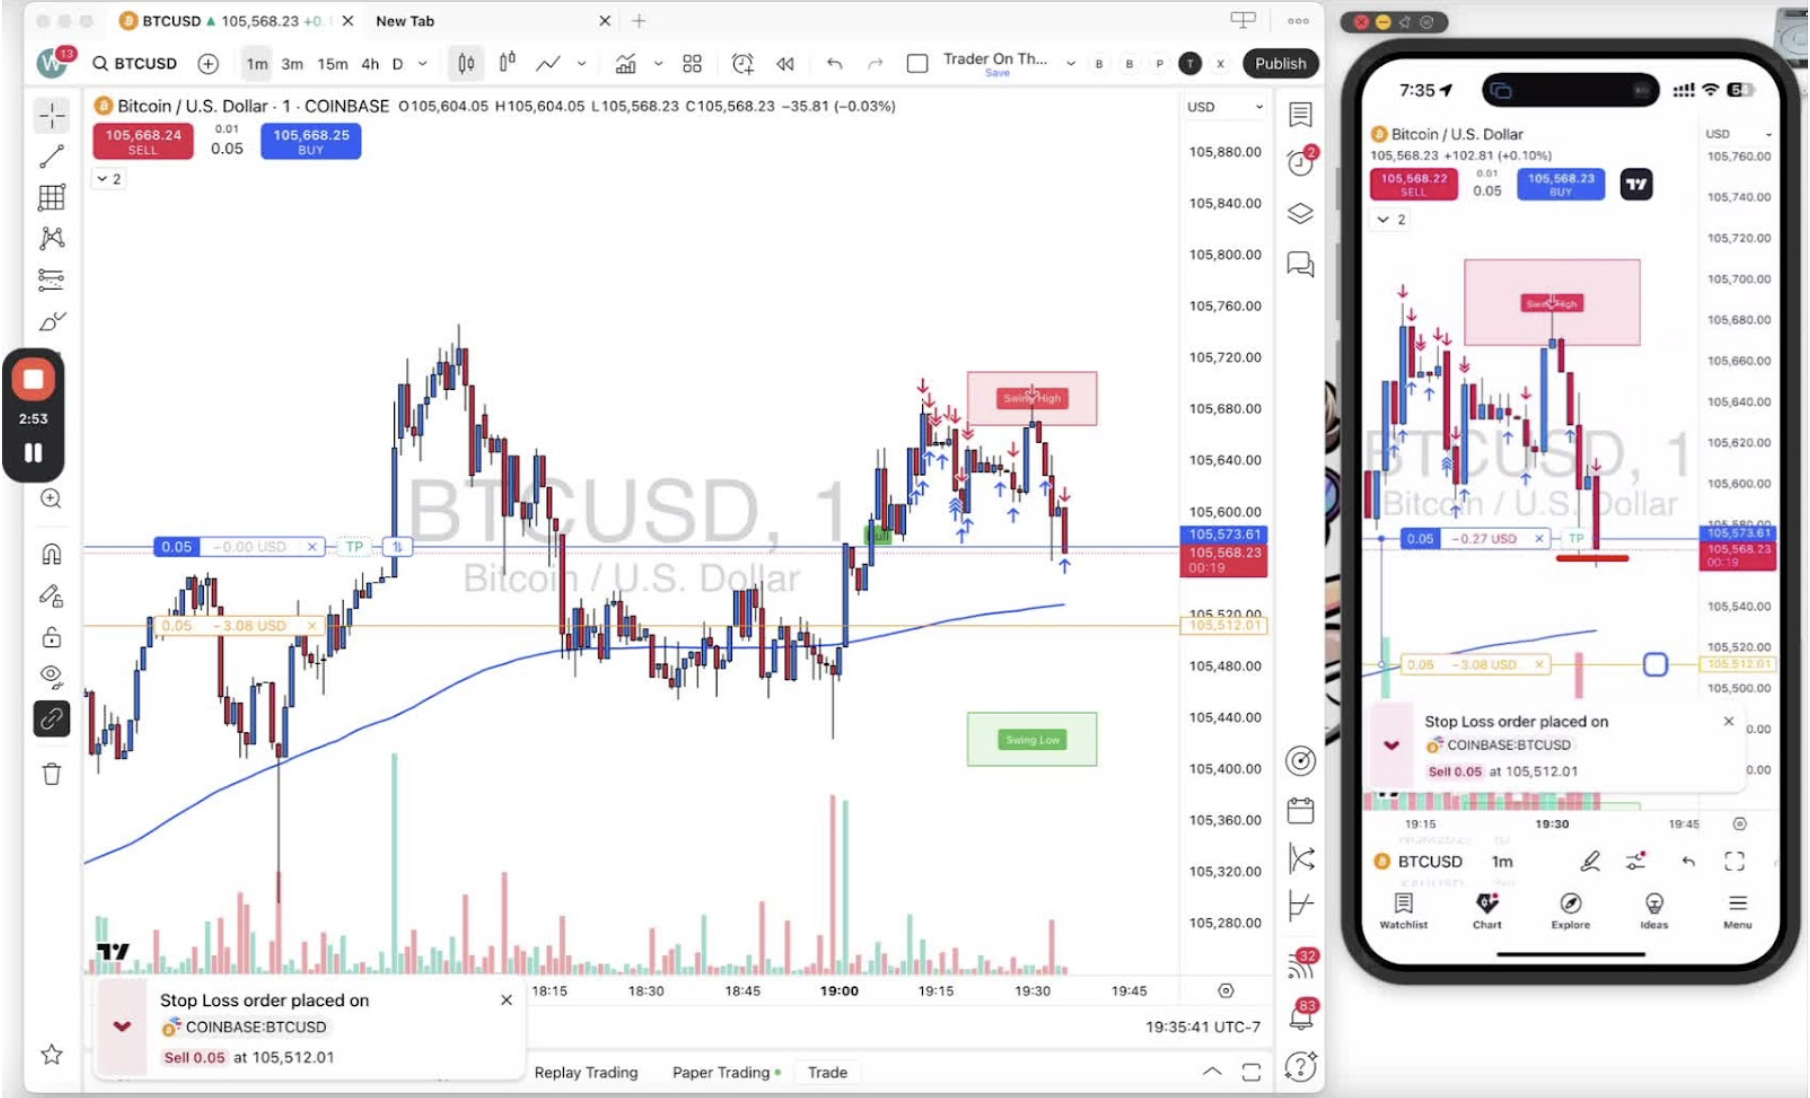
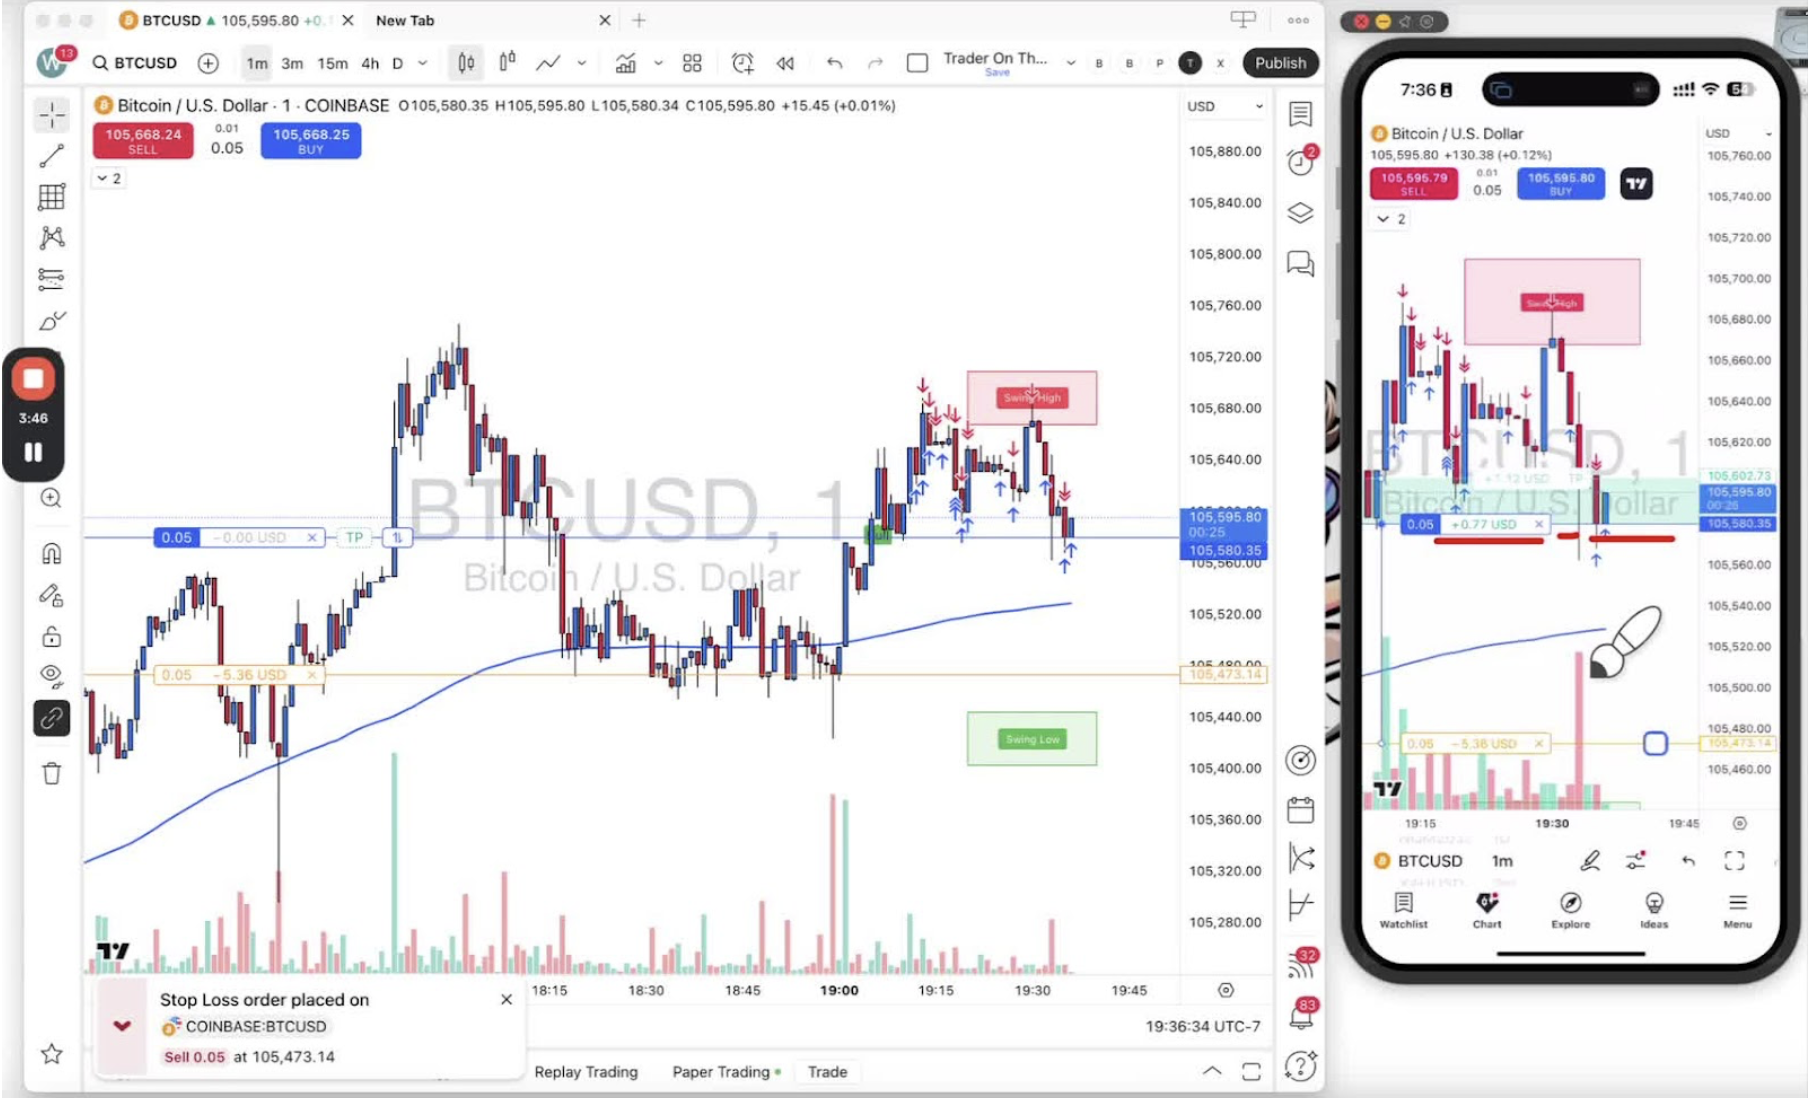
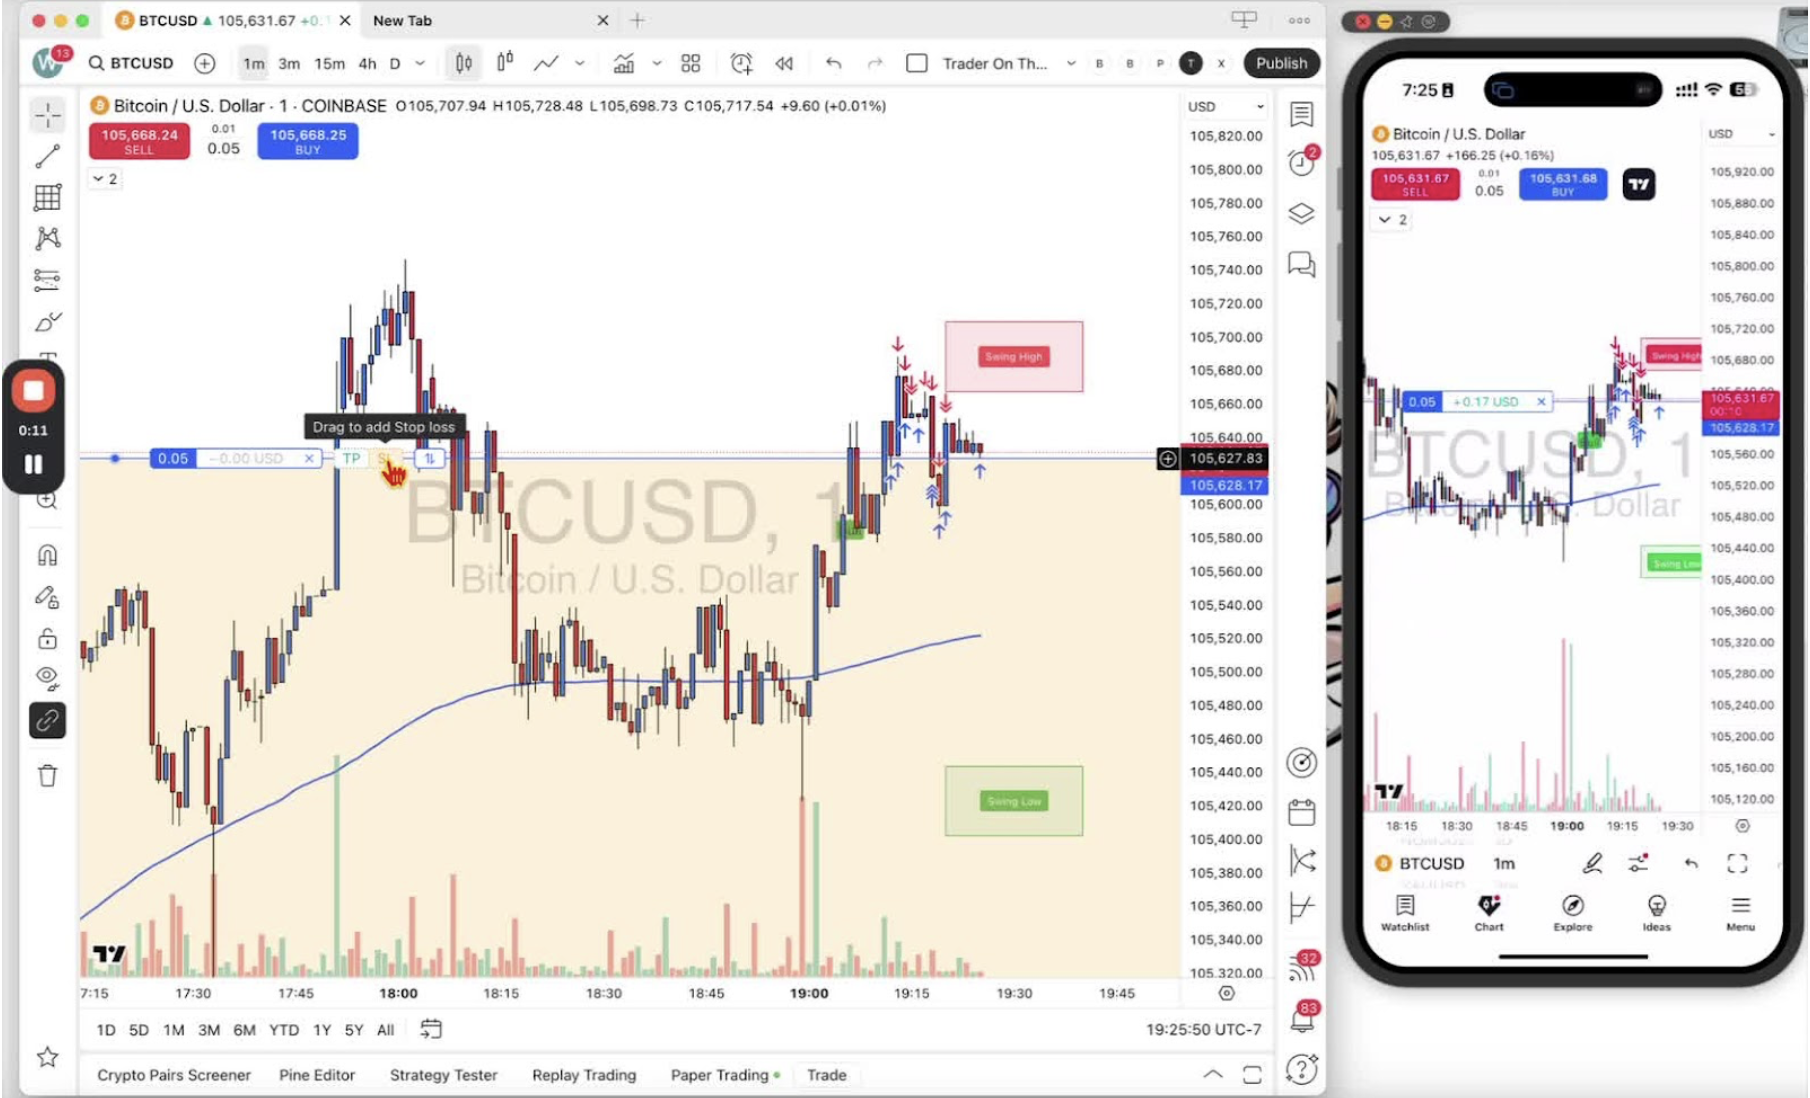
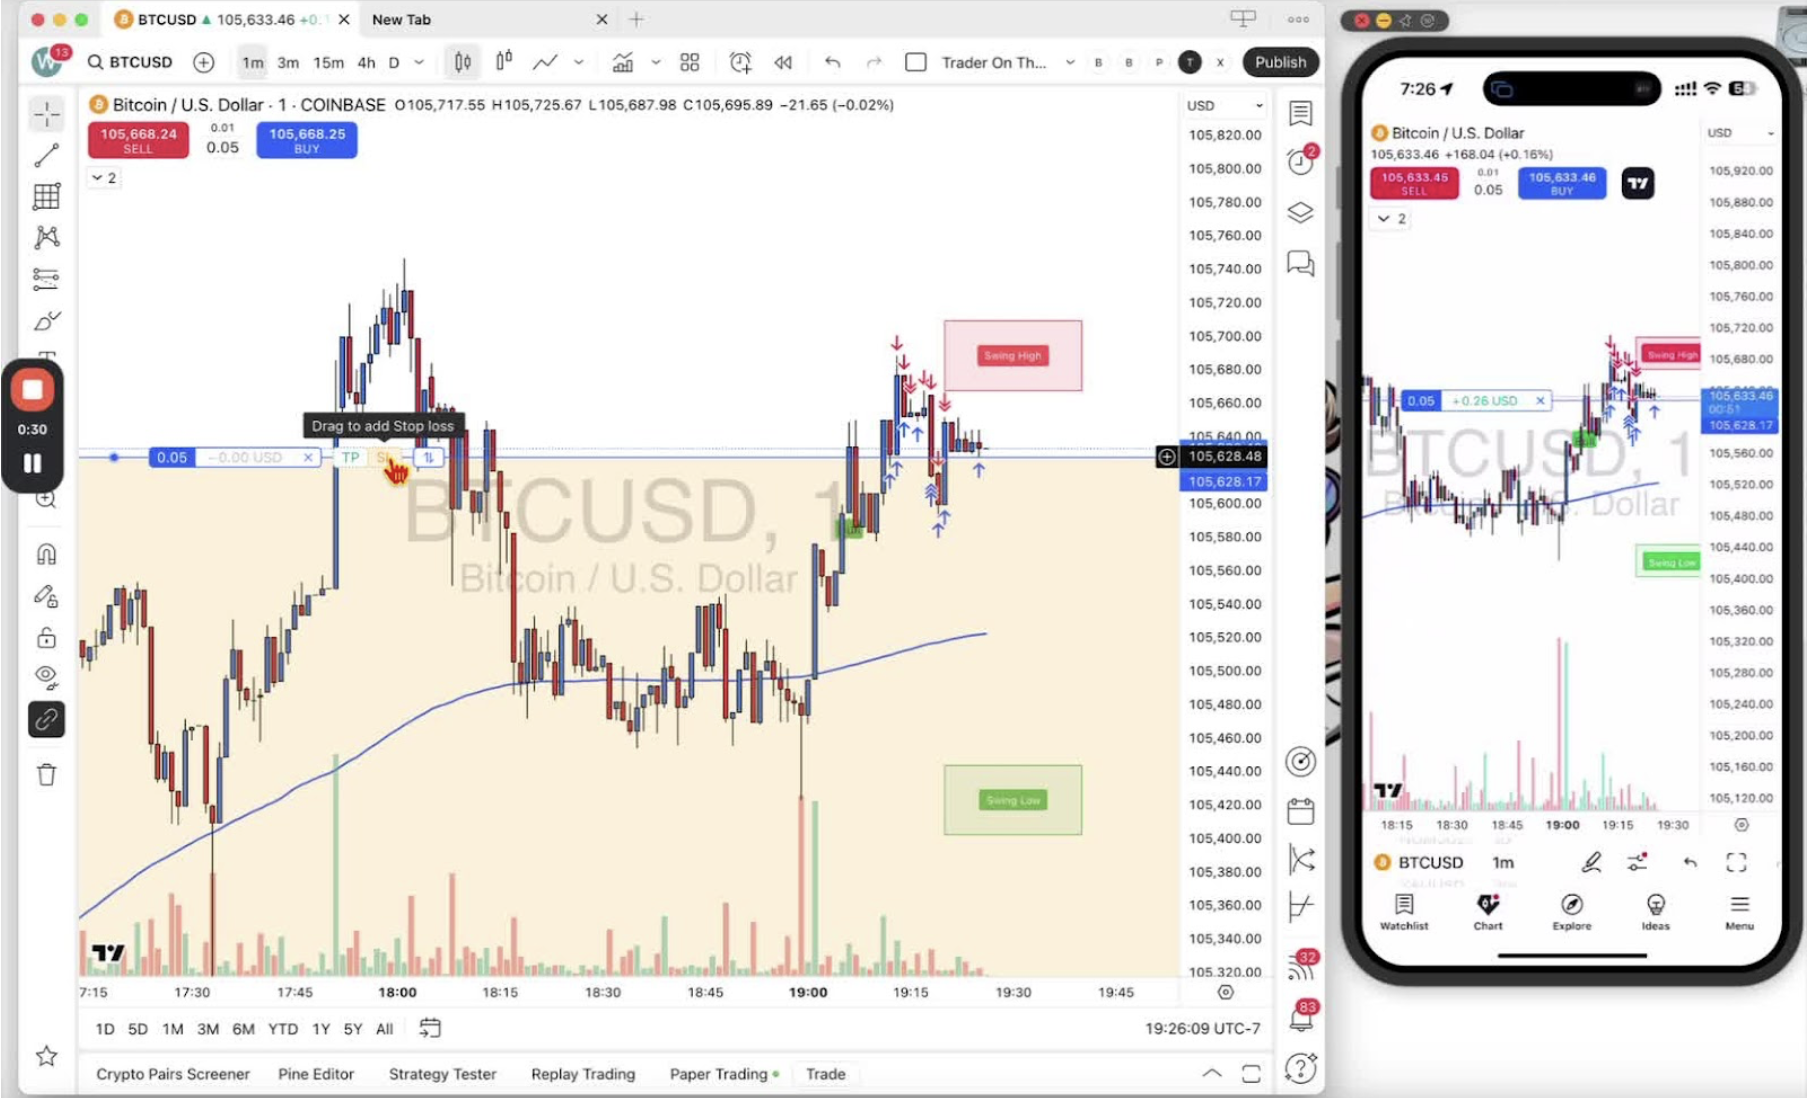
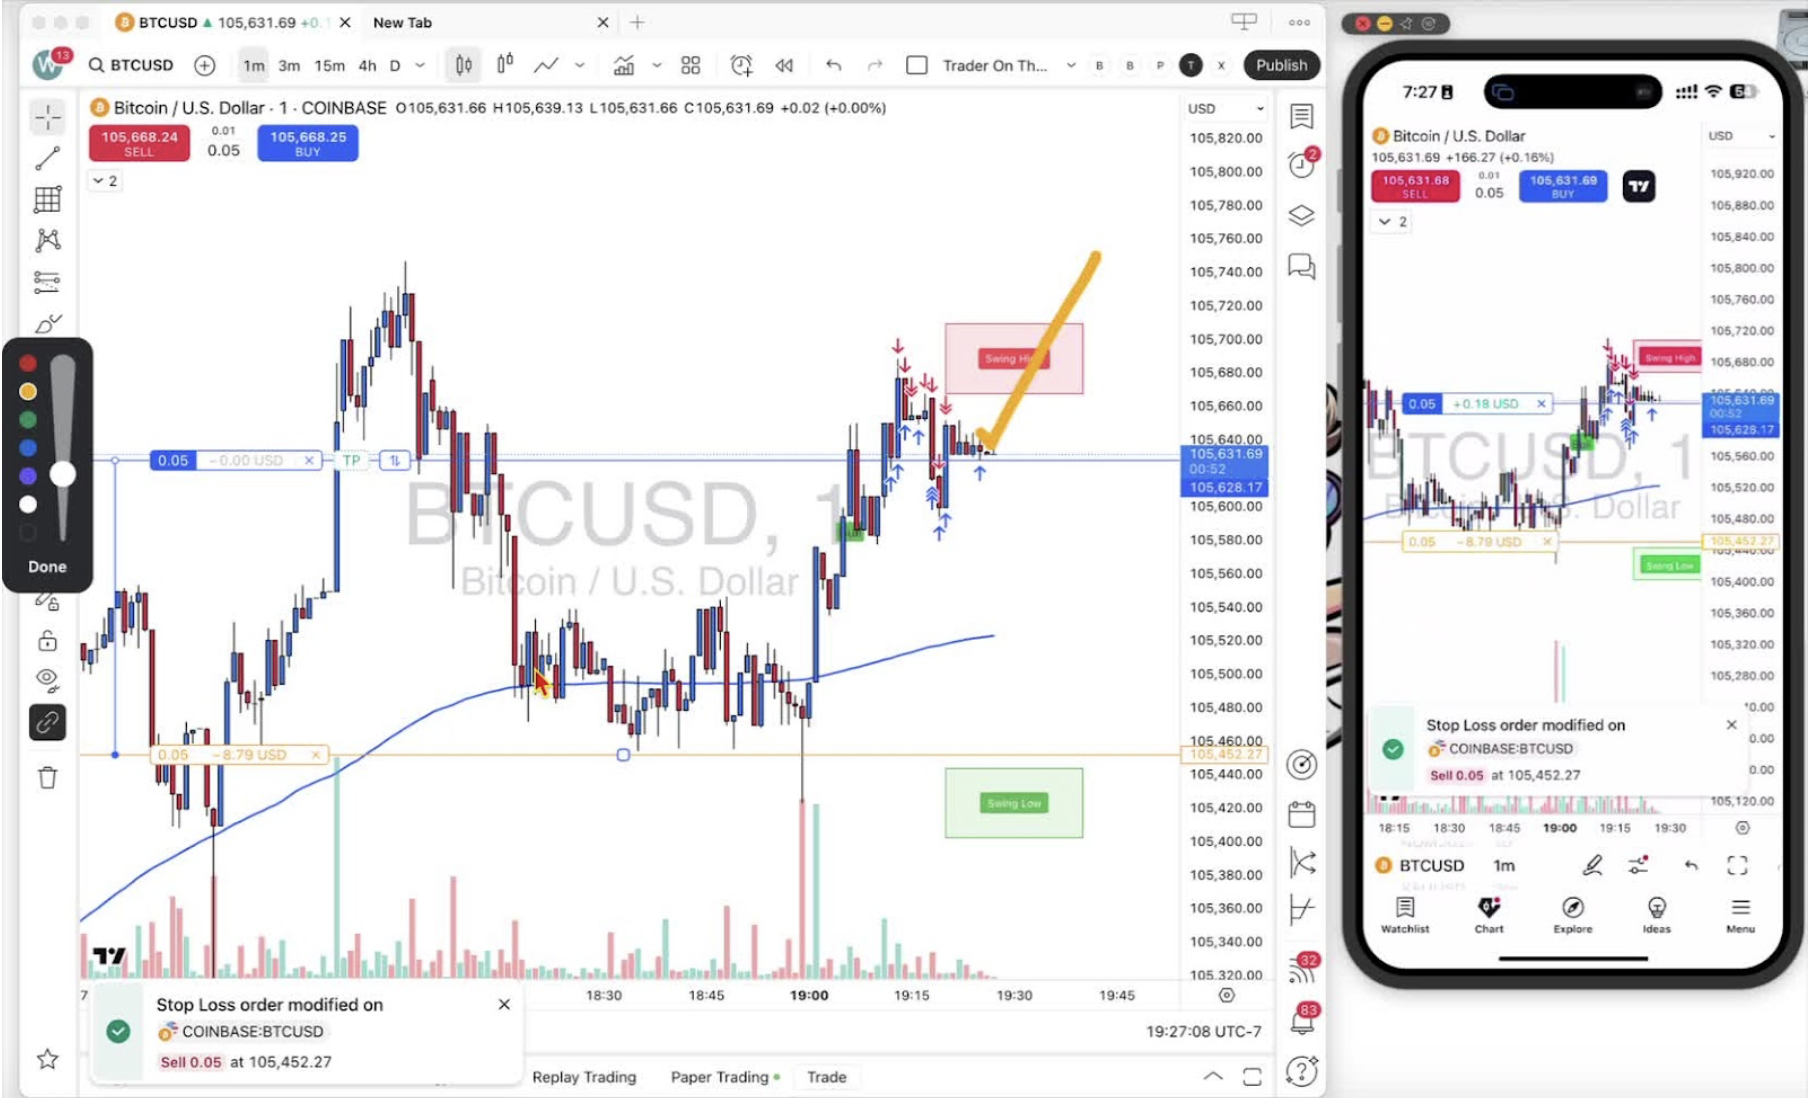
    Set a stop-loss on an open trade, drag it to the risk you accept, move it into profit as the trade works, and remove it if needed. Desktop first, then mobile.

    Setting a Stop-Loss on Desktop 0:12

    • Hover over your open position and click the stop-loss (SL) tool.

    Adjusting the Stop-Loss Risk 0:31

    • Click and hold the stop-loss line to drag it.
    • The risk amount shows to the left of the cursor.
    • Set it at the loss you are willing to take.

    Moving the Stop-Loss to Protect Your Position 1:30

    • If price moves in your favor, drag the stop-loss up to cut risk.
    • Once price is past your entry, move the stop-loss into profit.

    Setting a Stop-Loss on Mobile 2:07

    • Tap your position size to open the stop-loss option.
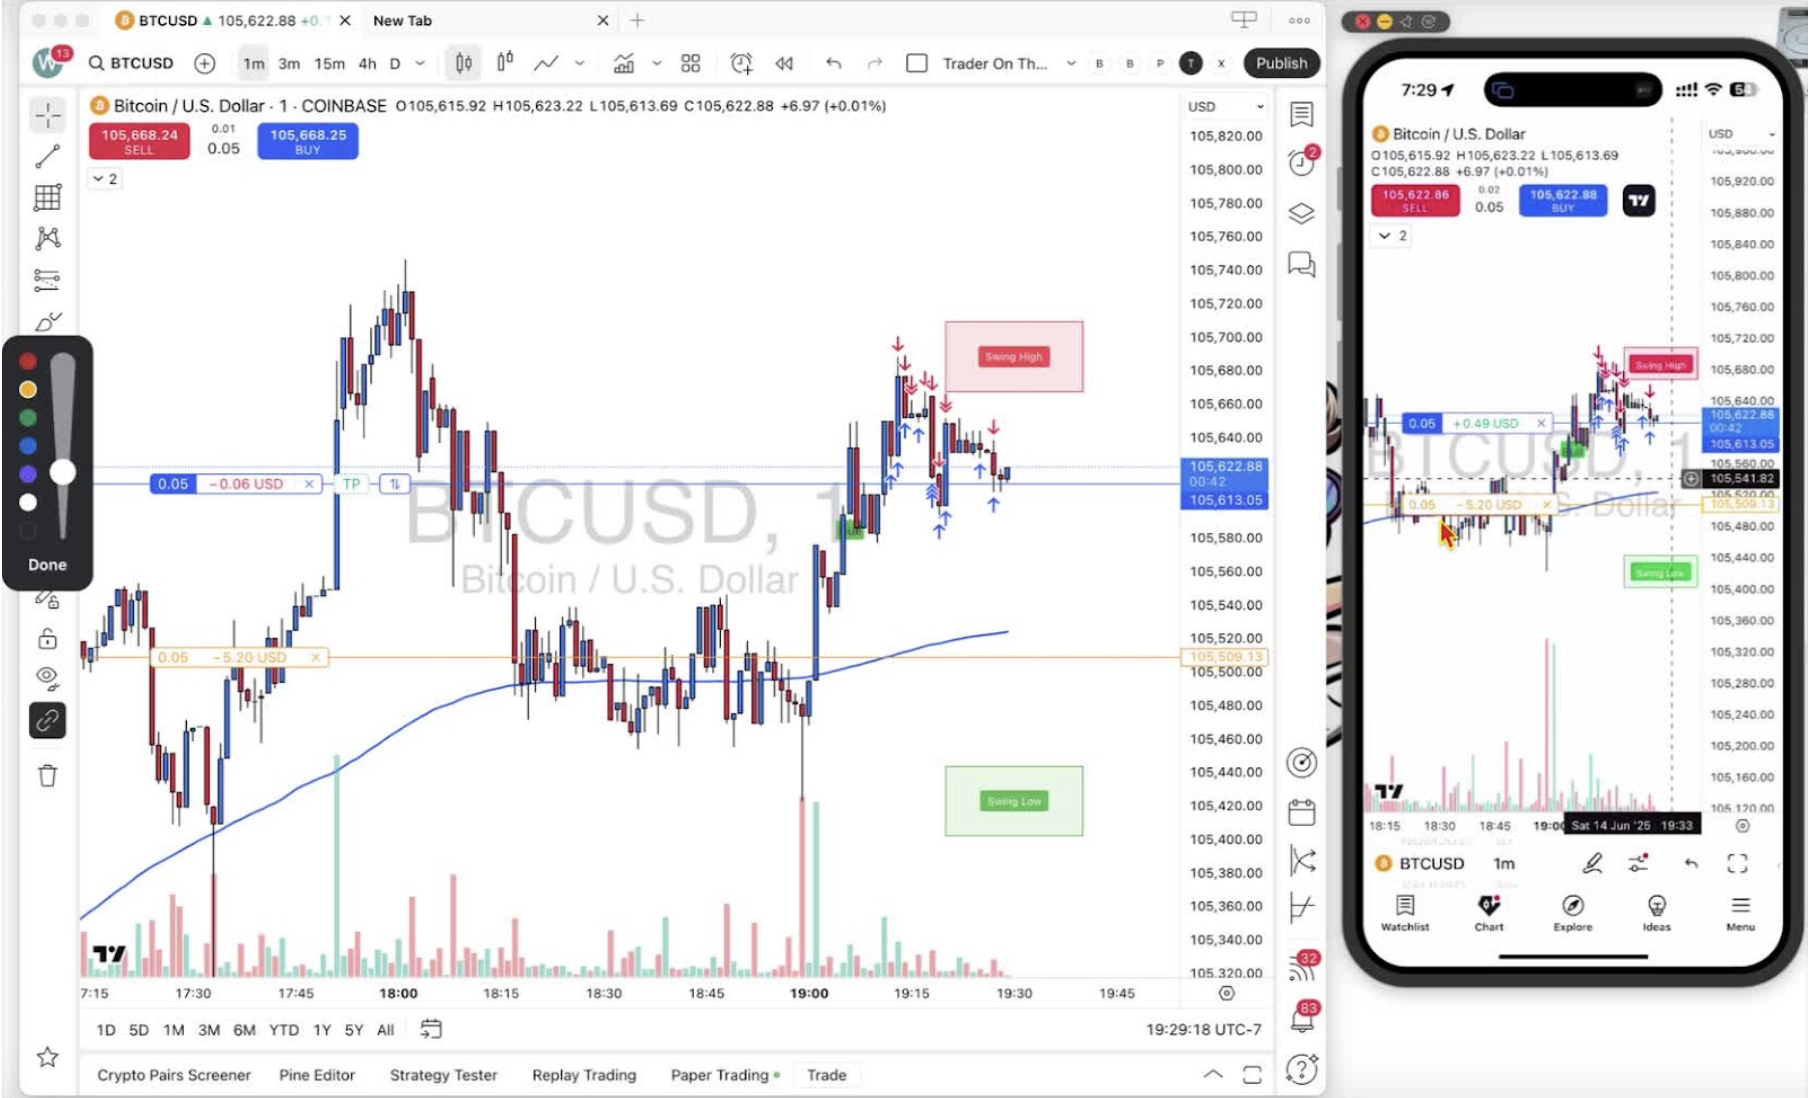
    • Hold and drag the stop-loss square to your risk level.
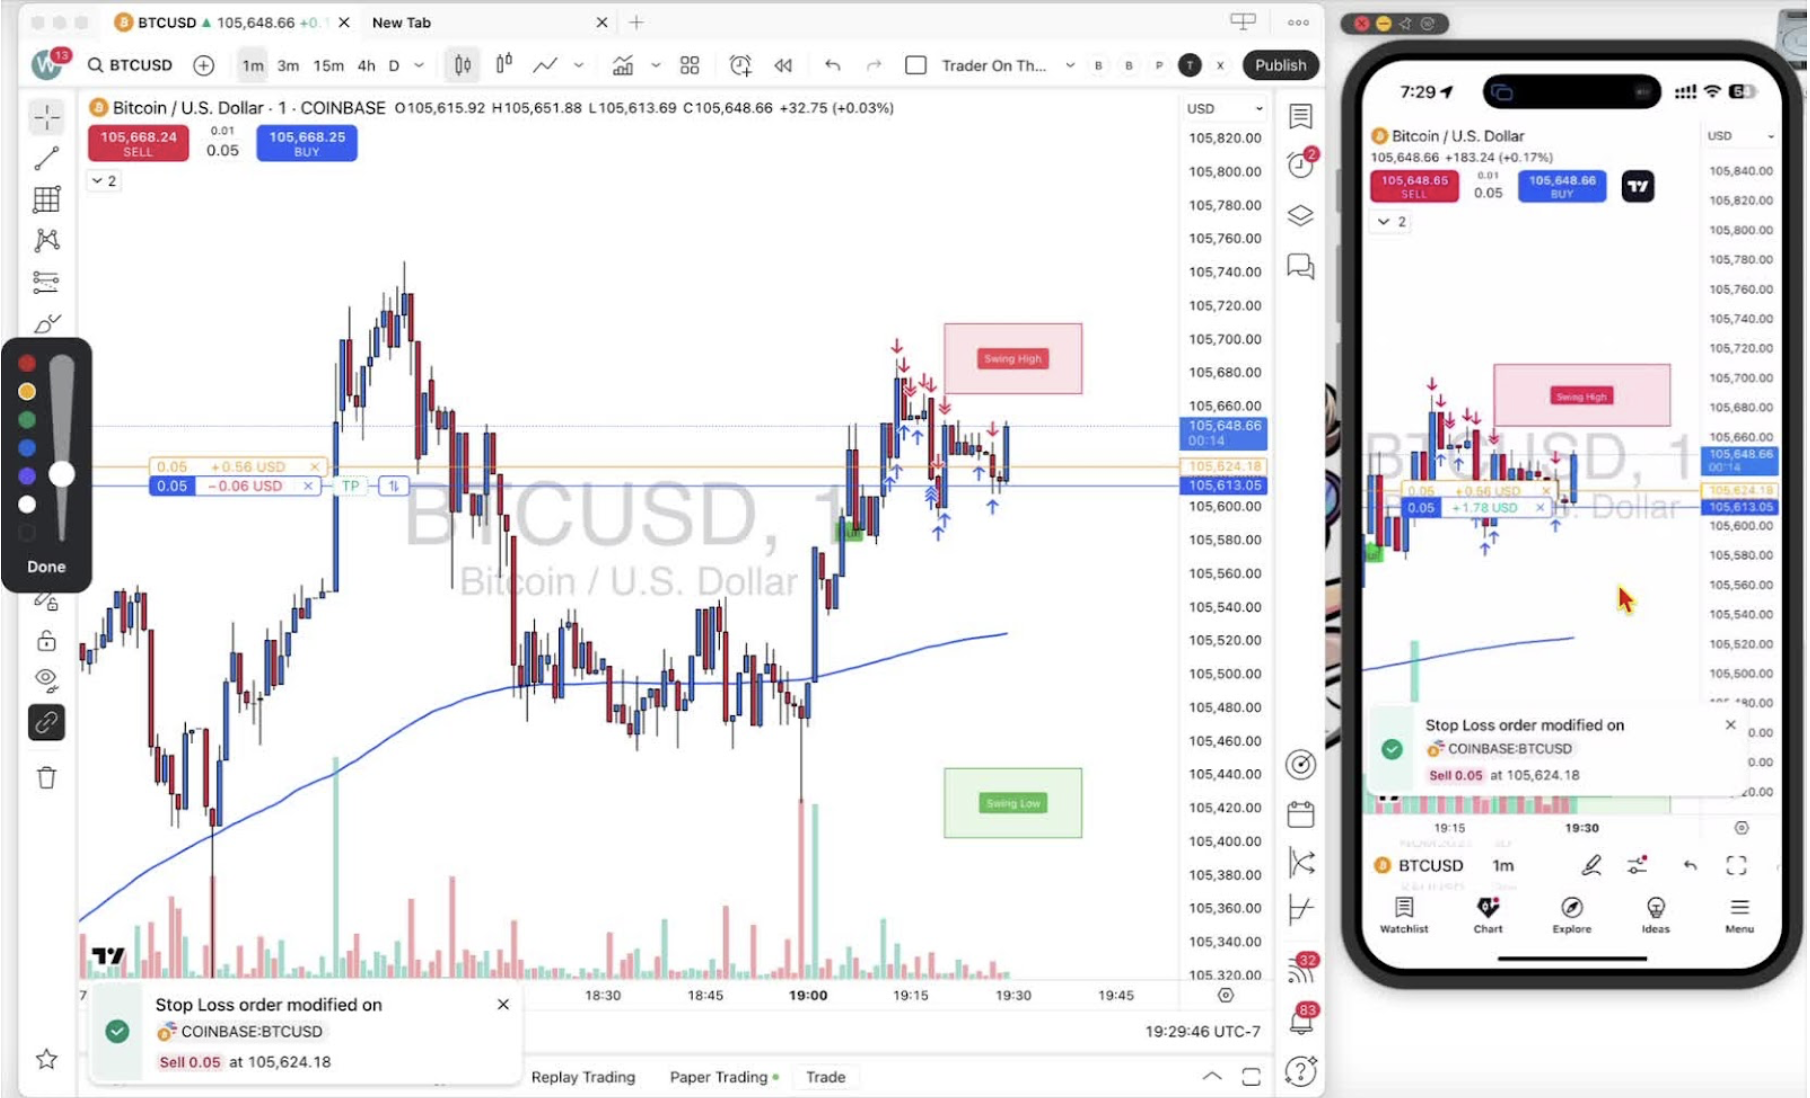
    Modifying the Stop-Loss on Mobile 2:58

    • Drag the square to change the risk amount.
    • Release to confirm.

    Moving Stop-Loss into Profit on Mobile 3:38

    • Tap the current stop-loss amount to get the square.
    • Drag it into profit.

    Removing the Stop-Loss 4:06

    • Click the X on desktop or tap the X on mobile to remove the stop-loss.
  • Step 14. Executing Buy and Sell Positions on Paper Trading Account

    Step 14. Executing Buy and Sell Positions on Paper Trading Account

    Place and close buy and sell positions on your paper trading account. Check your position size first (Step 12). The steps are the same on desktop and mobile; the screenshots show mobile. Make sure you are on the paper trading account.

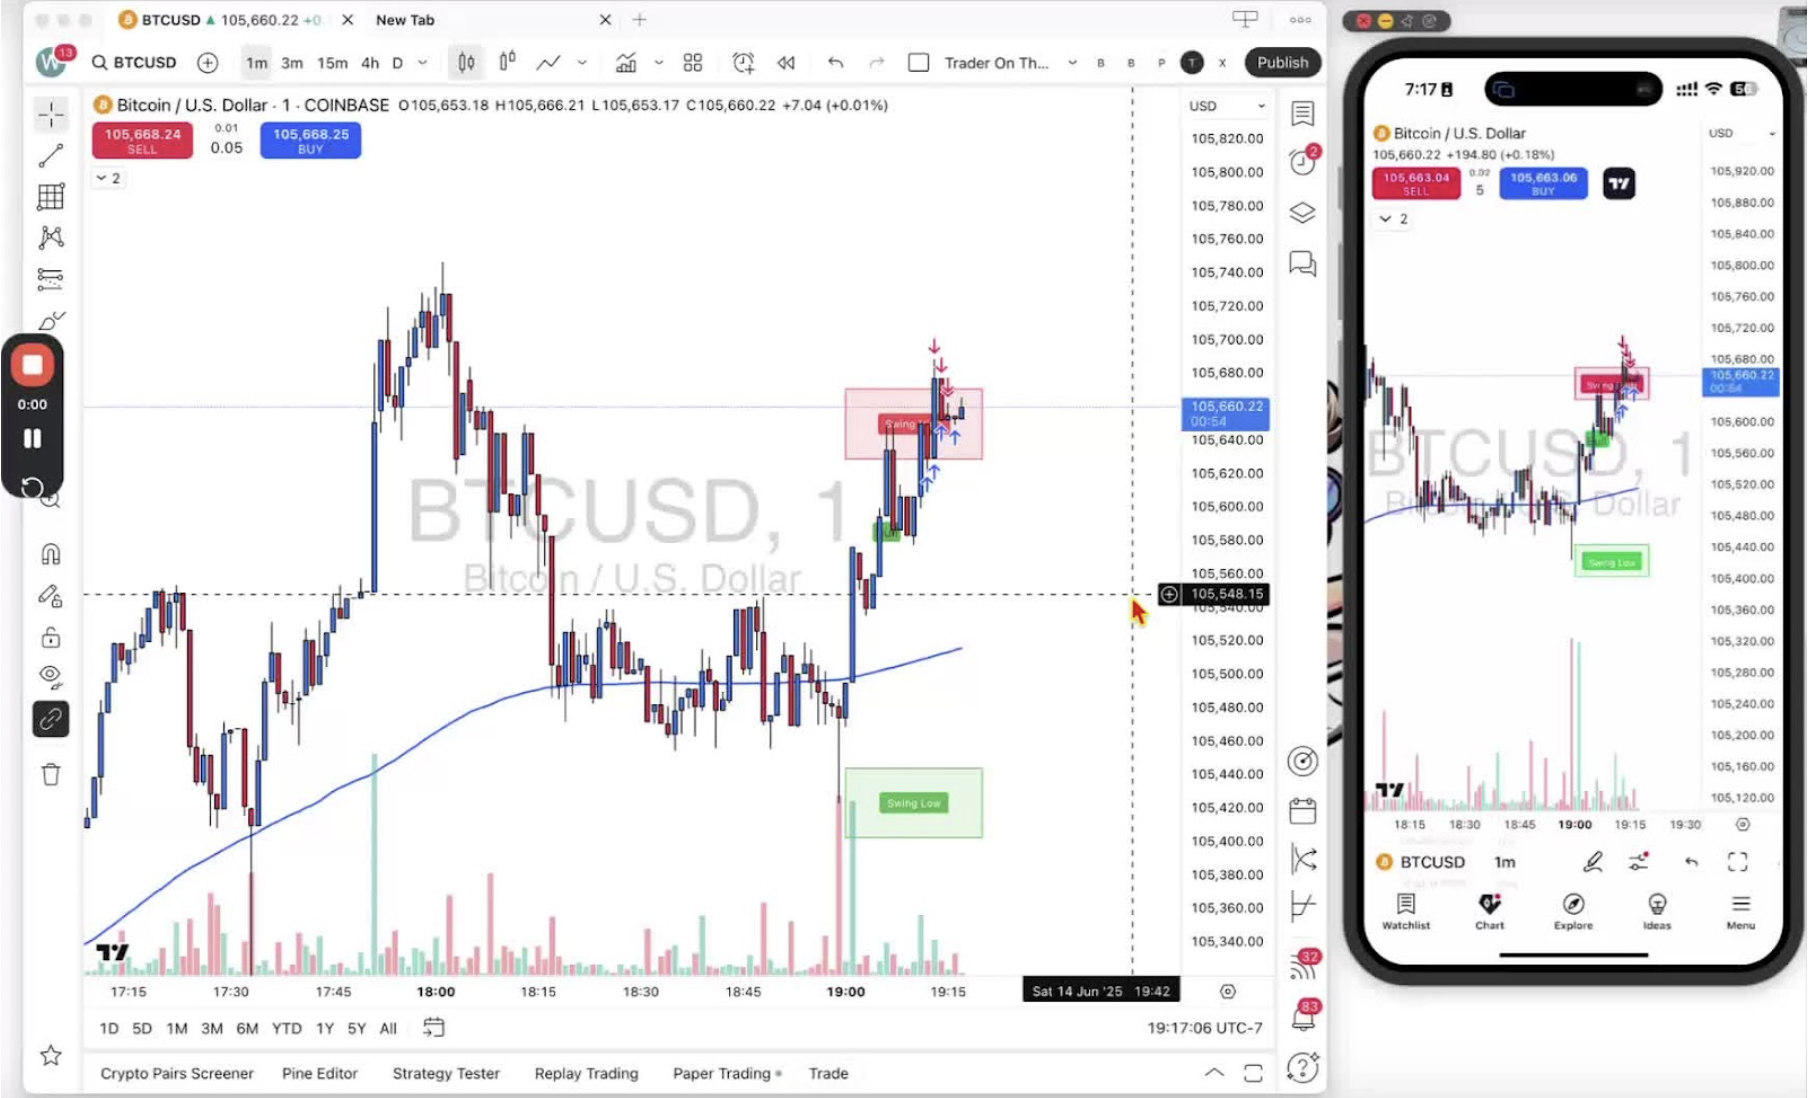
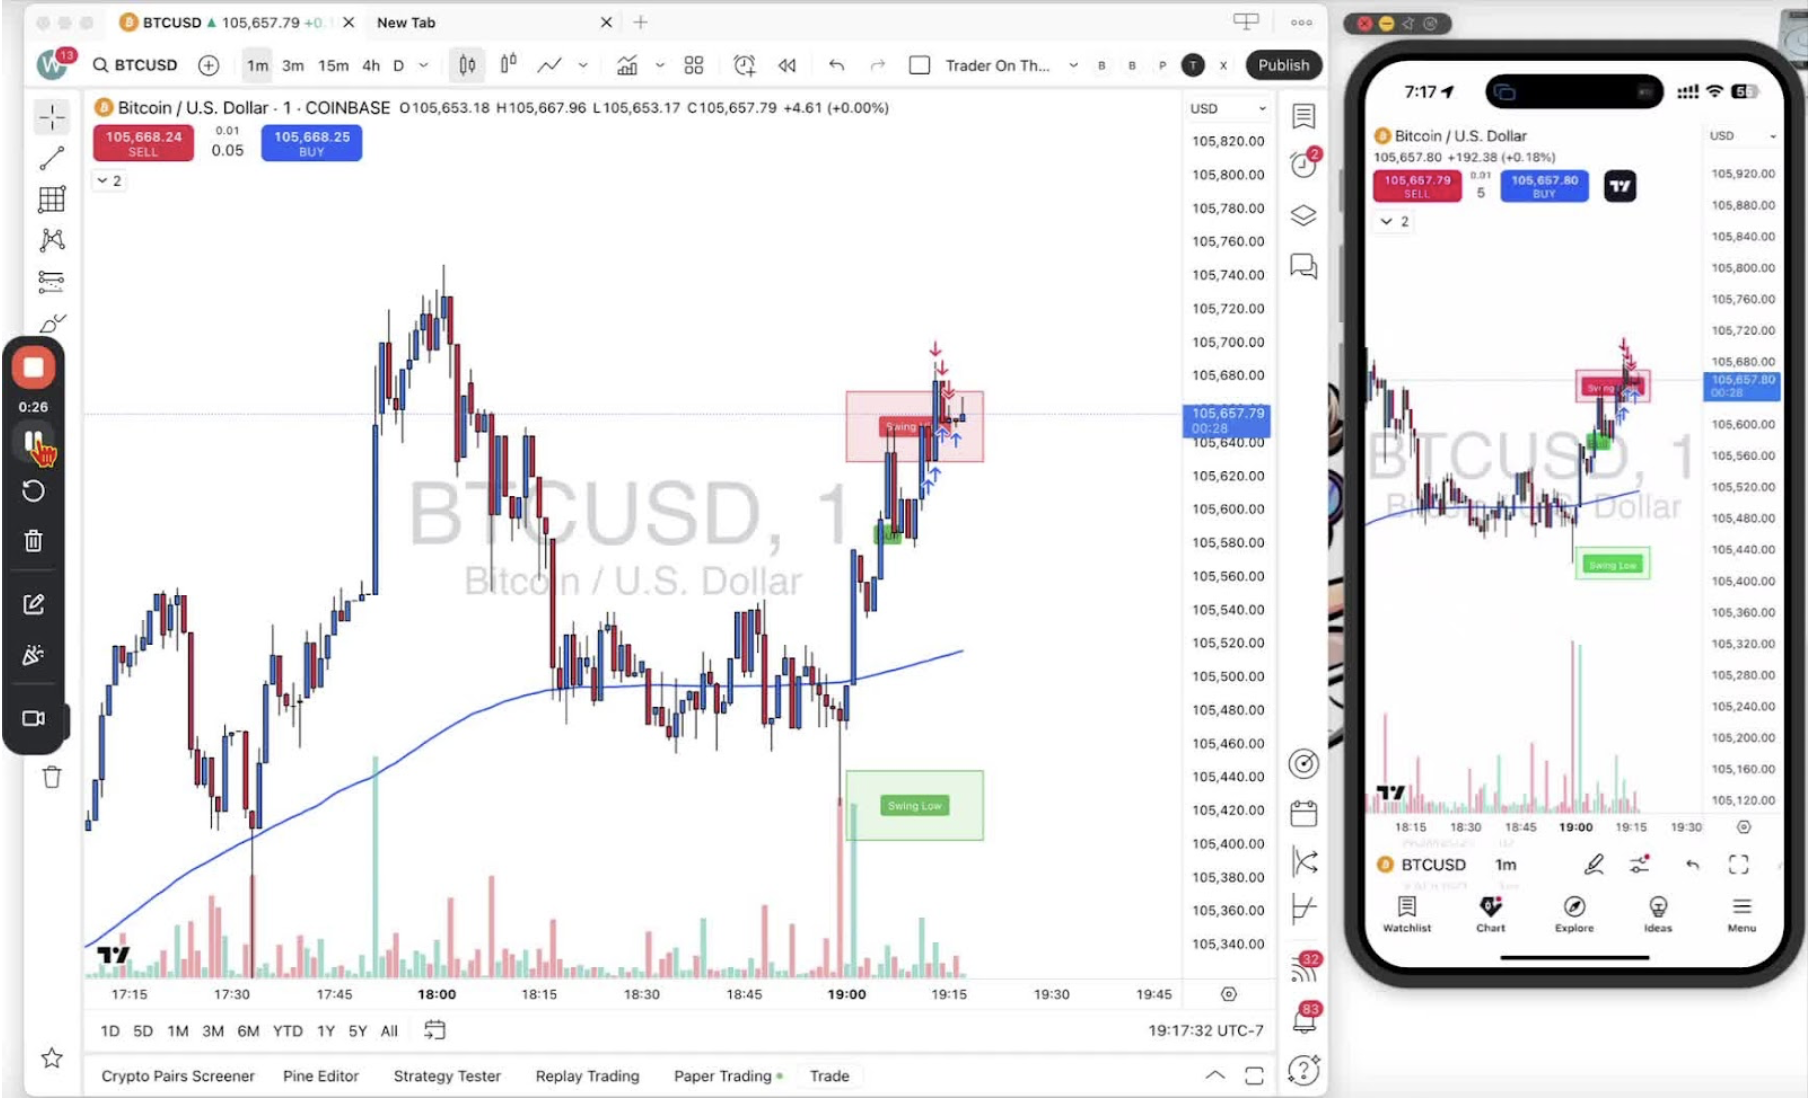
    Ensure Correct Position Sizing 0:00

    • Check the position size box and adjust it if needed.

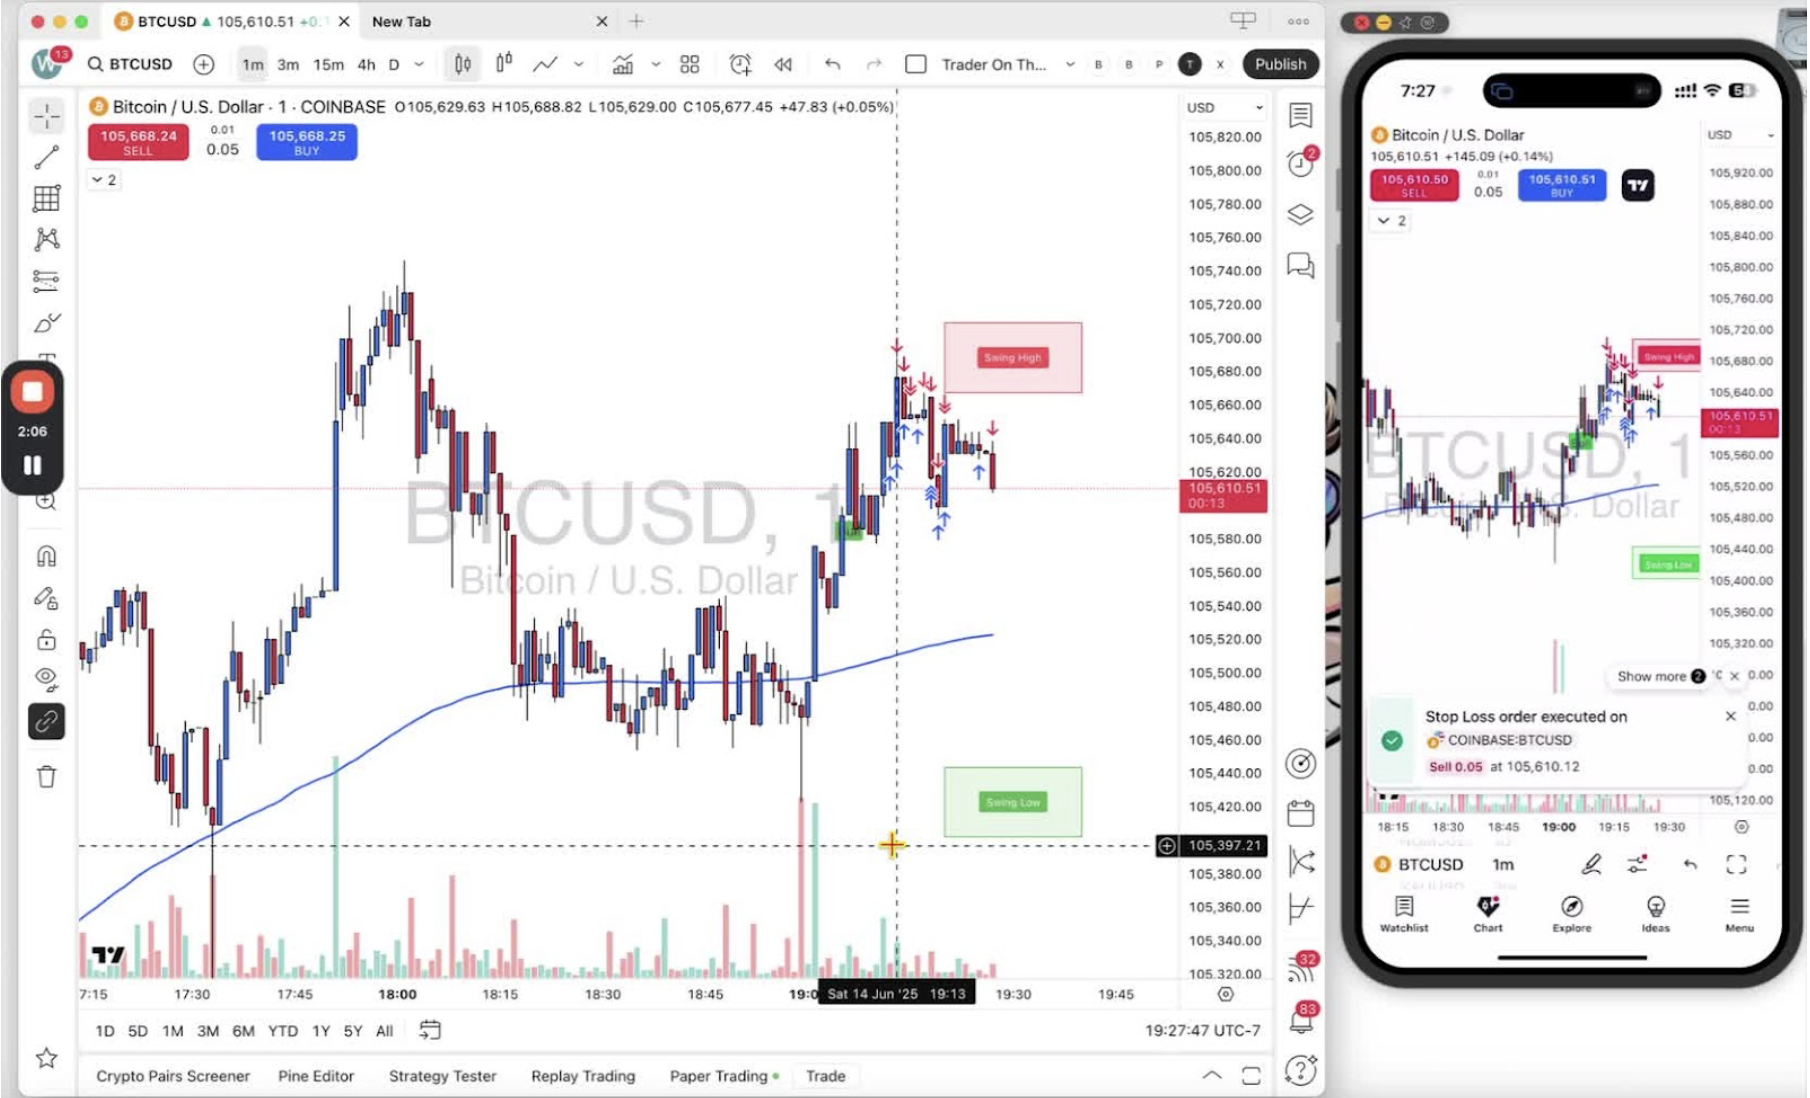
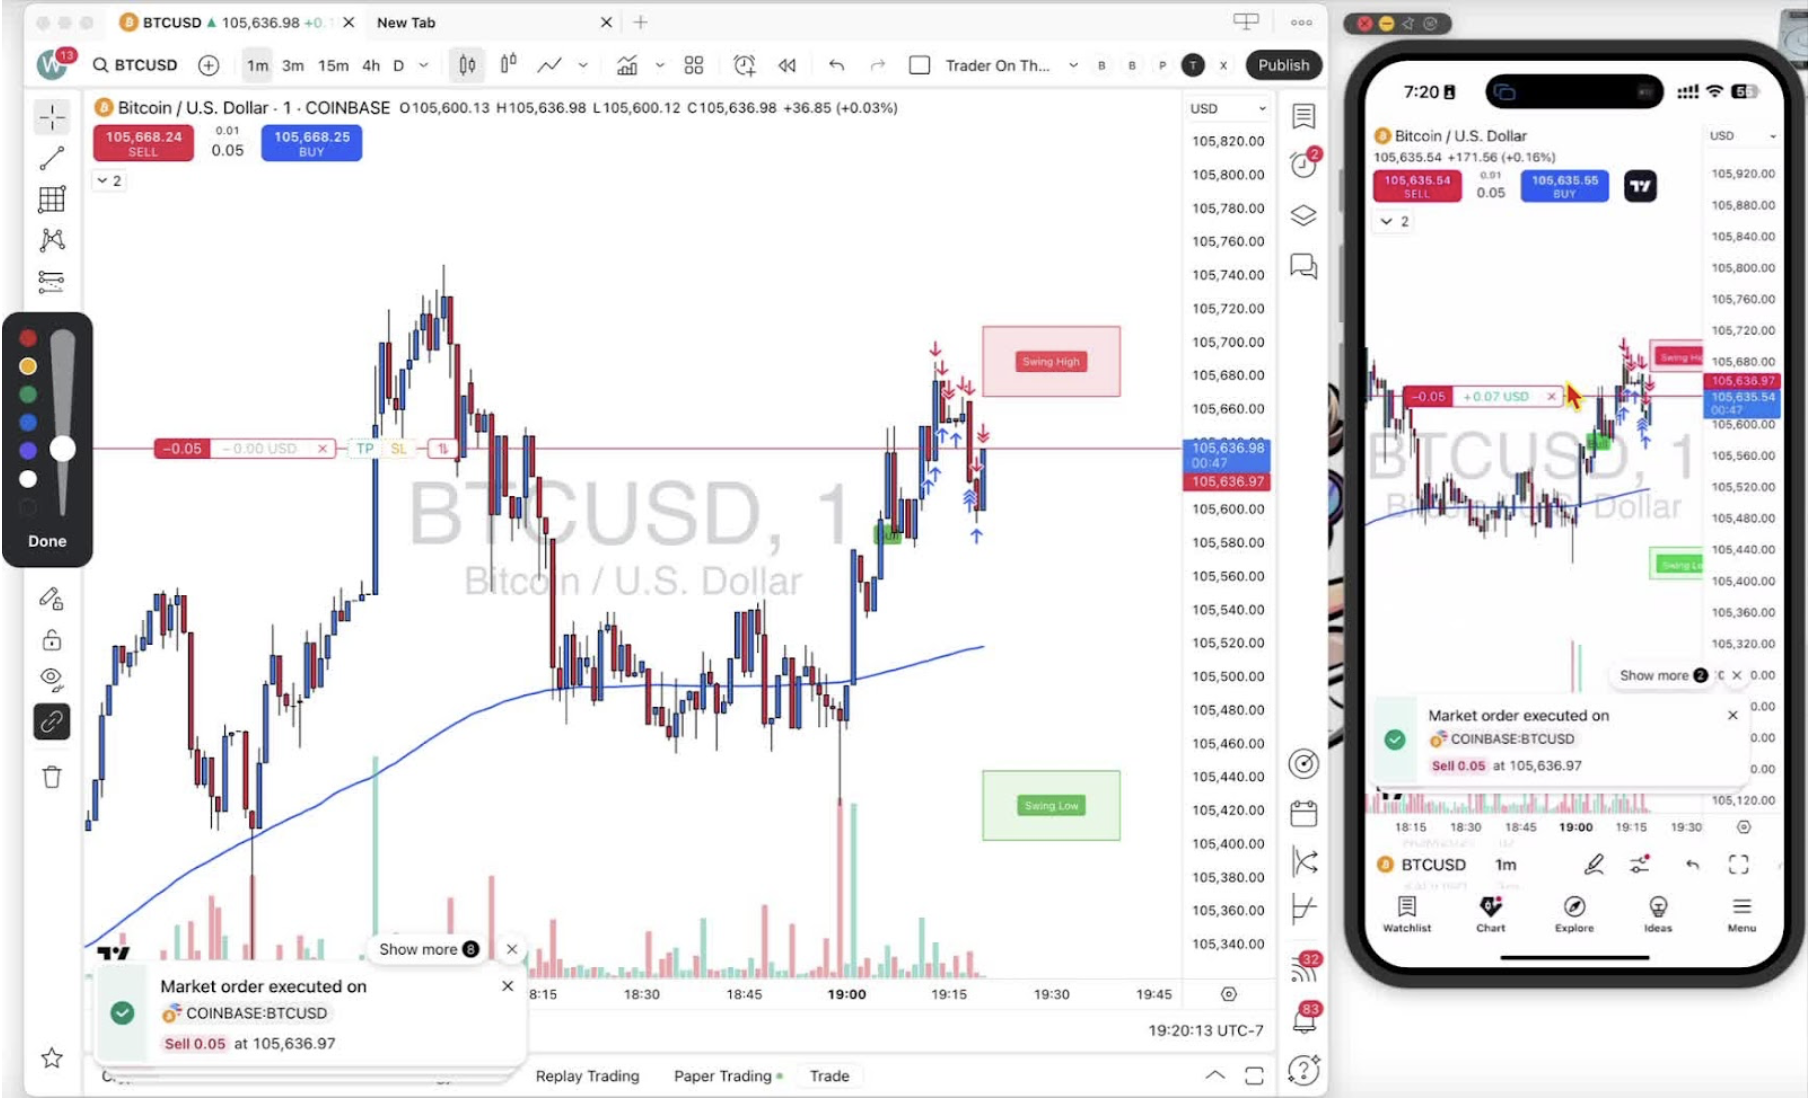
    Execute a Sell Position on Mobile 0:22

    • Tap ‘Sell’.
    • The floating P&L shows on screen.

    Close the Sell Position 0:59

    • Tap the ‘X’ next to the P&L to close the trade.

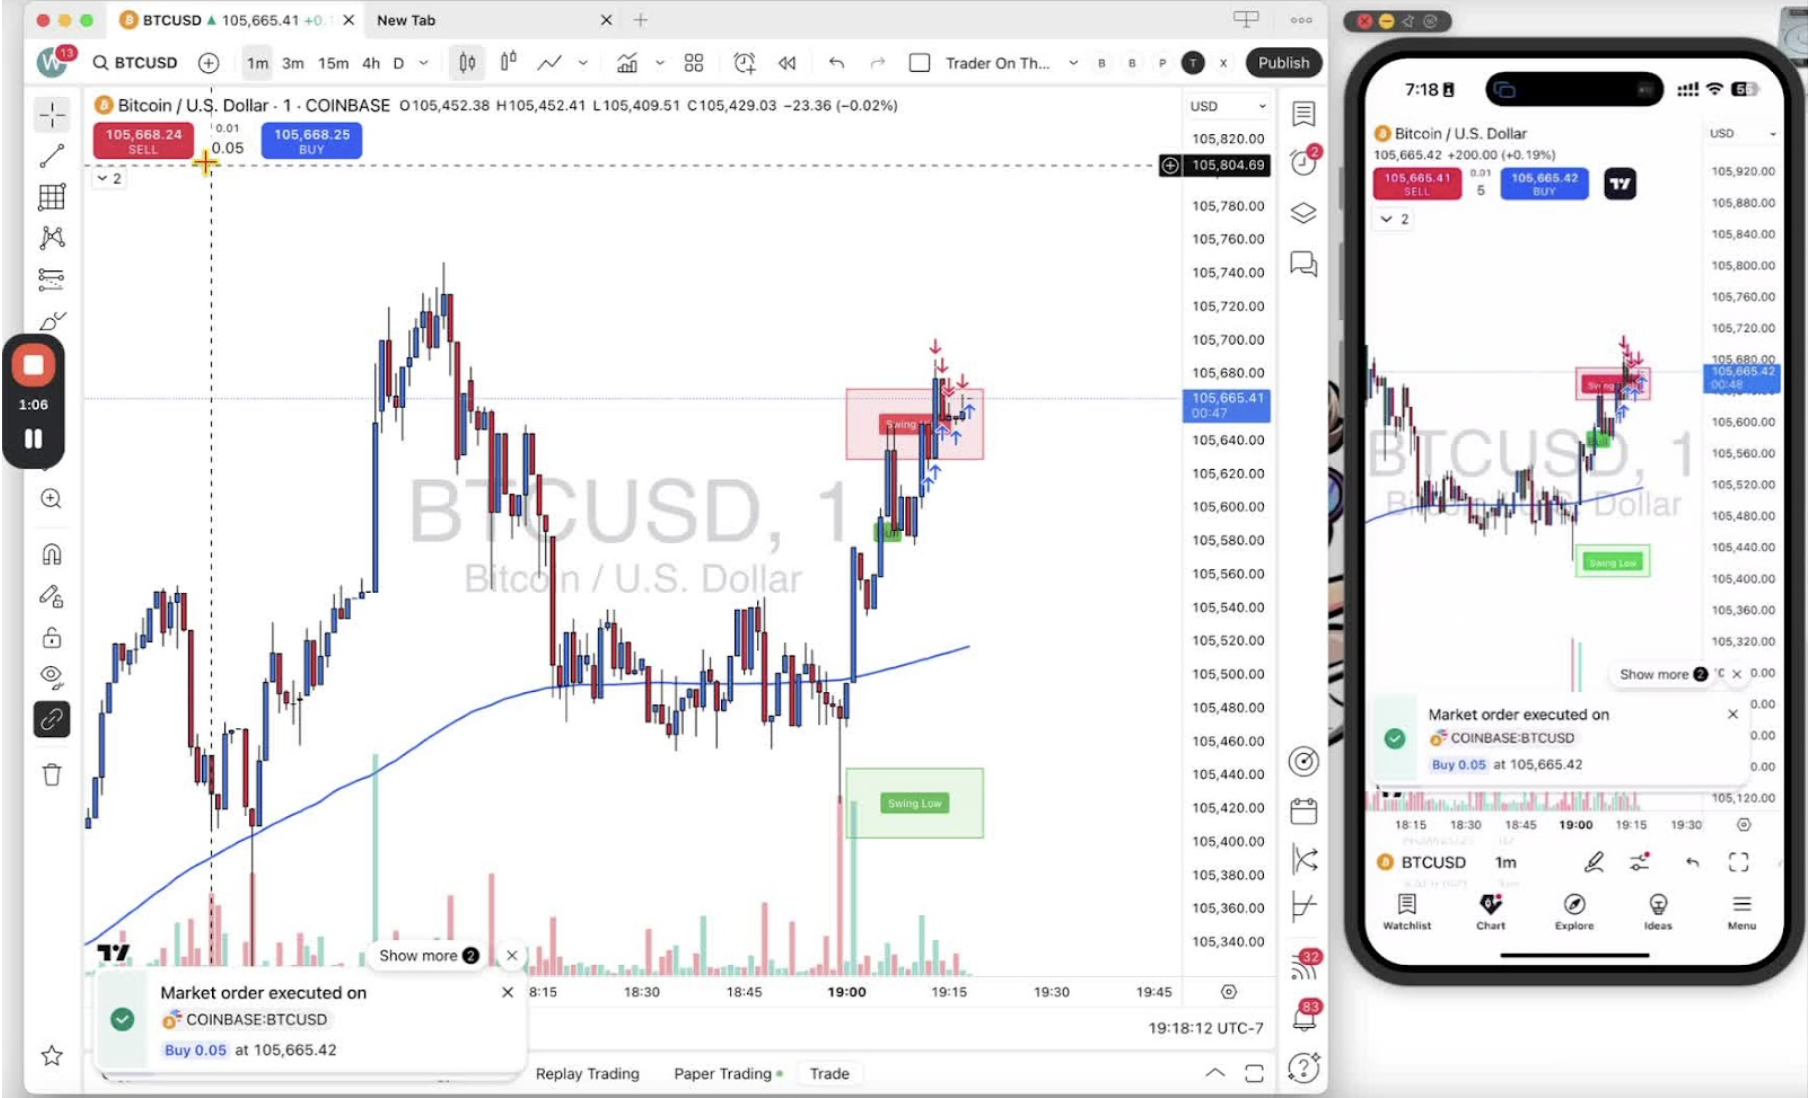
    Execute a Buy Position on Mobile 1:26

    • Tap ‘Buy’ when you expect price to move up.

    Close the Buy Position 2:01

    • Tap the ‘X’ to exit.

    Adjust Position Sizing for Buy on Mobile 2:01

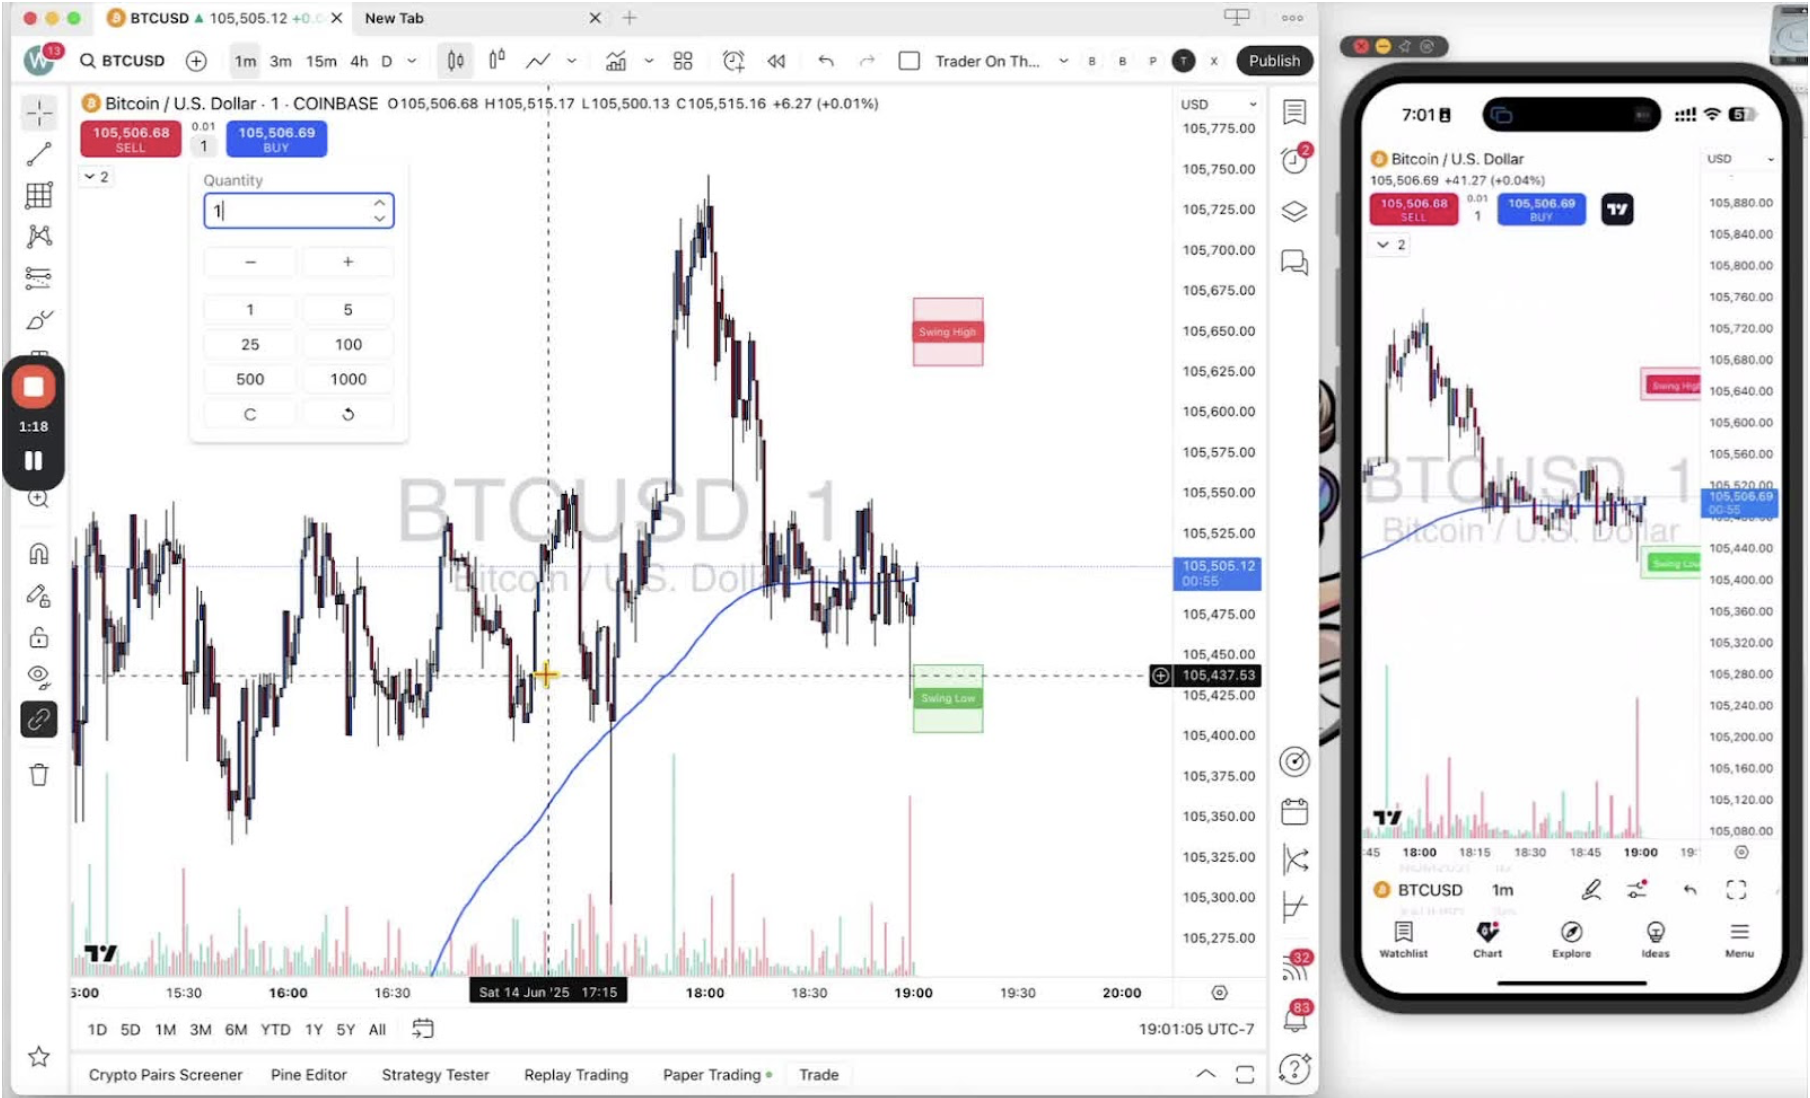
    • Tap the position size at the top to open the sizing box.
    • Change the quantity (for example 0.05).
    • Tap outside the box to close it.

    Execute a Buy Position Again 2:17

    • Tap ‘Buy’ to go long.

    Execute a Sell Position Again 2:38

    • Tap ‘Sell’ to go short.
    • Tap ‘X’ to close.
  • Step 13. Understanding Position Sizing in Forex vs. Futures

    Step 13. Understanding Position Sizing in Forex vs. Futures

    Forex and futures size positions differently. Forex lets you trade fractions of a lot, starting at 0.01. Futures trade in whole contracts only. Start with the smallest size in your paper trading account and get to know the pairs or contracts you plan to trade.

    Position Sizing in Forex 0:00

    • Forex allows decimals. The minimum is 0.01.
    • Scale up from there within your broker’s limits and your account balance.
    • Start at 0.01 in a paper trading account.

    Experimenting with Forex Position Sizes 0:38

    • Increase gradually (0.02, 0.03) and watch how the risk changes against your balance.

    Position Sizing in Futures 0:54

    • Futures trade in whole numbers only. No decimals.

    Understanding Futures Contracts 1:09

    • NQM is the mini contract, MNQ the micro. The mini carries more leverage per contract.
  • Step 12. Guide to Changing Position Sizing in Trading

    Step 12. Guide to Changing Position Sizing in Trading

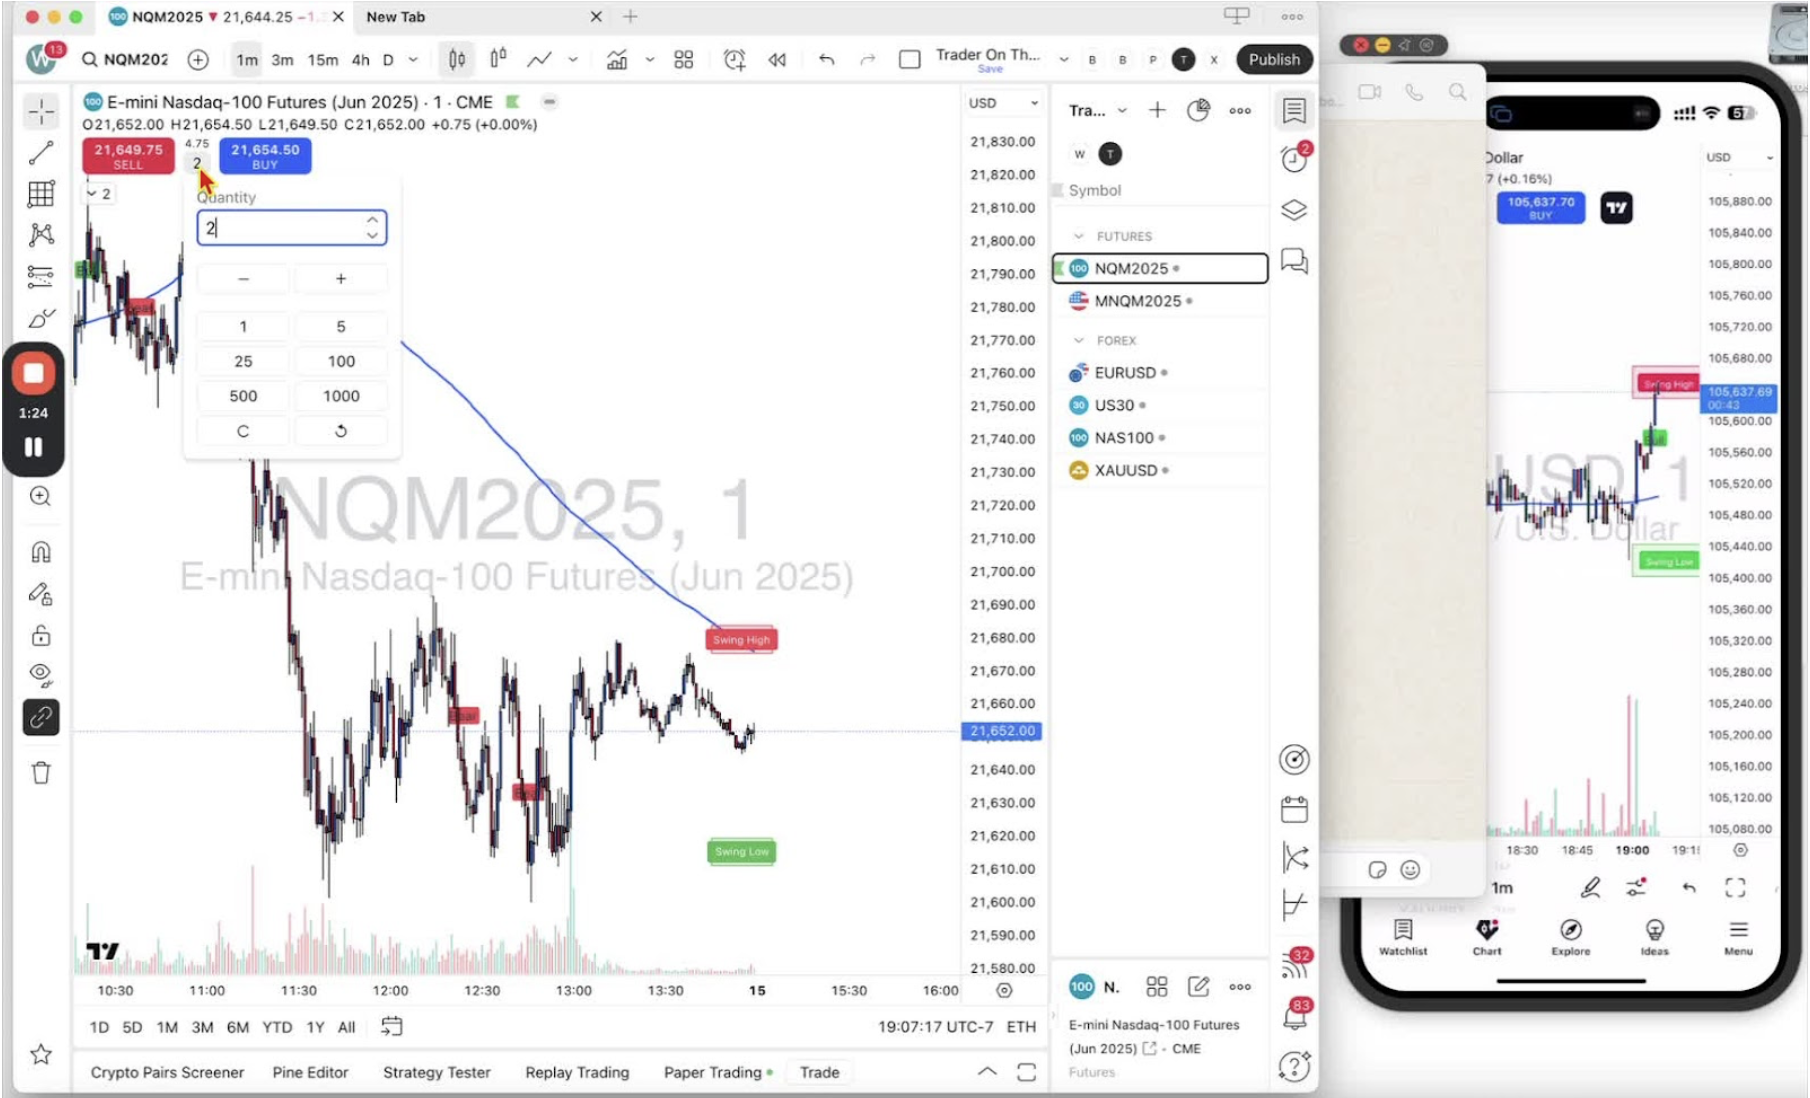
    Change your position size before you execute a trade, on desktop and mobile. Position size is the amount of risk you take on a trade, especially with leverage. Practice different sizes in your paper trading account. Educational purposes only, not financial advice.

    Locating the Position Size Box 0:41

    • Desktop: between the blue ‘buy long’ and red ‘sell short’ buttons.
    • Mobile: same spot.

    Changing Position Size on Desktop 0:47

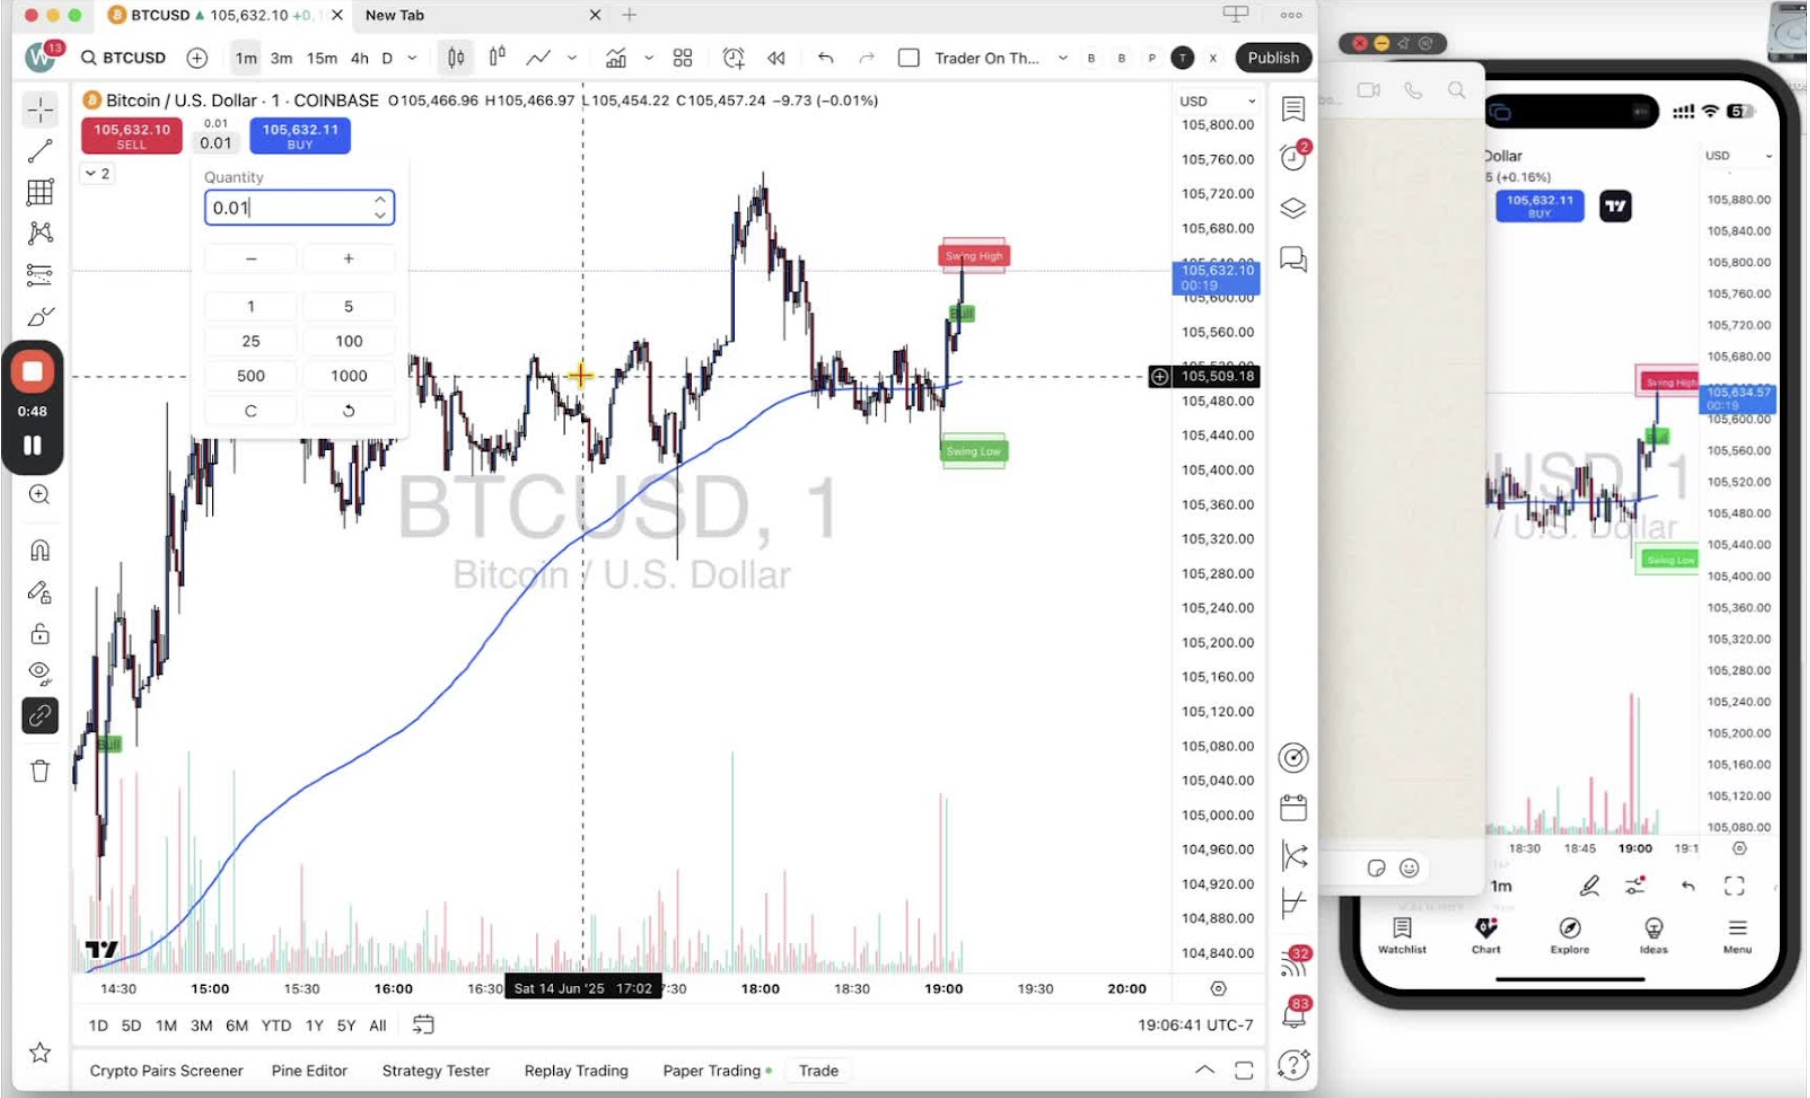
    • Change the quantity, for example to 0.01 on a forex pair.
    • The box shows the new value.

    Changing Position Size on Mobile 1:02

    • Tap the position size box to open the keypad and enter a size.

    Before You Start 1:36

    • Complete Step 10 first or the position size box will not appear.
  • Step 11. Understanding Trading Execution Buttons on Desktop and Mobile

    Step 11. Understanding Trading Execution Buttons on Desktop and Mobile

    The buy and sell buttons sit in the top left of the chart on desktop and mobile. Blue buy opens a long position (you expect price to rise). Red sell opens a short position (you expect price to fall). If the buttons are not showing, go back to Step 10.

    Locating the Trading Buttons on Desktop 0:09

    • Buy and sell are in the top left corner of the desktop chart.
    • If they are missing, enable them as shown in Step 10.

    Locating the Trading Buttons on Mobile 0:17

    • Same layout on mobile: blue buy and red sell in the top left corner.

    Executing a Buy Position 0:30

    • Click the blue buy button to open a long position. You profit if price goes up.

    Executing a Sell Position 0:43

    • Click the red sell button to open a short position. You profit if price goes down.

    Impact on Profit and Loss (P&L) 1:11

    • The open P&L moves with price in the direction you chose. Decide your bias before you click.
  • Step 10. Settings to Enable Before Executing Trades

    Step 10. Settings to Enable Before Executing Trades

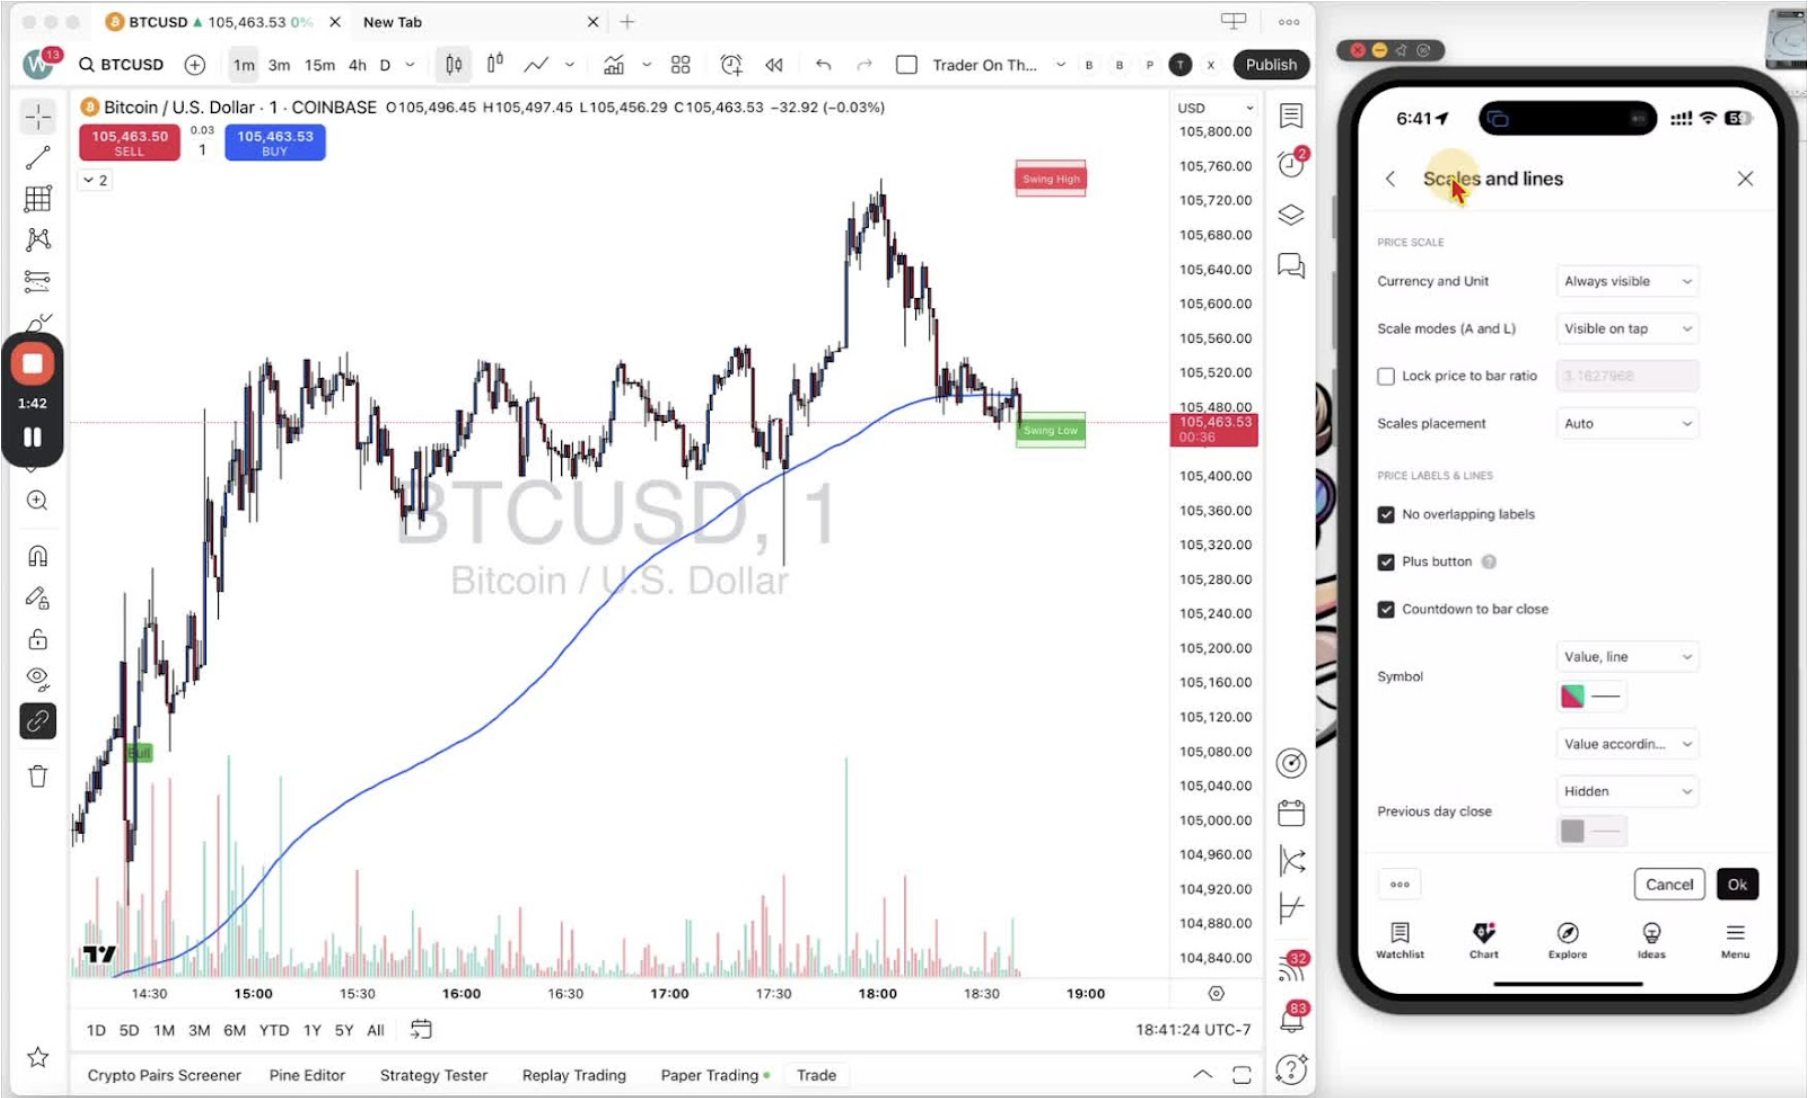
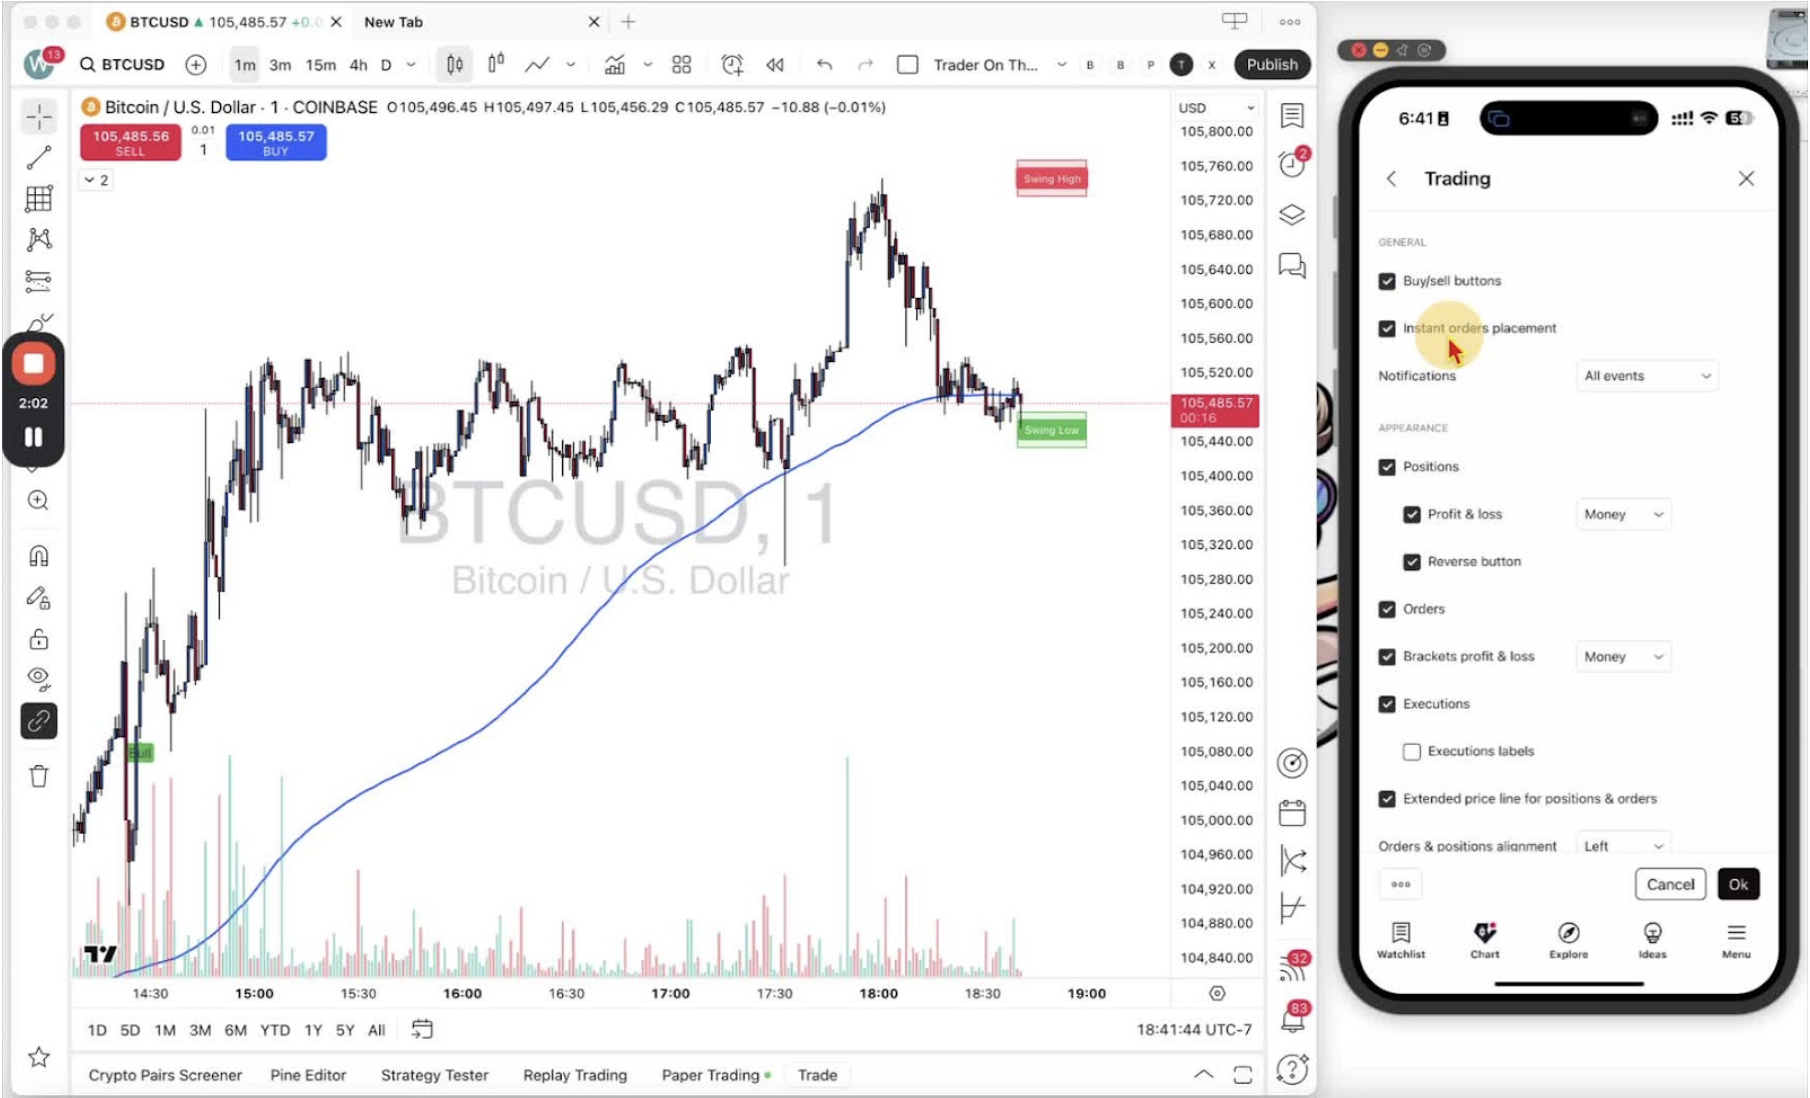
    Before you place a trade, make sure the buy and sell buttons are on and ‘Instant Orders Placement’ is enabled. Desktop first, then mobile.

    Access Settings on Desktop 0:11

    • Open the desktop app on your chart.
    • Right-click to open the settings menu.

    Navigate to Trading Settings on Desktop 0:24

    • Select ‘Trading’.
    • Check the buy and sell buttons are enabled (they are on by default).

    Enable Instant Orders Placement on Desktop 0:44

    • Tick ‘Instant Orders Placement’.

    Confirm Settings on Desktop 1:20

    • Click ‘OK’.
    • The buy and sell buttons, quantity box and spread now show on the chart.

    Access Settings on Mobile 1:43

    • Open the mobile app and tap the hexagon (settings) icon.

    Navigate to Trading Settings on Mobile 1:43

    • Tap ‘More Settings’.
    • If you land somewhere else, use the back button to return to the main settings menu.

    Enable Buy/Sell Buttons and Instant Orders on Mobile 2:03

    • Select ‘Trading’.
    • Check both buy and sell buttons are ticked.
    • Tick ‘Instant Orders Placement’.

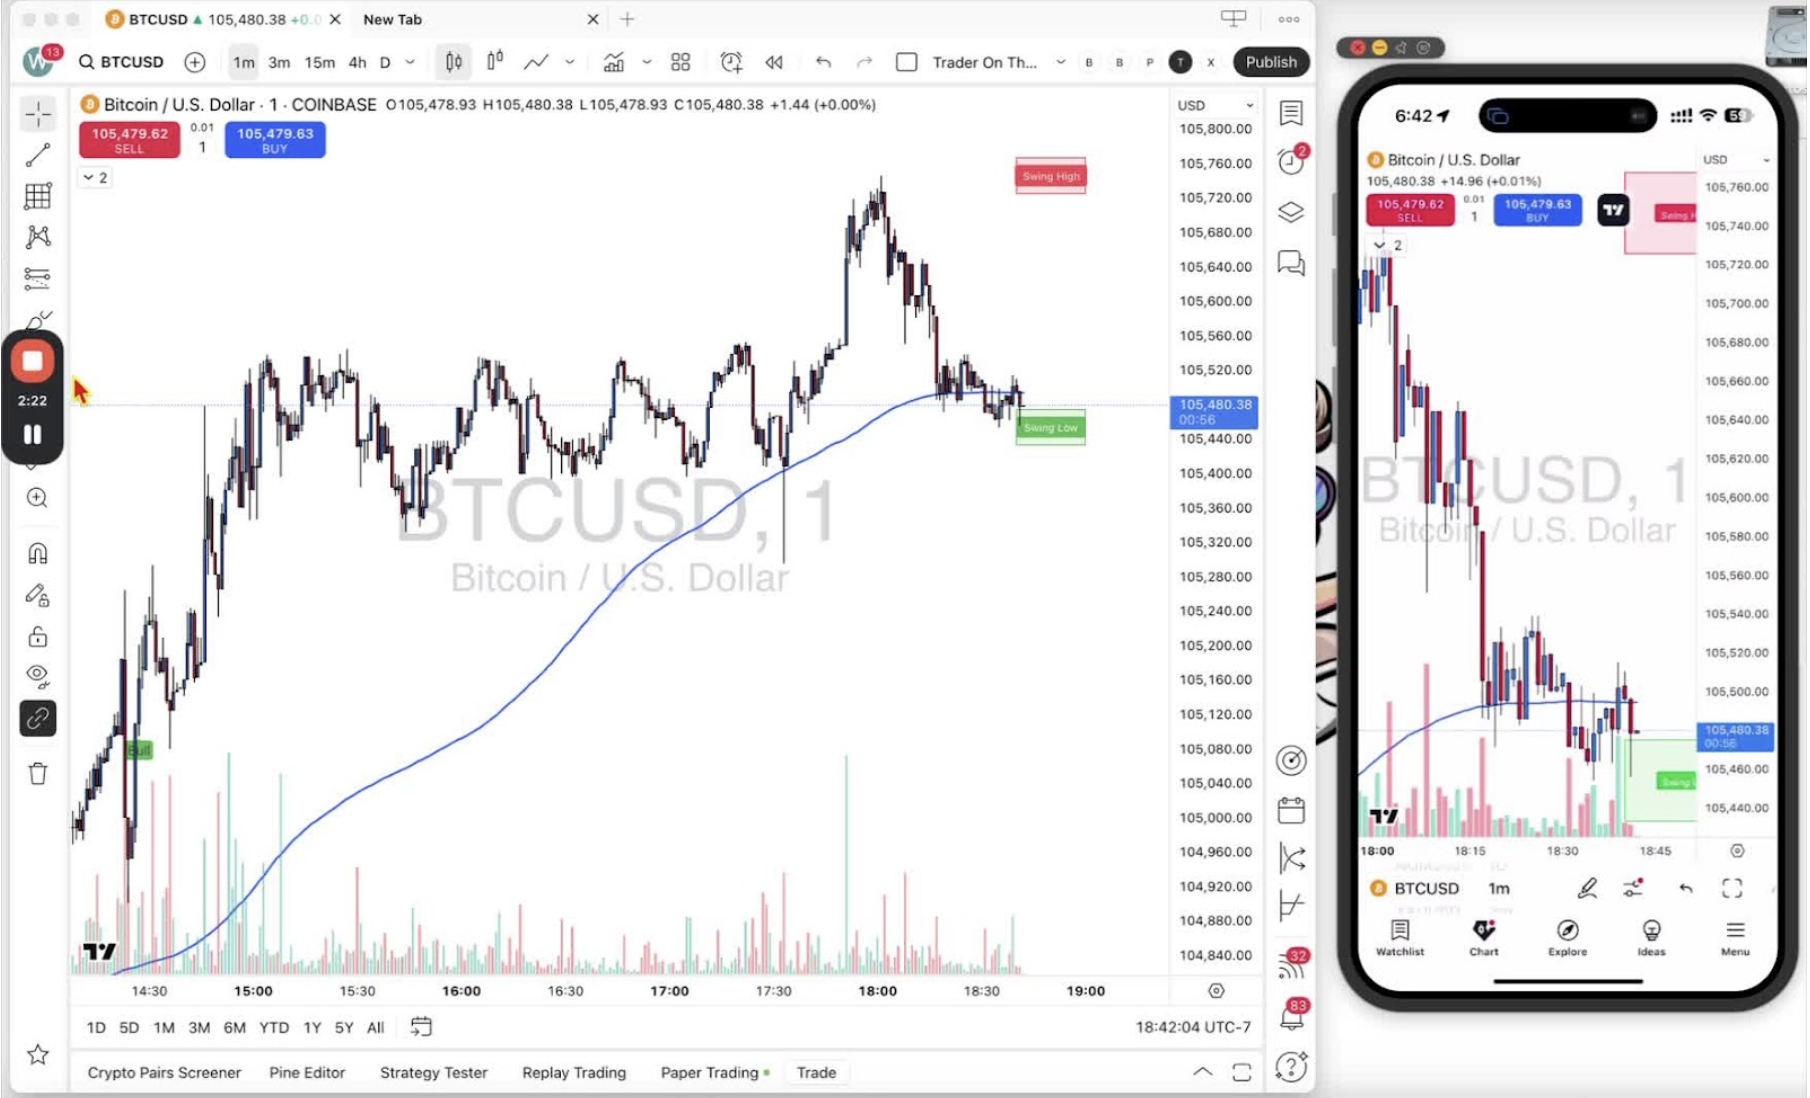
    Confirm Settings on Mobile 2:23

    • Tap ‘OK’ in the bottom right corner.
    • The buy and sell buttons, quantity box and spread now show on the chart.