Author: totgadmin

  • Step 9. Changing Time Frames in TradingView

    Step 9. Changing Time Frames in TradingView

    OBJECTIVE

    In this video, I walk you through how to change time frames on TradingView, focusing on both the desktop and mobile applications. I demonstrate how to add your favorite time frames, such as 1 minute, 15 minutes, and 4 hours, so you can easily switch between them. On the desktop, you can click the drop-down arrow and star your preferred time frames, while on mobile, you can scroll and tap to select or favorite them. I encourage you to customize your time frame settings to enhance your trading experience. I hope you find this information helpful!

    Introduction to Time Frames 0:00

    • Overview of the training session for traders.
    • Focus on changing time frames in TradingView.
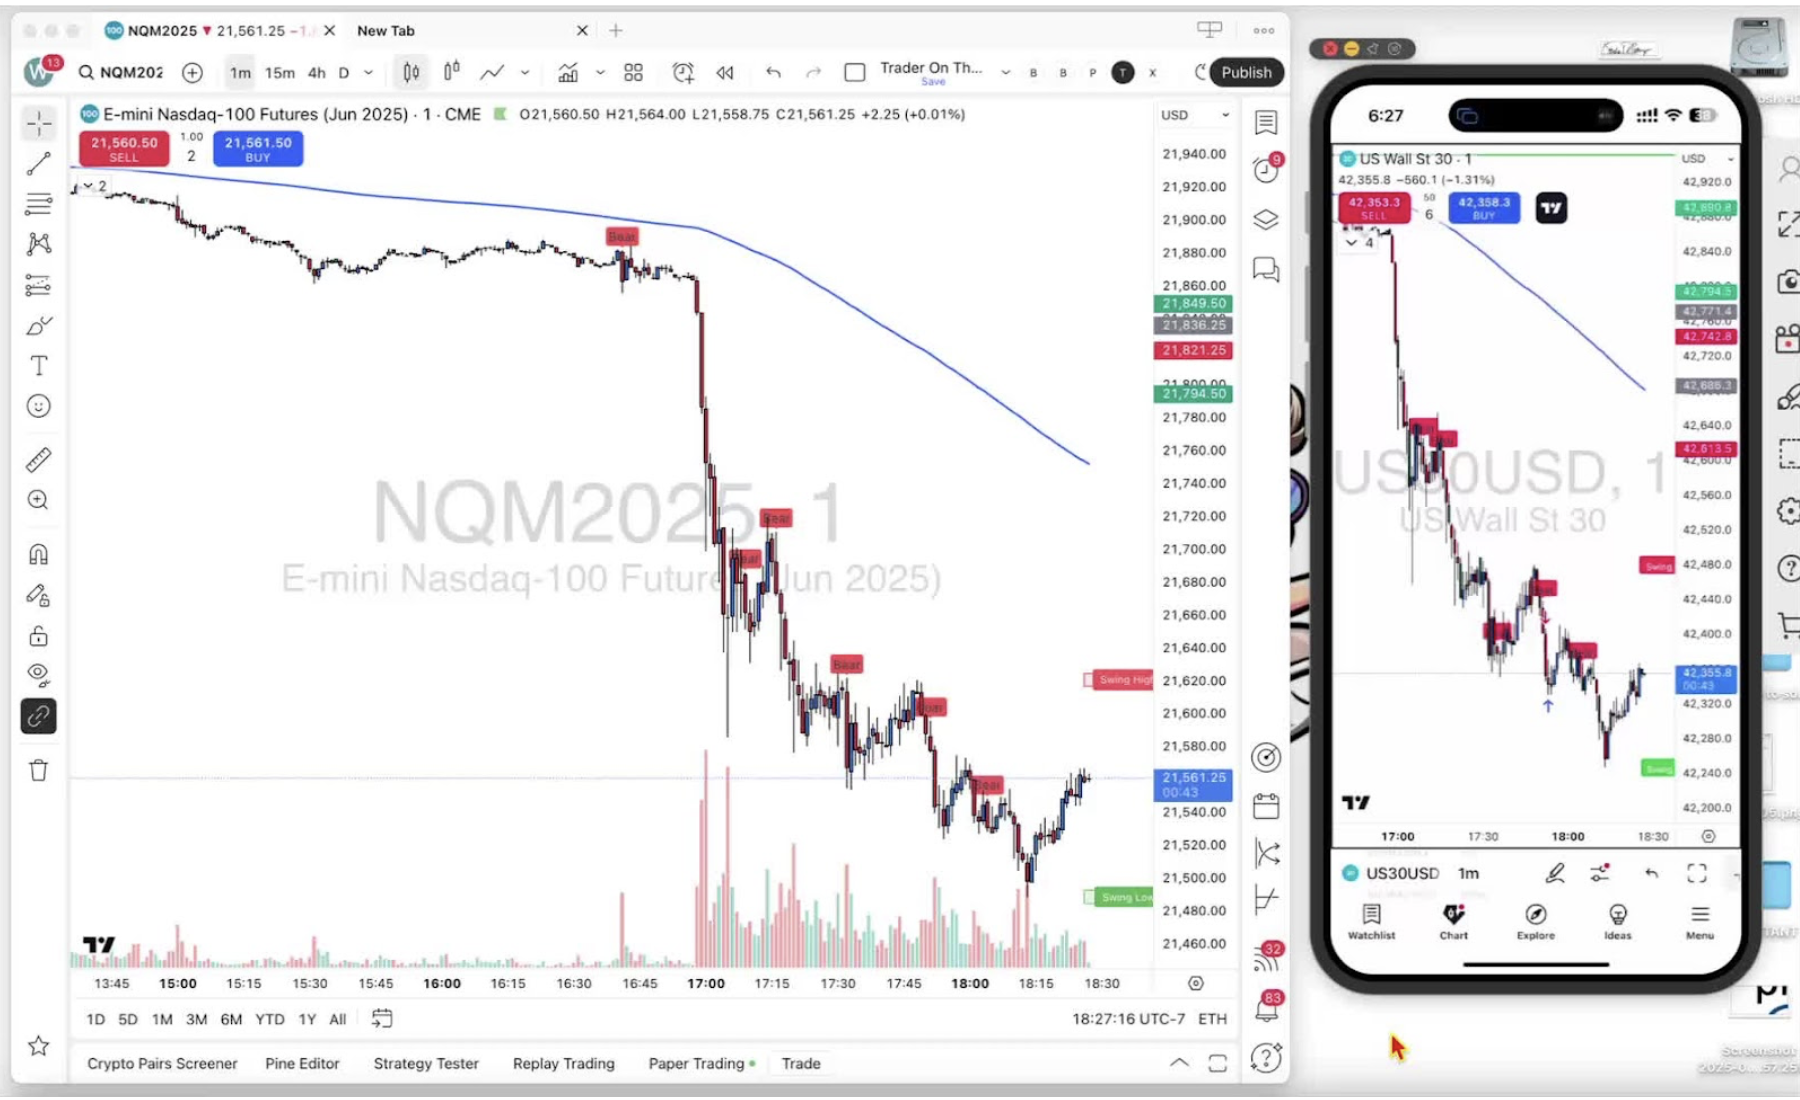
    • Emphasis on the one-minute time frame with the TraderOnTheGo indicator.

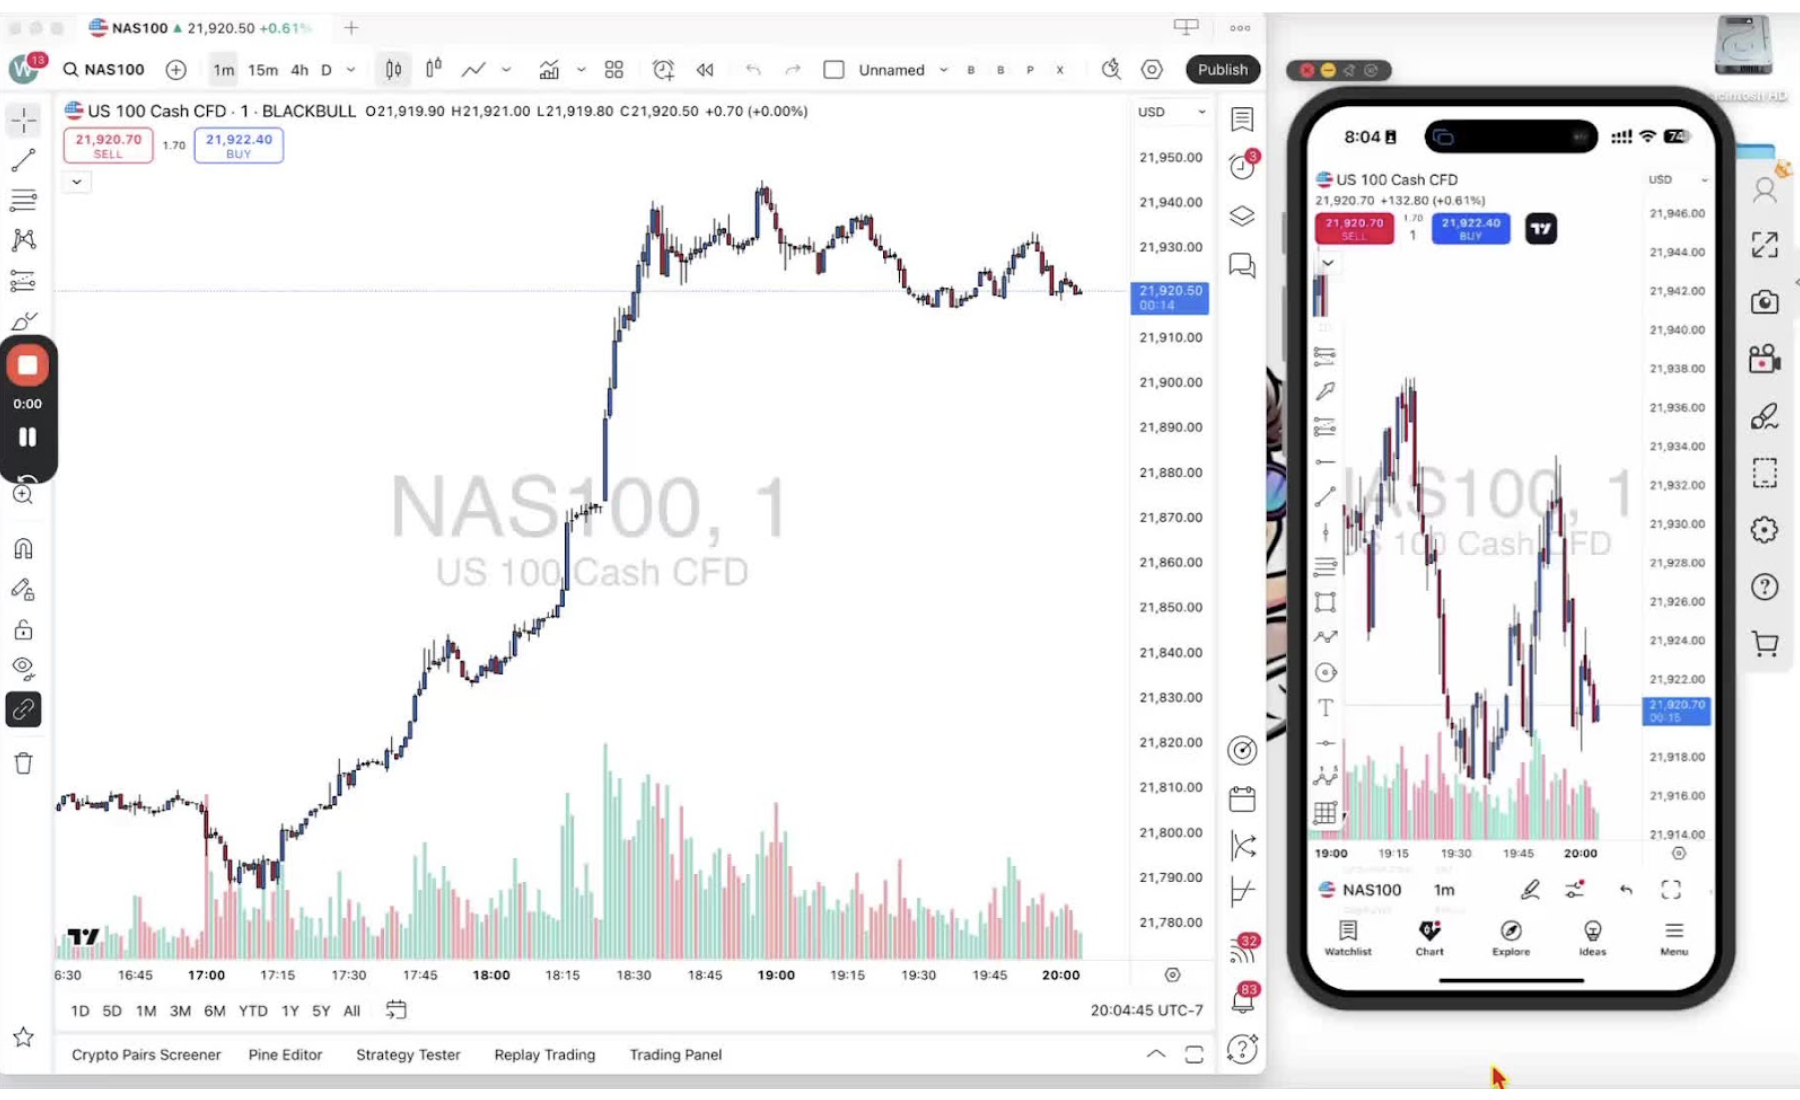
    Changing Time Frames on Desktop 0:15

    • Introduction to changing time frames on the desktop application of TradingView.
    • Explanation of how to add favorite time frames:
    • Locate the drop-down arrow on the time frame bar.
    • Options available: ticks, seconds, minutes, hours, days, weeks, months, years, ranges.
    • Click the star next to a time frame to add it to favorites.

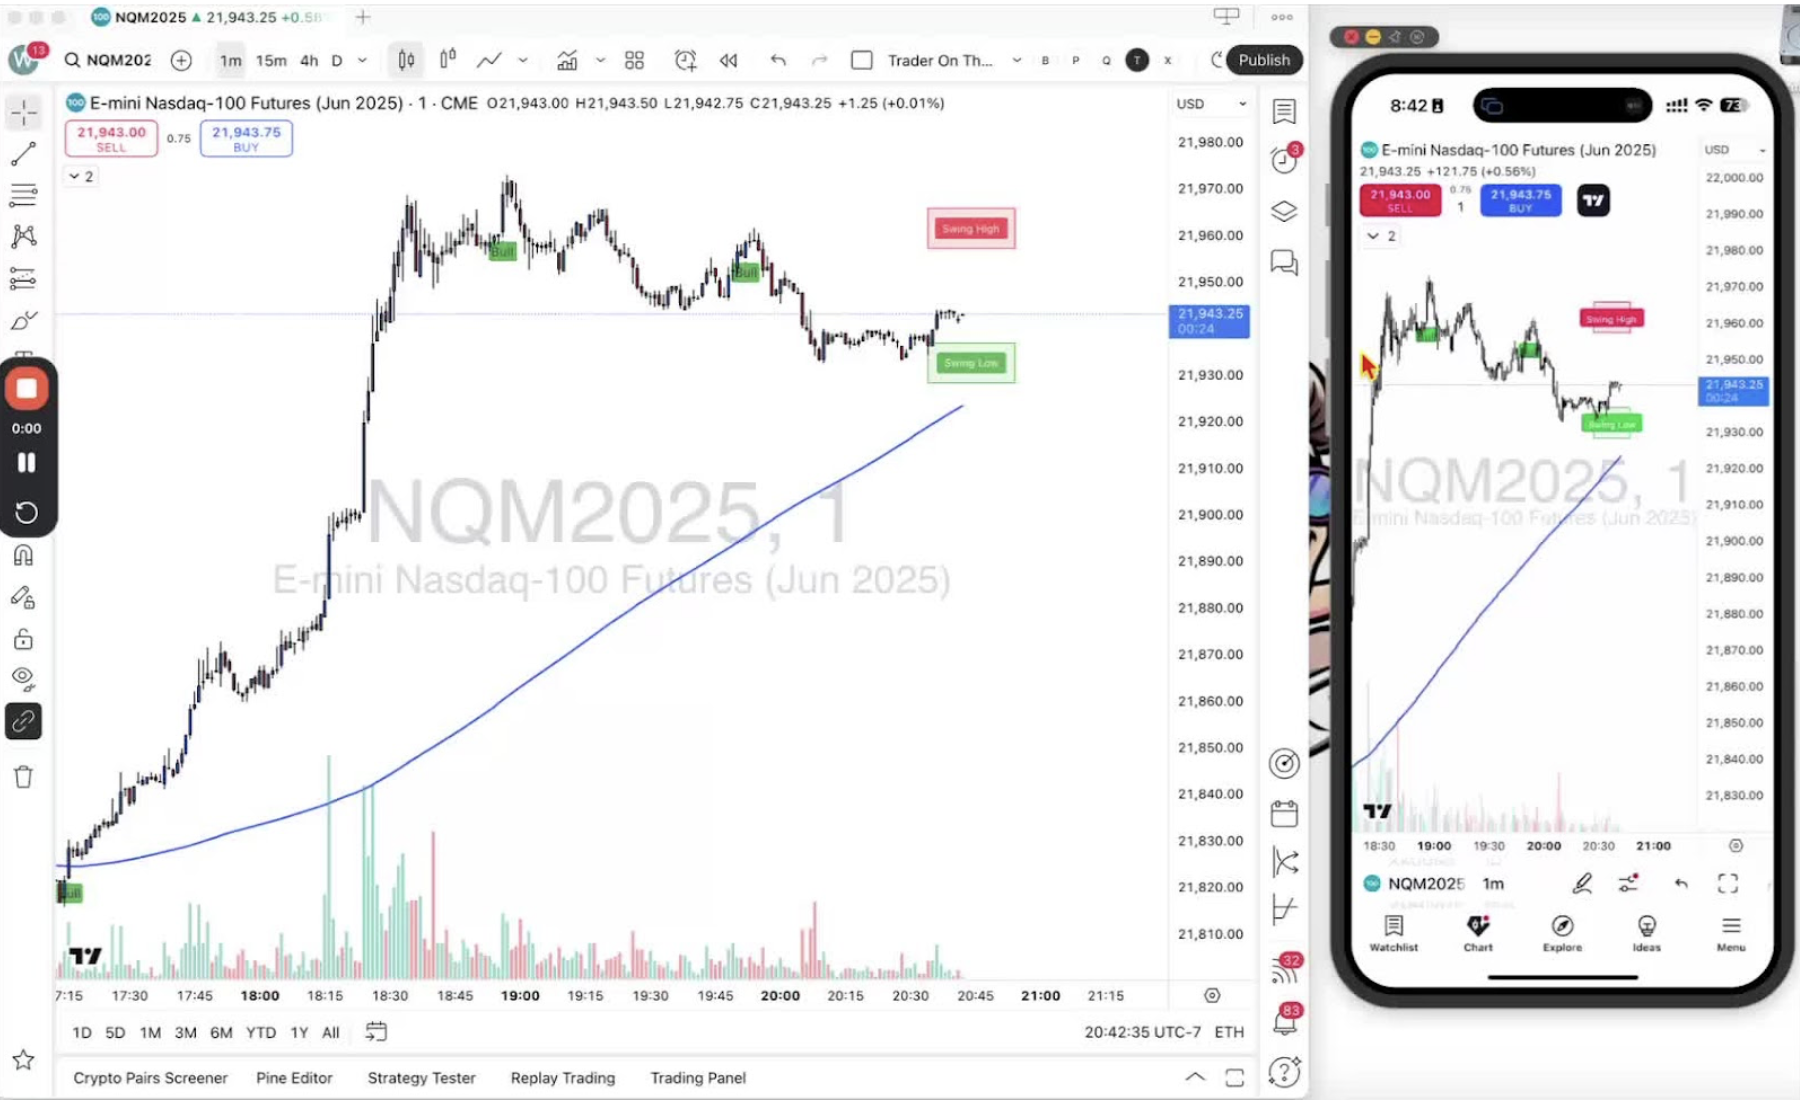
    Navigating Time Frames on Desktop 1:08

    • Demonstration of switching between added time frames easily.
    • Example of available time frames: 1 minute, 15 minutes, 4 hours, daily.

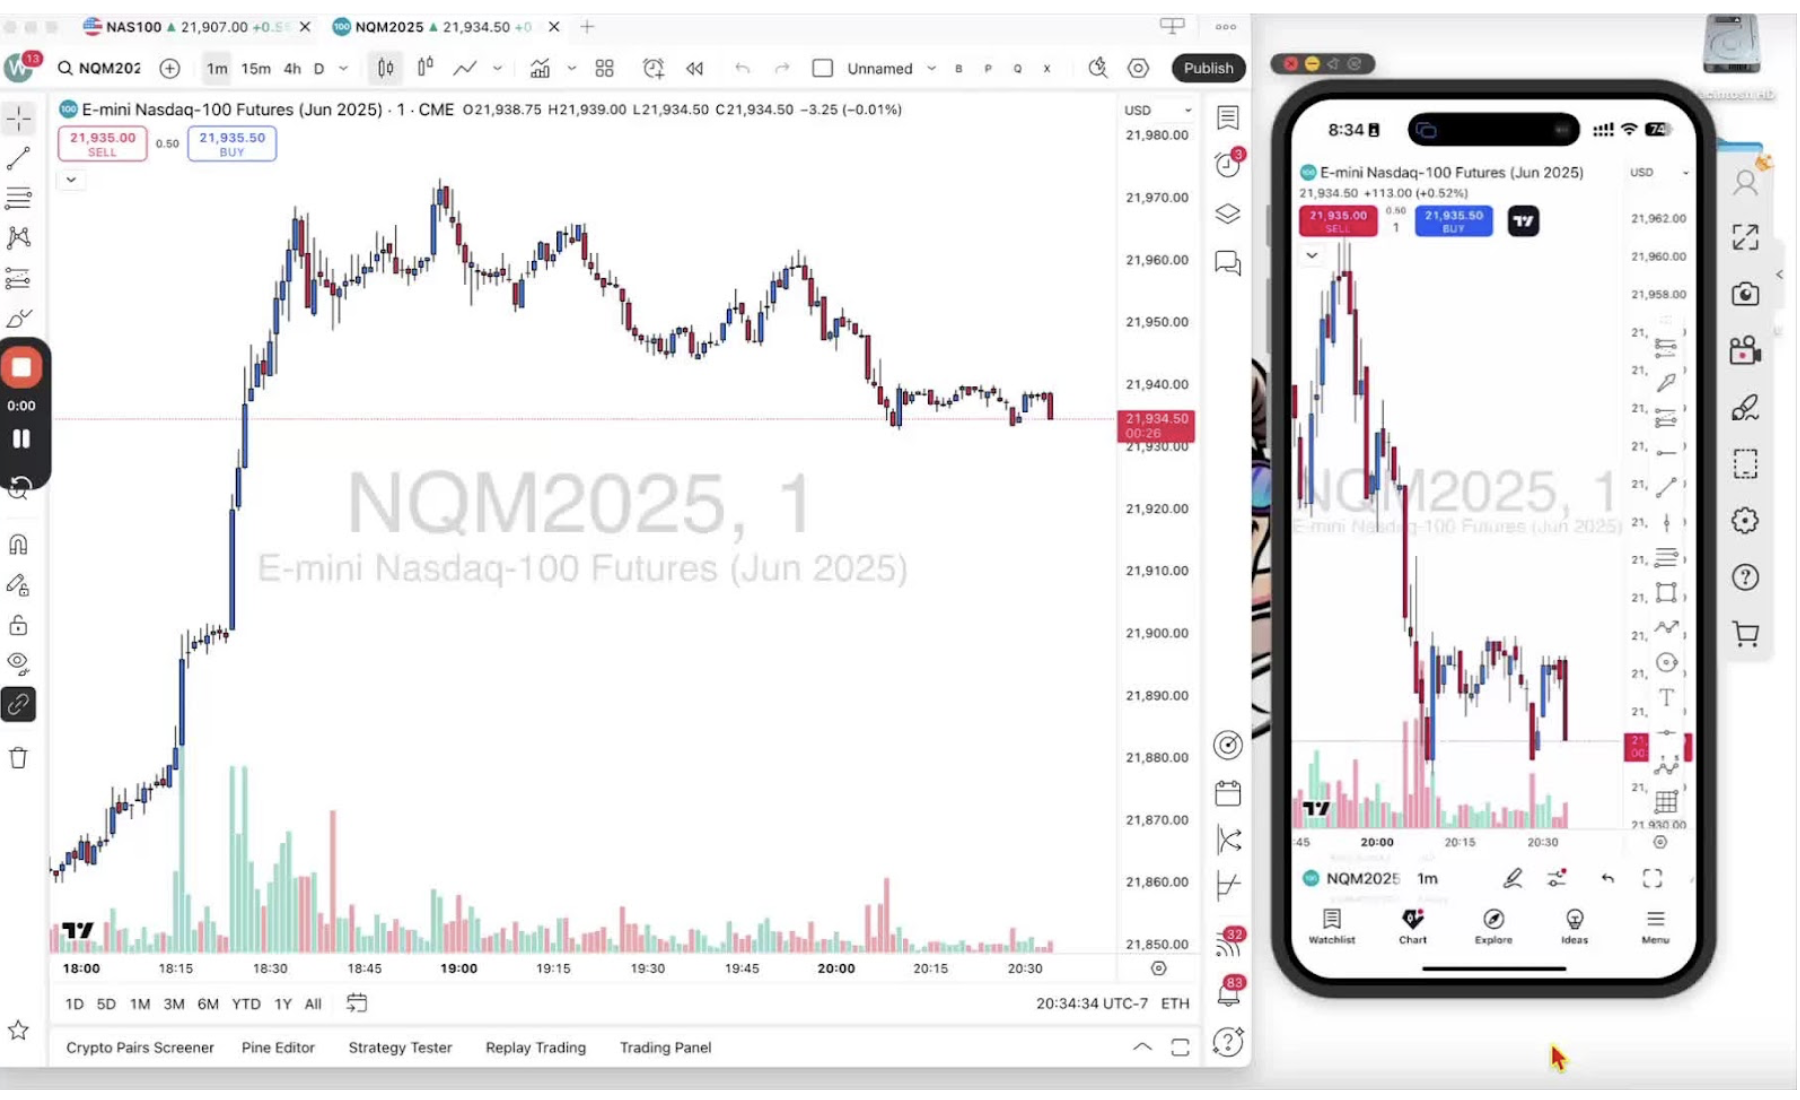
    Changing Time Frames on Mobile 1:25

    • Introduction to changing time frames on the mobile application of TradingView.
    • Explanation of how to scroll through favorite time frames:

    Adding Favorites on Mobile 1:36

    • Demonstration of how to add a time frame to favorites on mobile:
    • Tap and hold on the desired time frame (e.g., 3 minutes).
    • Select ‘Add to favorites’ to add a star next to it.

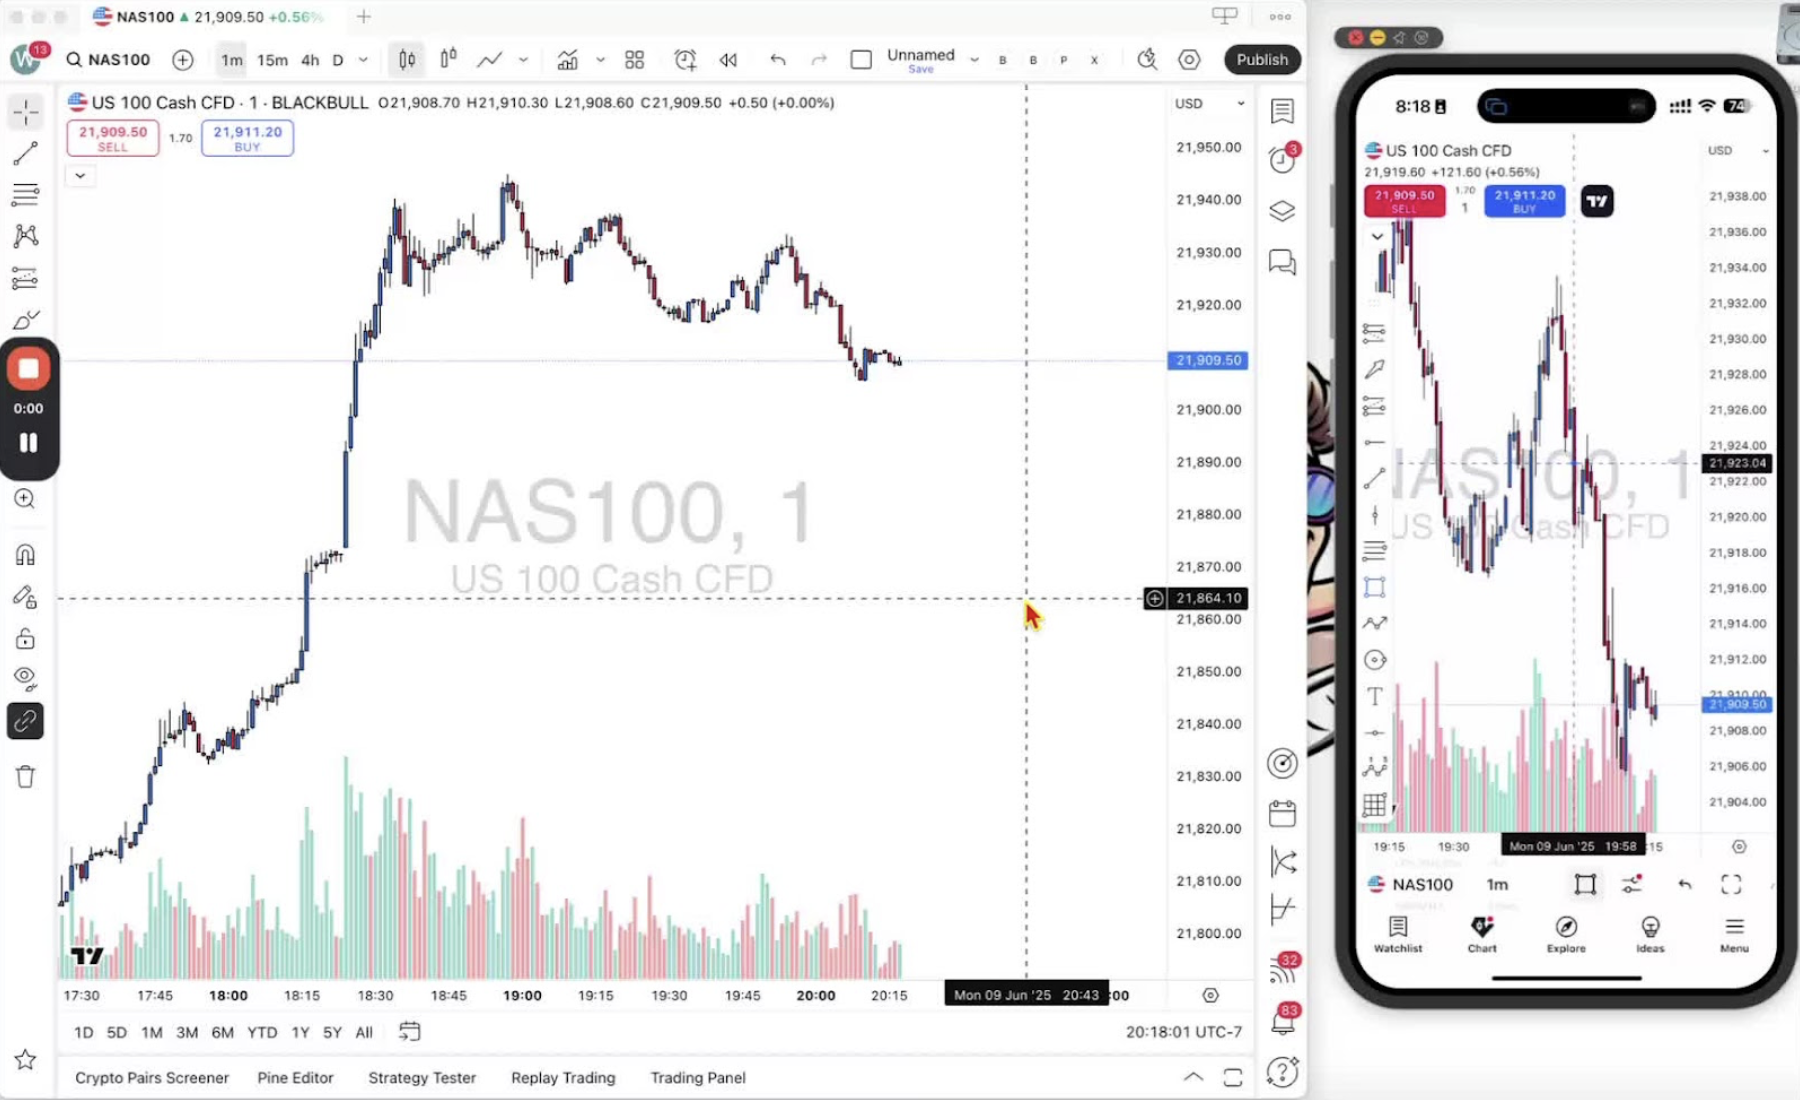
    Finalizing Time Frame Selection on Mobile 2:14

    • Explanation of how to select a time frame:
    • Tap on the desired time frame to switch to it.
    • Options to scroll, tap, or tap for more details.

    Conclusion 2:39

    • Recap of the focus on the one-minute time frame.
    • Encouragement to utilize the features discussed for effective trading.
  • Step 8. How to Select Symbols for Trading on Desktop and Mobile

    Step 8. How to Select Symbols for Trading on Desktop and Mobile

    OBJECTIVE

    In this video, I walk you through how to select your trading symbol on both desktop and mobile platforms. I demonstrate the symbol search feature, where you can filter by stocks, futures, forex, and more, and I specifically highlight how to find the NQ futures contract, recommending the latest contract, NQM 2025. I also show you how to navigate the mobile app to access the same features. My goal is to ensure you can easily find and switch between symbols for your trading needs. Please take a moment to practice this on your own platforms!

    Introduction to Symbol Selection 0:00

    • Welcome to the training session.
    • Purpose: Learn how to select trading symbols on both desktop and mobile platforms.

    Accessing Symbol Search on Desktop 0:16

    • Open the desktop application.
    • Click on the ‘symbol search’ option.

     Identifying Current Chart Symbol 0:26

    • Check the watermark or the top left corner to confirm the current chart symbol.

    Using the Symbol Search Bar 0:41

    • Delete the existing symbol in the search bar to start fresh.
    • Utilize the filters available: stocks, funds, futures, forex, and crypto.

    Searching for Specific Symbols 1:12

    • If you know the symbol, type it directly into the search bar (e.g., ‘NQ’ for futures).
    • Review the search results for the relevant contracts.

    Selecting the Correct Futures Contract 1:30

    • Identify the latest contract (e.g., NQM1, NQM2).
    • It is recommended to select the most current contract (e.g., NQM 2025).

    Viewing the Selected Symbol on the Chart 2:04

    • Once selected, the symbol will appear on the chart.

    Accessing Symbol Search on Mobile 2:32

    • Open the mobile application.
    • Confirm the current symbol displayed (e.g., ‘US 30’).

    Using Symbol Search on Mobile 2:40

    • Click on the two vertical bars with circles to access the filter list.

    Searching for Futures Contracts on Mobile 2:54

    • Type in the desired symbol (e.g., ‘NQ’).
    • Select the relevant futures contract (e.g., NQM 2025).

    Conclusion 3:07

    • The chart will update with the selected symbol.
    • Hope this guide was helpful in navigating symbol selection.
  • Step 7. Setting Up a Paper Trading Account on TradingView

    Step 7. Setting Up a Paper Trading Account on TradingView

    OBJECTIVE

    In this video, I walk you through the process of setting up your paper trading account on both desktop and mobile applications. I demonstrate how to create an account, choose your balance, and connect to paper trading on TradingView. It’s a straightforward process, and I encourage you to follow along and set up your account as I show you. Please make sure to complete the setup on both platforms for a seamless trading experience.

    Log Out of Your Current Account 0:00

    • Start by logging out of your current account on TradingView to set up a new paper trading account.

    Access Paper Trading Options on Desktop 0:11

    • At the bottom of your desktop application, click on ‘Trading Patterns’.
    • Select ‘Paper Trading’ with the TradingView symbol and click ‘Connect’.

    Create a New Paper Trading Account 0:19

    • If prompted, click the down arrow to create a new account.
    • Click ‘Create Account’.

    Name Your Account and Set Balance 0:30

    • Choose a familiar name for your account (e.g., ‘TOTG Demo’).
    • Enter a balance amount for simulation (e.g., ‘5,000 USD’).
    • Select leverage settings (e.g., ‘500 to 1’ for Futures, ‘100 to 1’ for Forex).

    Complete Account Creation 0:59

    • Click ‘Create’ to finalize your paper trading account setup.
    • Verify your account balance and equity on the dashboard.

    Access Paper Trading on Mobile Application 1:18

    • Open the mobile application and click on the two lines with circles icon.
    • Select ‘Trade with Your Broker’ and then ‘Paper Trading’.

    Connect to Your Existing Paper Trading Account 1:30

    • Click ‘Connect’ to access your paper trading account.
    • Verify that your existing paper trading accounts are displayed.

    Create a New Paper Trading Account on Mobile (if needed) 2:14

    • If you need to create a new account, click the down arrow and select ‘Create Account’.
    • Follow the same steps as on the desktop to name your account and set balance.

    Ready to Use Your Paper Trading Account 2:37

    • Your paper trading account is now set up and ready for use on both desktop and mobile applications.

    Next Steps 2:44

    • Look forward to the next video where you will learn how to open a trade and use stop losses and take profits.
  • Step 6. Guide to Accessing and Modifying Indicator Settings on Trading Platforms

    Step 6. Guide to Accessing and Modifying Indicator Settings on Trading Platforms

    OBJECTIVE

    In this video, I walk you through the indicator settings available on both desktop and mobile platforms. I demonstrate how to access the drop-down menu, adjust visibility, and change colors for buy and sell signals. It’s important to note that you can easily remove indicators or add alerts as needed. Please make sure to familiarize yourself with these settings to enhance your trading experience.

    Introduction to Indicator Settings 0:00

    • Welcome traders to the tutorial on indicator settings.
    • This guide covers both desktop and mobile platforms.

    Accessing the Indicator Menu 0:10

    • Locate the drop-down menu that may display ‘one’ or ‘two’.
    • On desktop, hover over the ‘Trader on the Go’ layout.
    • On mobile, tap the arrow to access the same layout.

    Understanding Indicator Options 0:27

    • On desktop, you will see icons: an eye, a hexagon, a trashcan, and three dots.
    • On mobile, tapping the layout gives you the same options.

    Hiding Indicators 0:41

    • To hide an indicator, click the eye icon on desktop or tap it on mobile.
    • To bring the indicator back, click or tap the eye icon again.

    Modifying Indicator Settings 1:00

    • Click the hexagon icon to access settings for the indicators.
    • Example: The 200 SMA line is represented by a blue line.
    • You can untick the box to remove it from the chart.

    Changing Signal Colors 1:34

    • Modify buy and sell signal colors by clicking on the respective options.
    • This can be done on both desktop and mobile.

    Editing Visibility and Style 2:07

    • Adjust visibility settings if necessary.
    • Focus on changing styles and colors of indicators.

    Removing Indicators 2:31

    • Use the trashcan icon to remove an indicator from the chart.
    • If removed accidentally, return to the indicators menu to re-add it.

    Adding Alerts 3:03

    • Click the three dots to access additional settings, including adding alerts.
    • Note: Adding alerts will be covered in a future training.

    Hiding the Menu 3:13

    • Click the up arrow to hide the settings menu and view more of the chart.

    Conclusion 3:19

    Thank you for following along. Look forward to the next video for more insights.

  • Step 5. Creating and Syncing a Trading Layout in TradingView

    Step 5. Creating and Syncing a Trading Layout in TradingView

    OBJECTIVE

    In this video, I walk you through the process of creating a layout in TradingView, which is essential for syncing your charts across both desktop and mobile applications. I demonstrate how to set up a new layout, install indicators, and save your work to ensure everything is accessible on the go. It’s crucial to keep the autosave feature on for convenience. Please make sure to create your layout so you have everything you need for trading efficiently.

    Introduction to Layouts 0:00

    • Explanation of the importance of a layout in TradingView.
    • Benefits of having a layout:
    • Custom chart settings and indicators.
    • Syncing across desktop and mobile applications.

    Accessing Layout Management 0:36

    • Open the desktop application.
    • Locate the top bar where it says ‘Unnamed’.
    • Click on the down arrow next to ‘Layout Setup’ to access layout management.

    Creating a New Layout 1:12

    • Click on ‘Create New Layout’.
    • Name the layout (e.g., ‘Trader on the Go’).
    • Click ‘Save’ to open the new layout in a tab.

    Installing Indicators 1:33

    • Click on the ‘Indicators’ button.
    • Search for the desired indicator (e.g., ‘Trader on the Go’).
    • Click to install the indicator.

    Saving and Favoriting the Layout 2:03

    • Click the ‘Save’ button to save the layout.
    • Click the star icon to favorite the layout for easy access.

    Accessing the Layout on Mobile 2:29

    • Open the mobile application.
    • Click on the two lines of the two circles icon.
    • Click the down arrow next to ‘Unnamed’ and select ‘Load’.

    Loading the Favorite Layout 2:35

    • Find and select the ‘Trader on the Go’ layout from favorites or search for it.

    Syncing Changes Across Devices 2:49

    • Demonstrate adding a trendline on mobile.
    • Explain how changes sync across both mobile and desktop applications.

    Conclusion 3:15

    Now create your own layouts for your convenience. 

  • Step 4. Installing the Trader ON-THE-GO Indicator

    Step 4. Installing the Trader ON-THE-GO Indicator

    OBJECTIVE

    In this video, I walk you through the process of installing the Trader on the Go indicator on both desktop and mobile applications. I demonstrate how to find the indicator in the invite-only list and how to add it to your favorites for easy access. I also show you how to confirm that the indicator is properly installed on your charts. Please make sure to follow along and install the indicator on your devices as I guide you through the steps.

    Access the Indicator Menu on Desktop 0:00

    • Open the TradingView desktop application or web application.
    • Look for the icon labeled ‘Indicators, Metrics, and Strategies’ in the top bar.

    Find the Trader on the Go Indicator 0:34

    • If you have provided your TradingView ID to the indicator owner, it should appear in your invite-only list.
    • Alternatively, use the search bar to type ‘trader’ and locate ‘Trader on the Go, one minute’.

    Add to Favorites 1:11

    • Click the star icon next to ‘Trader on the Go, one minute’ to add it to your favorites.

    Apply the Indicator to Your Chart 1:27

    • Click on ‘Trader on the Go, one minute’ to apply it to your chart.
    • Confirm the installation by checking the indicator legend under the sell/buy buttons.

    Access the Indicator on Mobile 2:15

    • Open the TradingView mobile application (available on Android and iPhone).
    • Tap the icon that looks like two dashes and two circles at the bottom.

    Find and Favorite the Indicator on Mobile 2:29

    • Tap on ‘Indicators’.
    • Use the search bar to type ‘trader’ or scroll down to the invite-only section to find ‘Trader on the Go’.
    • Click the star icon to favorite it.

    Add the Indicator to Your Mobile Chart 3:22

    • Click on ‘Trader on the Go’ to add it to your chart.
    • Confirm by checking for the blue line and signals on your chart.

    Access Indicator Settings 4:07

    • On both desktop and mobile, you can access the indicator settings by clicking on the indicator text in the top left corner.
  • Step 3. How to Find Your TradingView ID

    Step 3. How to Find Your TradingView ID

    OBJECTIVE

    In this video, I walk you through the process of finding your TradingView ID and explain its importance for accessing invite-only indicators. I demonstrate how to locate your ID on both the desktop and mobile applications, ensuring you can easily share it with others to get your indicators installed. Please make sure to follow the steps I outlined to successfully retrieve your ID.

    Introduction to TradingView ID 0:00

    • Welcome traders to the video.
    • Purpose: Explain how to find your TradingView ID and its importance.

    Importance of TradingView ID 0:09

    • Your TradingView ID is crucial for accessing invite-only indicators.
    • You need to send your TradingView ID to the owner of the indicator to unlock it.

    Finding TradingView ID on Desktop 0:36

    • Open the TradingView desktop application or web app.
    • Look for a symbol with a letter (this letter starts your TradingView ID).
    • Hover over the symbol to see your ID (e.g., ‘Wagis Crypto’).
    • Click on the symbol to view it more clearly.

    Accessing Profile for TradingView ID 1:01

    • Hover over your name (e.g., ‘Wagis Crypto’) and select ‘Profile’.
    • Your TradingView ID will be displayed on this page.
    • Highlight and copy your TradingView ID to send it to the indicator owner.

    Finding TradingView ID on Mobile 1:30

    • Open the TradingView mobile app.
    • Click the bottom right-hand menu button.
    • Your TradingView ID will be displayed at the top.

    Viewing and Editing TradingView ID on Mobile 1:39

    • Click on your TradingView ID to see it more clearly.
    • Click the pencil icon to edit your TradingView ID if needed.
    • Hold down to copy your TradingView ID for sharing.

    Conclusion 2:03

    Now you have learned how to find your TradingView ID.

  • Step 2. Steps For Downloading and Installing TradingView Applications

    Step 2. Steps For Downloading and Installing TradingView Applications

    OBJECTIVE

    In this video, I walk you through the simple steps to download the TradingView desktop and mobile applications. I cover how to navigate the TradingView site, select the right version for your operating system, and sign in to ensure your subscription is active. It’s a straightforward process, and I encourage you to follow along and get set up. Please make sure to sign in right after downloading the app!

    Access TradingView Downloads 0:35

    • Navigate to the TradingView website.
    • If necessary, click on the three lines to access the menu.
    • Click on ‘More’ and then select ‘Downloads’.

    Download the Desktop Application 0:40

    • Click on ‘Desktop’.
    • Choose the appropriate download button for your operating system (Windows, Mac, or Linux).
    • For Mac users: Click ‘Mac’ to download.

    Install the Desktop Application 1:03

    • Go to your Downloads folder and run the installer.
    • Follow the installation prompts to install the TradingView application.

    Open and Sign In to the Desktop Application 1:22

    • Locate the TradingView application in your applications folder.
    • Open the application.
    • Click on the person icon in the top right corner to sign in.
    • Choose ‘Sign in with browser’ or enter your credentials.

    Download the Mobile Application (iPhone) 2:18

    • Open the App Store on your iPhone.
    • Search for ‘TradingView’ in the search bar.
    • Click ‘Get’ to download the application.

    Download the Mobile Application (Android) 2:18

    • Open the Google Play Store or Samsung Store on your Android device.
    • Search for ‘TradingView’.
    • Click ‘Install’ to download the application.

    Open and Sign In to the Mobile Application 3:03

    • Locate the TradingView application on your phone and open it.
    • Click on the menu in the bottom right corner and select ‘Sign in’.
    • Enter your credentials to sign in.

    Cautionary Notes

    • Ensure you have a stable internet connection during the download and installation process.
    • Verify that your device meets the system requirements for the TradingView application before downloading.

    Tips for Efficiency

    • Keep the TradingView application icon easily accessible on your desktop or phone for quick access.
    • Regularly check for updates to ensure you have the latest features and security enhancements.

  • STEP 1. Setting Up TradingView Account and Market Data Package

    STEP 1. Setting Up TradingView Account and Market Data Package

    OBJECTIVE

    In this video, I walk you through the necessary packages for your TradingView account, specifically focusing on the Essential Package and the market data package for futures trading. I explain how to access the TradingView site using a provided link and guide you through the sign-up process, including payment options. I also highlight the importance of subscribing to the CME group for futures data, which costs $7 per month. Please make sure to follow the steps outlined to get everything set up correctly.

    Access TradingView 0:13

    • Click on the provided link to access the TradingView site.
    • Ensure you are on the correct landing page

    Start the Registration Process 0:30

    • Click on the ‘Get Started for Free’ button at the top right.

    Choose the Essential Package 0:43

    • Select the Essential Package for $14/month billed annually (17% off) or $16.95/month billed monthly (16% off).
    • Opt for the 30-day free trial if desired.

    Create Your Account 1:20

    • Sign up using your email and password.
    • Complete the CAPTCHA verification.
    • Enter payment details to finalize account creation.

    Sign In to TradingView 1:44

    • Click on the person icon in the top right corner.
    • Select ‘Sign In’ and enter your credentials.

    Access Market Data Package for Futures 2:02

    • Navigate to ‘Products’ and scroll down to ‘Market Data’.

    Subscribe to CME Group Futures Data 2:16

    • Scroll to ‘Futures’ and select ‘CME Group, e-mini included’.
    • Click ‘Learn More’ to view subscription options.

    Complete Subscription Process 2:39

    • Choose between annual or monthly billing for the $7/month subscription.
    • Select the CME Group option and click ‘Next’ to proceed to checkout.

    Confirm Subscription 3:18

    • Complete the purchase to activate real-time CME data for futures charts.

    Verify Data Availability 3:39

    • Check any futures chart (e.g., NQ) to ensure real-time data is available.

    Cautionary Notes

    • Ensure you are logged into your TradingView account before subscribing to market data.
    • Double-check your payment details to avoid any issues with subscription activation.

    Tips for Efficiency

    • Use the annual billing option to save on subscription costs if you plan to use TradingView long-term.
    • Take advantage of the 30-day free trial to evaluate the Essential Package before committing to payment.